Kinect Bodyscanner
Hardware Tutorial
Step by step instructions
The following is a tutorial on how to modify the Kinect 2 sensor's proprietary connector to work with PCs without the use of the official adapter. It effectively splits the connector, which normally handles both data and power, into its two parts for use with a USB 3 capable computer.

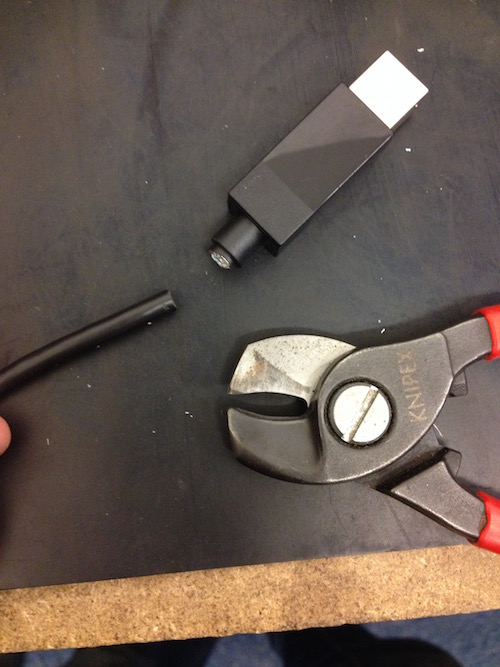
1) Remove the proprietary connector.
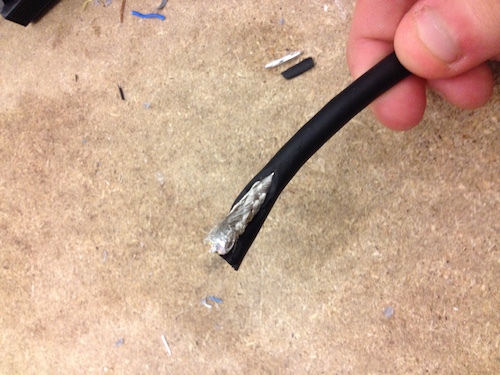

2) Carefully cut the cable's side enough so that you can extend the tear by hand. Take care not to damage the wires inside.
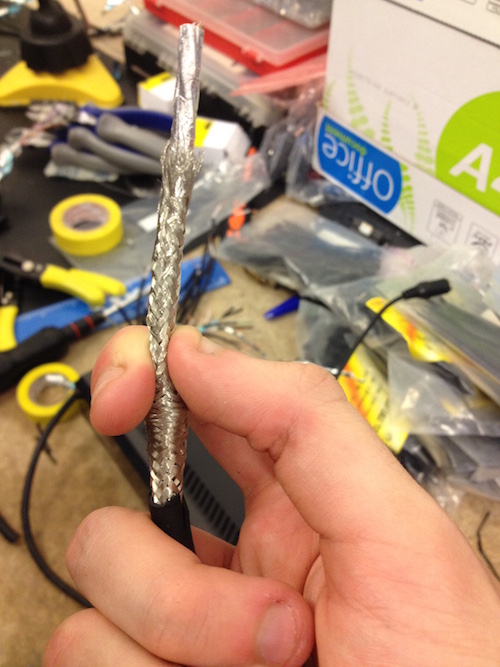
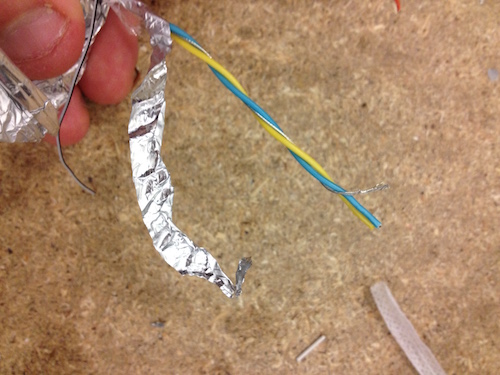
3) Slide back the mesh-like shielding as shown, making sure not to cut or lose it since we'll replace it later.
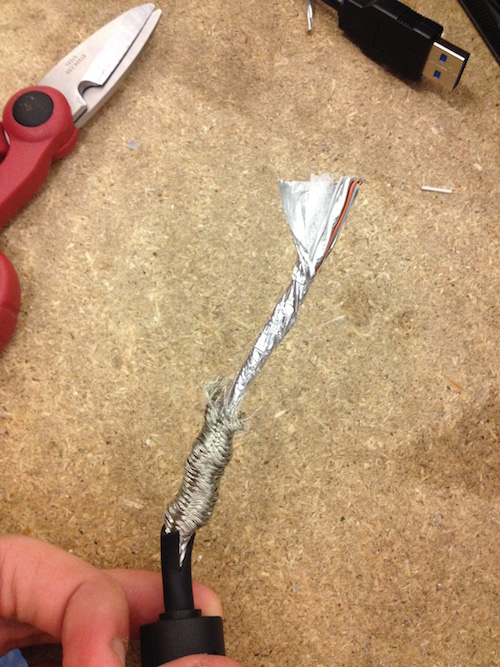
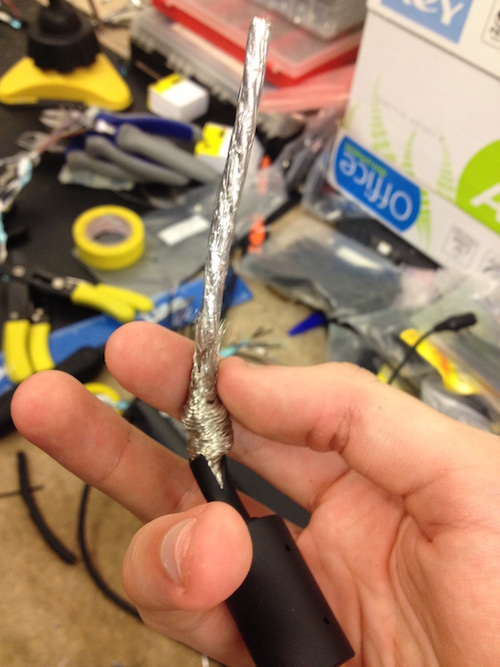
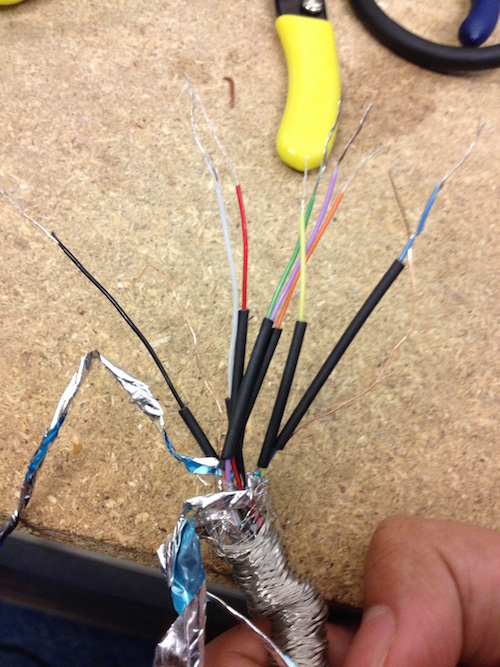
4) Next, twist back the next layer of shielding to expose the wires inside.

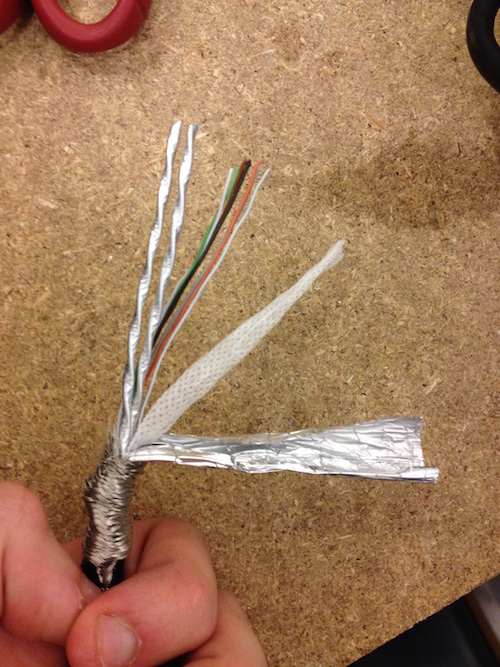
5) You can remove the light-coloured, papery material to free up space.
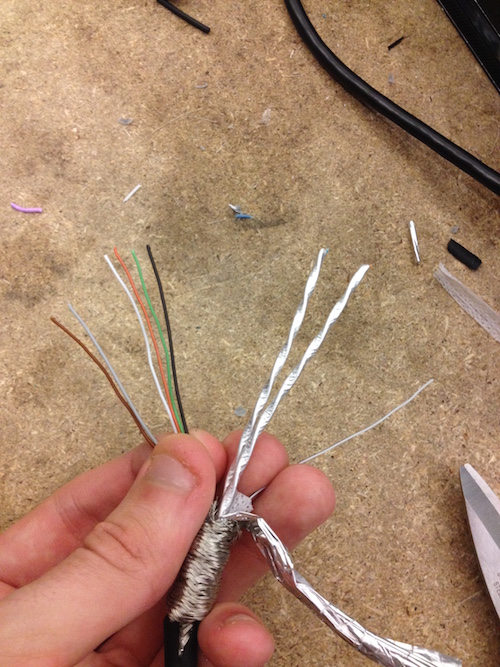
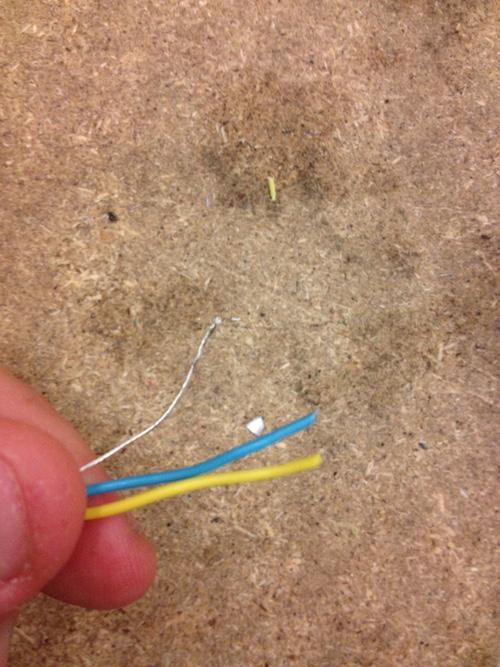
6) You should have something that looks like this.
Don't worry if the colours are a shade or two off - the underlying colours just need to match okay.
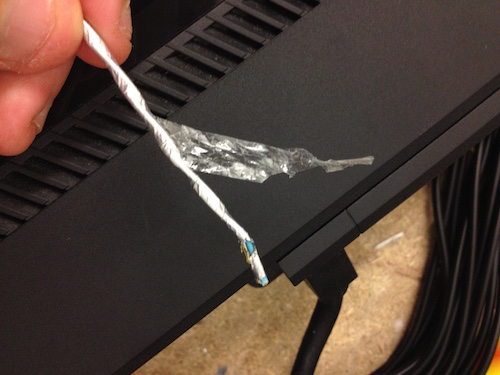
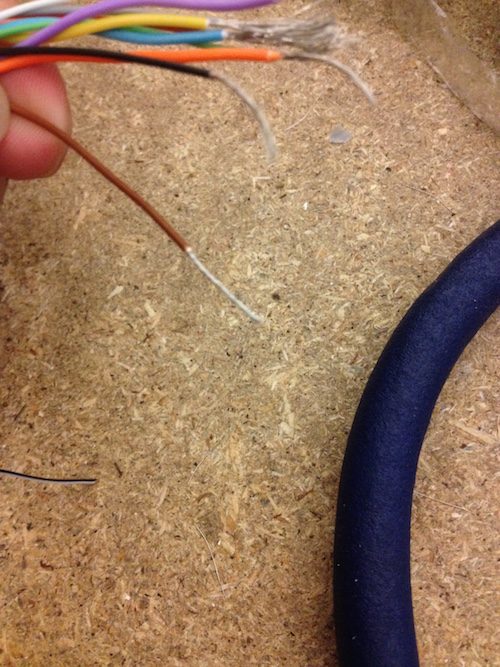
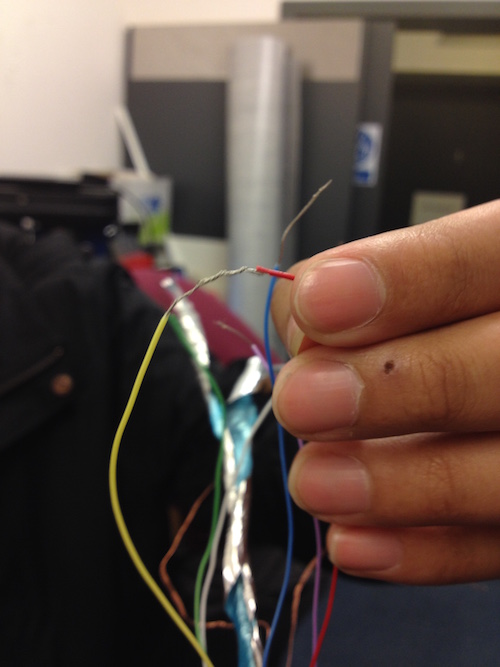
7) Looking at one of the USB3 data cables - you'll need to peel away both the outside plastic and shielding like so..

8) You should discover three wires inside - two insulated, one non-insulated. Repeat the unwrapping for the other USB3 data cable.

9) Strip the wire ends as shown below. Use wire strippers and make sure the wires don't end up different lengths.

10) Twist the wire ends to neaten them for better joining and soldering later. We don't want them all frayed!

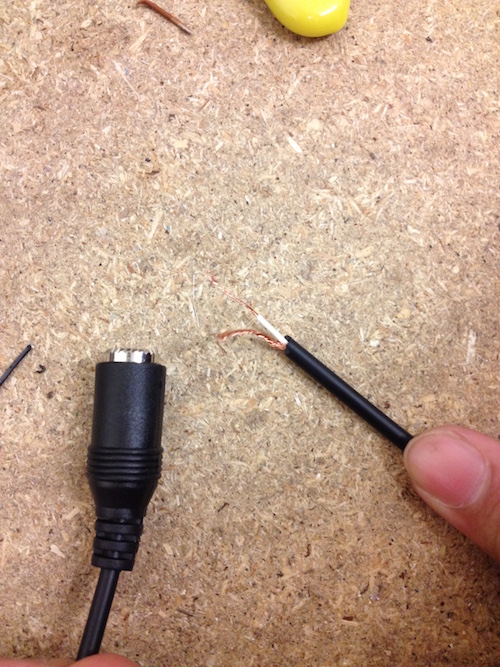
11) Moving on to the power cable! Remove the female end and expose the wires. The insulated one is likely to be positive, though it doesn't hurt to check with a multimeter.


12) And on to the USB cable! Remove one end as you did for the Kinect, before retracting any shielding as well.
13) Repeating what you already did to the Kinect data wires - pull back any shielding, strip the ends and make sure they're neat and of uniform length. Once done, slide some heat shrink tubing on each as shown.

14) Taking the power cable and the Kinect wires, tie them together as below. Here we had brown as positive and grey as negative. (Important)

15) Good advice for twisting the wires together is to first align them in an X shape before curling them around one another. (Note: the wires in the pictures above do not match - they're just for demonstration)
Do the same for the remaining wire pairs. The colours might not match exactly, but should more or less correspond in underlying colour.
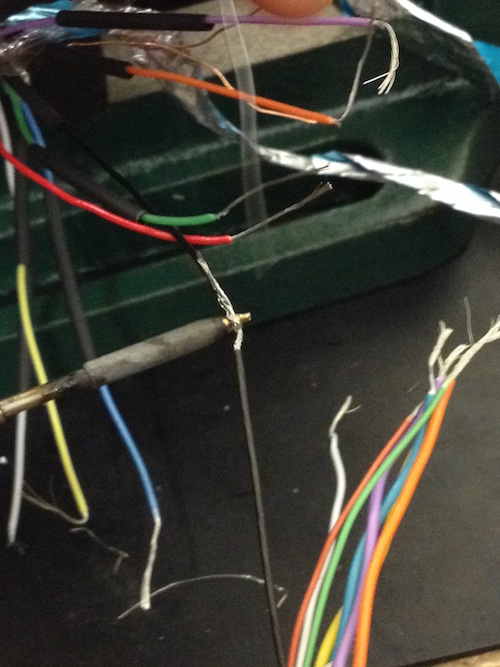

16) Once done, solder the wires to join them. (Seek out further instruction for information on how to solder).
All Done!
That's it! To test the Kinect, simply connect the power cable to a standard power adapter and connect the USB to a USB3 port on your computer.
Make sure you're patient at this point, as driver installation can take more than a minute or two. You should have the Kinect for Windows 2 SDK already installed, which includes Kinect Studio. Run Kinect Studio and select the connect to Kinect icon to start streaming.