Appendix
Deployment Manual
The software is an early proof of concept for development purposes and should not be used as-is in a live environment without further redevelopment and/or testing. No warranty is given and no real data or personally identifiable data should be stored. Usage and its liabilities are your own.
See the following guides for deploying the admin web app and the Android app. Both have been containerised to greatly simplify the build process and provide platform independency where possible.
Admin Web App
See instructions for deploying the admin web app.
Prerequisites
You will need a (relatively recent) browser that allows JavaScript - more information on supported
browsers can be found in the package.json
file.
The web app is hosted at fise-concierge.web.app. However, due to security restrictions, the backend does not work on Safari, this means you will need to serve the web app locally.
If you would like to serve the web app locally or get started with development, you will need the additional prerequisites:
You will also need to clone the source code from our GitHub repository.
The backend is containerised with Docker to make for simple and fast deployment.
Installation
The following installation steps are only required if you would like to serve the web app locally. If using the hosted web app, you can skip this section.
You will need to clone our GitHub repository, running the following command in a directory of your choice:
git clone
                    https://github.com/UCLComputerScience/COMP0016_2020_21_Team25.git
Once you have the source code, to install the necessary dependencies using the following terminal command:
npm install
Deployment
To start the backend, first ensure no localhost service is currently running on port
8100.
Next, open a terminal window and navigate to the "Backend" directory. If you cloned the entire repository and are in the topmost directory, you can use the following command:
cd Backend
The backend can then be built using the following terminal command:
docker build --tag backend .
And to then start the backend application (whilst in the "Backend" directory):
docker run --rm -it -p 8100:8100 backend backend
It is recommended that you always start the backend before the web application.
If you are not serving the web app locally, you can just head over to fise-concierge.web.app.
Otherwise, navigate to the "Admin Site" directory with:
cd ..; cd "Admin Site"
And then:
- To start the web app in development mode, with verbose debugging information:
npm run-script dev:start - To start the web app in production mode, with all the necessary optimisations performed:
npm start
Testing
Note that when running any tests, the backend must still be started.
To run the pre-defined tests:
npm run-script test:noserver
The backend can be started automatically, so you do not need to manually start the backend.
npm test
However, this starts up and shuts down the backend server on each run - this approach is intended to be used for automated build systems.
A coverage report can be generated using:
npm run-script coverage:noserver
And to generate a coverage report, whilst also automatically running the backend:
npm run-script coverage
Android App
See instructions for deploying the Android app.
Prerequisites
You will need an Android device running an Android API level of at least 16 (Jellybean 4.1.x) and a separate computer or laptop to run the backend to serve the app.
The device must also have Google's speech recognition software installed, though this is pre-installed for many devices now. If your phone does not have it installed, the following process must be followed. (If it is installed you can skip this section).
Download Google's speech recognizer here
Once downloaded, you have to go into the device settings and search for 'Assist & voice input' (exact name may vary on Android versions but searching for 'voice' should bring up the correct setting).
Then click on 'Assist & voice input' and under 'Assist app', select the Google app which you just installed.
Finally, you must go into Settings, Permissions, click on the Google app which you installed and grant all the permissions relating to speech recognition.
Now that you have Google's speech recognition software installed, it should automatically allow for offline speech recognition in English. If for some reason this is not the case, follow these instructions. (If it is cofigured to allow offline speech recognition in English, you can skip this section)
Open the Google app
Select More
Select Settings
Select Voice
Select Offline speech recognition
Go to ALL and add English (US).
The backend, the AskBob (Team 39) NLP server and service API interaction are all containerised meaning the following prerequisites are also required:
For development, you will also need Android Studio.
It is important to note that Concierge is intended to be used in private networks only.
Installation
The APK file for the Android app can be found here.
You will need to clone our GitHub repository, running the following command in a directory of your choice:
git clone
                    https://github.com/UCLComputerScience/COMP0016_2020_21_Team25.git
Deployment
To start the backend, the AskBob (Team 39) NLP server and service API interaction:
docker-compose up
The final step is the run the APK file on your Android device. Instructions on how to do so can be found here.
Testing
The following information assumes you have cloned the repository and have Android Studio installed.
The repository contains a regression test suite developed through TDD which you can use to ensure there is no functionality leakage and to which you can add your own tests for your code. The tests under the androidTest package are instrumented tests that run on a device/emulator. The tests under the test package are unit tests that run on the JVM. See important notes for both below.
Instrumented tests - these tests were written using the Espresso framework and provide UI tests hence
only contain tests for classes corresponding to an activity. Please note, for these tests to run,
line 19 in the build.gradle file had to be commented out as these tests fail when using
ANDROID_TEST_ORCHESTRATOR (nothing to do with our tests, more of an Android Studio
bug).
Unit tests - these tests were written using the Robolectric framework and test the actual logic and code of the app. There are three important points to note here:
- To run these tests, the
targetSdkVersionunderdefaultConfigunder android must be set to 29 or lower as Robolectric framework does not currently support any Android SDK versions greater than 29. In no way does this hinder the reliability of the tests as all the code written is intended for devices with Android SDK version 16 or higher as mentioned above. - All the tests cannot be run in one go (i.e., you cannot right-click on the test package and
select
'Run Tests in 'fisev2concierge'') for some reason this causes the tests to fail. Again, this has nothing to do with our tests, rather it is an Android Studio issue. Instead, you must run each test class individually. -
Please also ensure you have both the backend and Ask Bob servers running if you run the tests under the 'askBobConnectivity' and 'backendConnectivity' packages.
User Manual
See the following instructions on how to use both the admin web app and the Android app (assuming they have both been deployed).
Admin Web App
The companion web app to the IBM FISE Concierge allowing friends of (elderly) users to set up accounts and manage the details of all members in their circle. Admins have the ability to add and remove services from member accounts and view service usage history for each member.
Welcome
If not previously logged in, the first page you will see is the login view:
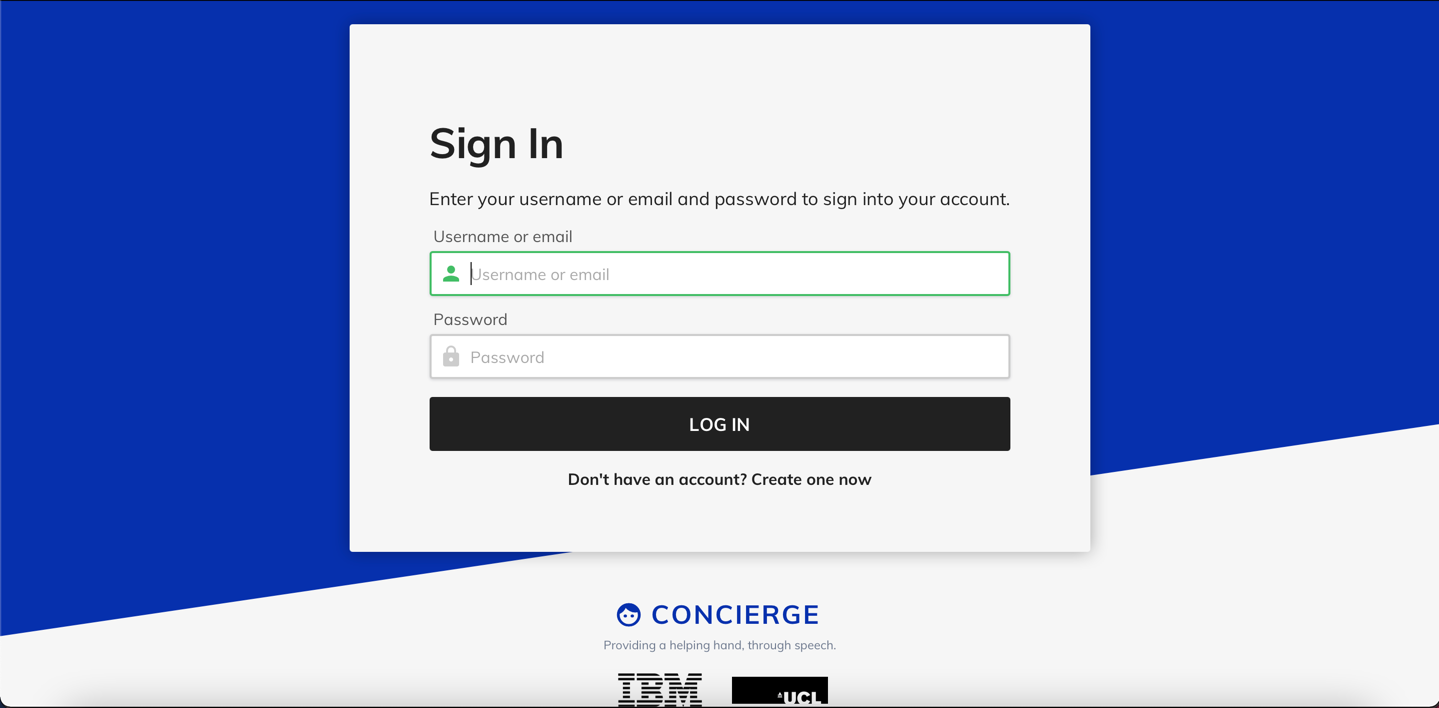
- If you have an existing account, go ahead and enter your username (or email address) and password and click "Sign In".
- If you do not have an account, click "Don't have an account? Create one now"
- This will take you to the sign up form where you can create a new account.
-
Click to enlarge

- Fill out the required details and click "Sign up"
People
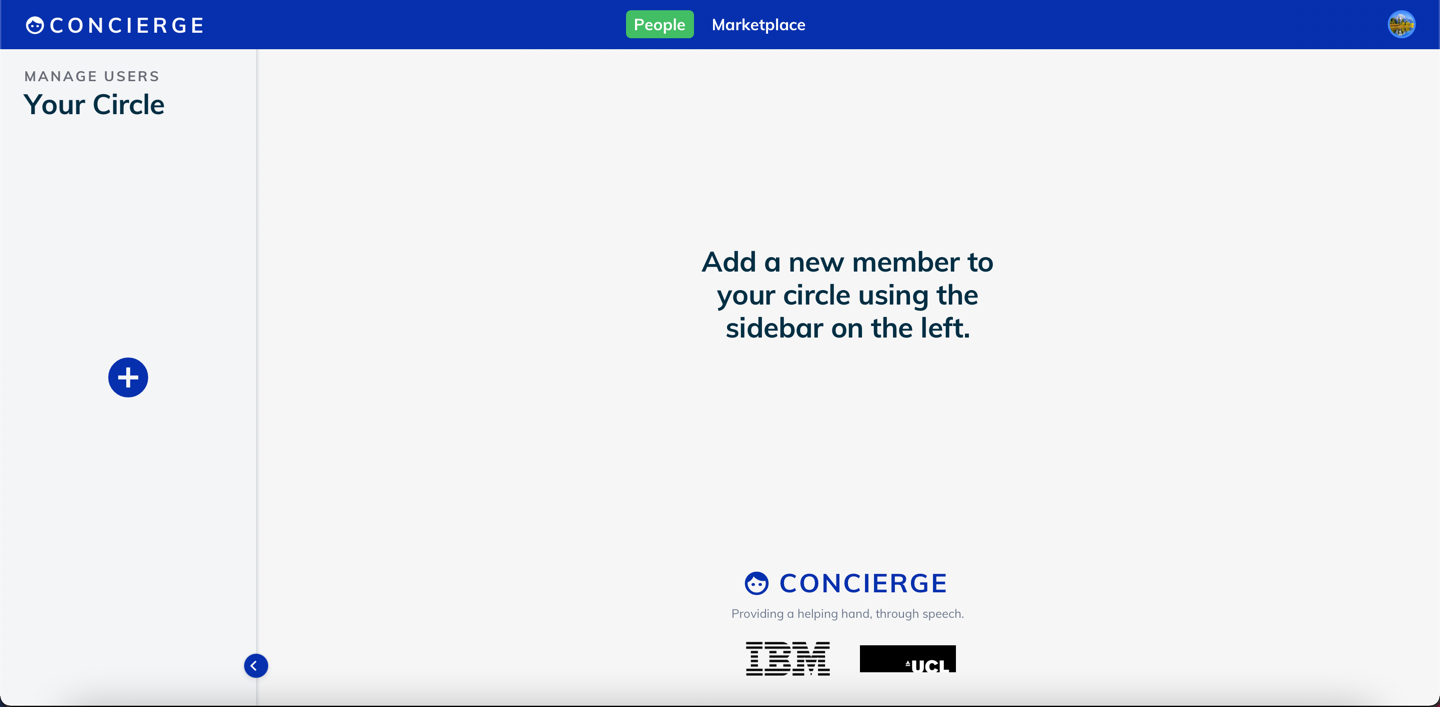
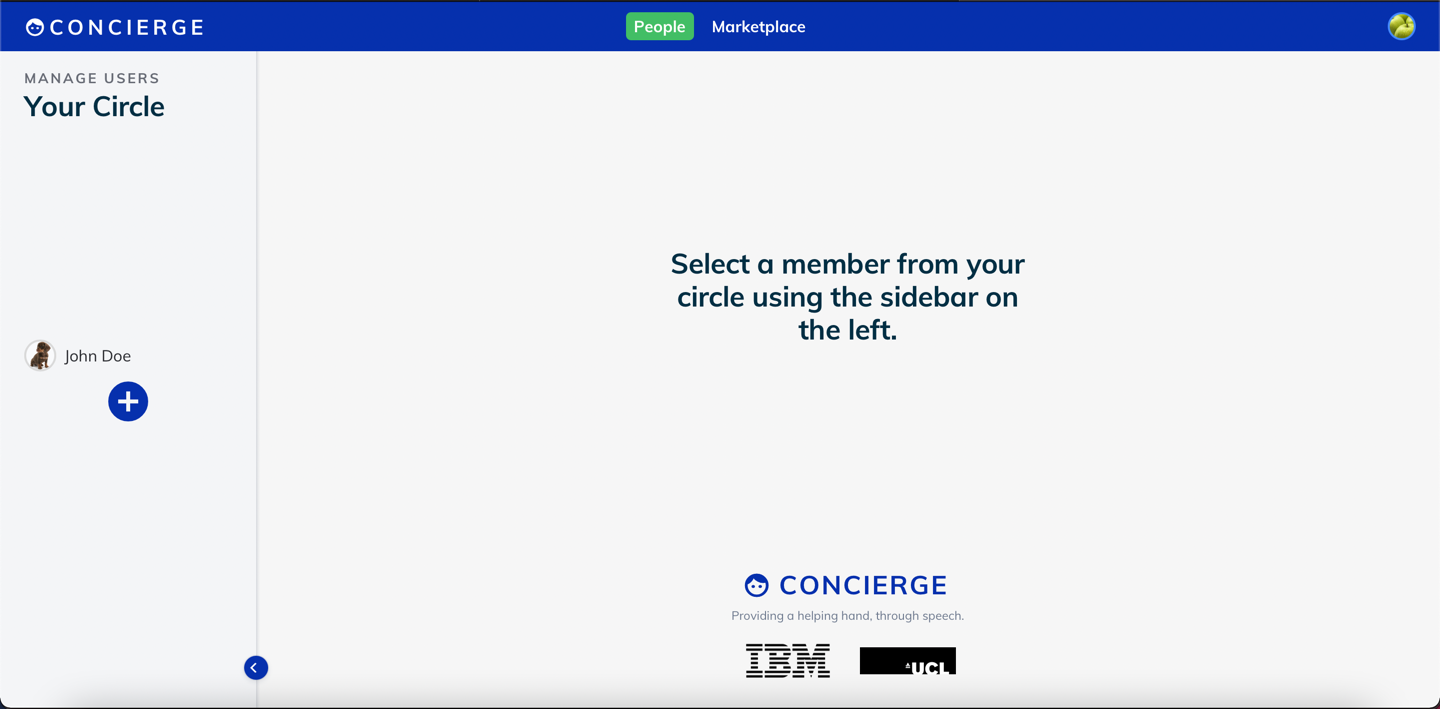
Upon successful login/signup you will be taken to the "People" view.
- Here you can manage members in your circle.
If you have previously added members, you can click a member icon in the sidebar:
If you have just created a new account, you will have no members in your sidebar:
Adding Members
Click the blue plus button to bring up a dialog to add a new user.
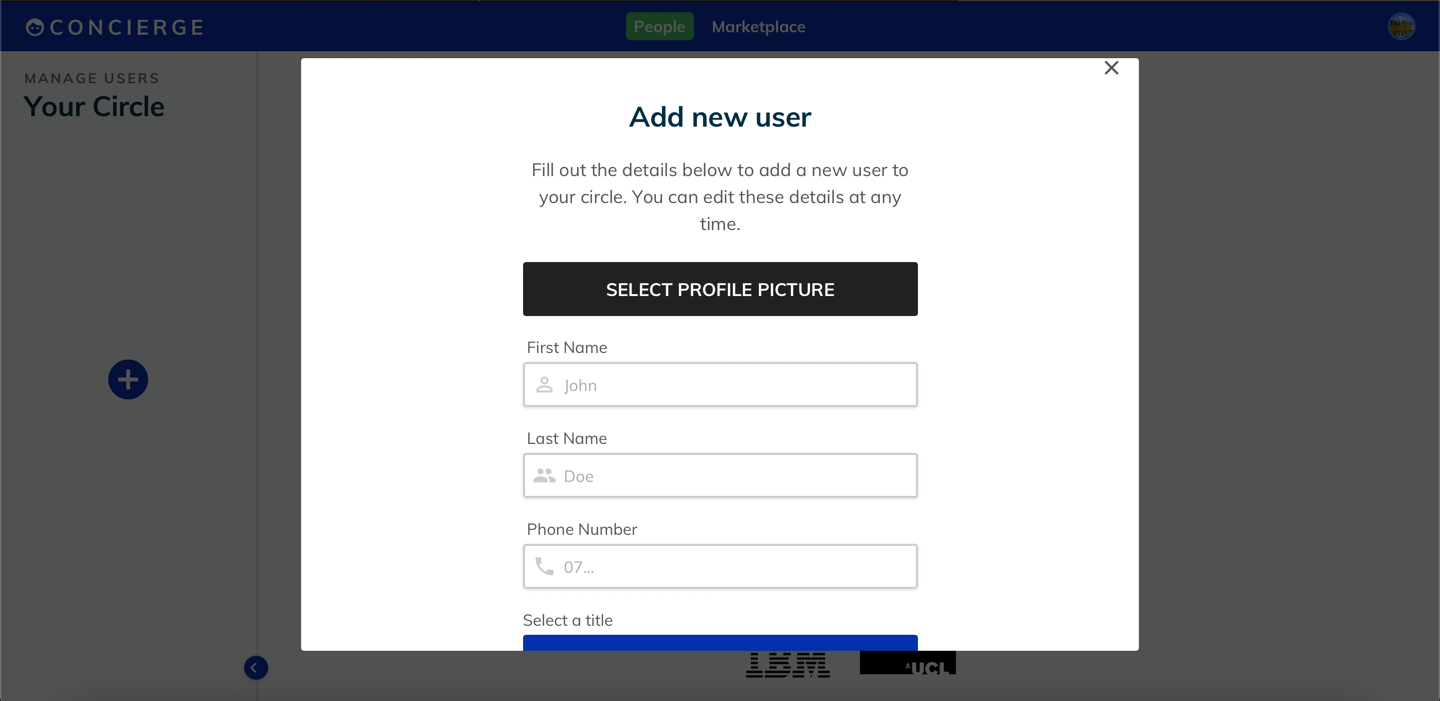
Once you have successfully added a new user, do not close the prompt. There is a registration code which is used on the Android app to connect the Android app to the admin web app.
- Inform the intended user to enter the code on the app.
When ready, you can click "Close".
Note there is a limit of 30 members in a circle.
Managing a Member
After adding a new user, or clicking a member icon in your sidebar, you will be shown details for the given member:
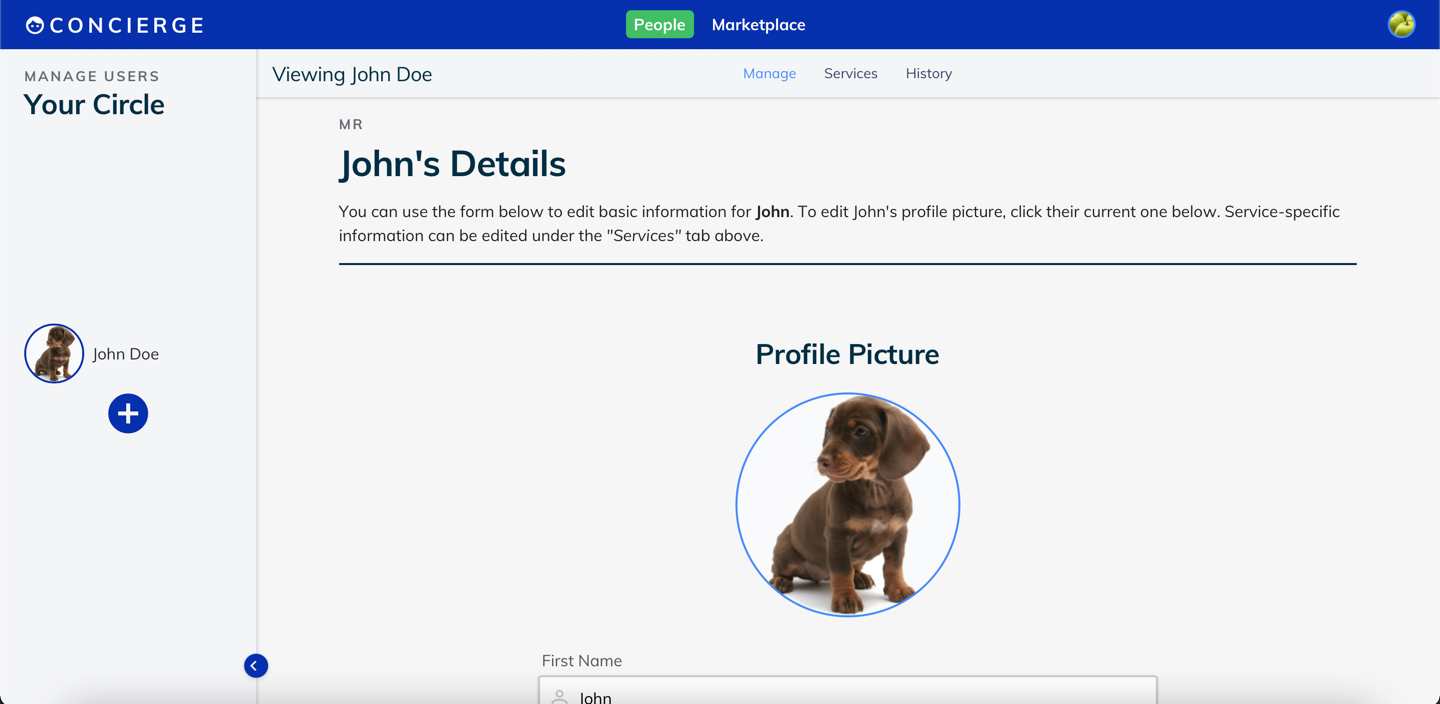
Here, you can modify that member's information.
Viewing Services
Click the "Services" item in the bottom-most navbar to bring up the "Services" view.
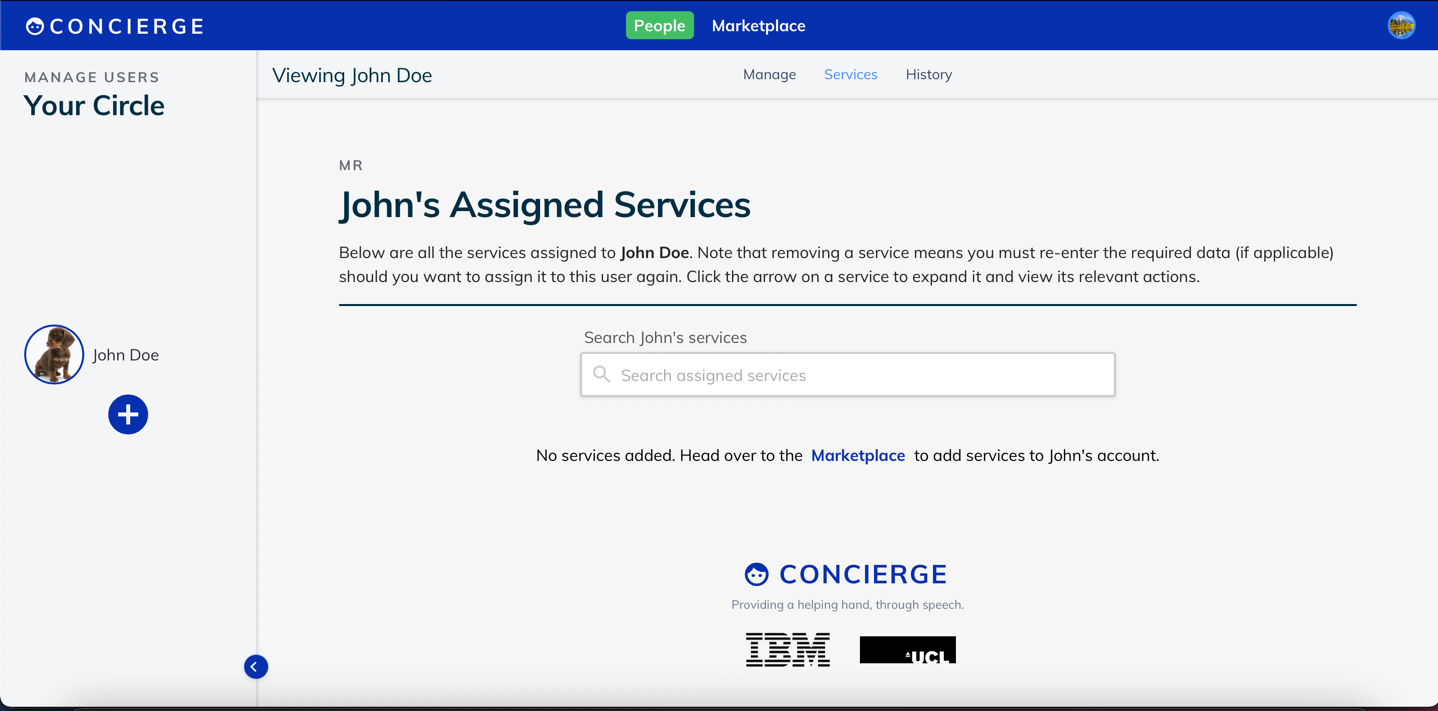
This shows you all services added to a member's account.
If you have just created the member, or have not previously added any services to the given member, this view will be blank.
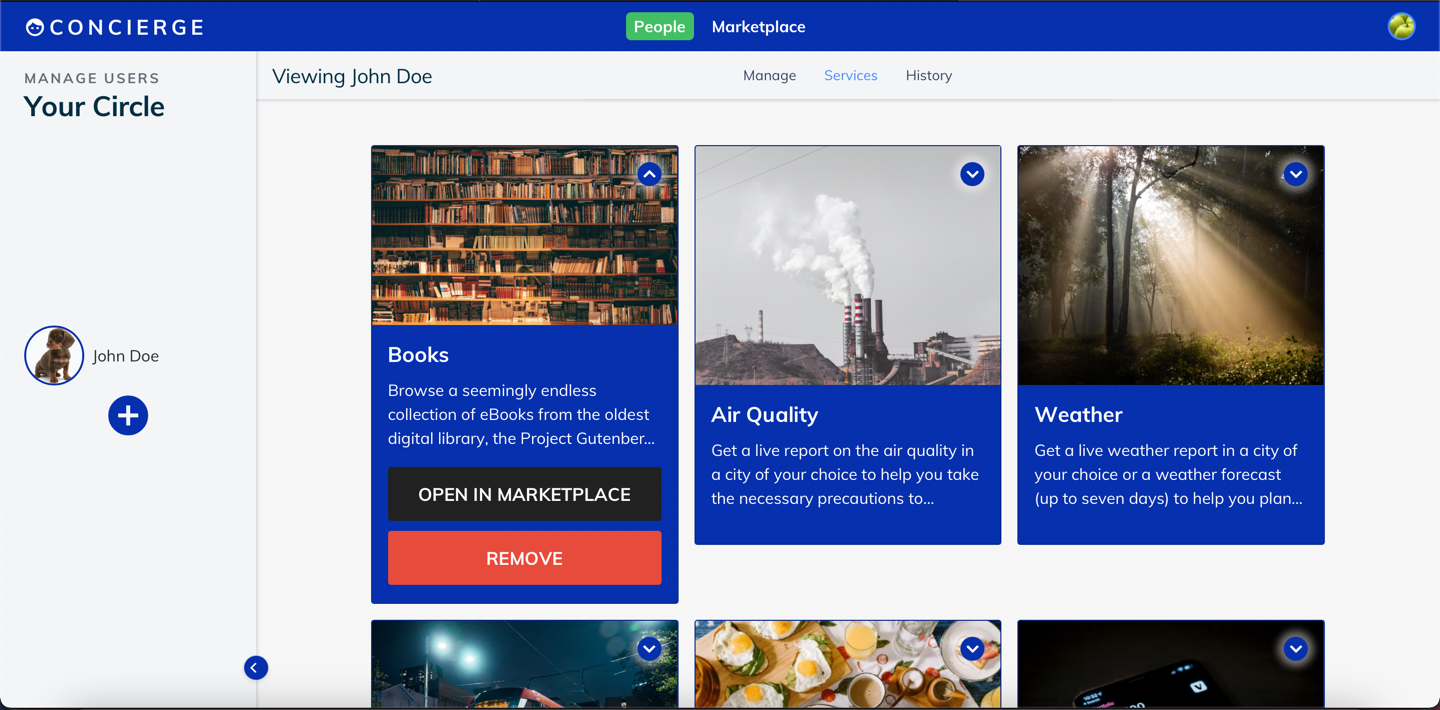
Otherwise, you will see something similar to:
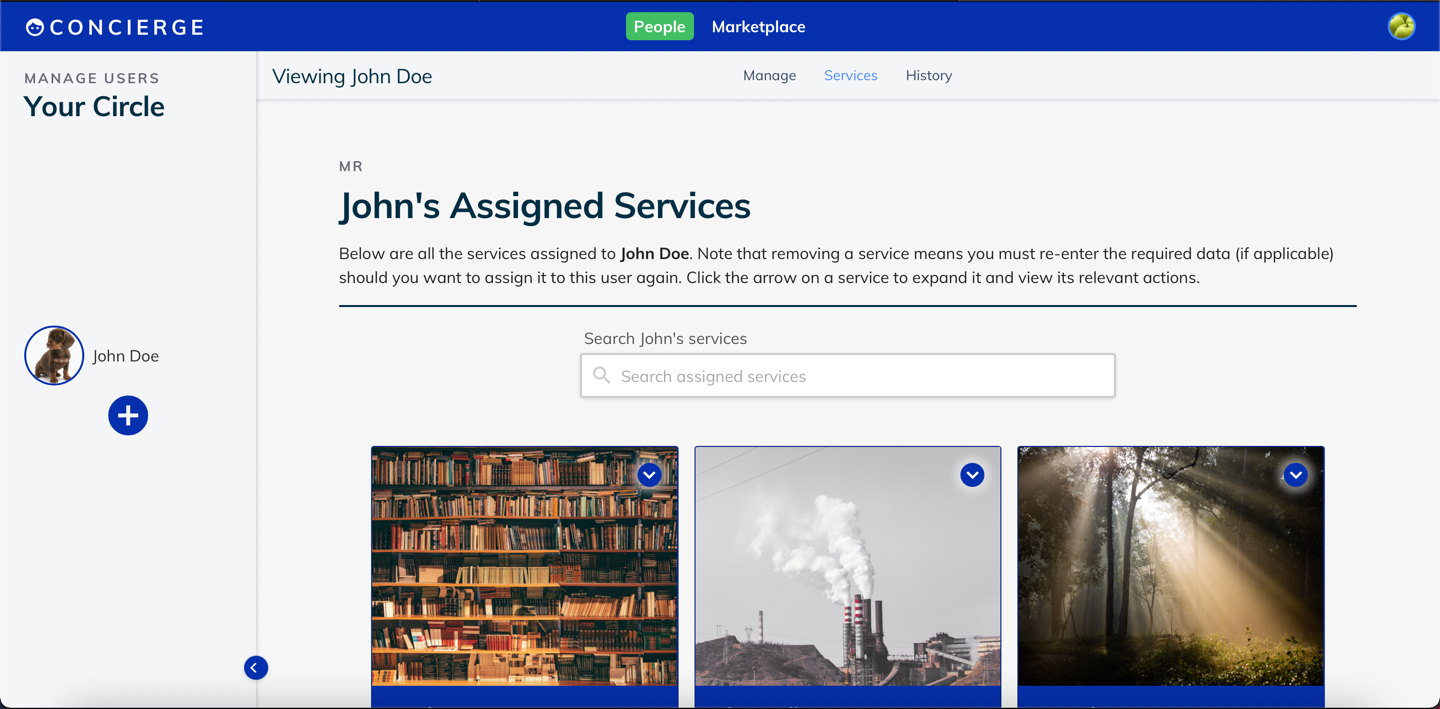
Clicking the down arrow on a service brings up options for that service:
Service Usage History
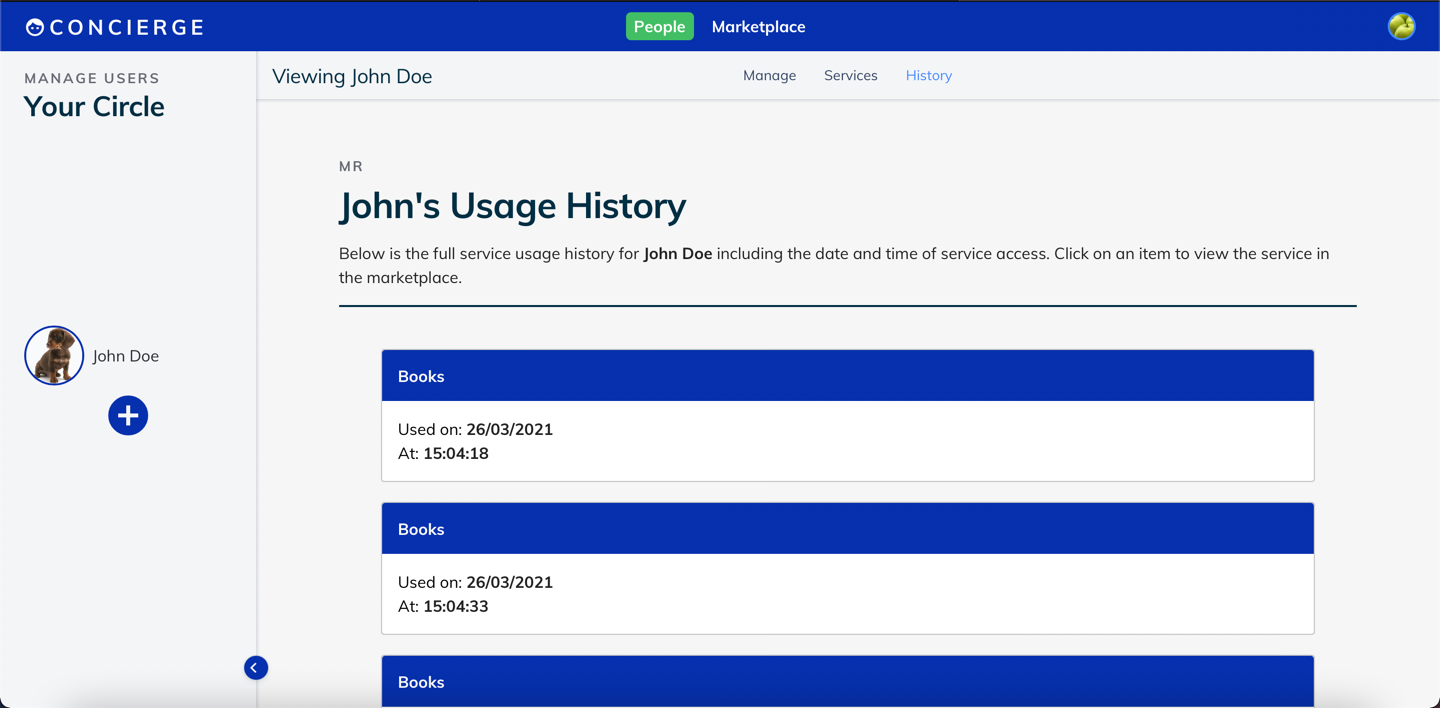
With a member selected from the sidebar, click "History" in the bottom-most navigation bar.
This will bring up the service usage history:
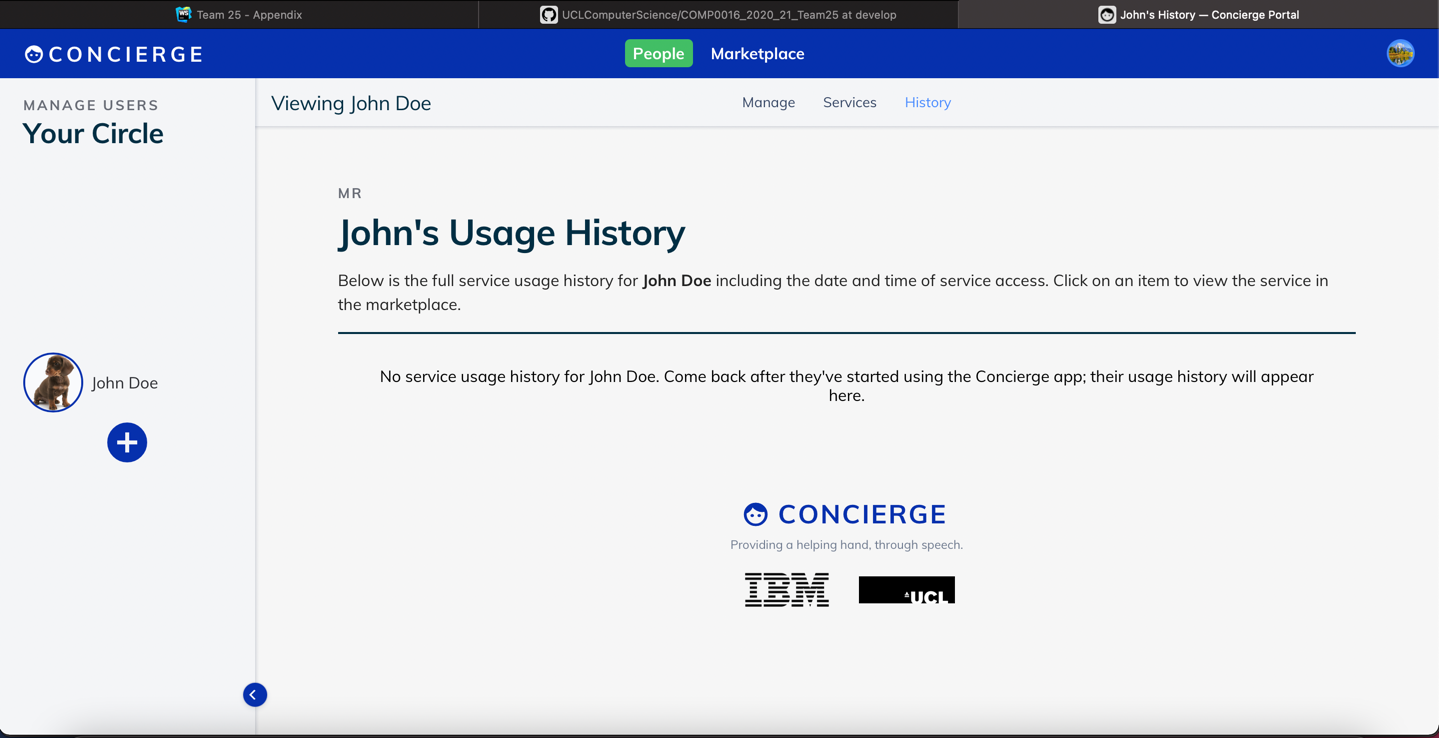
If you just created the member, or have not added any services, or the member has not yet used any services, this section will be blank.
Otherwise, their usage history will be shown:
Marketplace
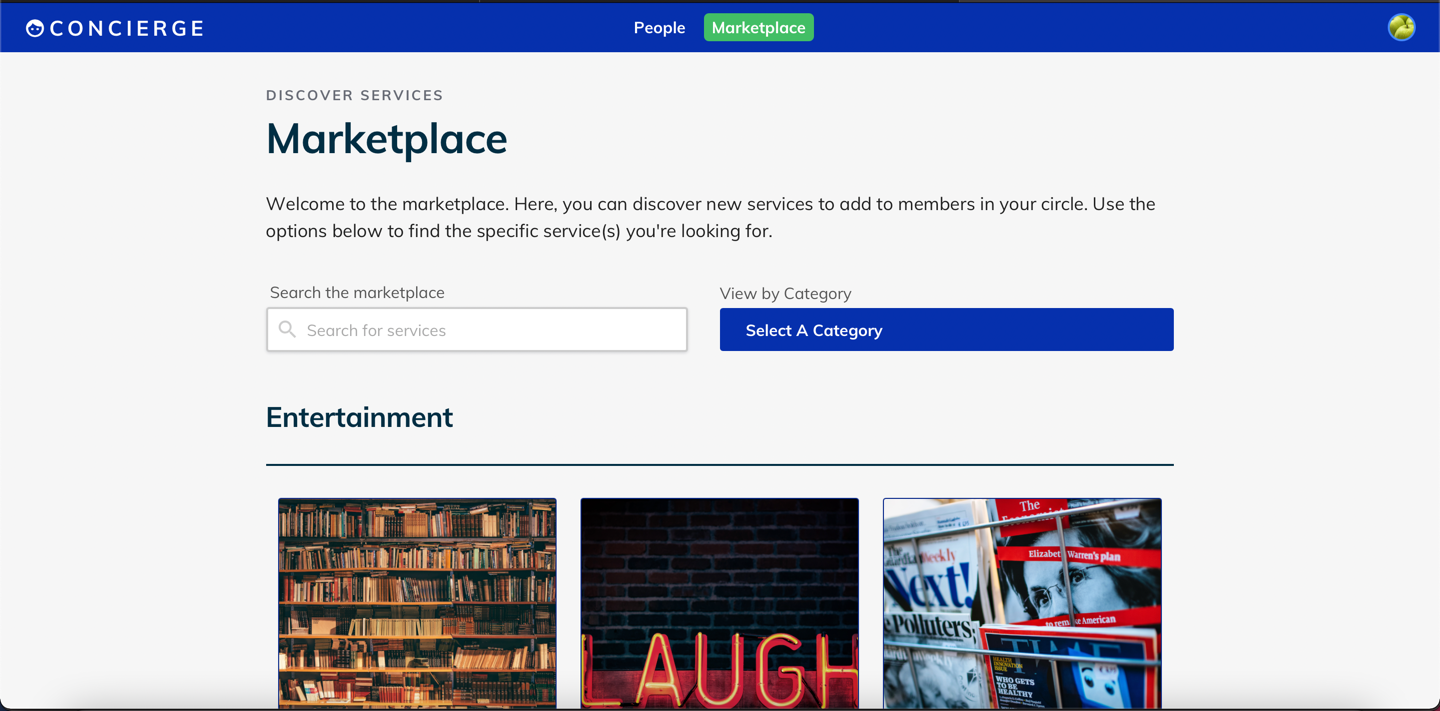
To view all available services, click the "Marketplace" item in the topmost (blue) navigation bar.
- This will take you to the Marketplace to add services to members:
Adding Services
To add a service (assuming you have existing members in your circle), click on the service in the marketplace to bring up the following view:
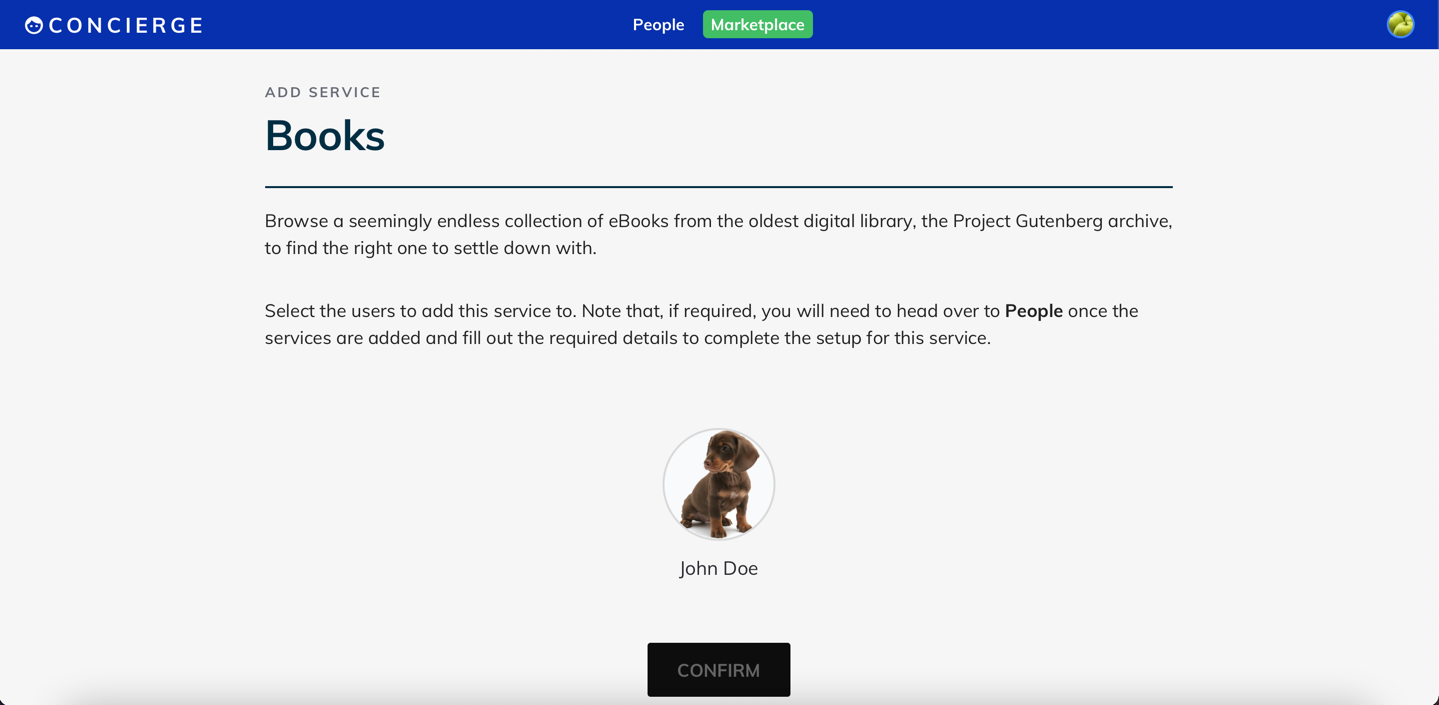
Click on the icons of any members you want to add the selected services to.
- The user should turn blue:
-
Click to enlarge
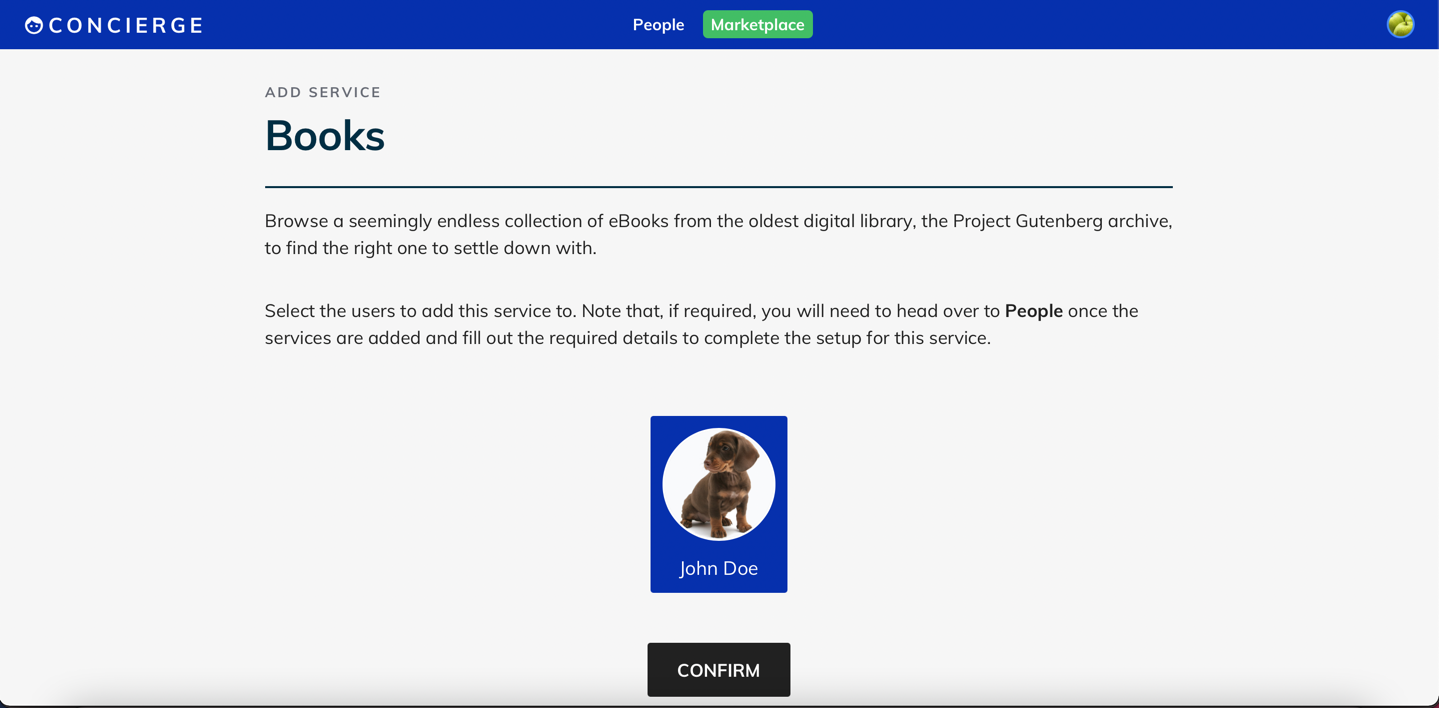
- To remove them from the selection, just click them again so they are not blue.
Once you are happy with your selection, click "Confirm" to add the service to the selected users.
- The selected users will now have access to the given service.
Profile
To modify your own account information, click your profile picture in the top right:
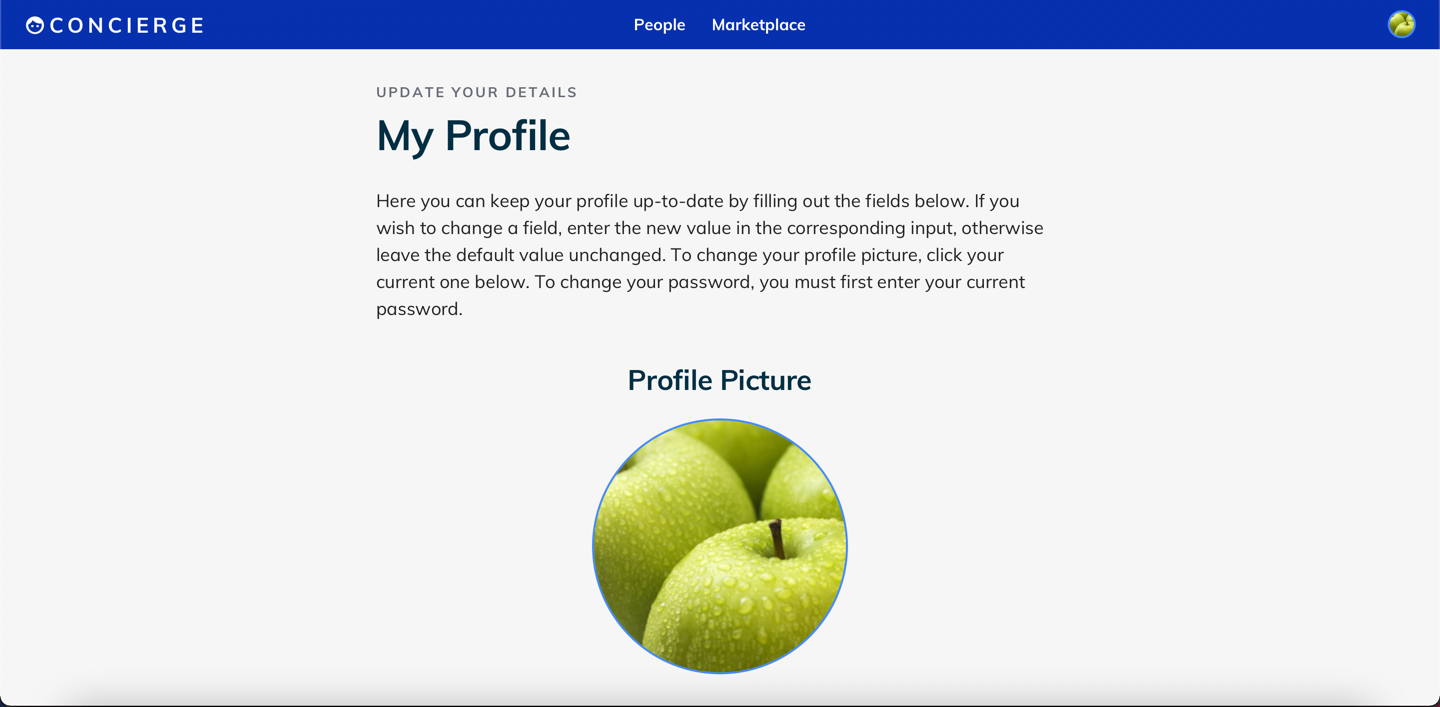
Here you can edit your information as you please.
Note you can also sign out here - you are kept logged in (on subsequent visits) until you click the option.
Enjoy the Concierge portal!Android App
See the user manual for the app below.
Home
The Home page is where you can use the voice assistant and access the other pages.
To use the voice assistant, hold down the mic icon and say your command. The mic icon's background will turn green when you hold it - Concierge is only listening when you do this.

A full list of available commands (along with examples of what to say) are given on the Instructions page.
To access the other pages, scroll through the menu and simply press the button corresponding to the page you wish to go to.
Connect to your admin
To connect to your admin, go to the 'Register' page. This is where you can enter your three registration codes to connect to your admin.
Simply enter your codes (in the correct order) and press Submit. A message should appear saying whether you have successfully connected or not.

View your alarms
To view your alarms, go to the 'Alarms' page. Here, all your alarms will come up. If you have lots of alarms, you will be able to scroll through them, just as you can scroll through the buttons on the Home page.

Add an alarm
To add an alarm, go to the 'Alarms' page.
Once you are here, do the following steps.
At the top, there should be a button saying 'Add New Alarm'. Click on this and you should be taken to the Add Alarm page.
Add your message at the top in the text box.
Press the 'Select Date' button and choose the day you want your alarm to go off.
Click to enlarge
Press the 'Select Time' button and choose the time you want your alarm to go off.
Click to enlarge
Finally, press 'Add Alarm'. You should automatically be taken back to the Alarms page where your alarm should now show up.
Click to enlarge

Edit an alarm
To edit an alarm:
Go to the 'Alarms' page
Press on the alarm you wish to edit.
You should be taken to the 'Edit Alarm' page. Change the necessary details and click 'Save'. Note: you must select a date and time again, even if you do not want to change them.
You can also delete the alarm if you wish by pressing the 'Delete' button.

View Your Reminders
To view your reminders, go to the 'Reminders' page. Here, all your reminders will come up. If you have lots of reminders, you will be able to scroll through them.

Add a Reminder
To add a reminder:
Go to the 'Reminders' page.
At the top, there should be a button saying 'Add New Reminder'. Click on this and you should be taken to the 'Add Reminder' page.
Once there, you can add a message in the text box and press 'Add Reminder'.
Click to enlarge
You should automatically be taken back to the 'Reminders' page where your reminder should now appear.
Click to enlarge
Edit a Reminder
To edit a reminder:
Go to the 'Reminders' page.
Then, press on the reminder you wish to edit. You should be taken to the 'Edit Reminder' page
You can now change your message and press 'Save' to save the changes. Alternatively, you can press 'Delete' to delete it completely.

Set, Start and Pause a Timer
To set a timer:
Go to the 'Timers' page
Set the time you wish by scrolling up on the number pickers to increase the value or scrolling down to decrease the value. All the number pickers are labelled to make it clear which one is for the hour, minutes and seconds.
Click to enlarge
Once the time has been set, press 'Start' to start your timer. Once you do this, a 'Pause' button should appear.
Click to enlarge
If you press 'Pause', the timer will pause and the 'Start' button should appear again. If you press 'Start' now, the timer will resume from where you paused it.
Click to enlarge
View Your History
To view your history, go to the 'History' page. All your histroy for the past seven days should appear here if you are connected to your admin. You can also scroll through your history if its very long. If you are not connected to your admin, no history will appear as shown below.

External Work Used
Images
Our mic icon on Main Activity (Home page) was taken from Pixabay. The image is free to use, even commercially.
A link to the image is here
The image has also been added below for clarity. Please note that the icon used for when Concierge is listening (the same icon as above but with a green background) was obtained by editing the above referenced image ourselves.
