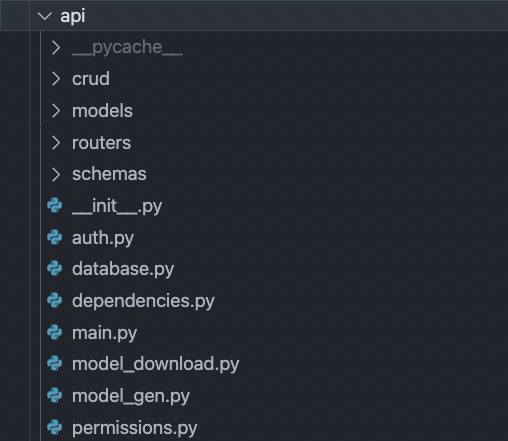
API
For the API we used FastAPI, because it's easy to learn, lightweight, efficient, and fast to code. Our other options were Django or Flask, Django is old school and heavy duty, too heavy duty for what we needed. FastAPI shares the same syntax as Flask, however FastAPI is async, and since we are handling a lot of data/file transfer, we found FastAPI to be the obvious choice.
NOTE: To implement this API with the ability to connect to a database I used the following tutorial on the FastAPI docs, so the basic layout and structure of code follows this:
https://fastapi.tiangolo.com/tutorial/sql-databases/
Connecting to the database:
To connect to our database, we use an ORM (Object relational mapping). This maps objects in code to database tables. This allows us to create classes that represent tables in our database, where each attribute of the class represents a column with a name and a type.
For example, the Model class in src/api/models/model.py represents the table ‘models’, and each instance of that object represents a row in the ‘models’ table. The ORM we are using is SQLAlchemy.
API file structure:
Crud:
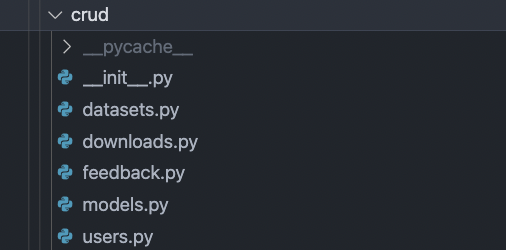
The crud directory contains all the functions used for interacting with the database. Each file contains the CRUD (Create, Read, Update, Delete) utilities for that table in the database.
Here is datasets.py for an example:
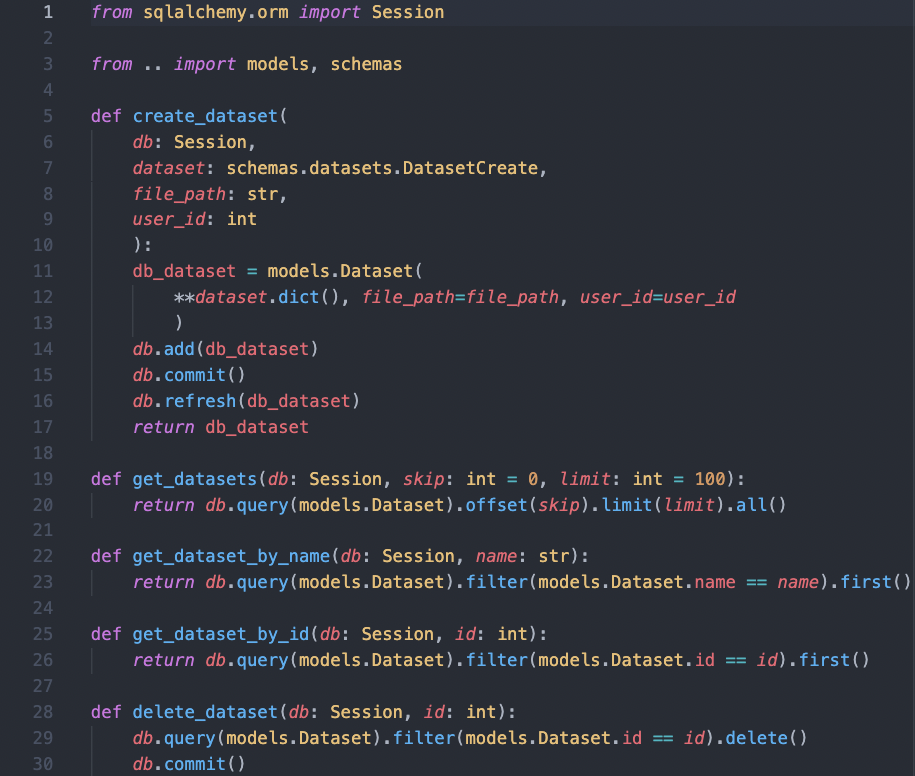
We can use these functions to create, get, or delete datasets from our database.
If we look at the __init__.py file in crud, it looks like this:
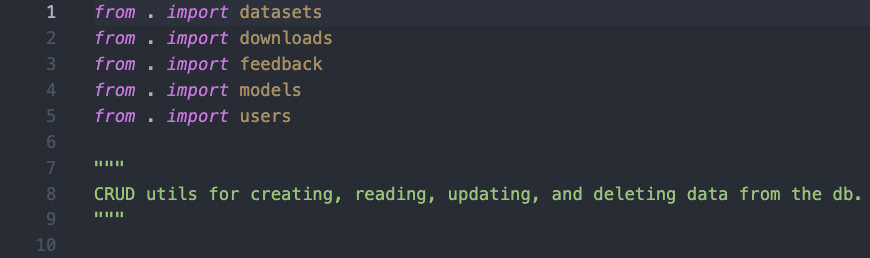
We import each file here, so when we want to use any of our crud utilities in a different file, we can just import the crud package and then call each function in the form:

making our code super readable.
Models:
The models directory contains our database schema as python classes, each file contains a class which represents that table in the database. As mentioned earlier, we use these classes for the ORM of the database tables, and to generate our alembic revisions.
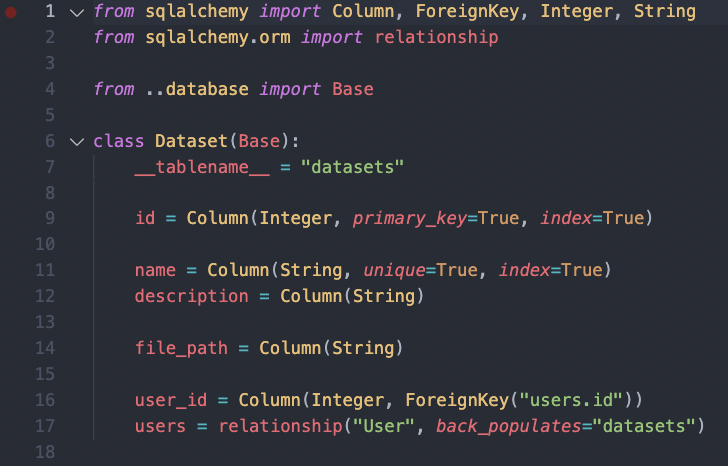
If we look in datasets.py, we can see the class representation of the datasets table. We set the table name, and its columns, as well as a one-to-many relationship with the table 'users'.
Routers:
The routers directory is used to split up our endpoints into separate modules, so for example, all endpoints related to datasets are in datasets.py
Here is the first endpoint of datasets.py as an example:
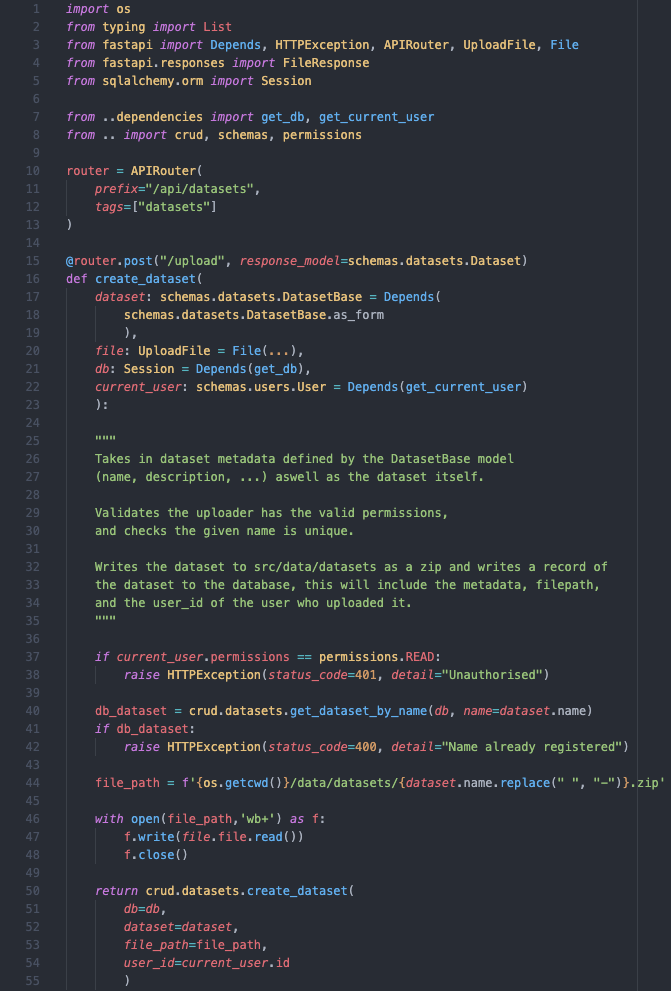
On line 10 we set up the router with the “/datasets” prefix, so our create_dataset endpoint would have the path “/datasets/upload”
Schemas:
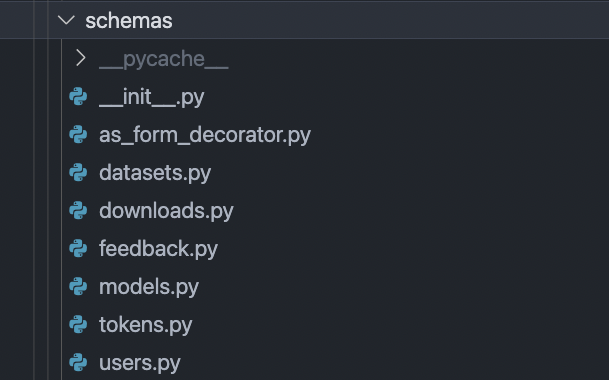
In schemas we define our Pydantic models for the valid data shapes of our inputs and outputs of our endpoints.
Lets take a look at datasets.py as an example:
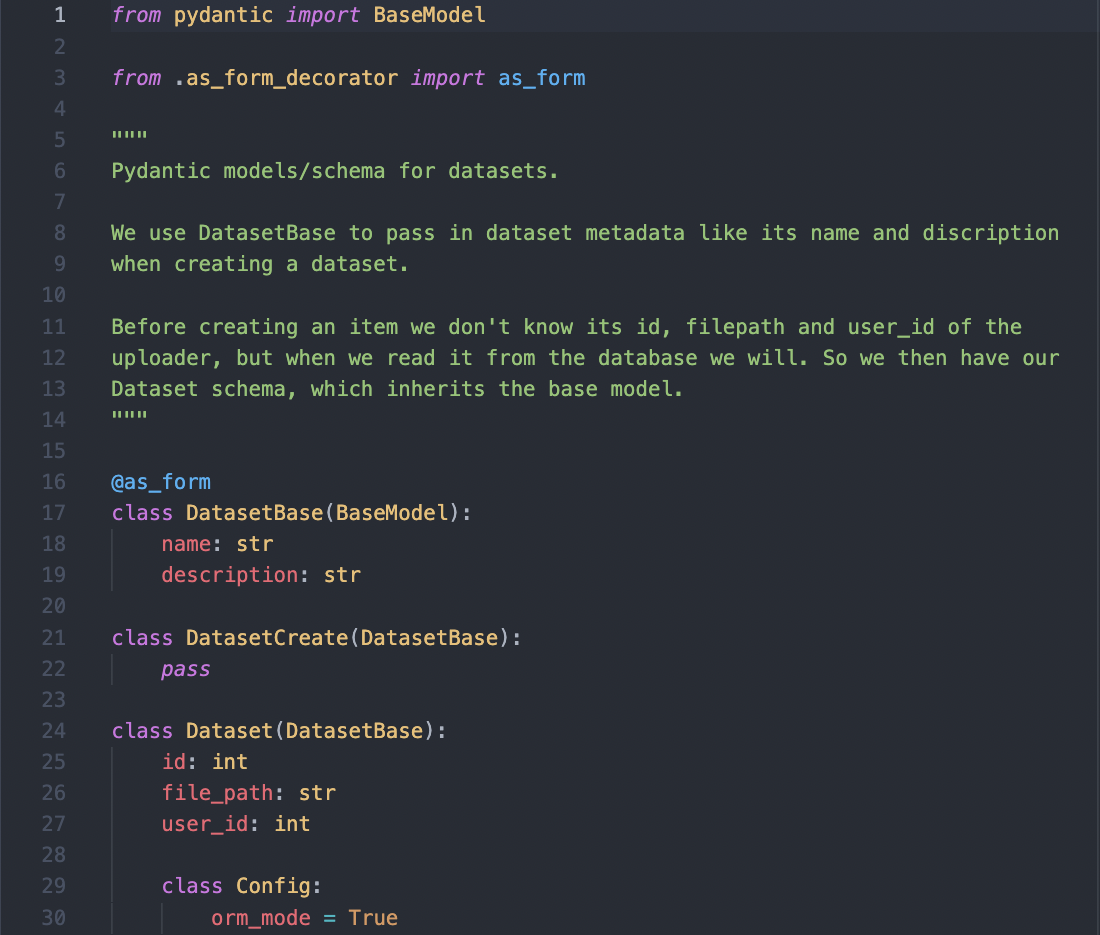
The DatasetBase class defines the attributes required for creating a dataset, if you look at the routers example above, we can see we pass this in as an input parameter on the create_dataset endpoint.
Since we don't know what the ID of the dataset record will be before it is created, nor would we know its file path or the user ID of the uploader, we create the Dataset schema, which will be used for returning model data from the API, this inherits the DatasetBase class, so we will inherit the name and description parameters, and also return the file path and user ID.
We can see that the DatasetBase inherits as_form from as_form_decorator.py. This is because when we send pydantic models through endpoints, it is JSON data. But when uploading a Dataset we also upload a dataset file. It is against the HTTP protocol to send both JSON data and file data, so we use the as form decorator to convert the data to form data rather than JSON.
We can see we set orm_mode to True in the schema's config, this is so we can also display data related to that table. If we take a look at the schema for a Model, we can see one of the parameters is feedback, which is a list of Feedback schema. So if one of our endpoint returns a model schema, you will get all the parameters from that row in the database, and a list containing all of the feedback rows in the database related to that table.

auth.py:
For authentication we use OAuth2 with Password (and hashing), Bearer with JWT tokens, the tutorial for setting this up with FastAPI is linked here in the FastAPI docs:
https://fastapi.tiangolo.com/tutorial/security/oauth2-jwt/
This is a pre-defined, and widely used flow. You should never implement your own security, so I simply followed the tutorial. I’ll give you a high-level overview of how it works.
When we create a user, we hash their password and store it in the database.
When a user wishes to login, they use the token endpoint to get a token. they give a username and password, and we verify the username and the hash of the inputted password match to a row in the database, if so, we create a JWT (JSON Web Token) with their user credentials, signed by us, and return it to them from the token endpoint. When we receive a JWT back, we can check this signature, and know if it was us who generated it. We set this token to expire in 30 minutes and send it back to them.
Each of our endpoints depends on the current_user, which means whenever a user wishes to use any of our endpoints, they must send a token to us as an input parameter. If we can decode it and match their data with a user row in our database, we know its them, if not, we return an authorisation exception. The decoded token contains the user data, so username, email, permissions. So when checking permissions, we can just use current_user.permissions from the decoded token.
database.py:
This file is used for connecting to our database and creating a database session.
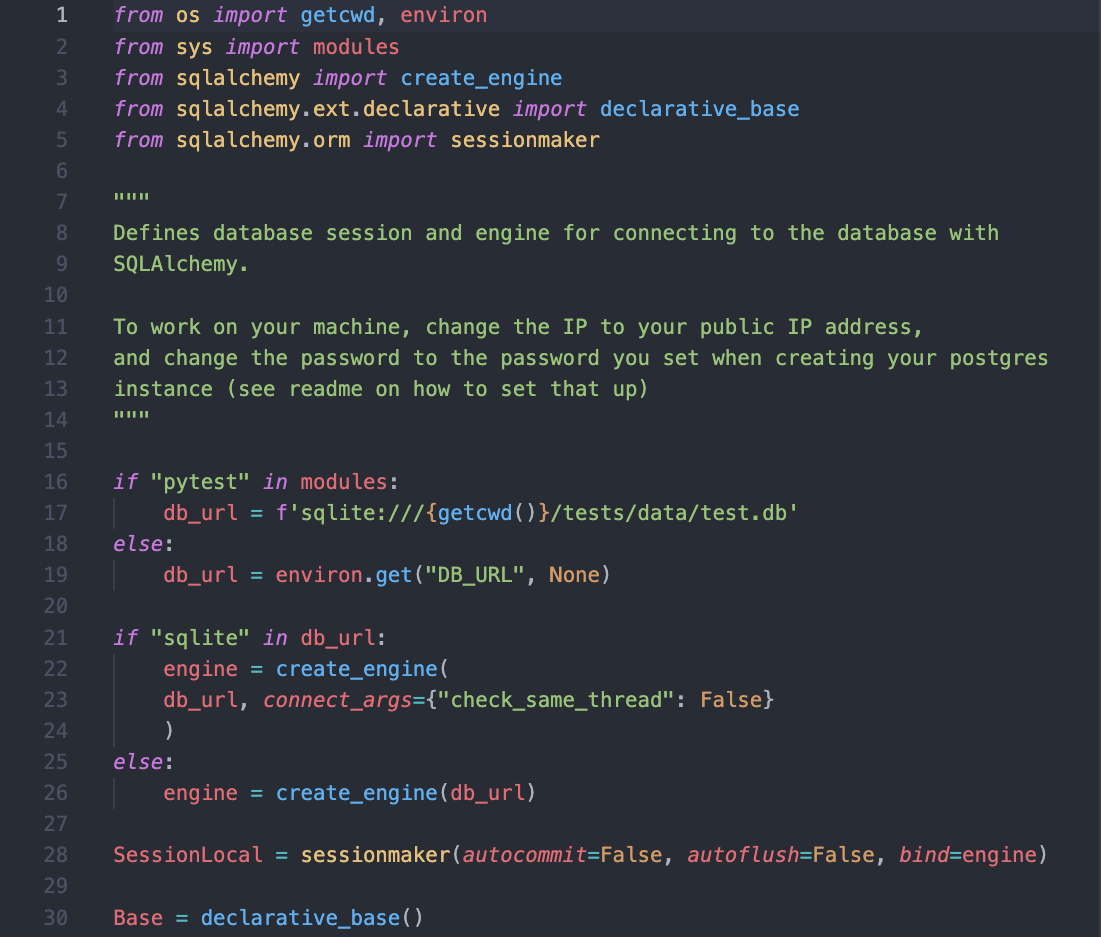
The first if statement sets the database URL to either a sqlite file in the src/tests/data directory which is used as a mock database if we are running our tests, otherwise we get the database URL from the environment variable DB_URL for our production database. This is defined in variables.env and set as an environment variable when building the backend image.
We then create an engine and a session with this database URL, and a SessionLocal for connecting to the database.
dependencies.py:
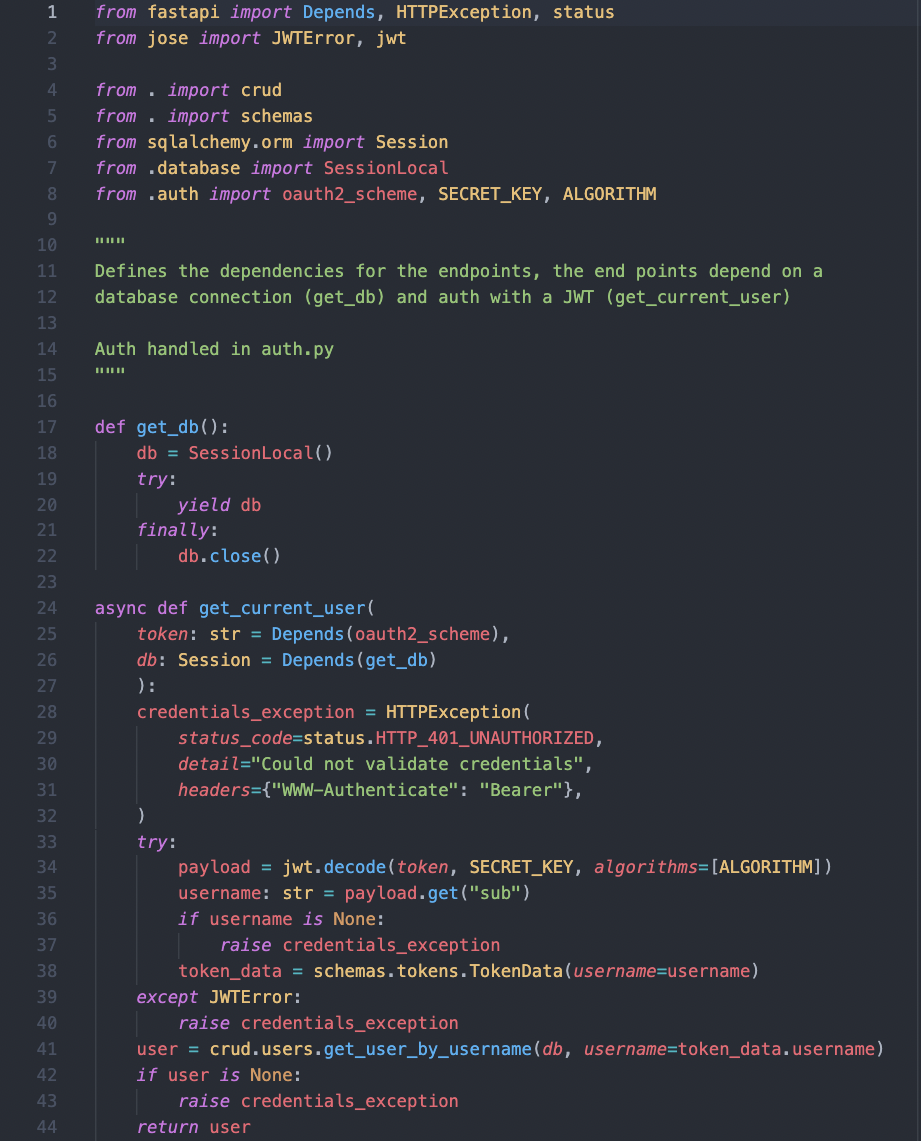
Every endpoint in our database has two dependencies, get_db and get_current_user.
get_db yields a database session for each API call and closes it afterwards, we can then pass this database session into our crud utility functions and make changes to our database.
as previously mentioned, get_current_user is used to authenticate users from a JWT when calling each endpoint.
main.py:
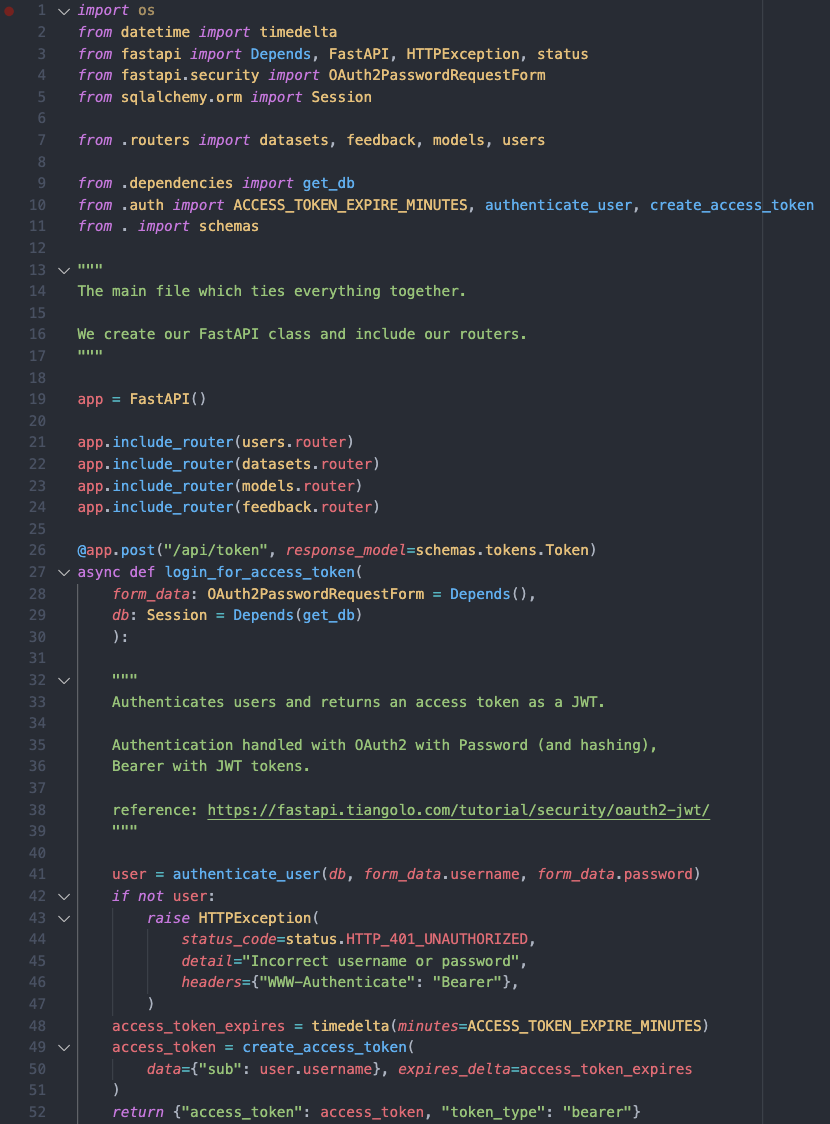
This is where we define our FastAPI class and import each of our routers, we also have our ‘/token’ endpoint for authentication. Most of the logic is in other files and directories, but this where it is all tied together.
model_gen.py and model_download.py:
model_gen.py and model_download.py are used for upload and download of machine learning models, the implementation is defined in their respective sub sections of the website.
permissions.py:
On request of our client, we must provide a closed system, where clinicians have read access, data scientist have read and write access, and a third admin user who can create new users onto the closed system.

Our permissions field in the database stores integers, so we define the constants to map 0, 1, and 2 here.