
User Manual
Catalog
- Logging In
- Home Page Datasets
- Dataset Upload Page
- Viewing and Downloading Datasets
- Searching
- Home Page Models
- Model Upload Page
- Viewing Models
- Downloading a model
- Running Downloaded model
- Making Feedback for a model
- Dashboard
- Change Password
- Create new user
- Logout
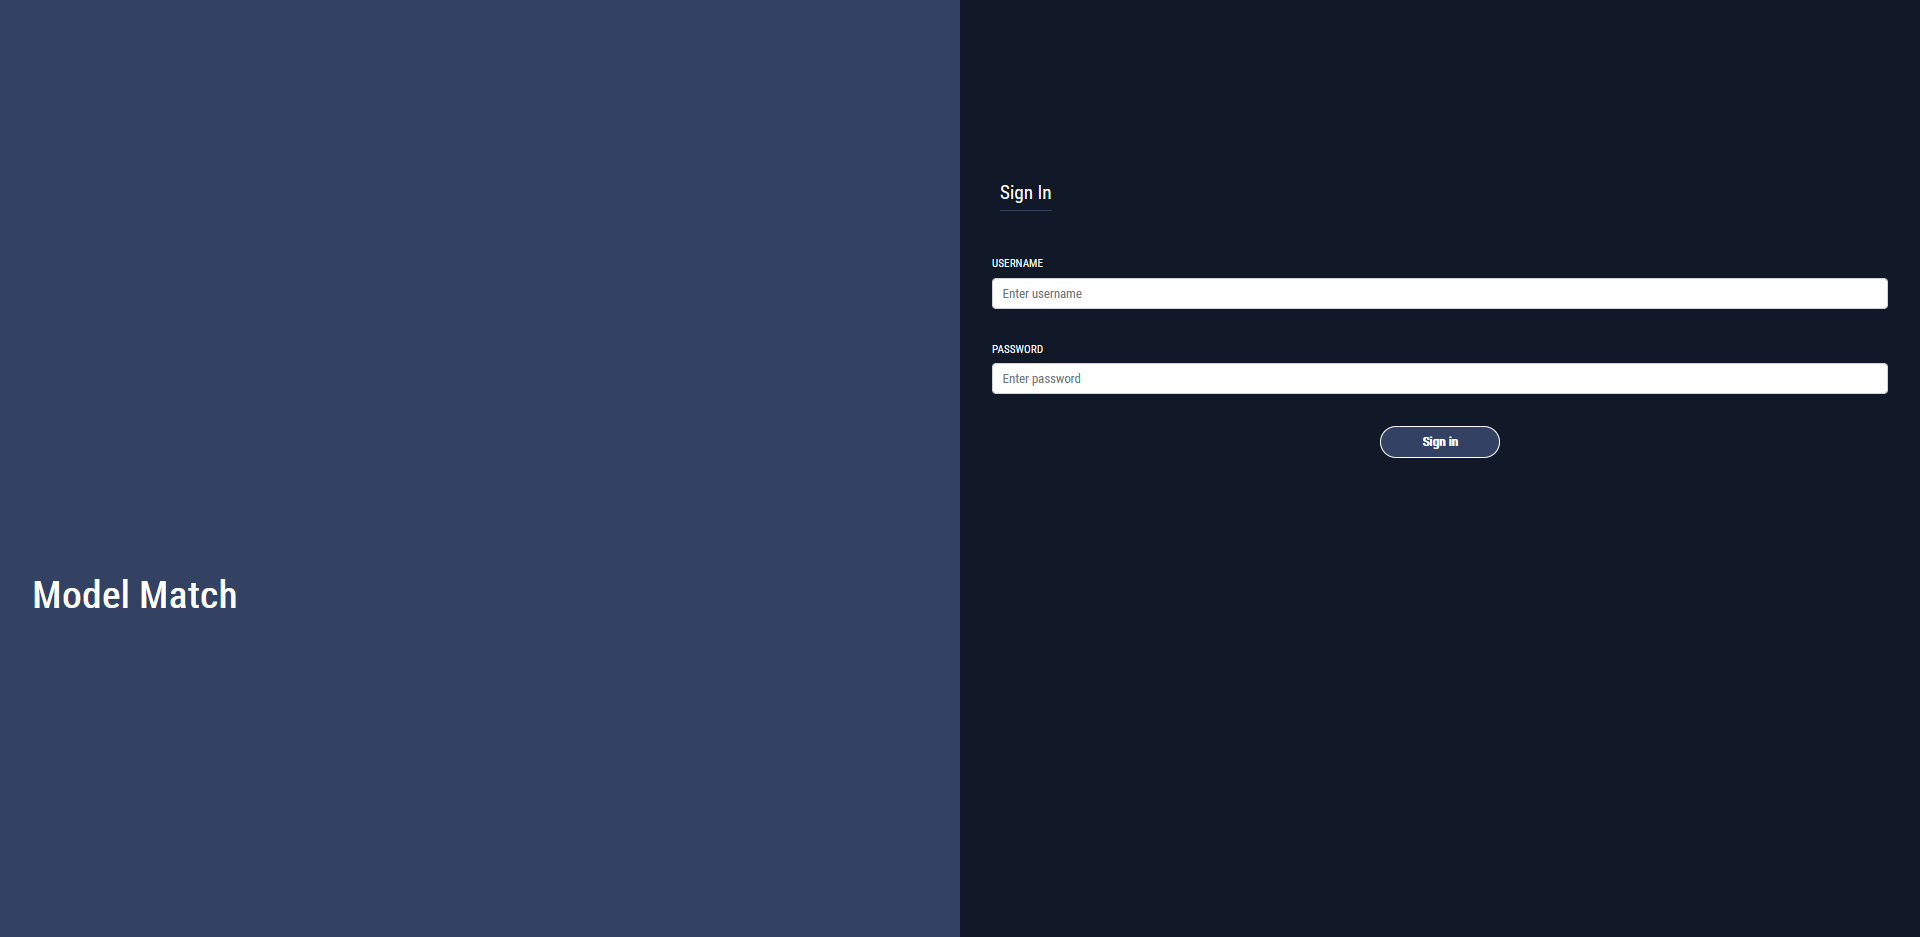
Logging In
When you first visit our service, you will be greeted by a login page, if you are an examiner and have followed the deployment manual, then login here with these credentials:
- Username: admin
- Password: 1234
If you are a user pointed to our service by our client, Joseph Connor, contact him or an administrator to set up an account for you.
Login Page
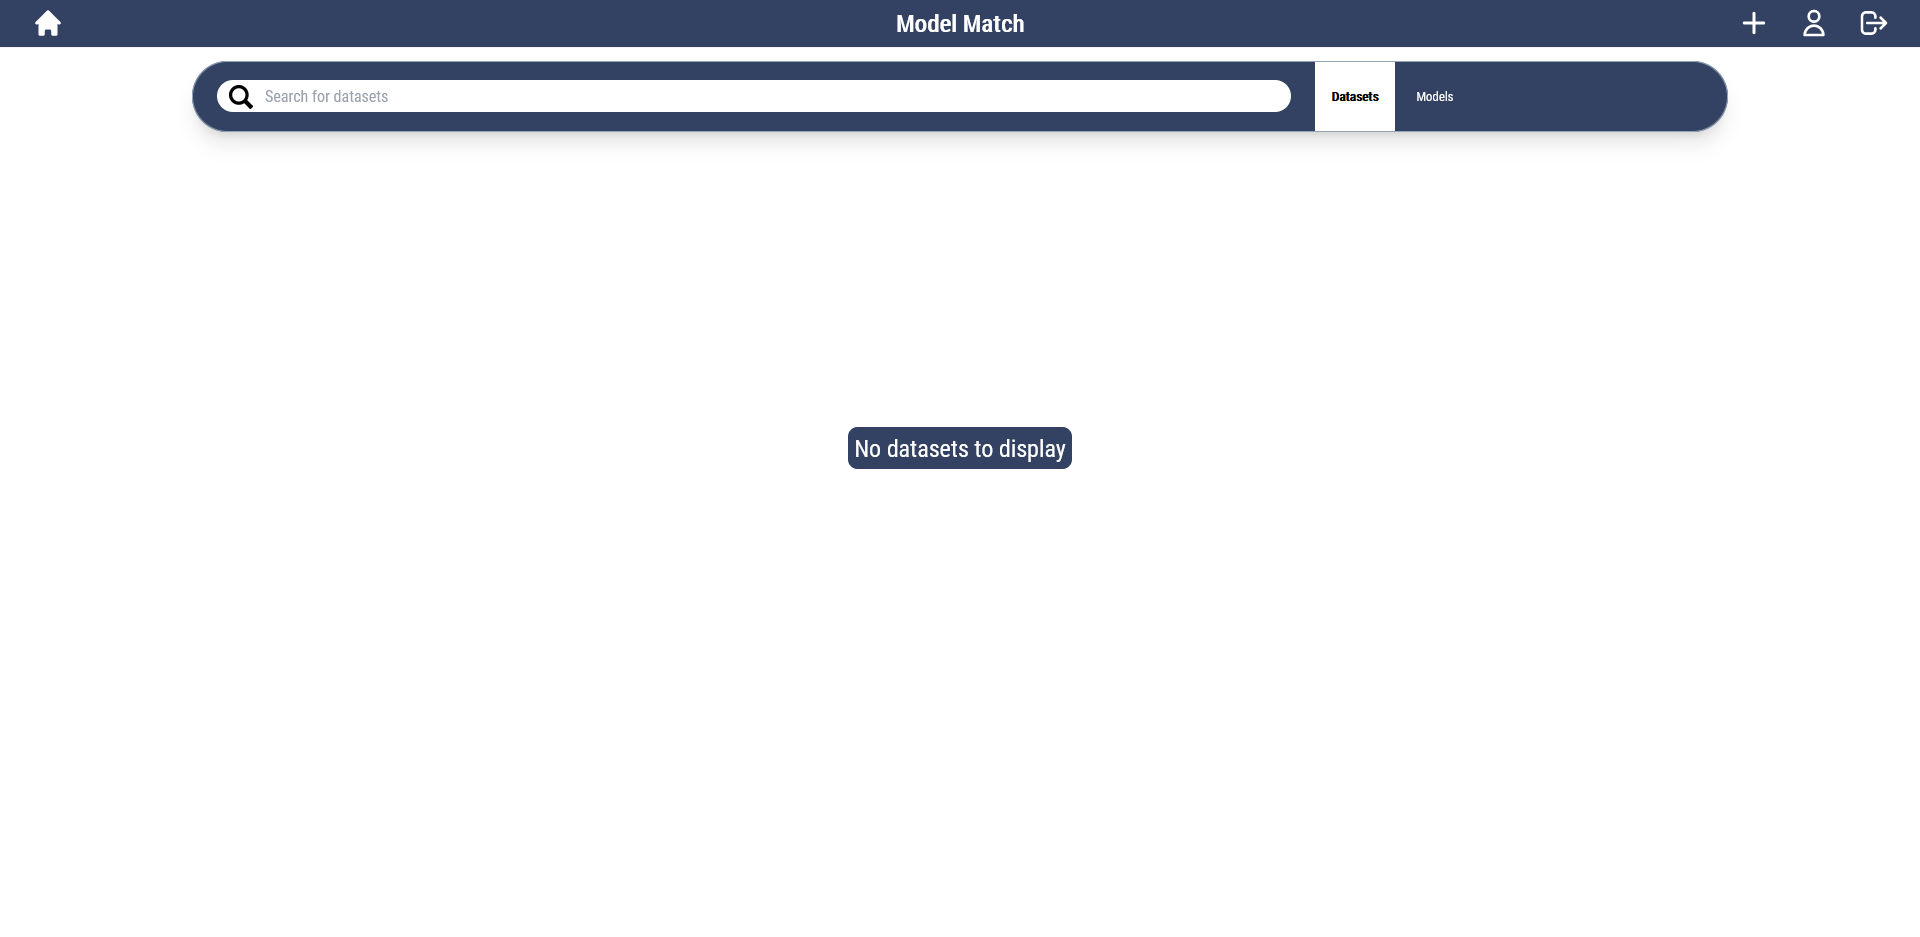
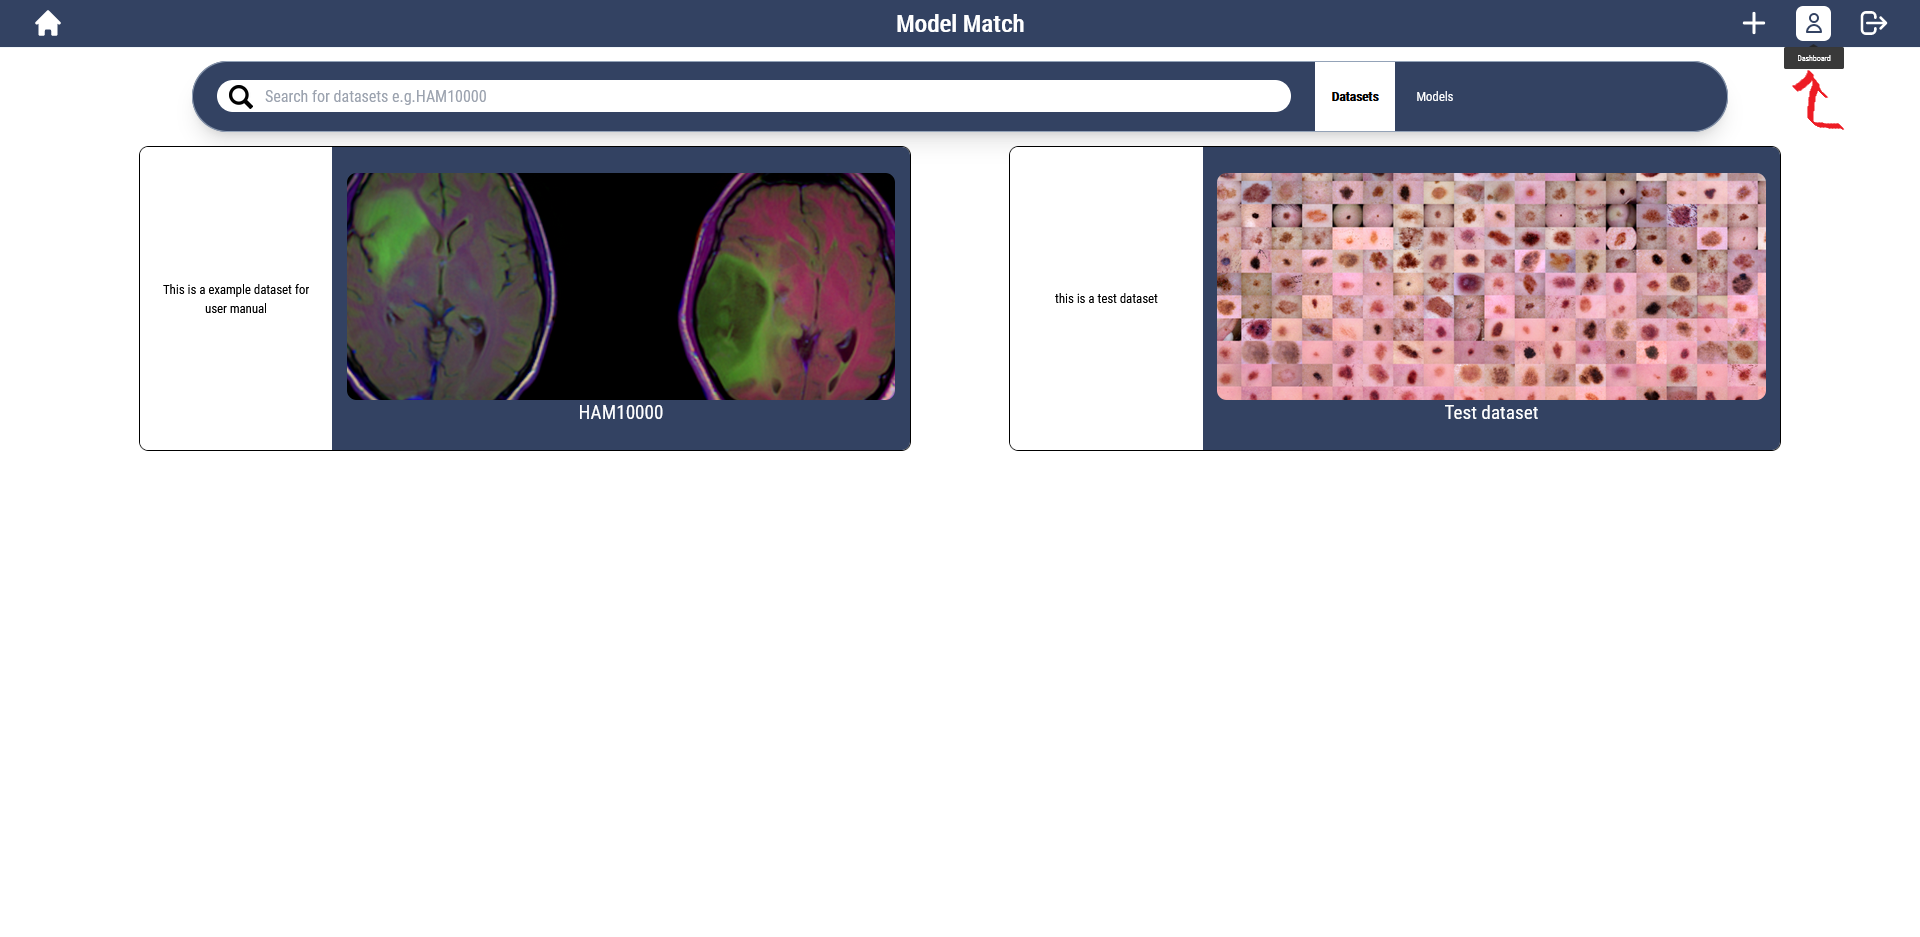
Home Page Datasets
Once logged in, there isn’t a whole lot to see for the first time. The first page you are directed to is the datasets page. Here users will be able to browse all uploaded datasets and download them for use.
Currently the page looks like this:
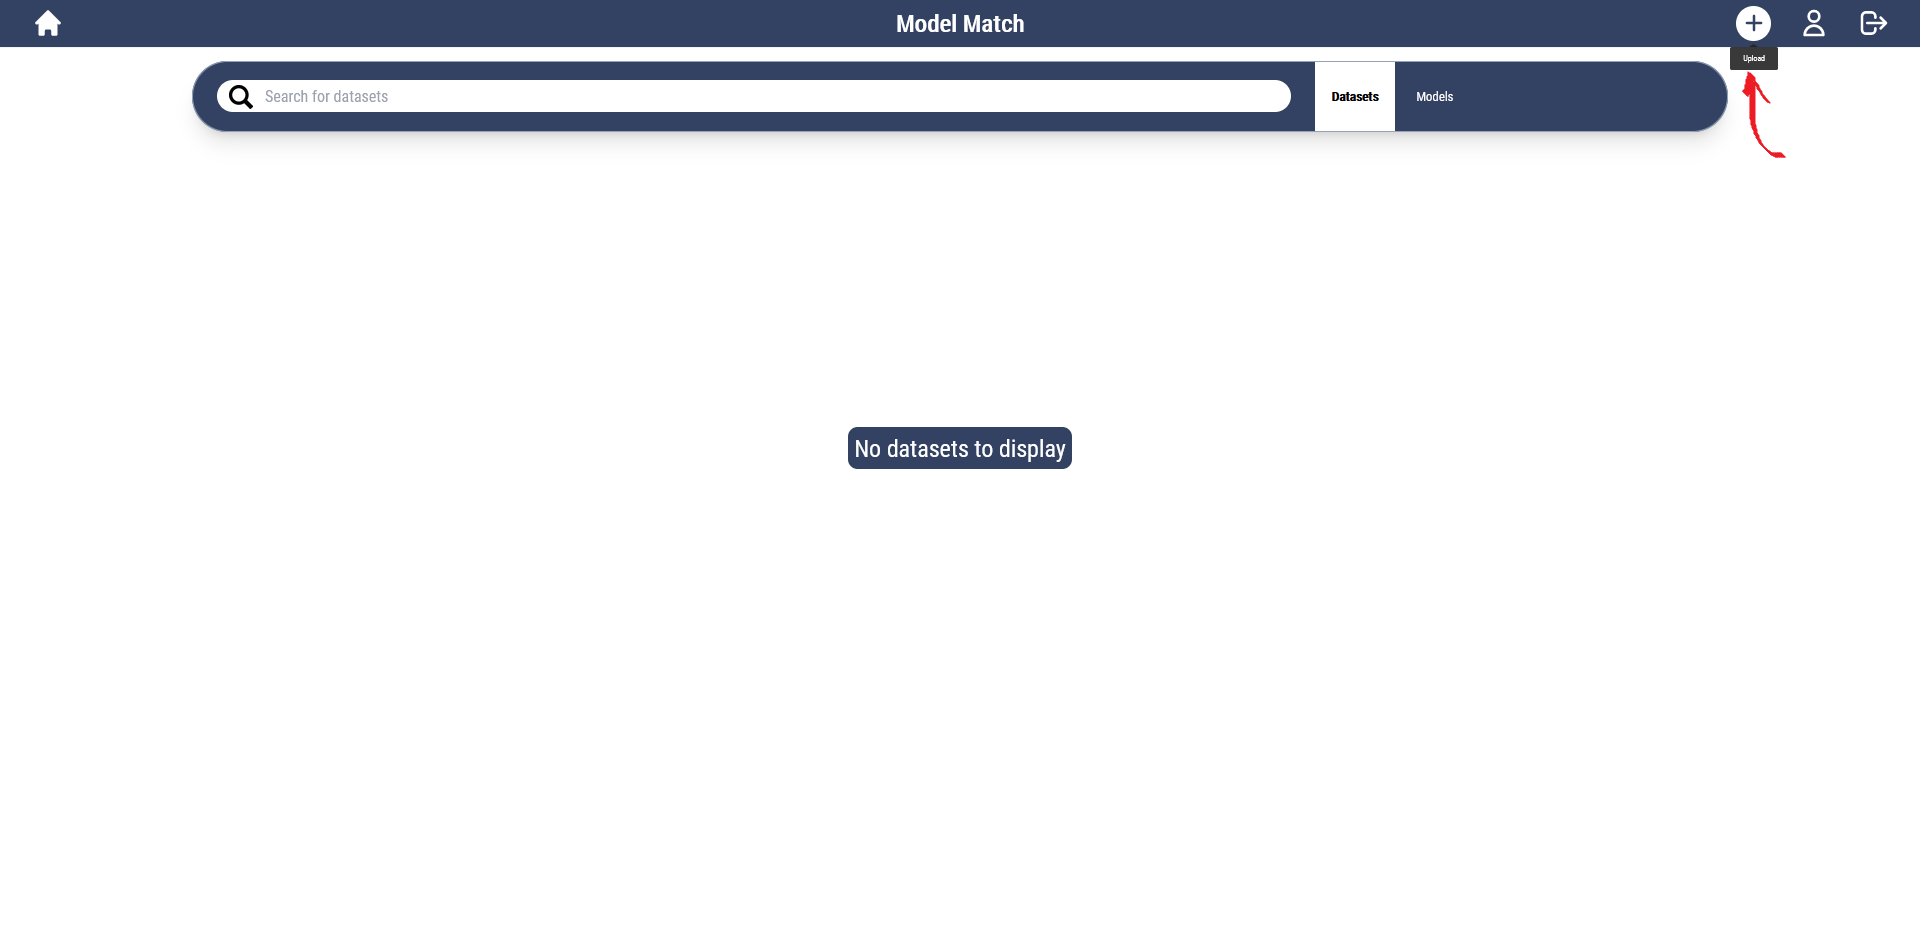
Dataset Upload Page
Let’s upload a dataset! To upload a dataset, click the ‘+’ button in the top right:
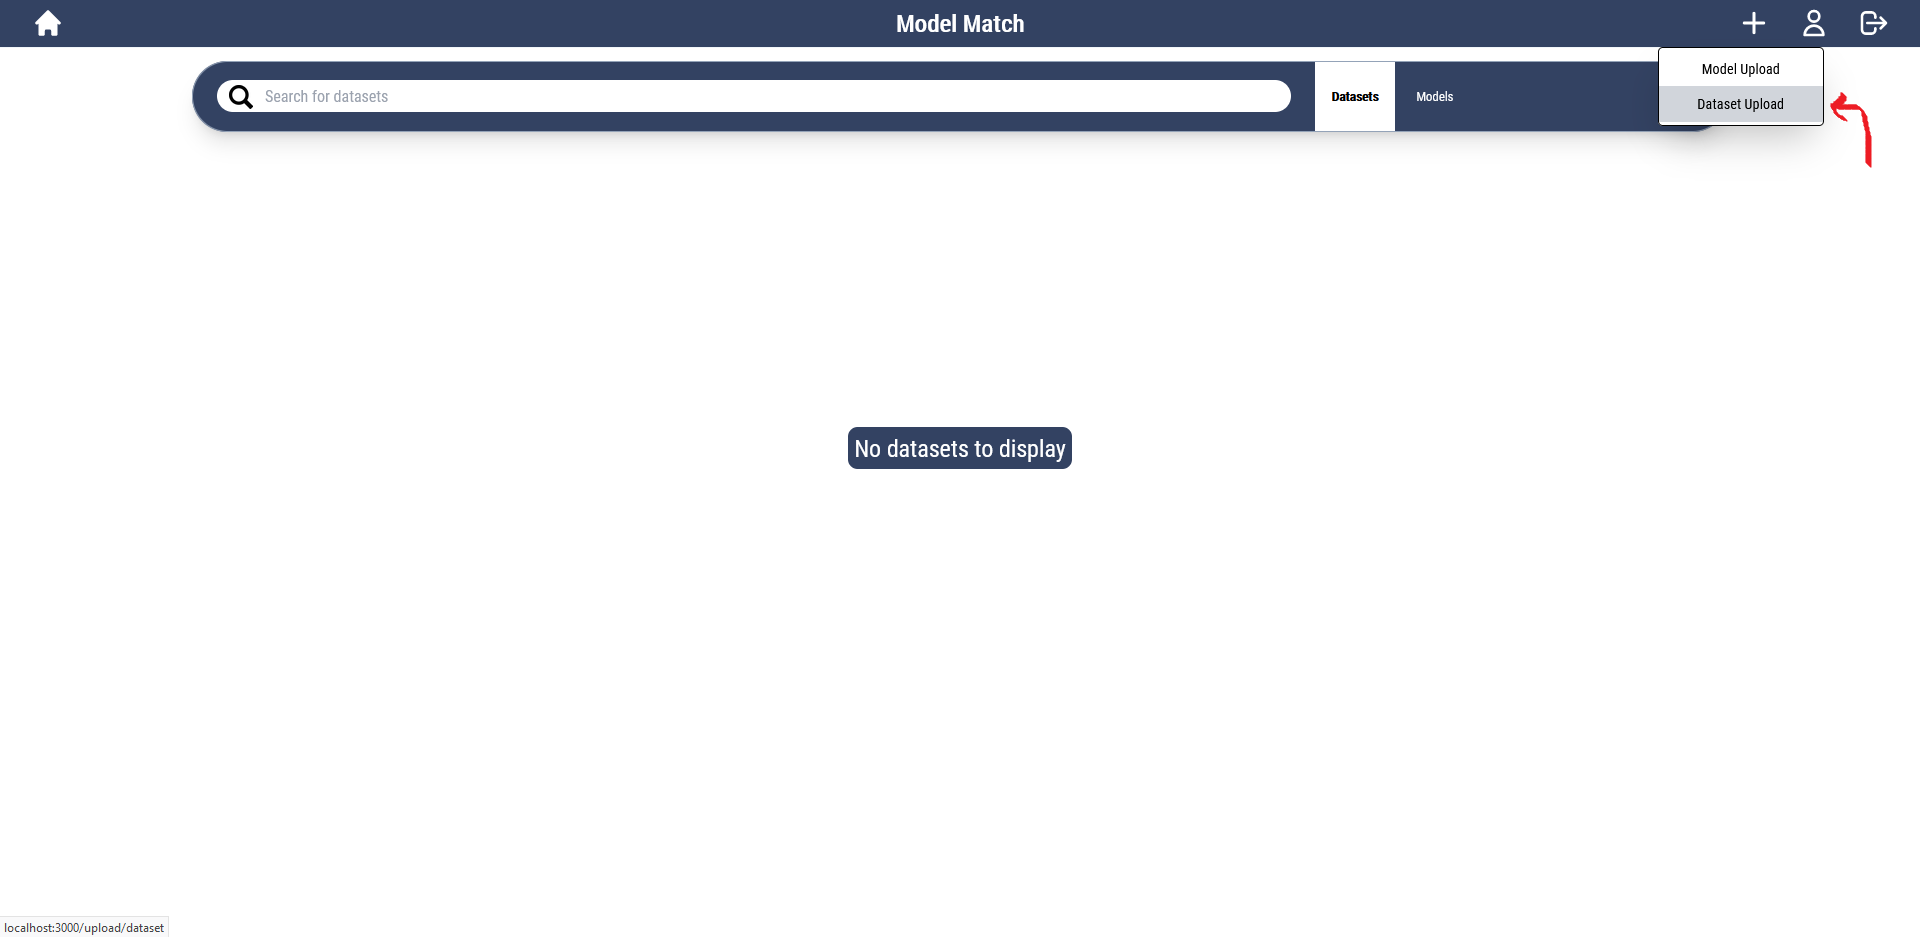
And select dataset upload:
We can now upload our first dataset, here you can input the name of the dataset, a description, and the dataset itself as a zip.
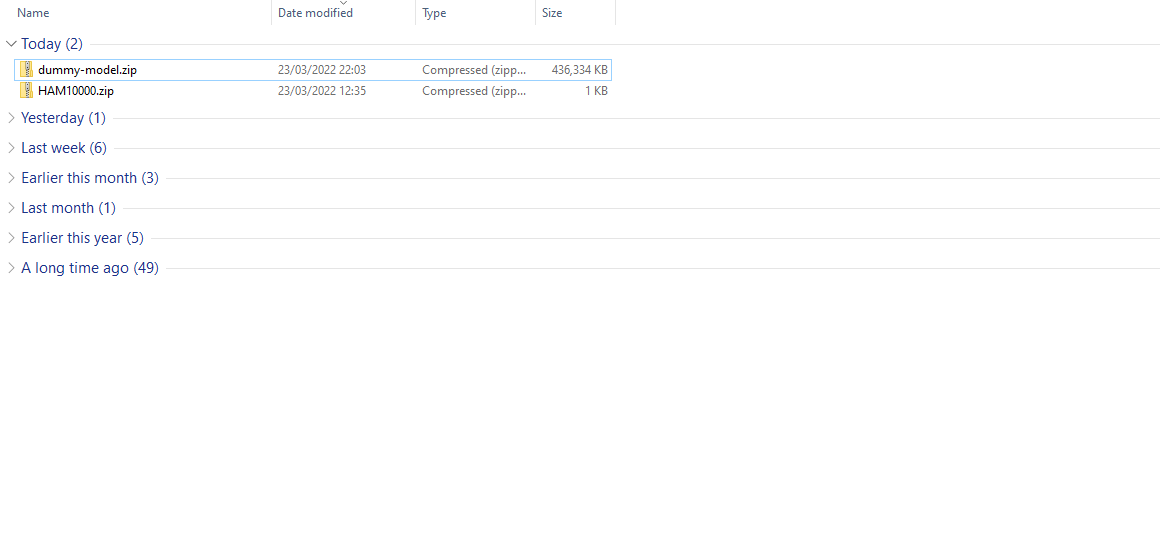
As an example, I’m going to upload a zipped folder containing a single image from the HAM10000 dataset:
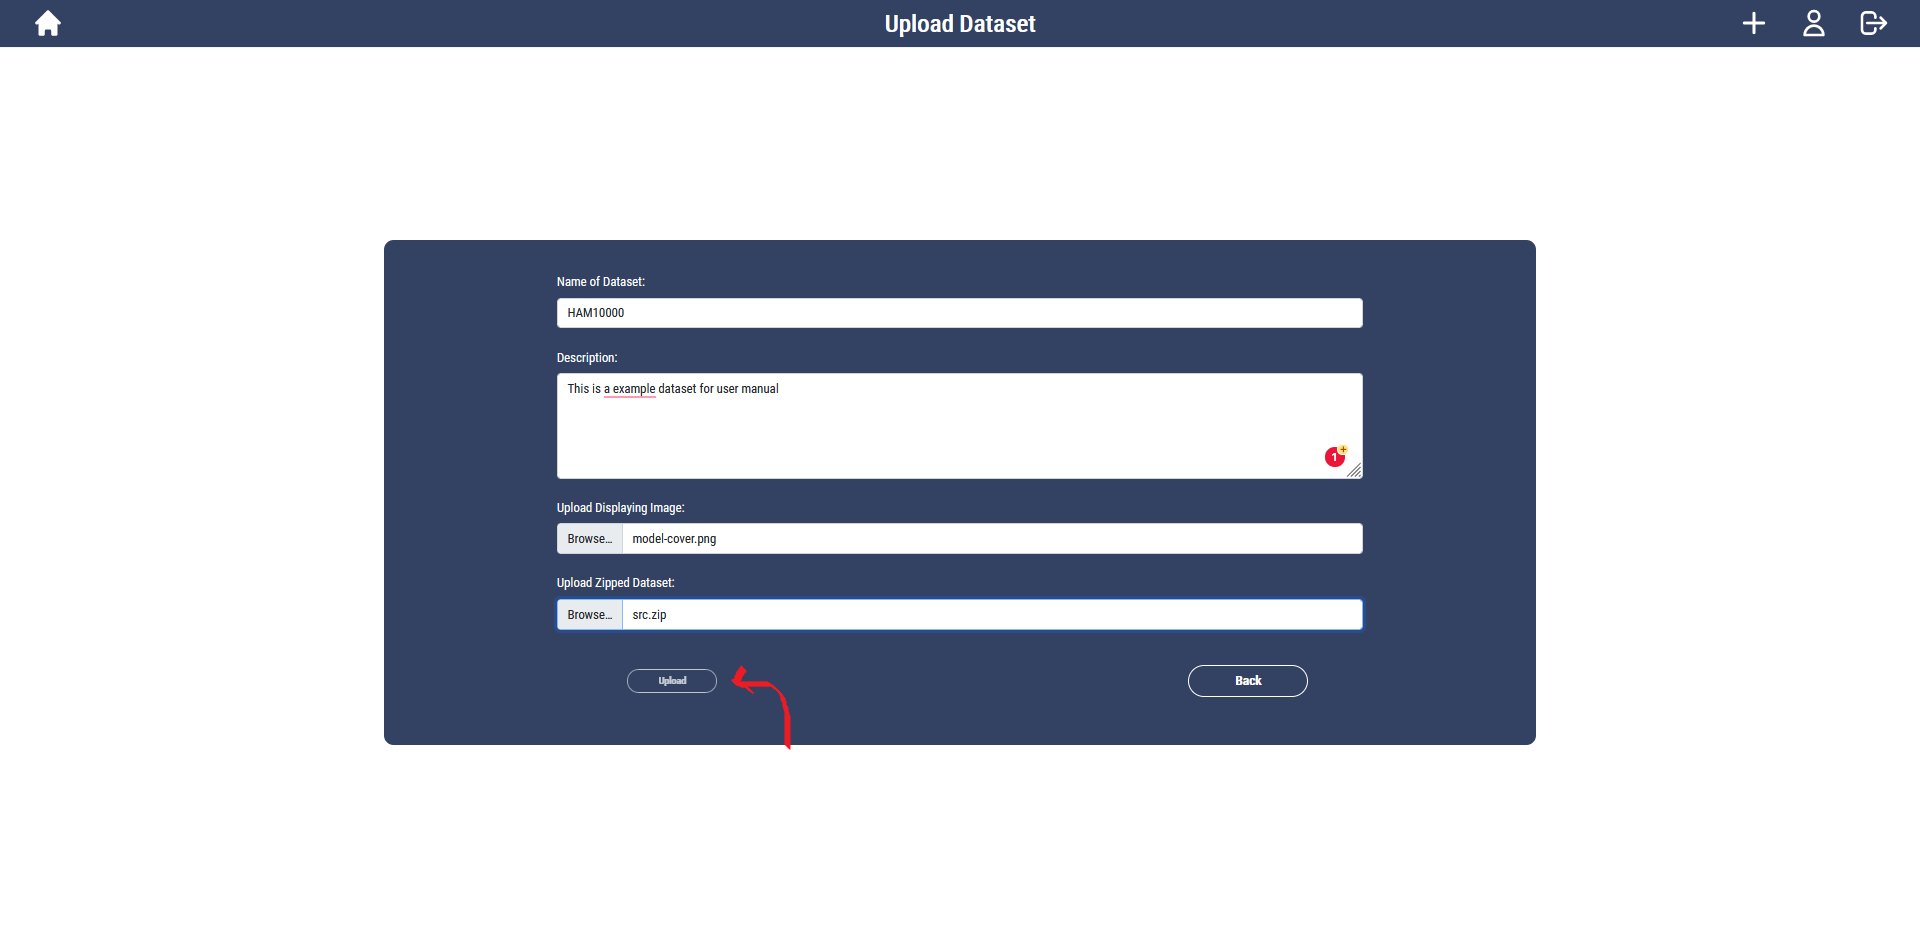
After I click upload, I get the following message:
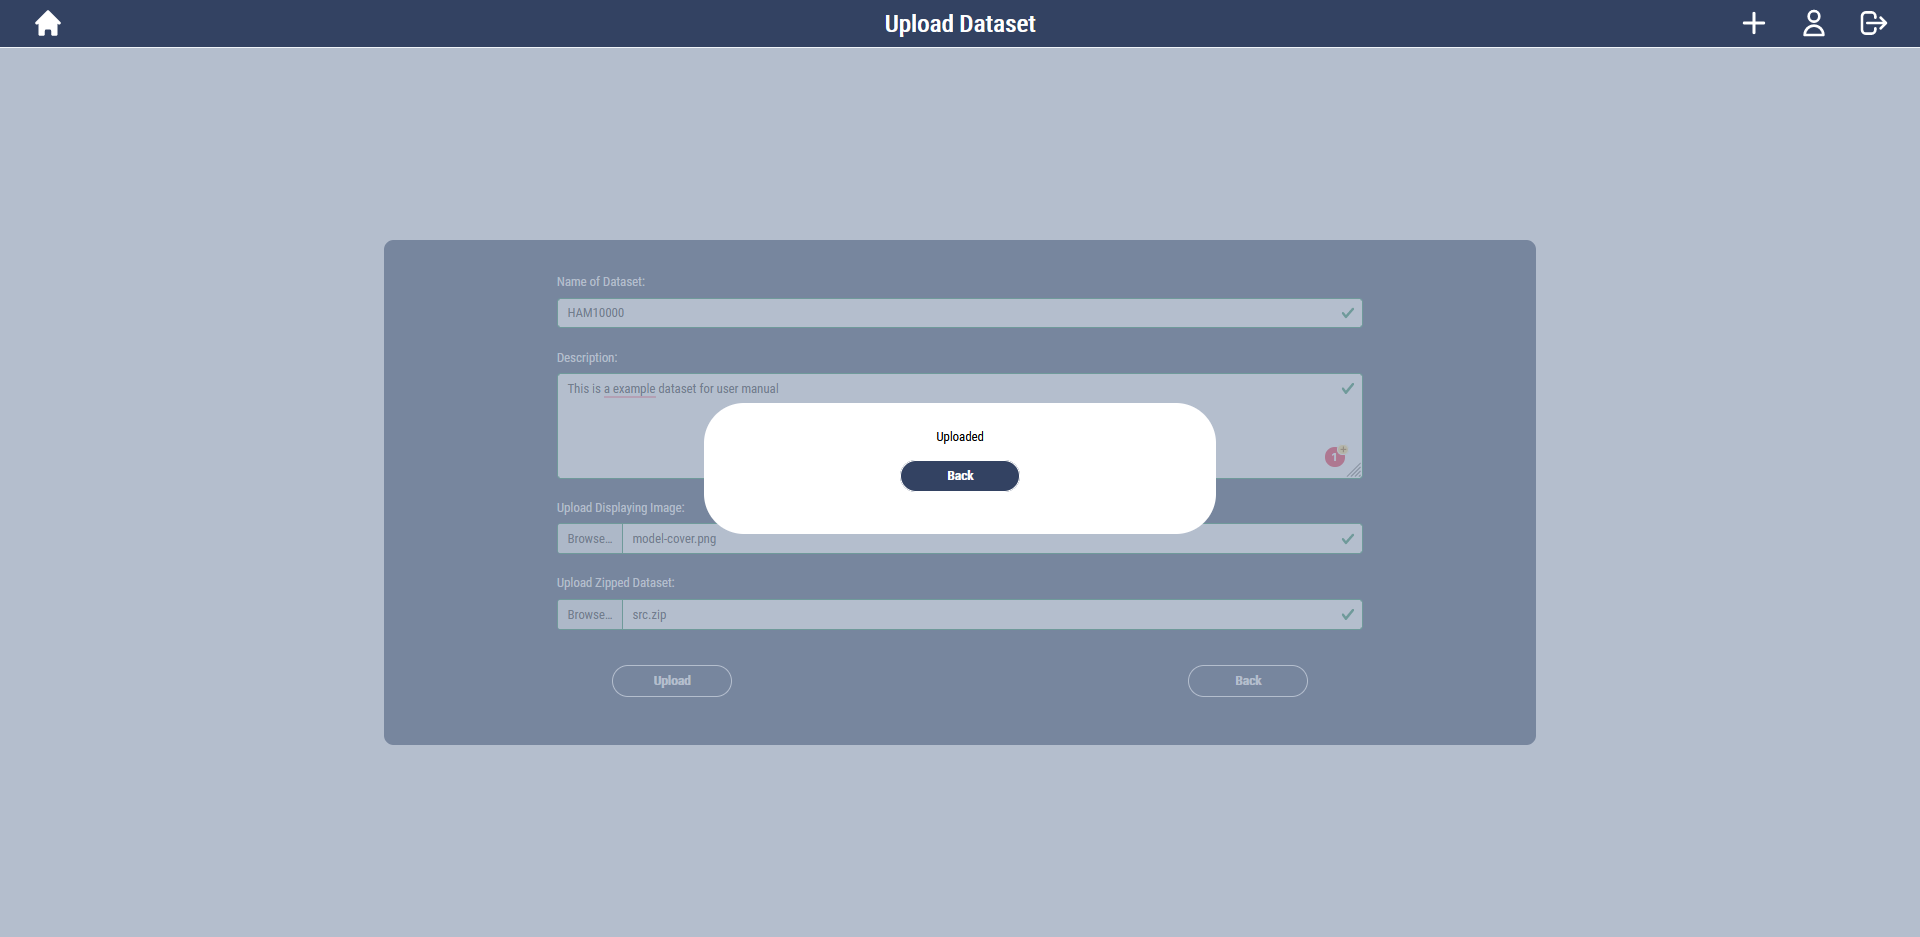
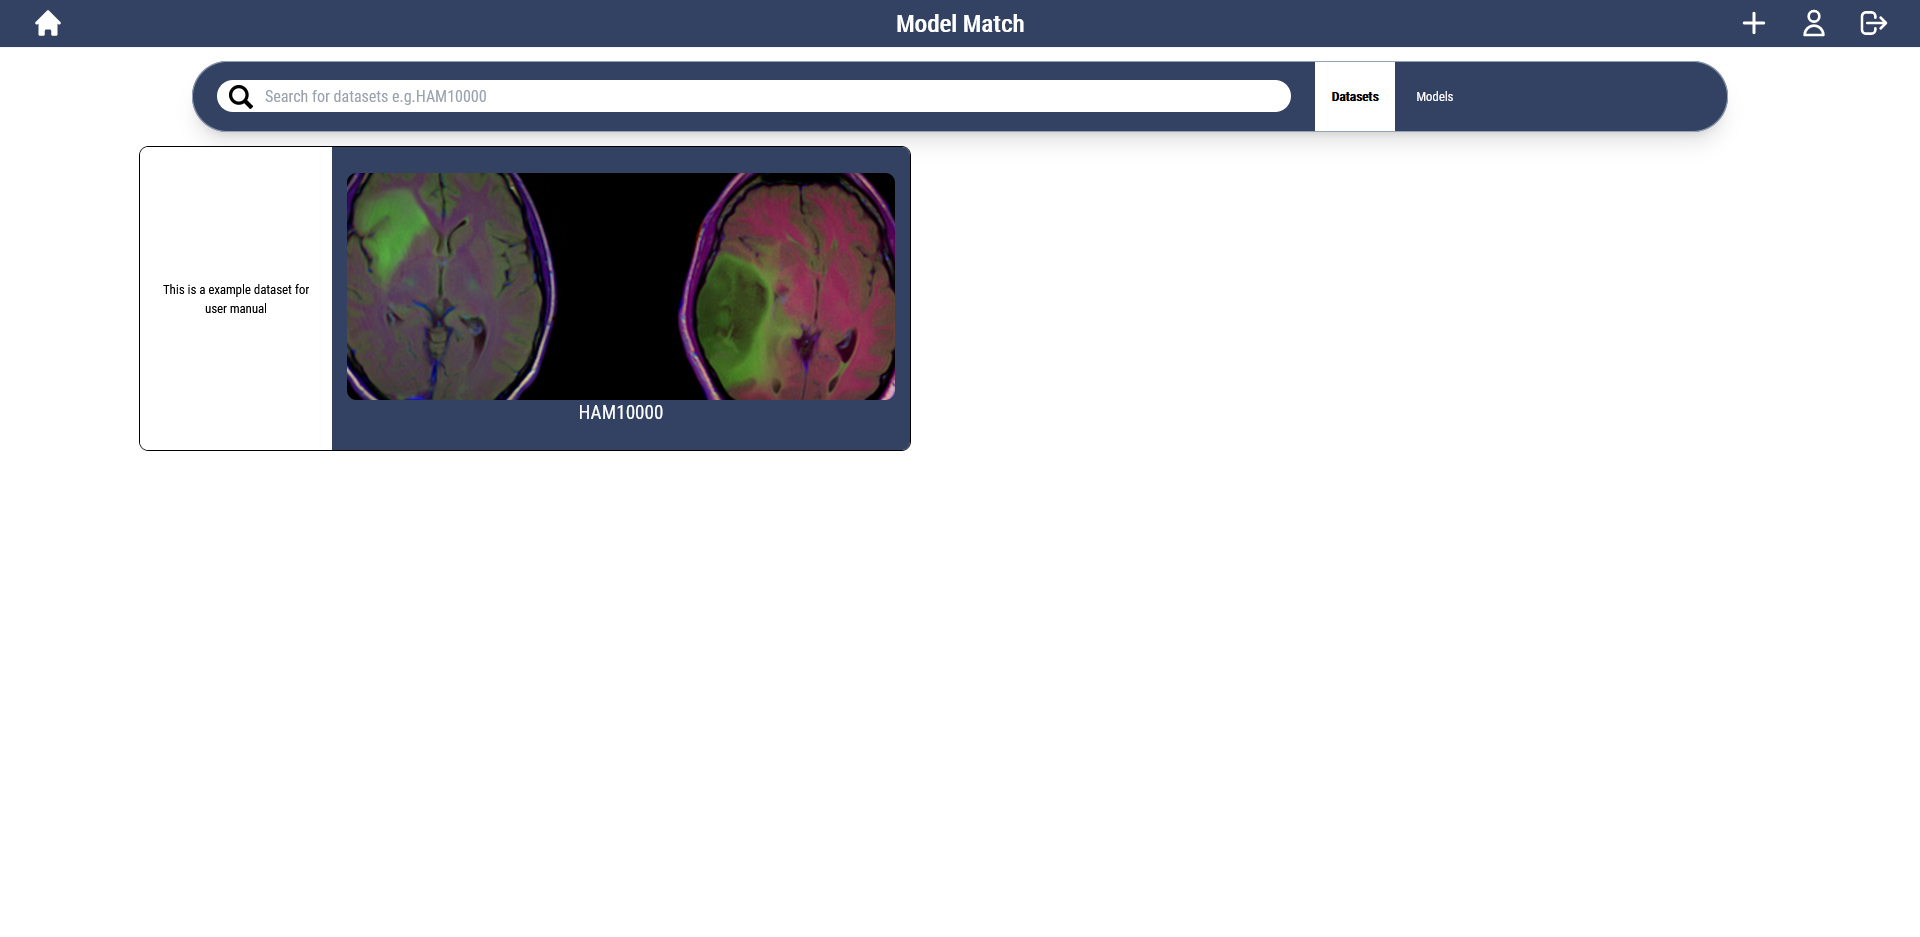
When I press back, I will be redirected to the datasets page, and we will now see our uploaded dataset!
Viewing and Downloading Datasets
Given that there are already datasets uploaded onto our platform
If I click on the uploaded dataset then I can see its name and description:
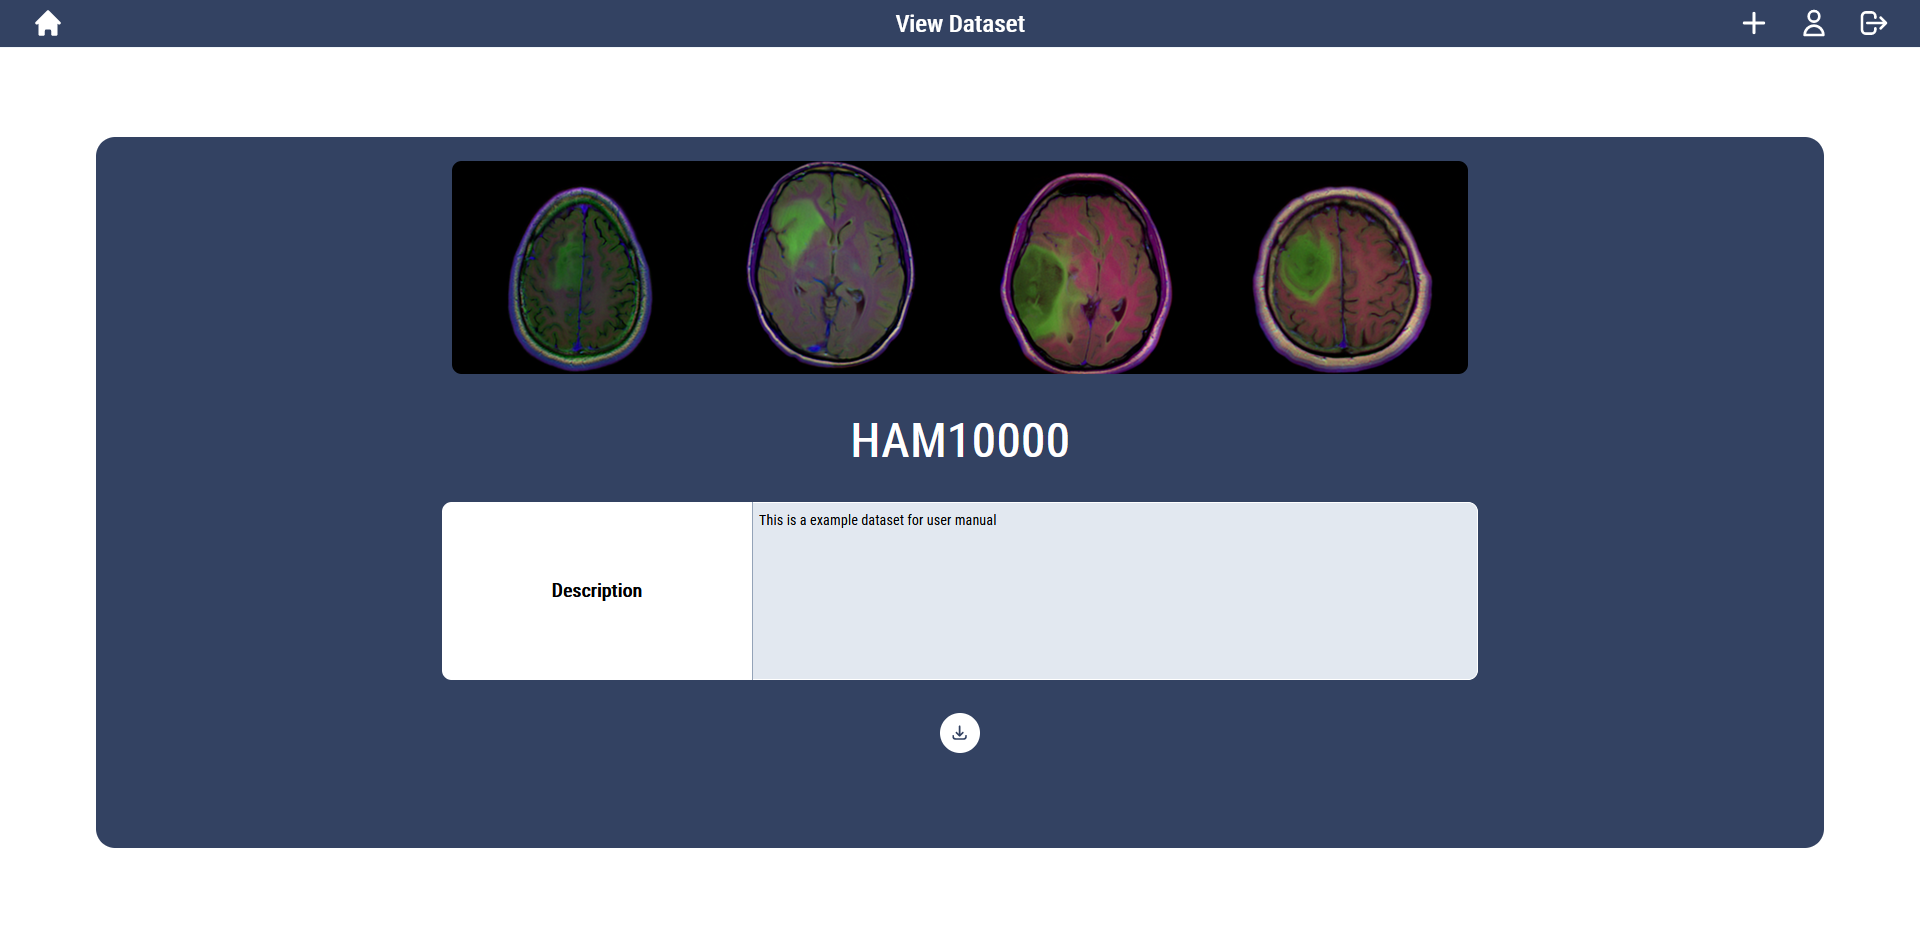
If I click the download button:

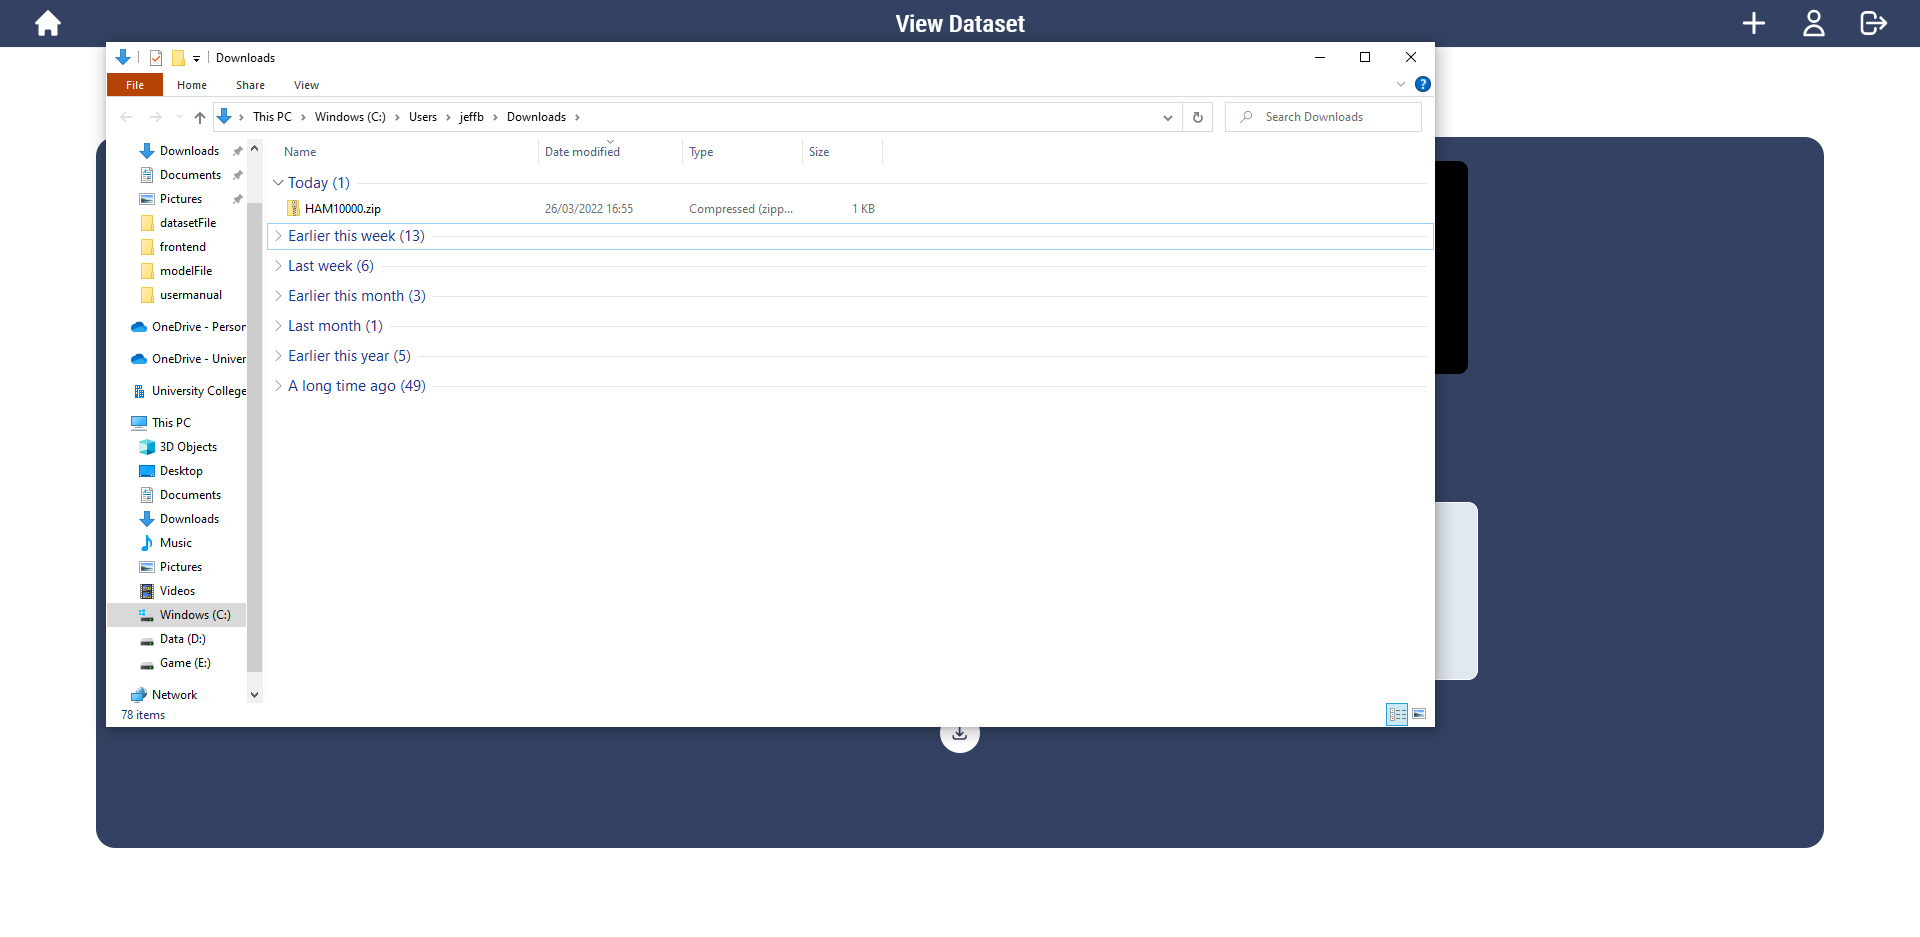
I can download the dataset as a zip file:
Searching
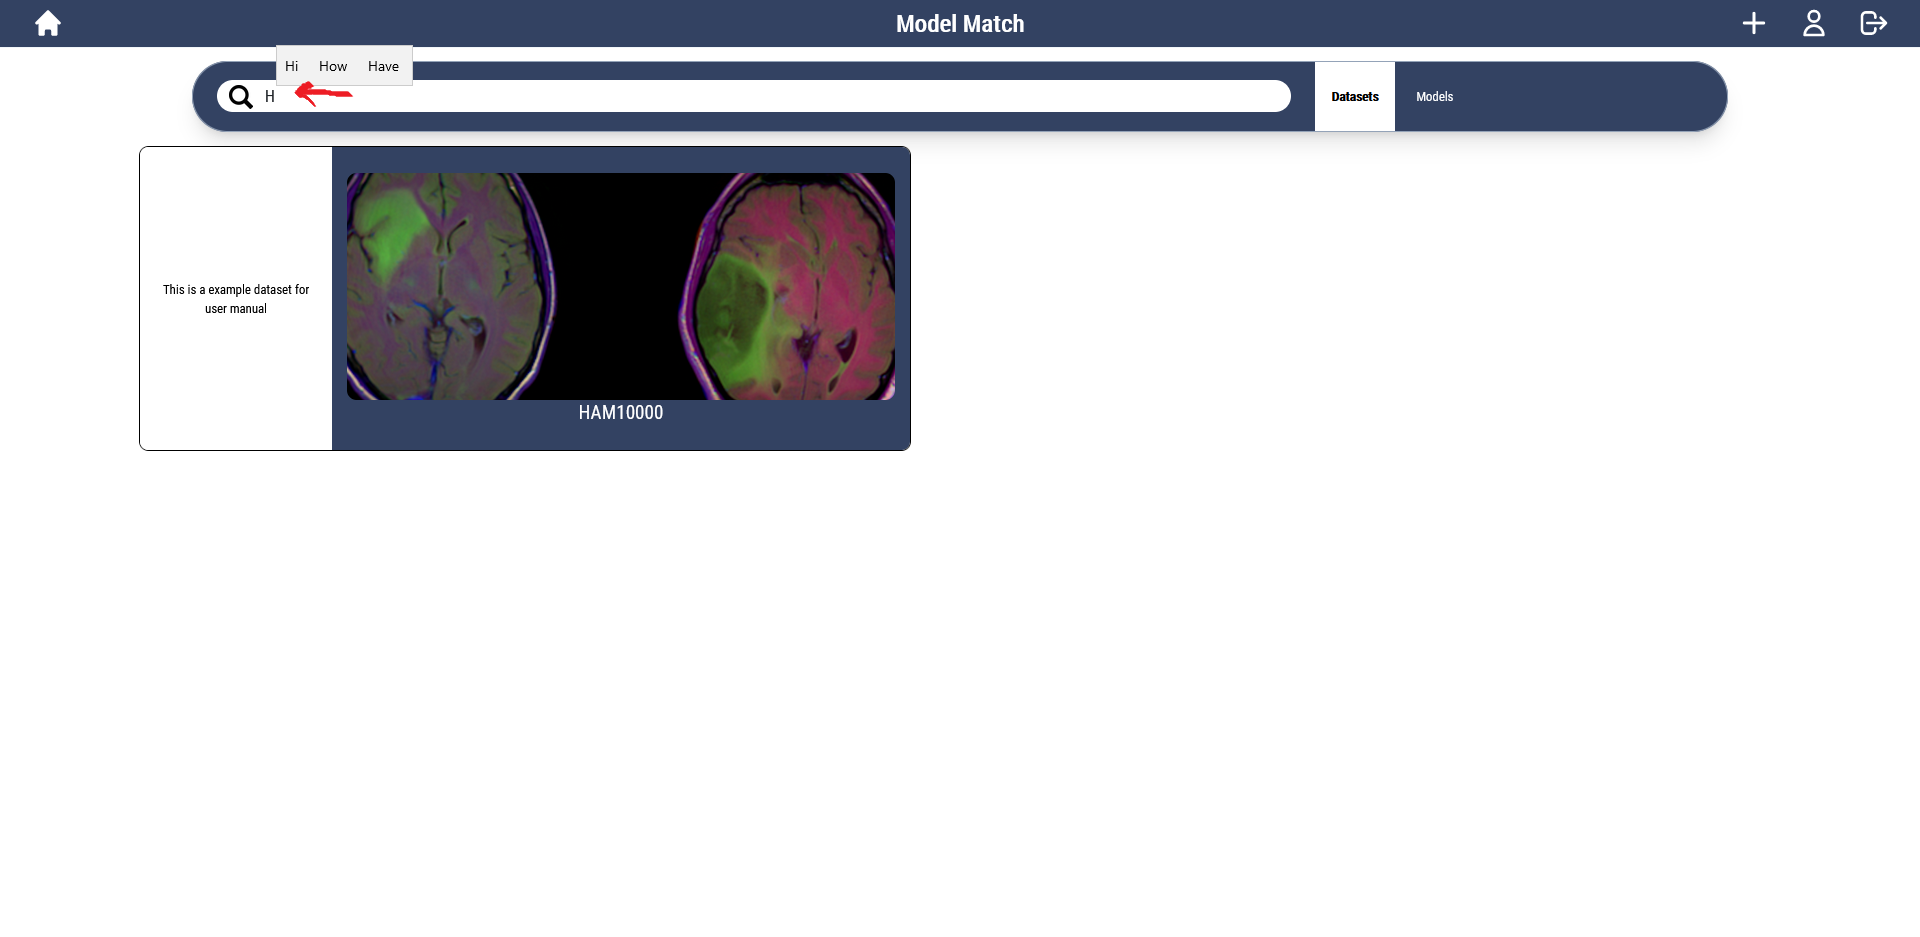
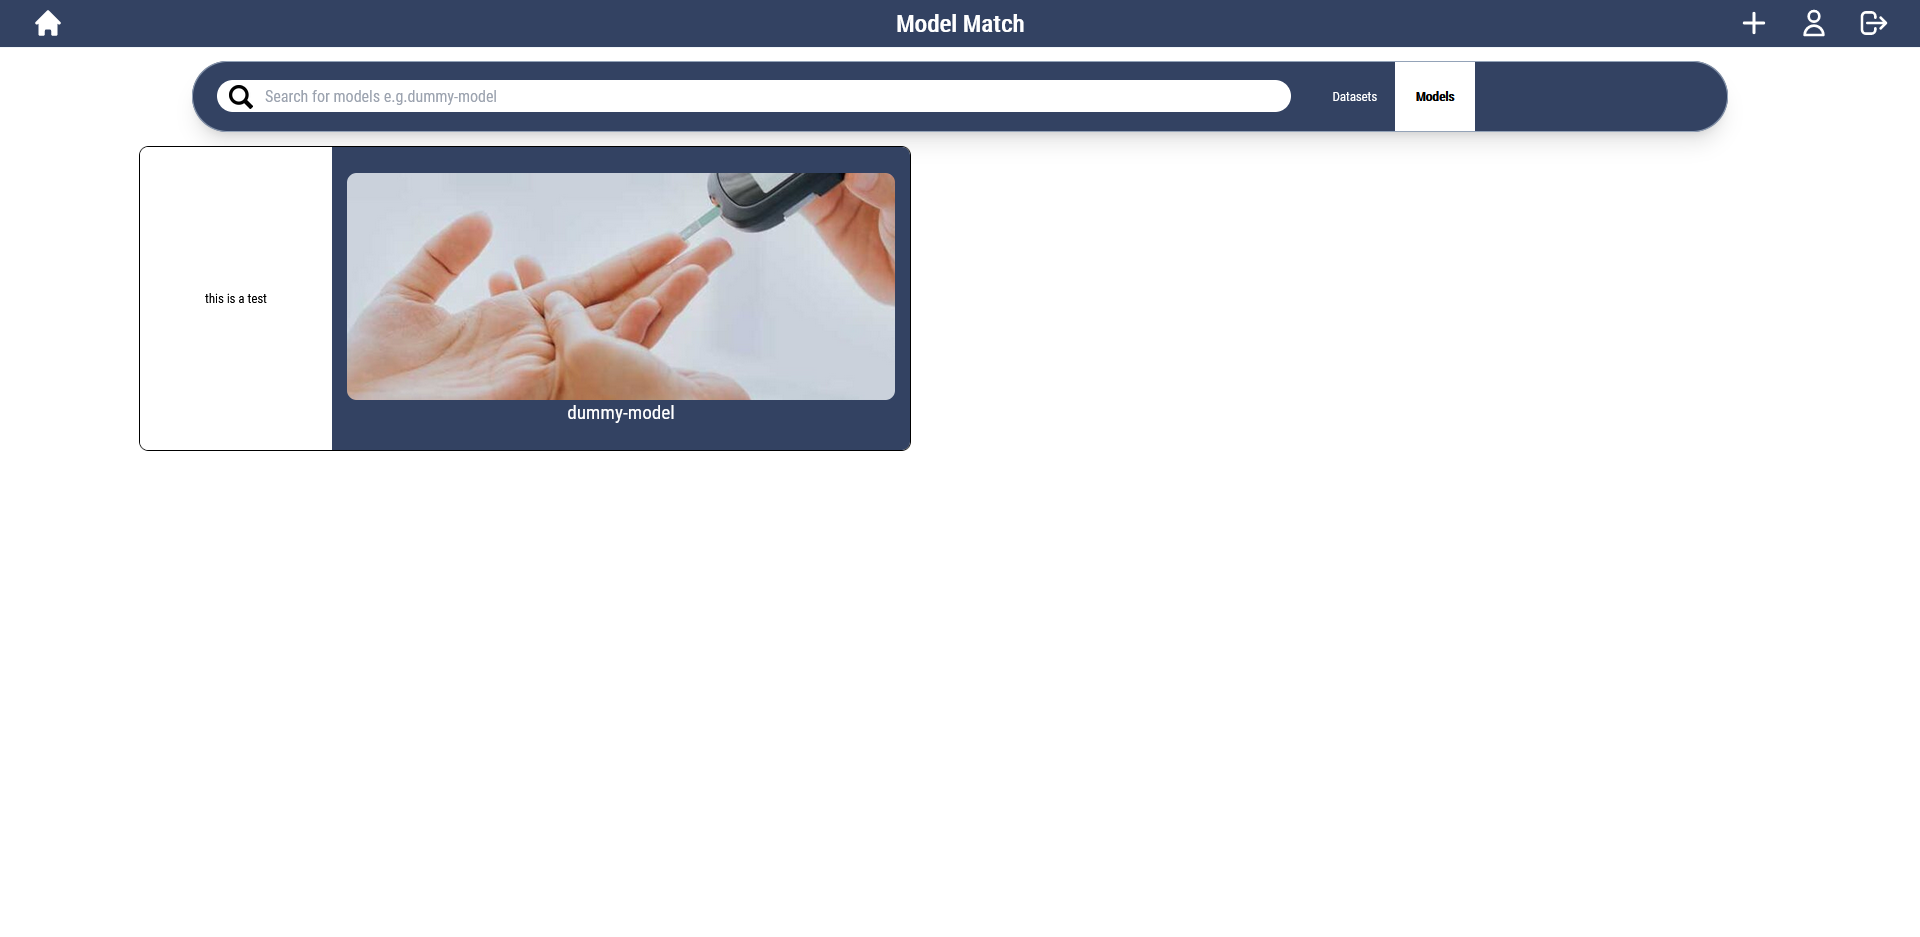
Following from the previous example, if I upload a second dataset, we can now see both of them here on the home page:

And If I start typing in a keyword in the search bar, I can search for datasets, and I get instant results:
Home Page Models
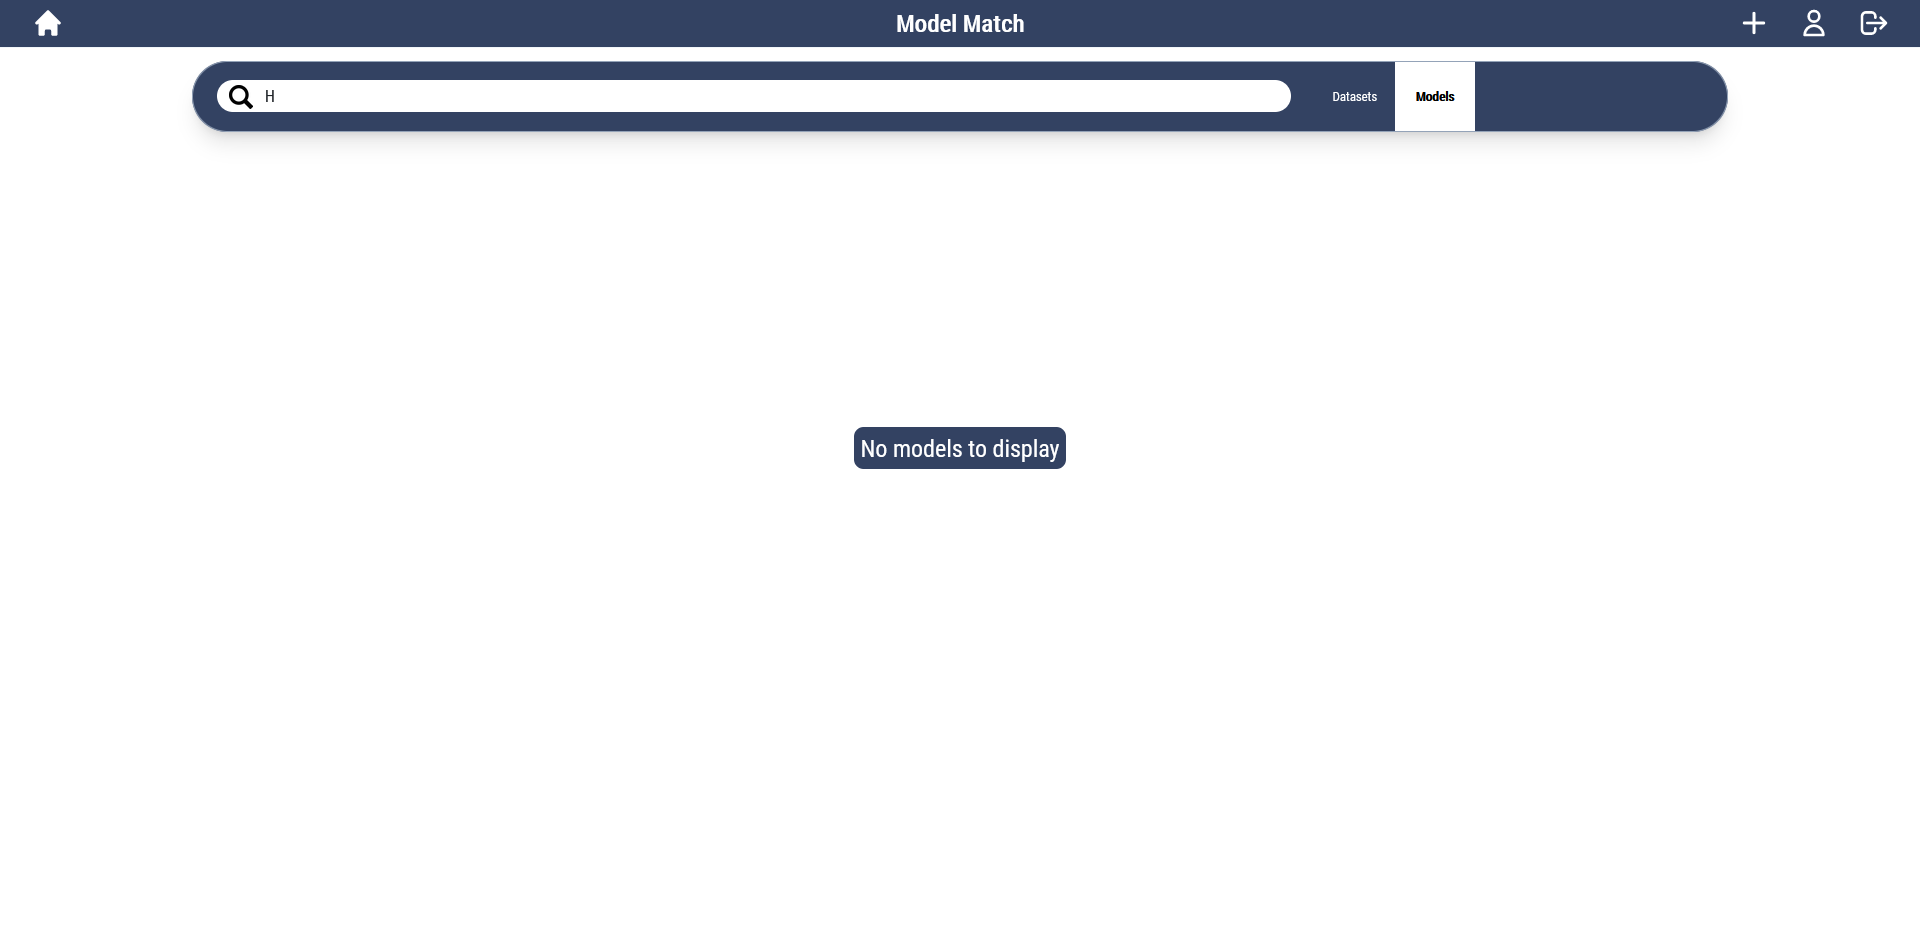
Now lets have a look at models, to do this we click the models tab in the top of the screen:

Similarly as before, there are no models to display. Let’s fix that!
Model Upload Page
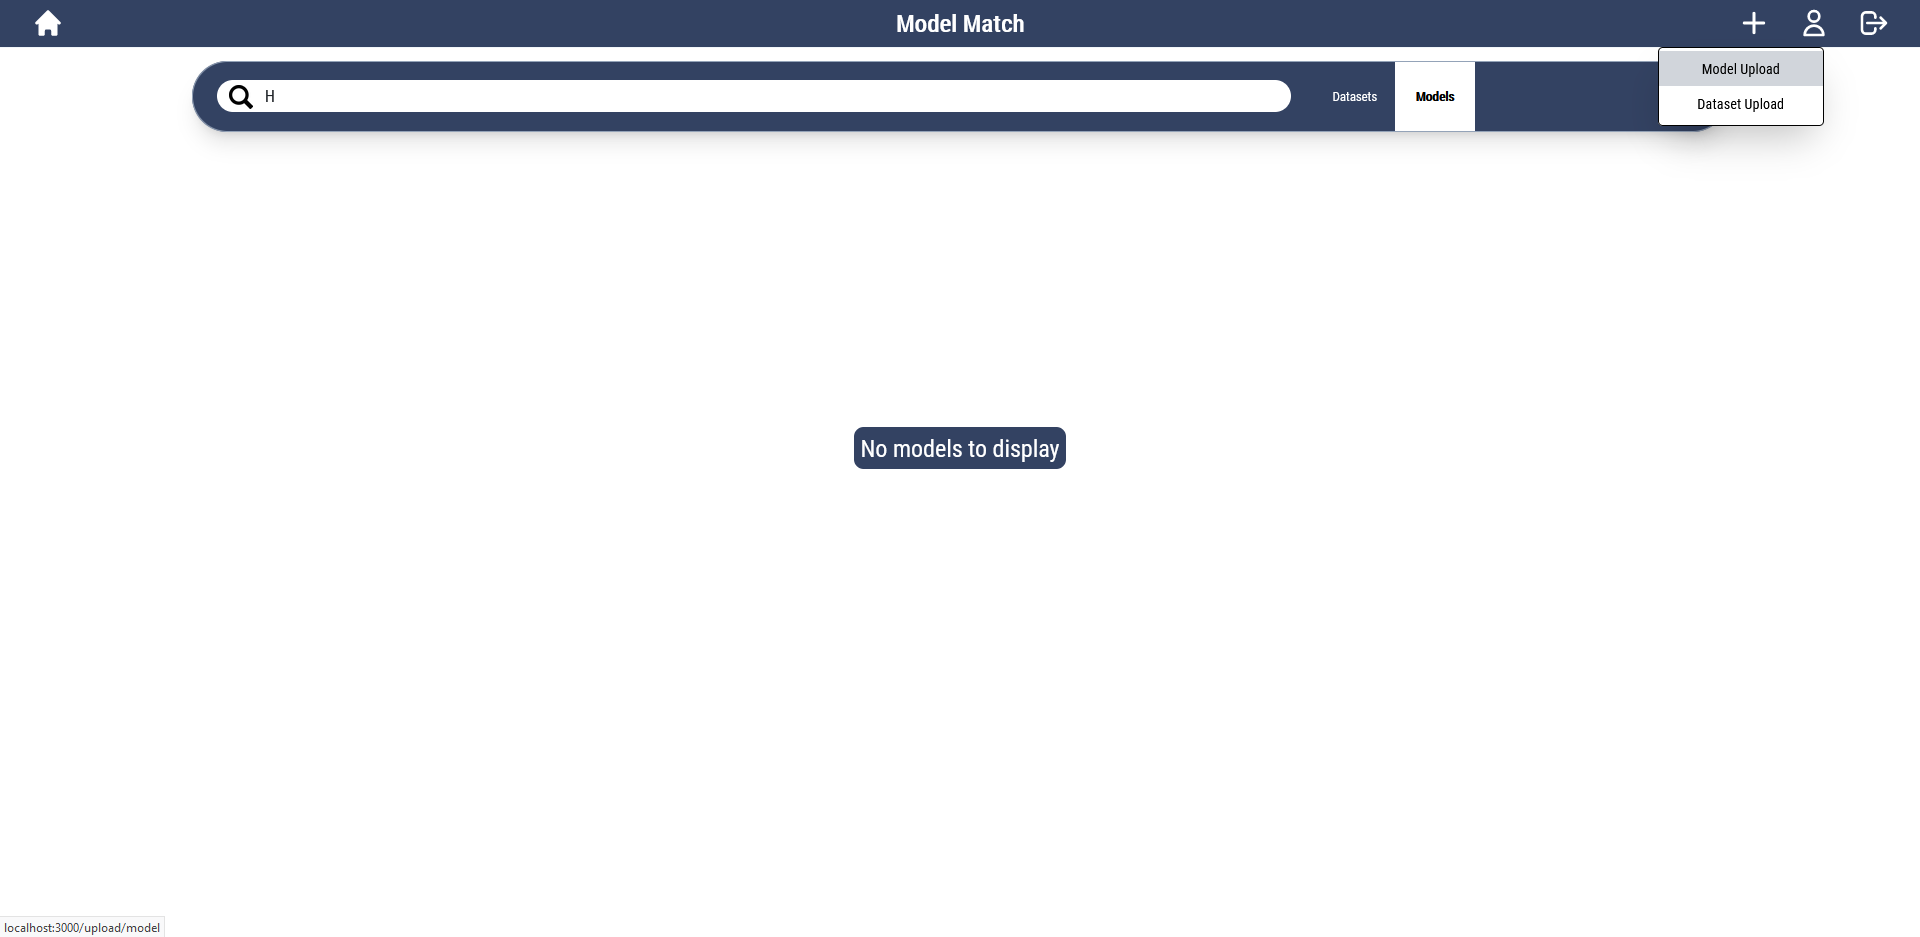
Click the ‘+’ in the top right, but this time select Model Upload instead:
Here we have a lot of parameters, these are defined by our client and help users to find models right for them.
For examples, please visit here which is our client’s website, where you can view existing models and their parameters.
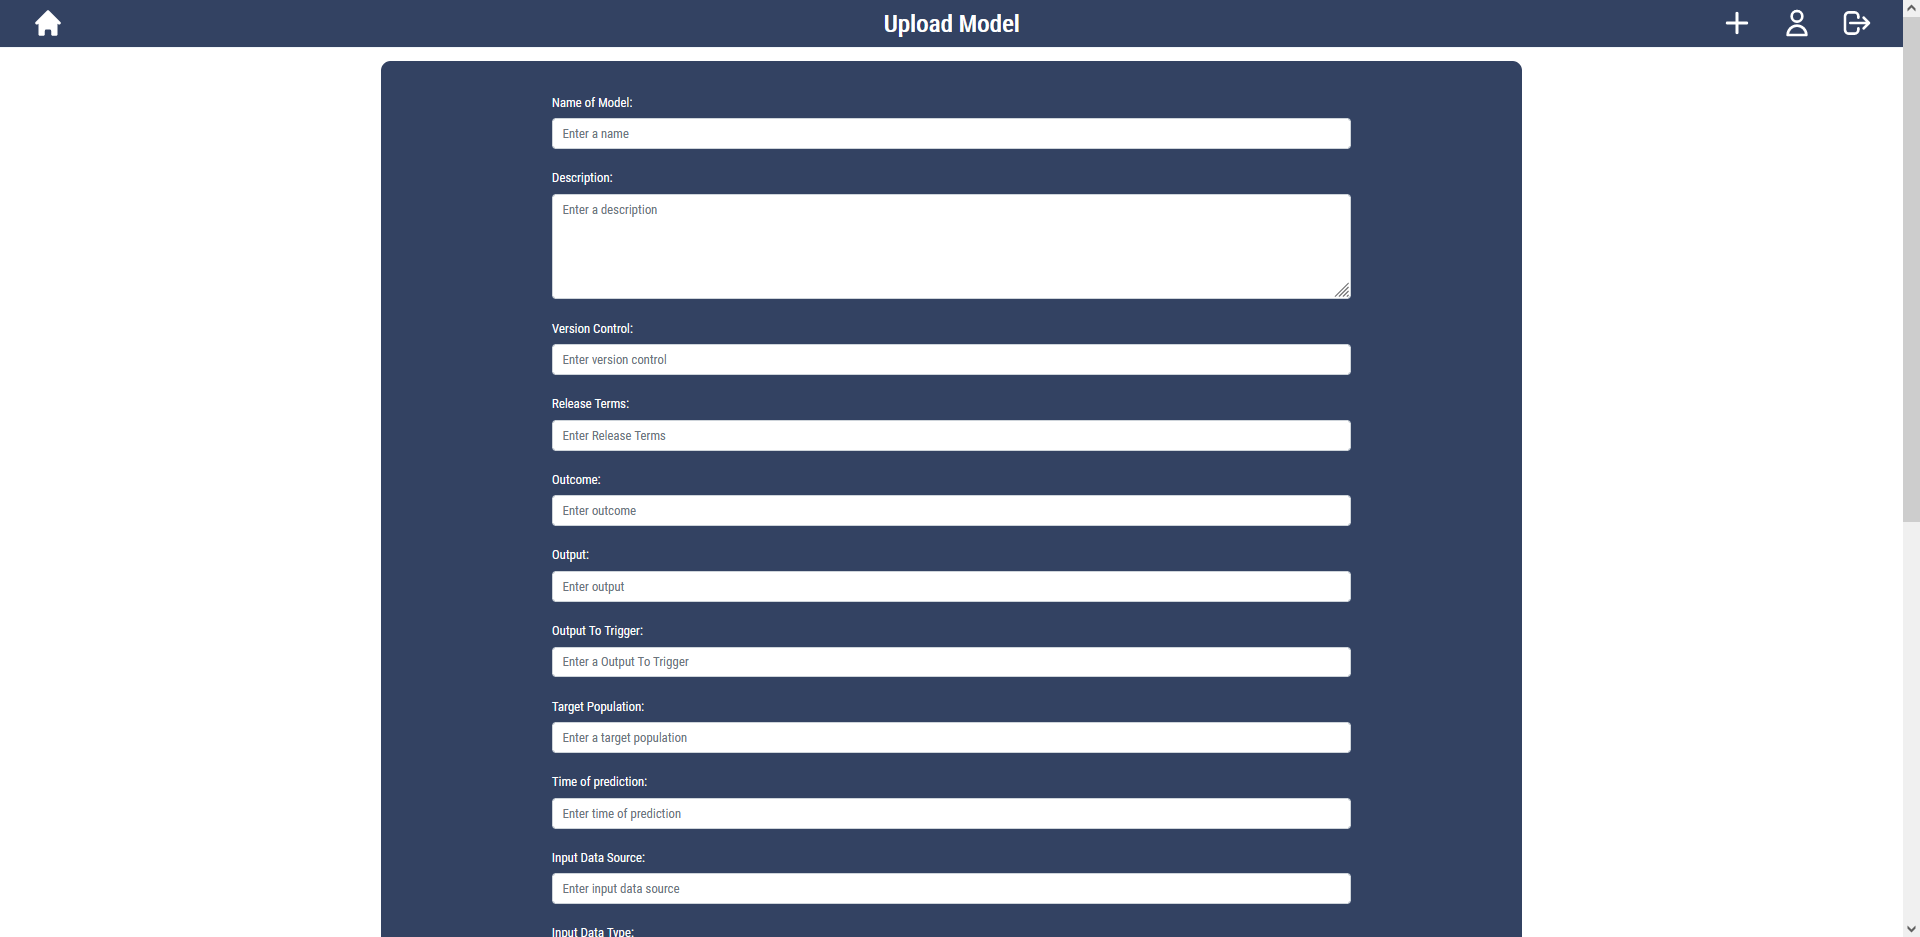
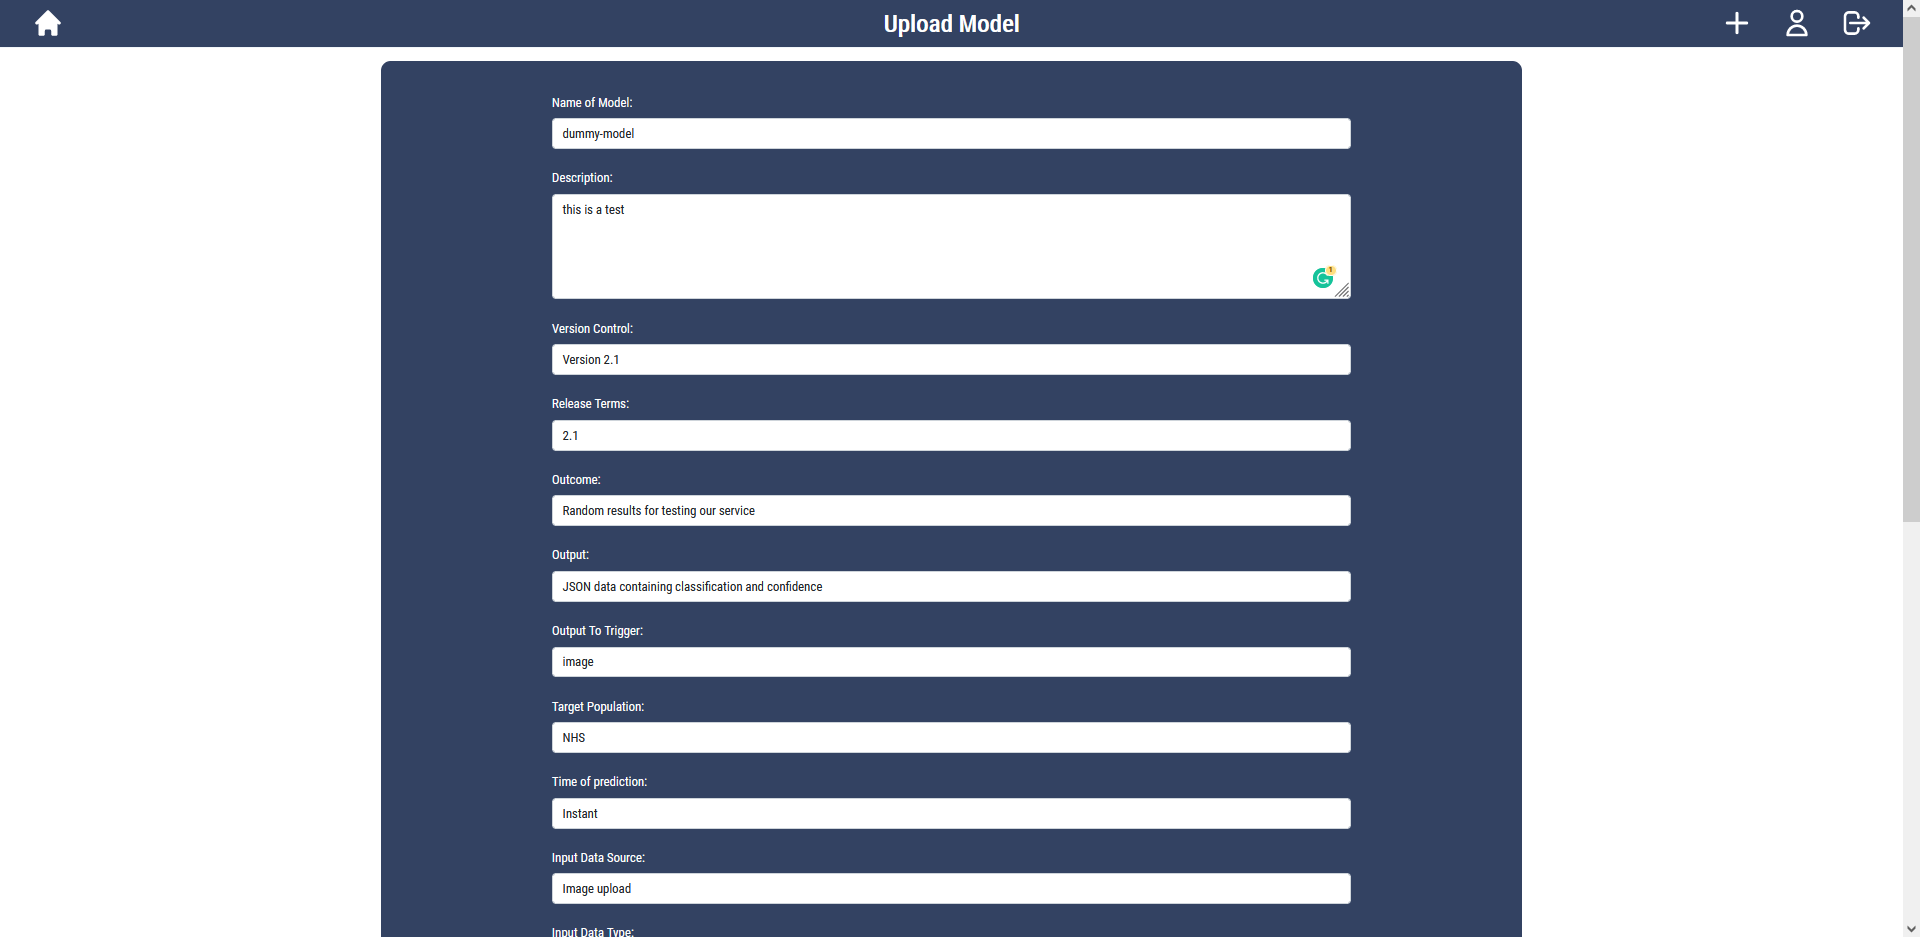
For now, I am just going to fill these in with some example data for a dummy model I will be uploading:
Now for the fun part, uploading the model itself!
Our service allows for upload of trained models written in python that have a predict function that takes in a file as input, and JSON data as output.
Here is the dummy model that I will be uploading:
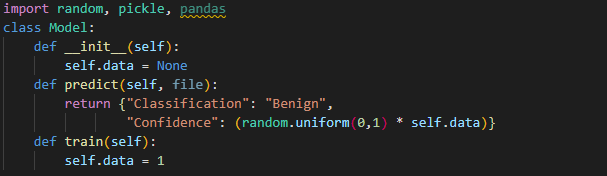
This model has a simple predict function that takes in a file as input and returns a classification and a confidence as JSON data, making it compatible with our system.
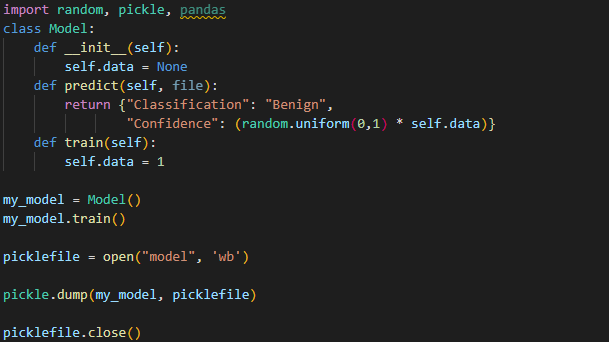
To upload the trained version of this model, I need to train it and then take a pickle of the trained instance of that class:
Let’s have a look at the files that need to be uploaded:
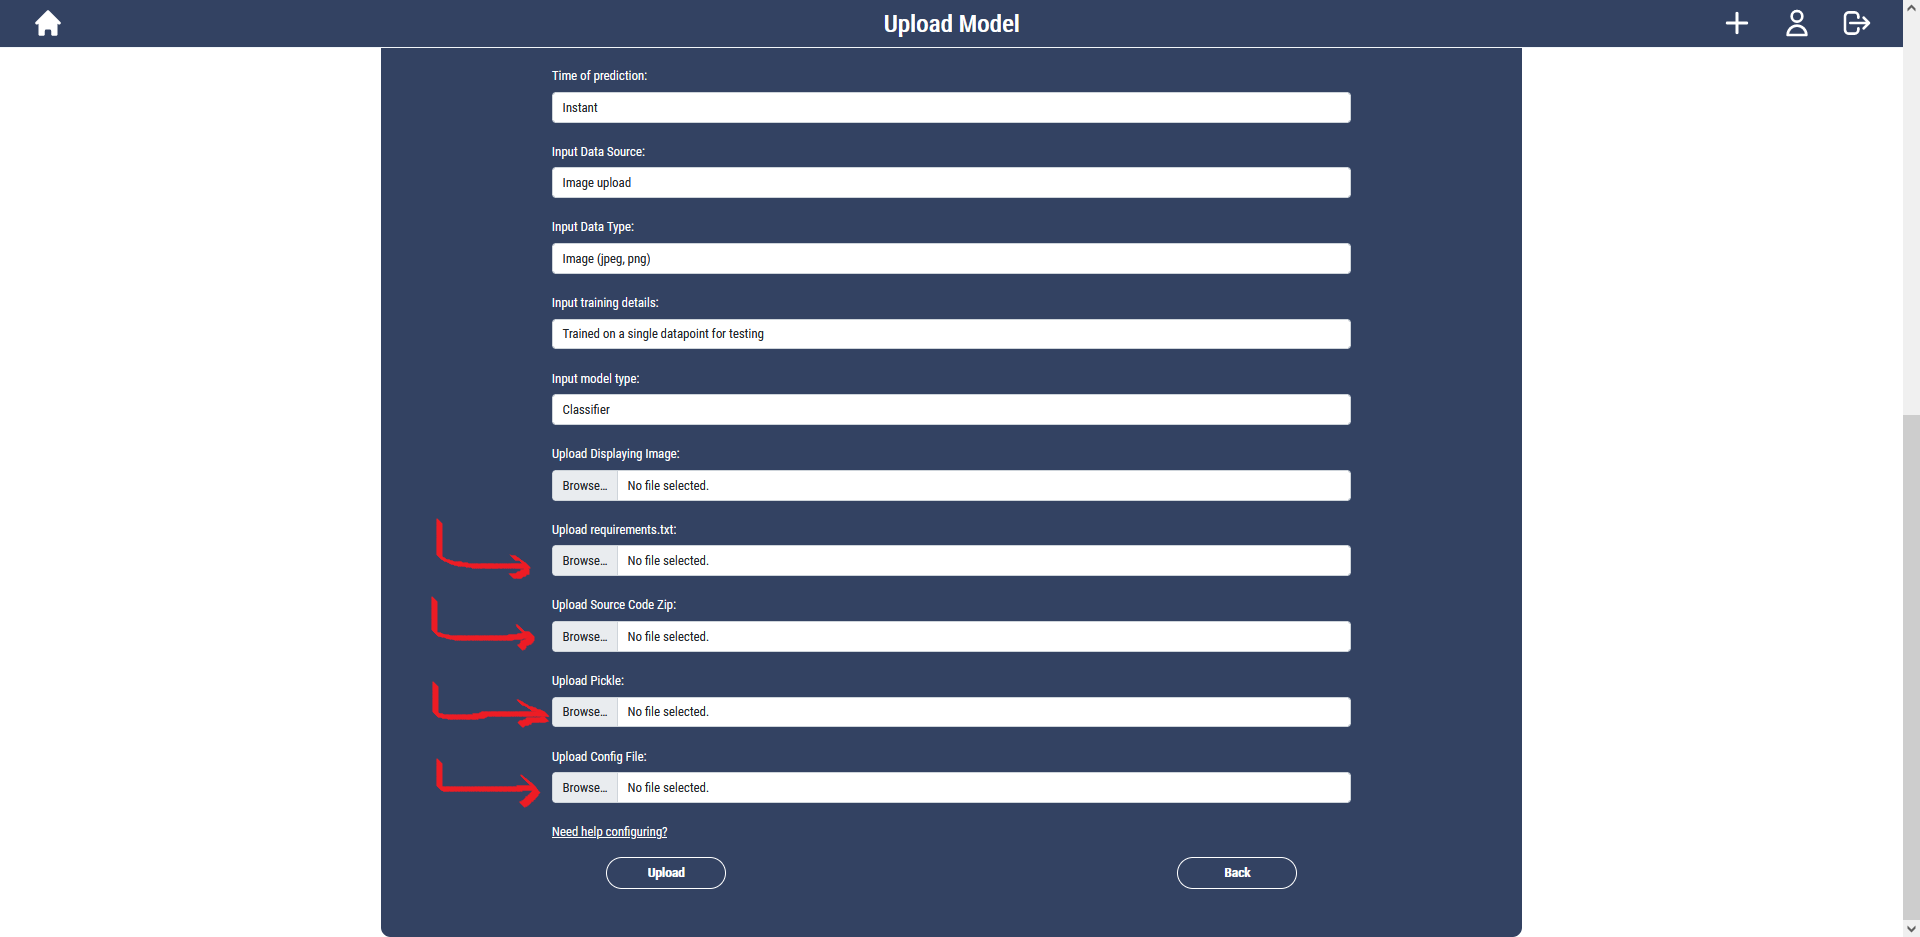
We can see here we need to upload a requirements.txt, the source code as a zip, the pickle of the trained model, and a config file.
Let’s work through these one by one:
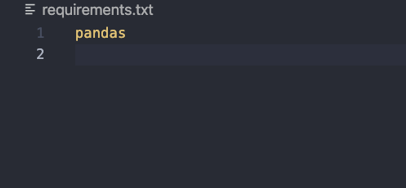
For the requirements, just as an example I am going to say my model requires pandas to be installed.
My source code looks like this:
So I just need to zip the src directory and upload that.

The pickle was created when I ran model.py
Finally, we need to create the config file. Since we support multifile source code and any location and name for the predict function, we need to know where the predict function is located in this source code, so we can dynamically import it when the user wishes to call the predict function when downloading this model.
The config file is in JSON format, and must follow this syntax
The module tells us which file the predict function is located in, so if the file was in the src directory, we would just put the name of the file, if it was in a sub directory ‘dir’ we would put ‘dir.file_name’
In our case, our file is called model and is in the src directory, so we just put ‘model’
For class, we just put the name of the class which contains the predict function. In our case it would be ‘Model’
And for function, we just put the name of the predict function, in our case it would be ‘predict’
So the config file we upload would look like this:

Let's upload the required files and also an image for displaying:
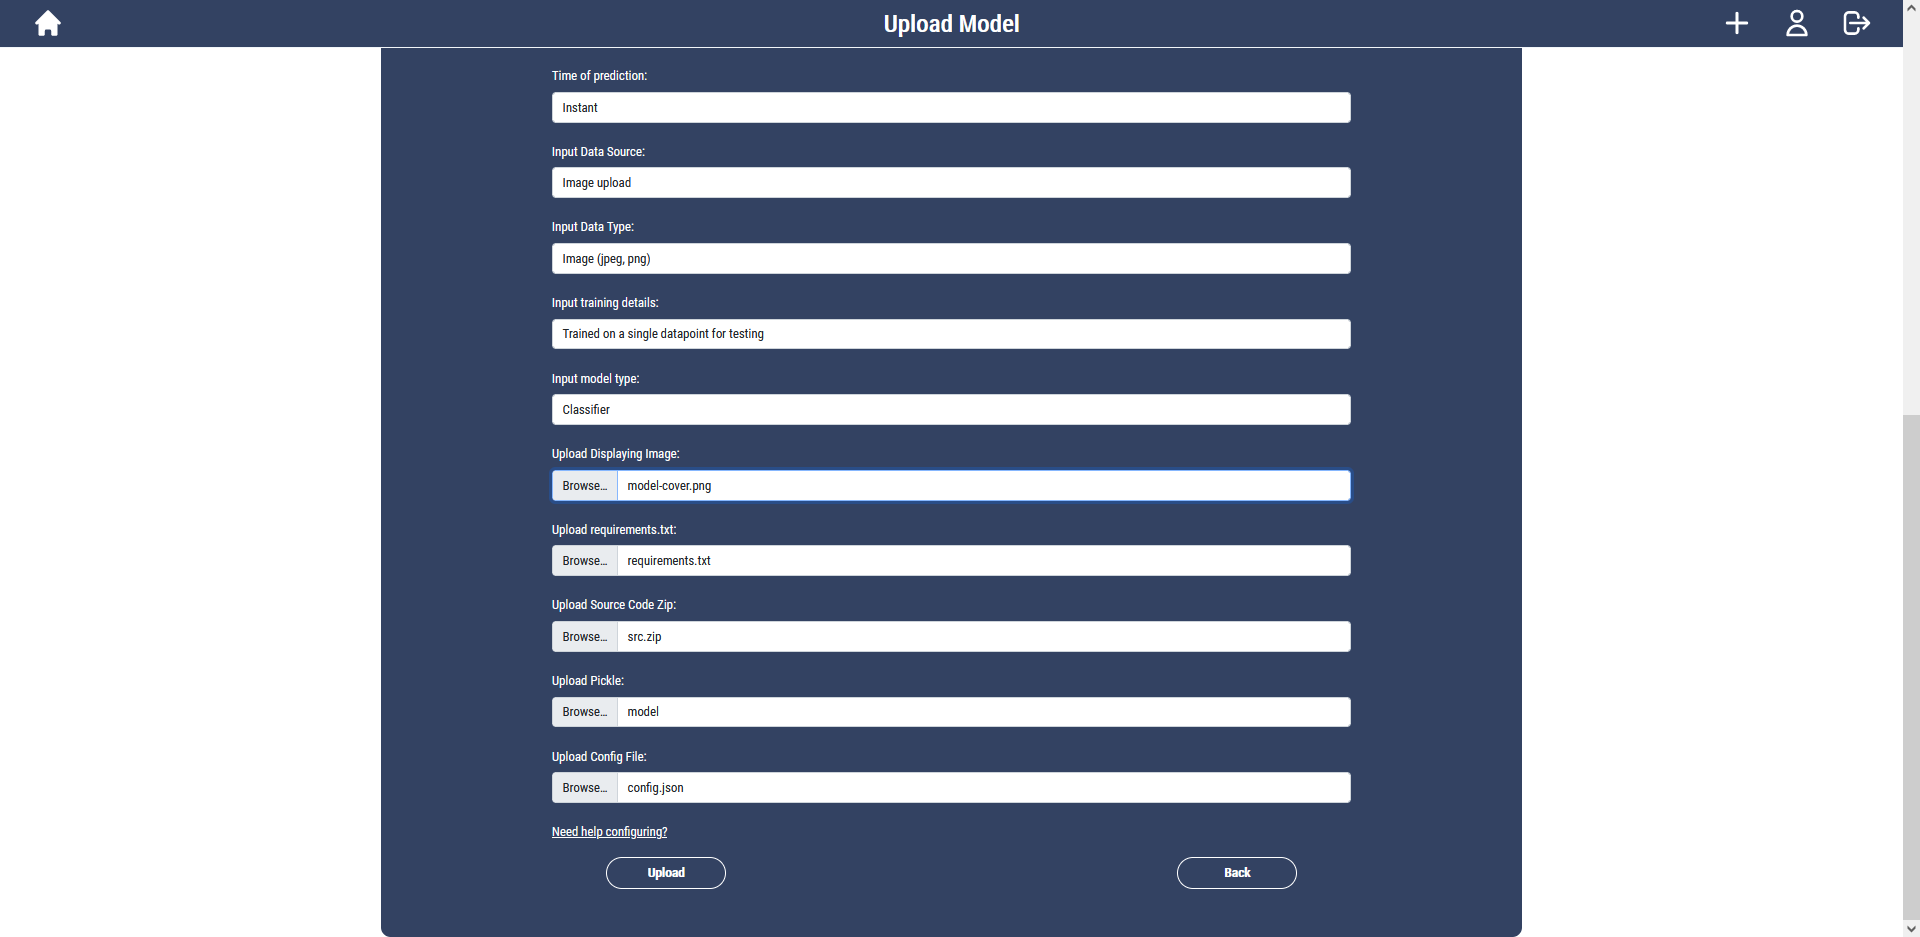
And click upload:

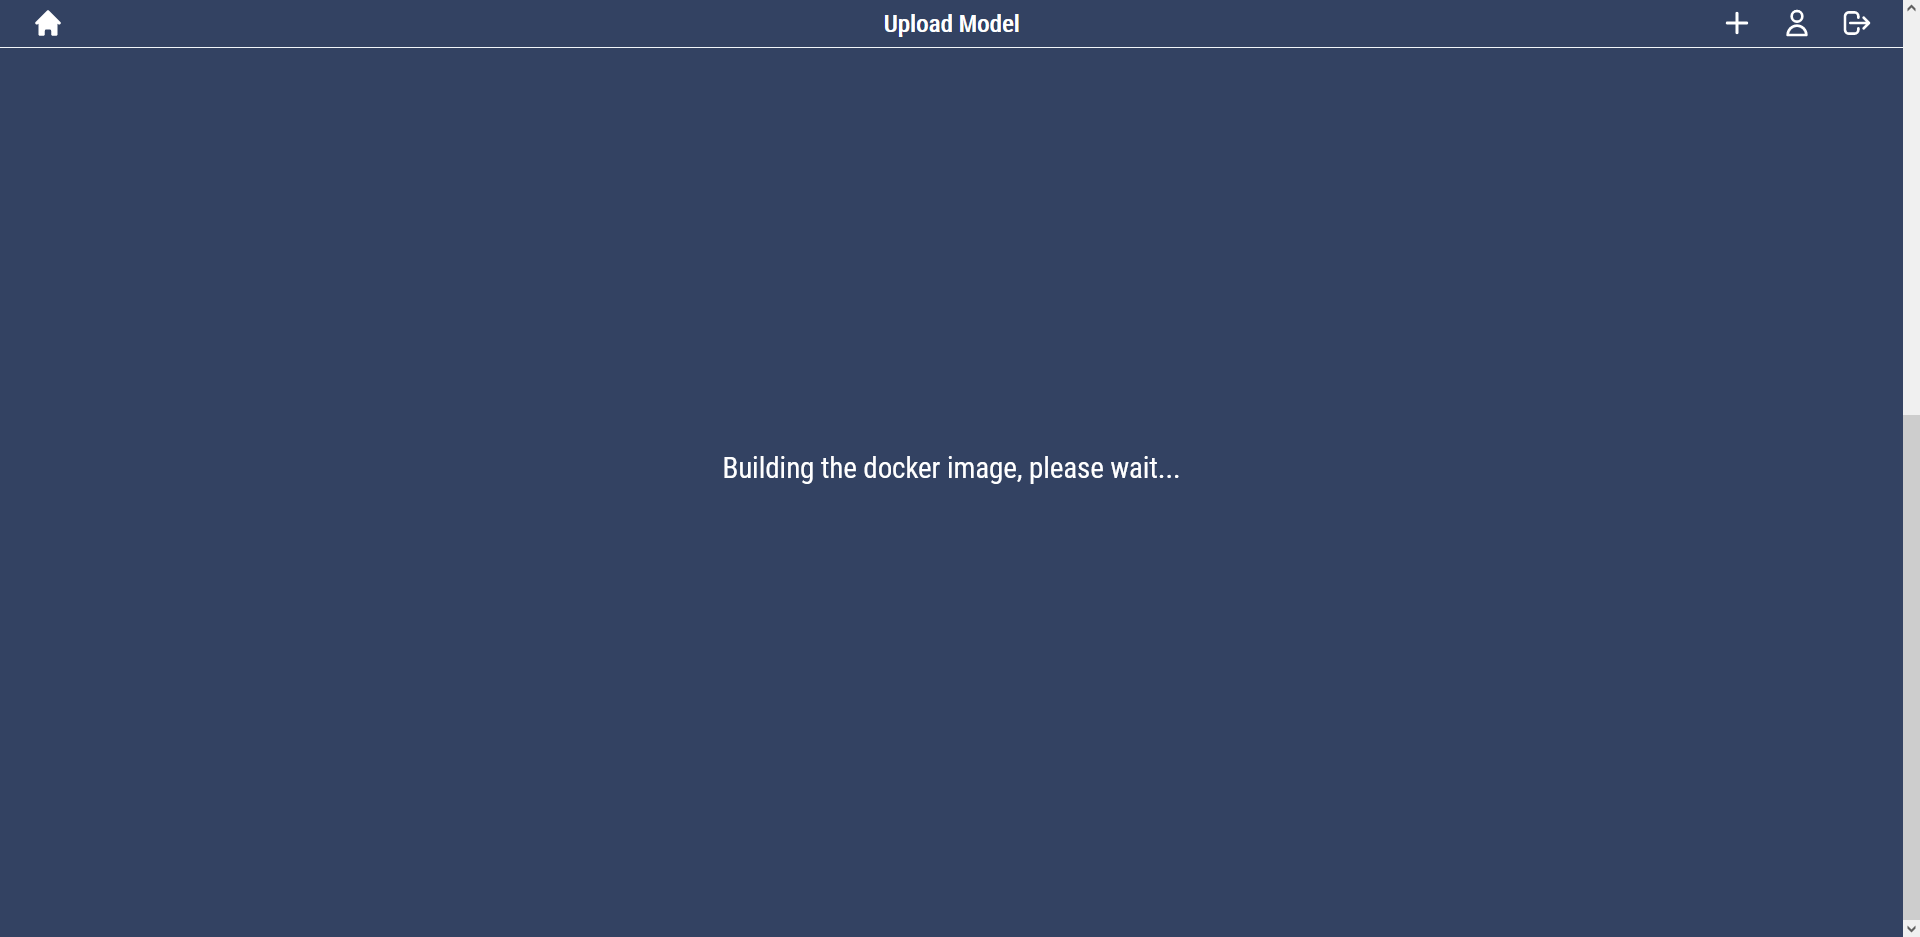
Now the docker image is being built so this will take a couple of minutes. If you’re following along, go make yourself a cup of tea.
Now if we go to the model’s page, we can see it’s been uploaded:
Viewing Models
If we click on the uploaded dummy model, we can see all of the parameters we added when we uploaded it:
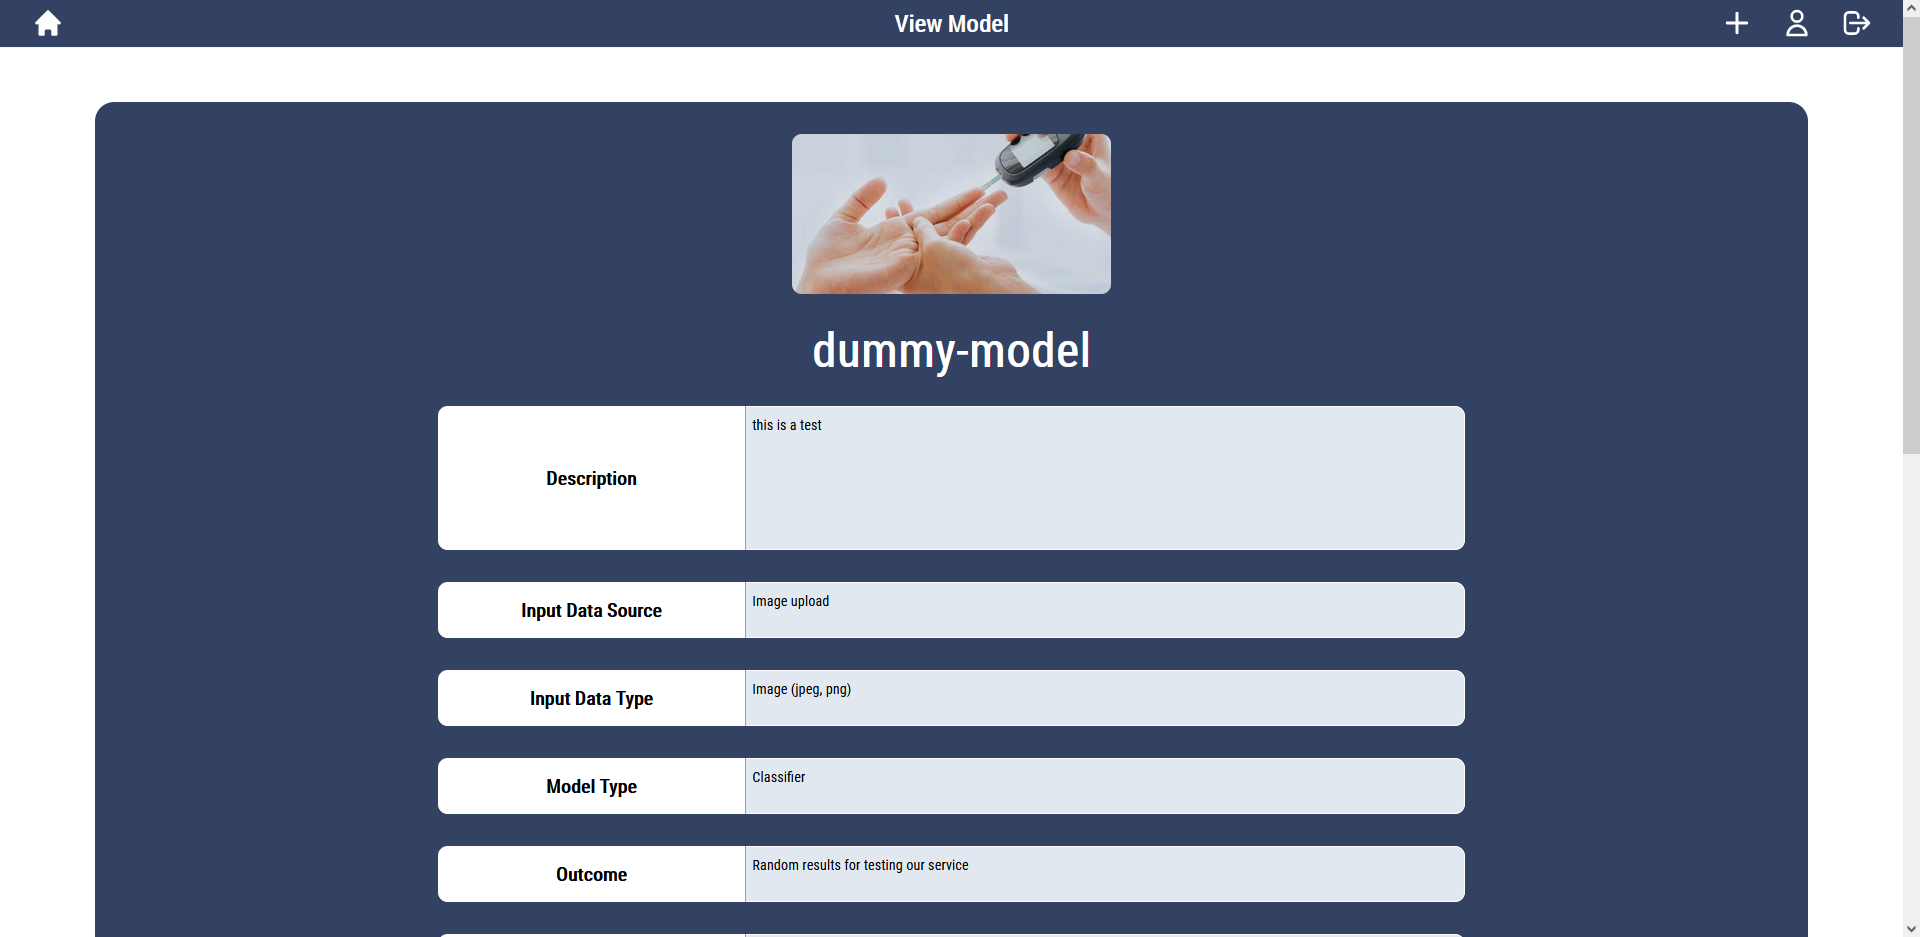
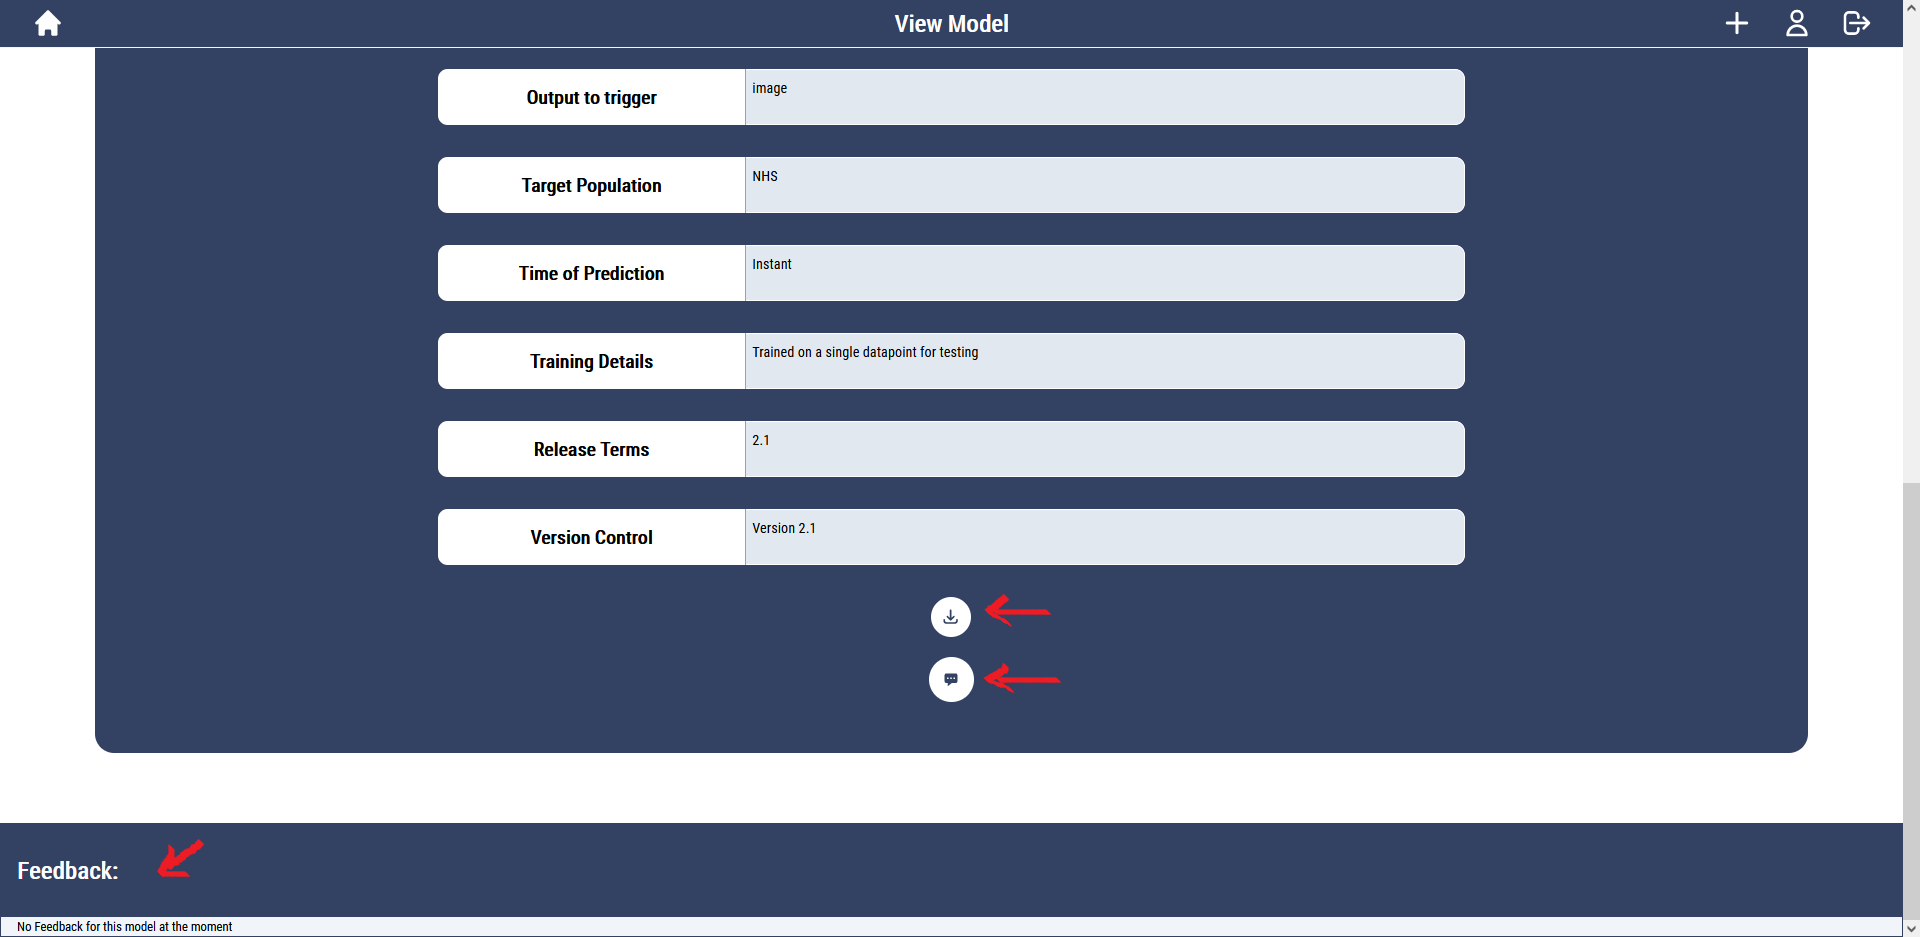
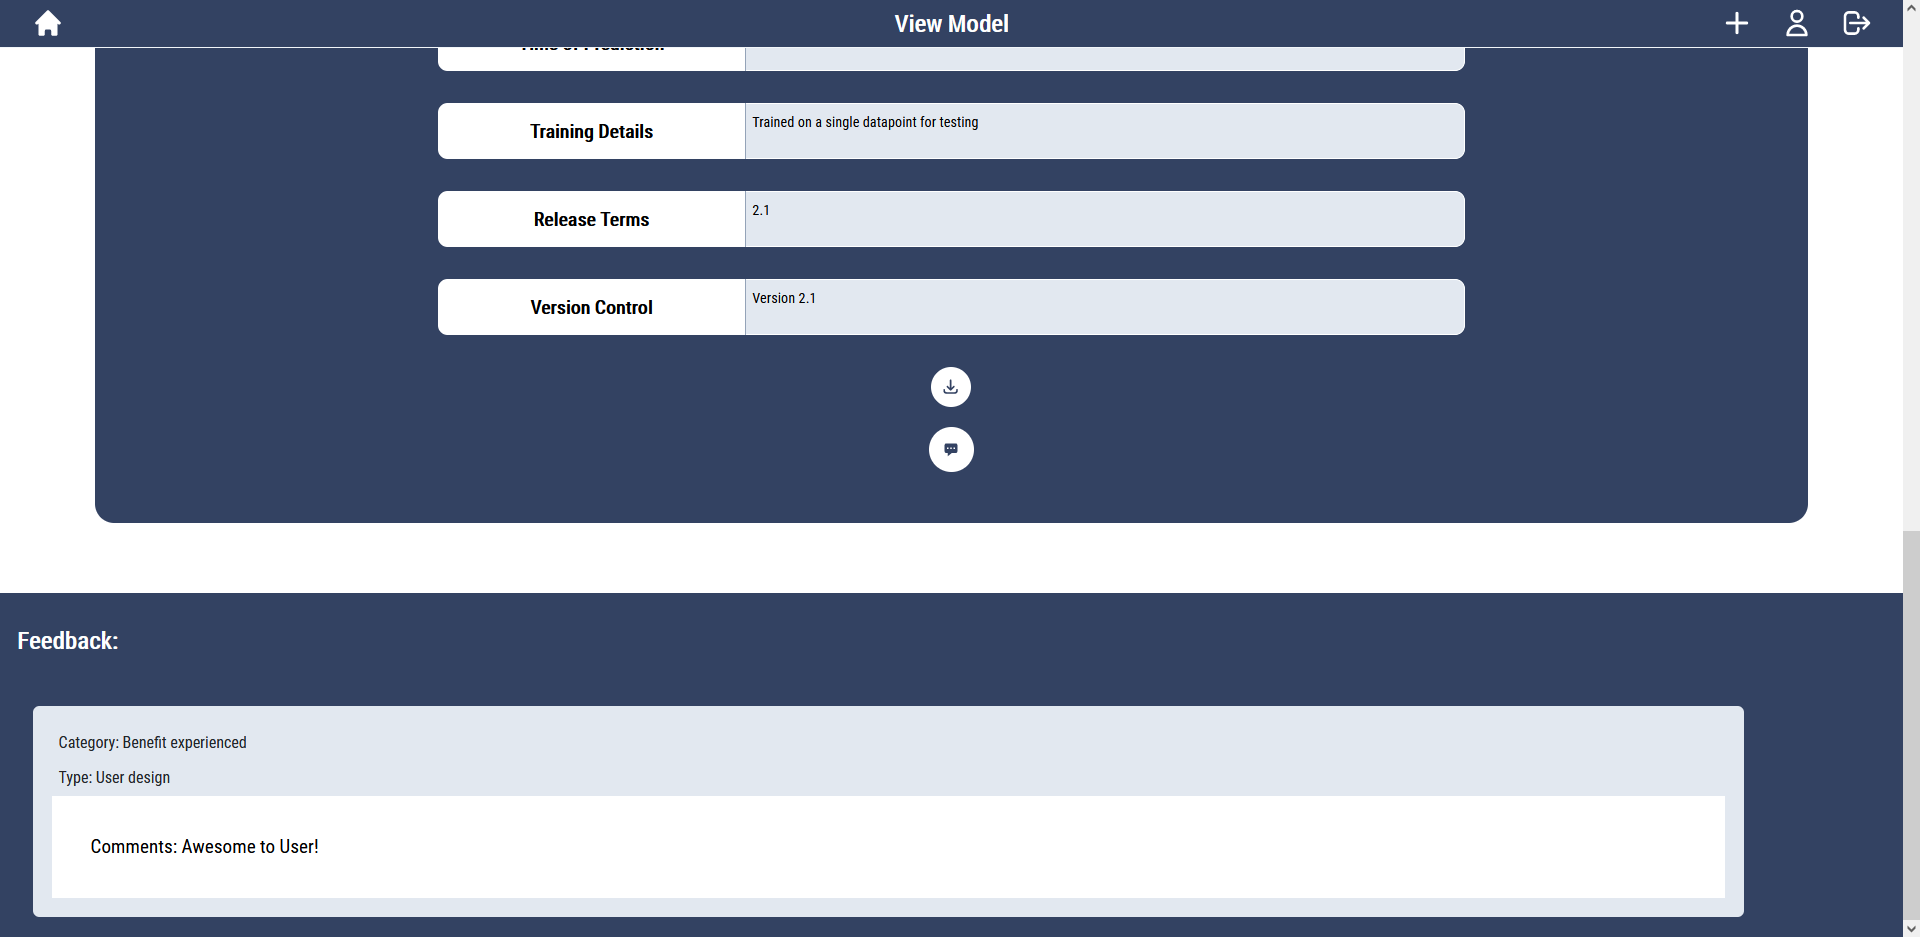
And if we scroll to the bottom, we can see a download button and an add feedback button, as well as the feedback itself for the model, which will currently be none:
Downloading a model
Let’s start by downloading the model by clicking the download button:

Docker images are big files, so again this will take a couple of minutes. It will first initialise the download:
And then download the package on to your system

Once downloaded, we can save it to our device and unzip the file
Running Downloaded model
The downloaded zip contains four files, but let’s look at the readme first:
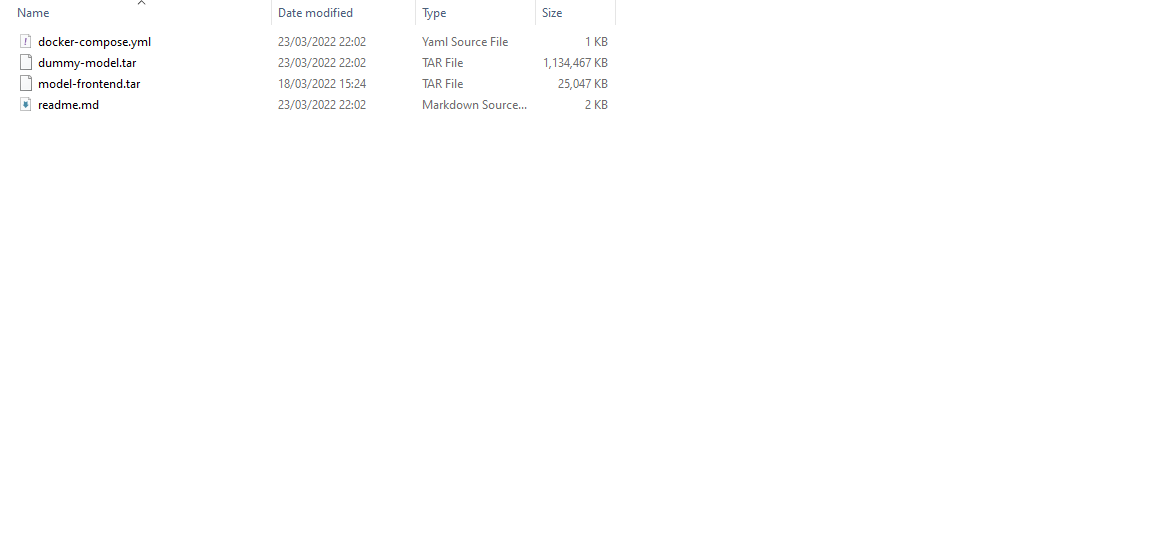

The readme contains an explanation of the files and the commands for running the trained model.
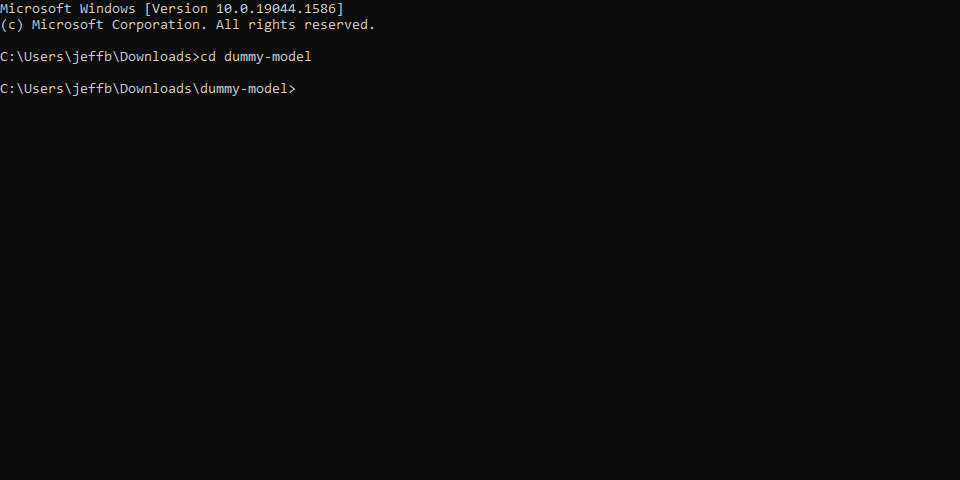
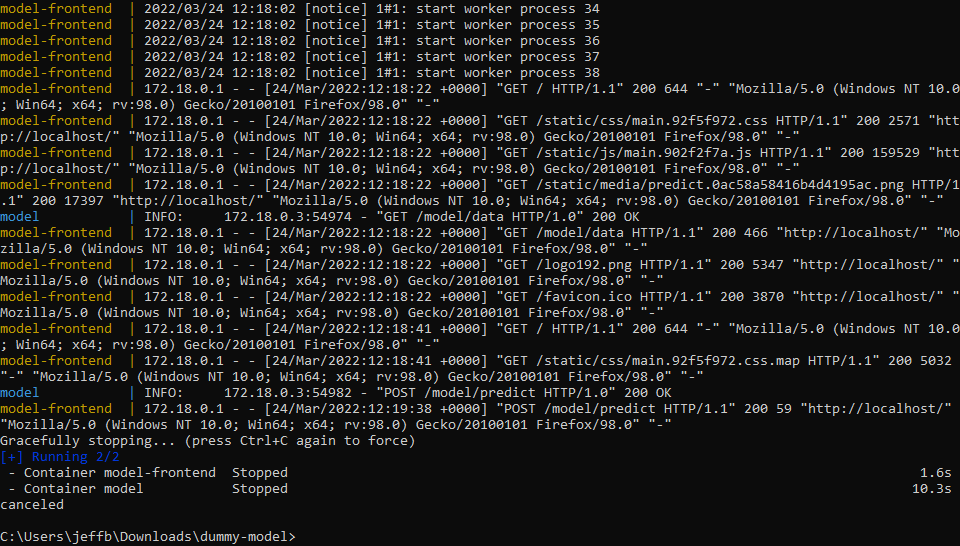
Let’s follow the first instruction by opening the terminal and ‘cd’ing into the directory:
Now let’s run the first two commands which loads the two images into docker:
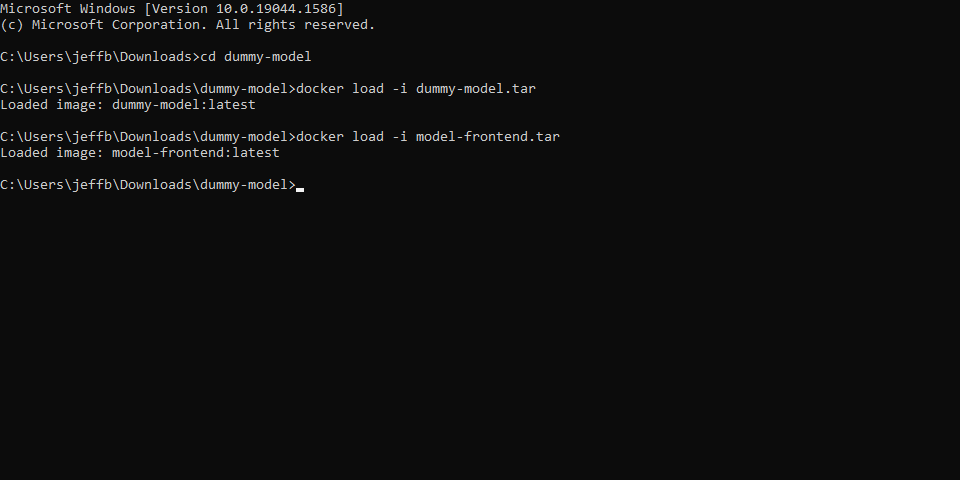
And now let’s run the final command:
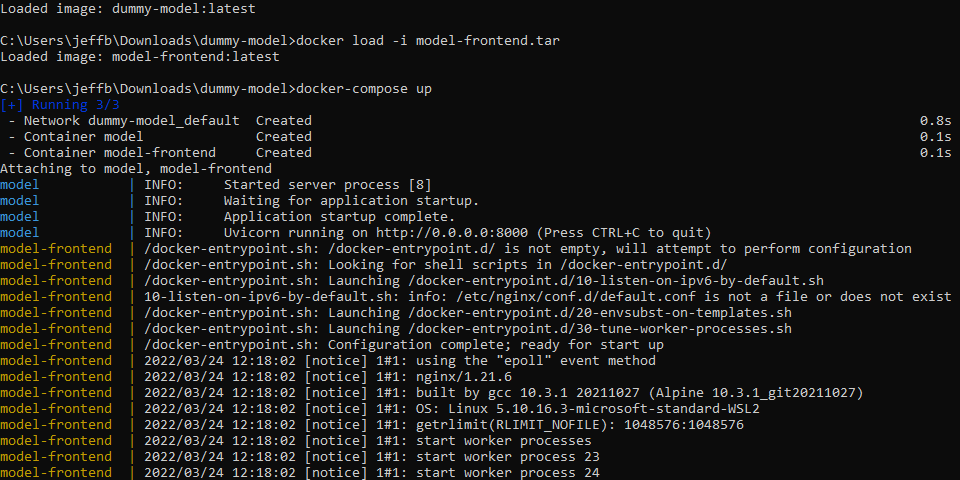
Now we can go to localhost to check it out!
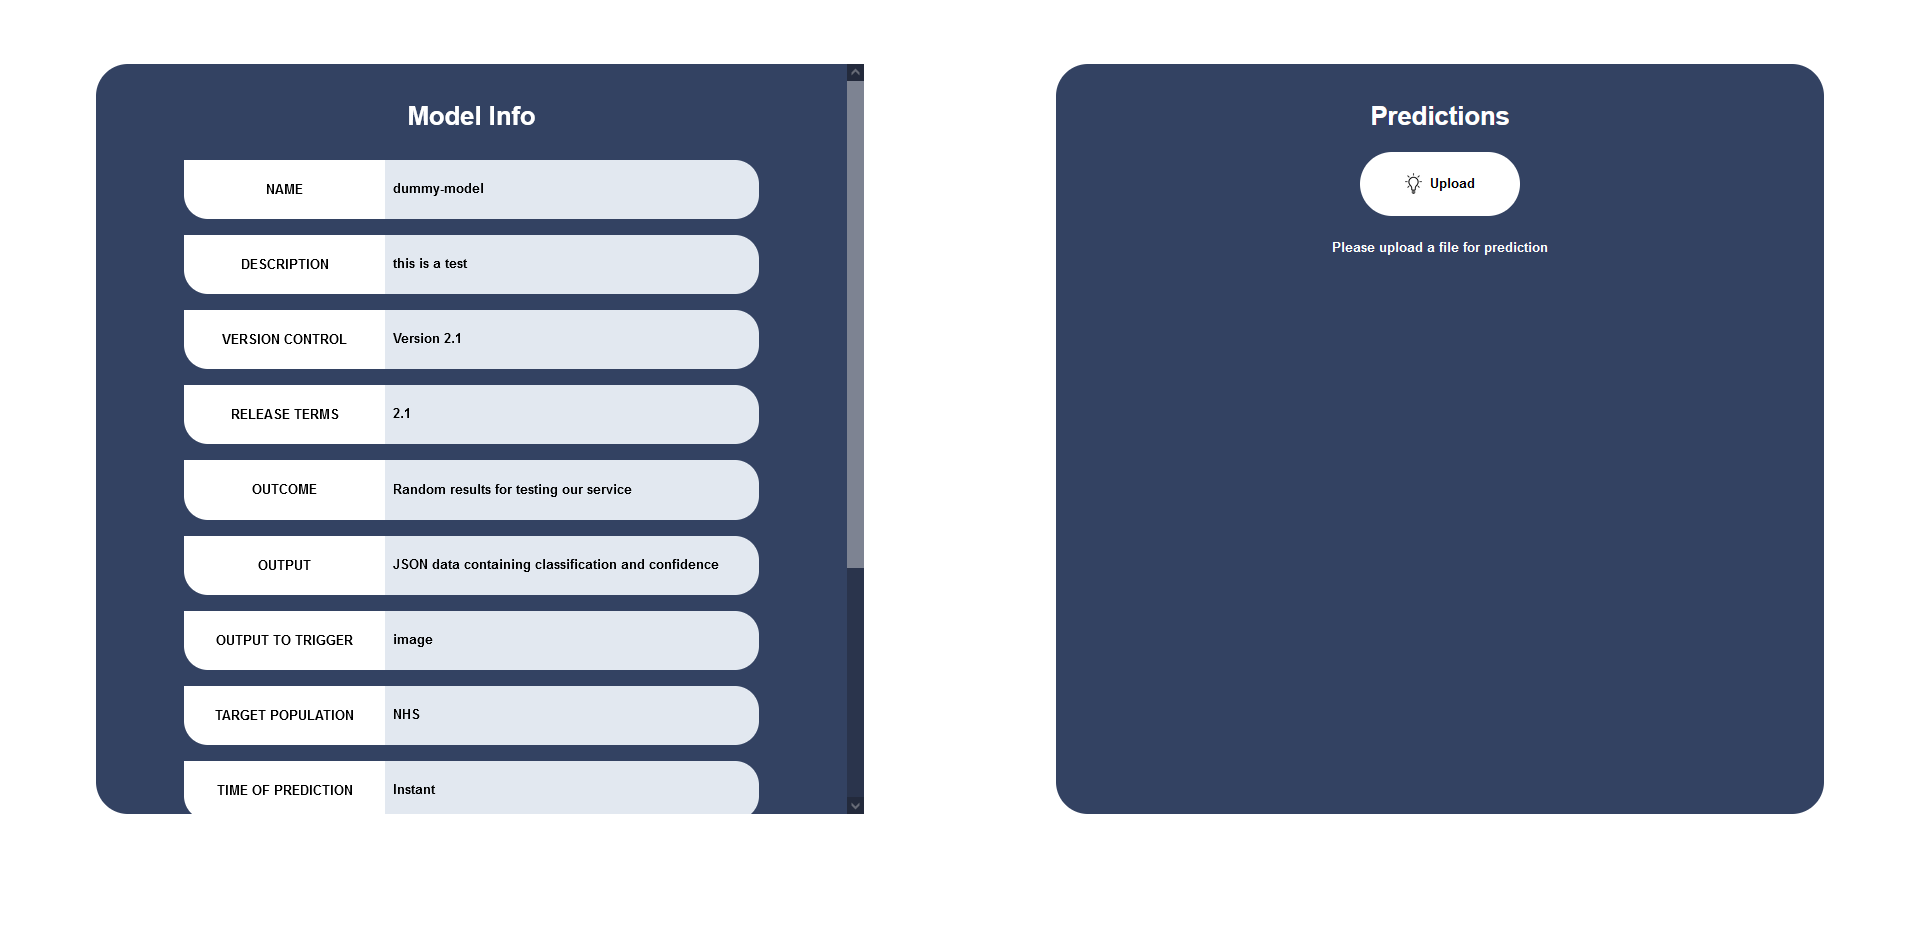
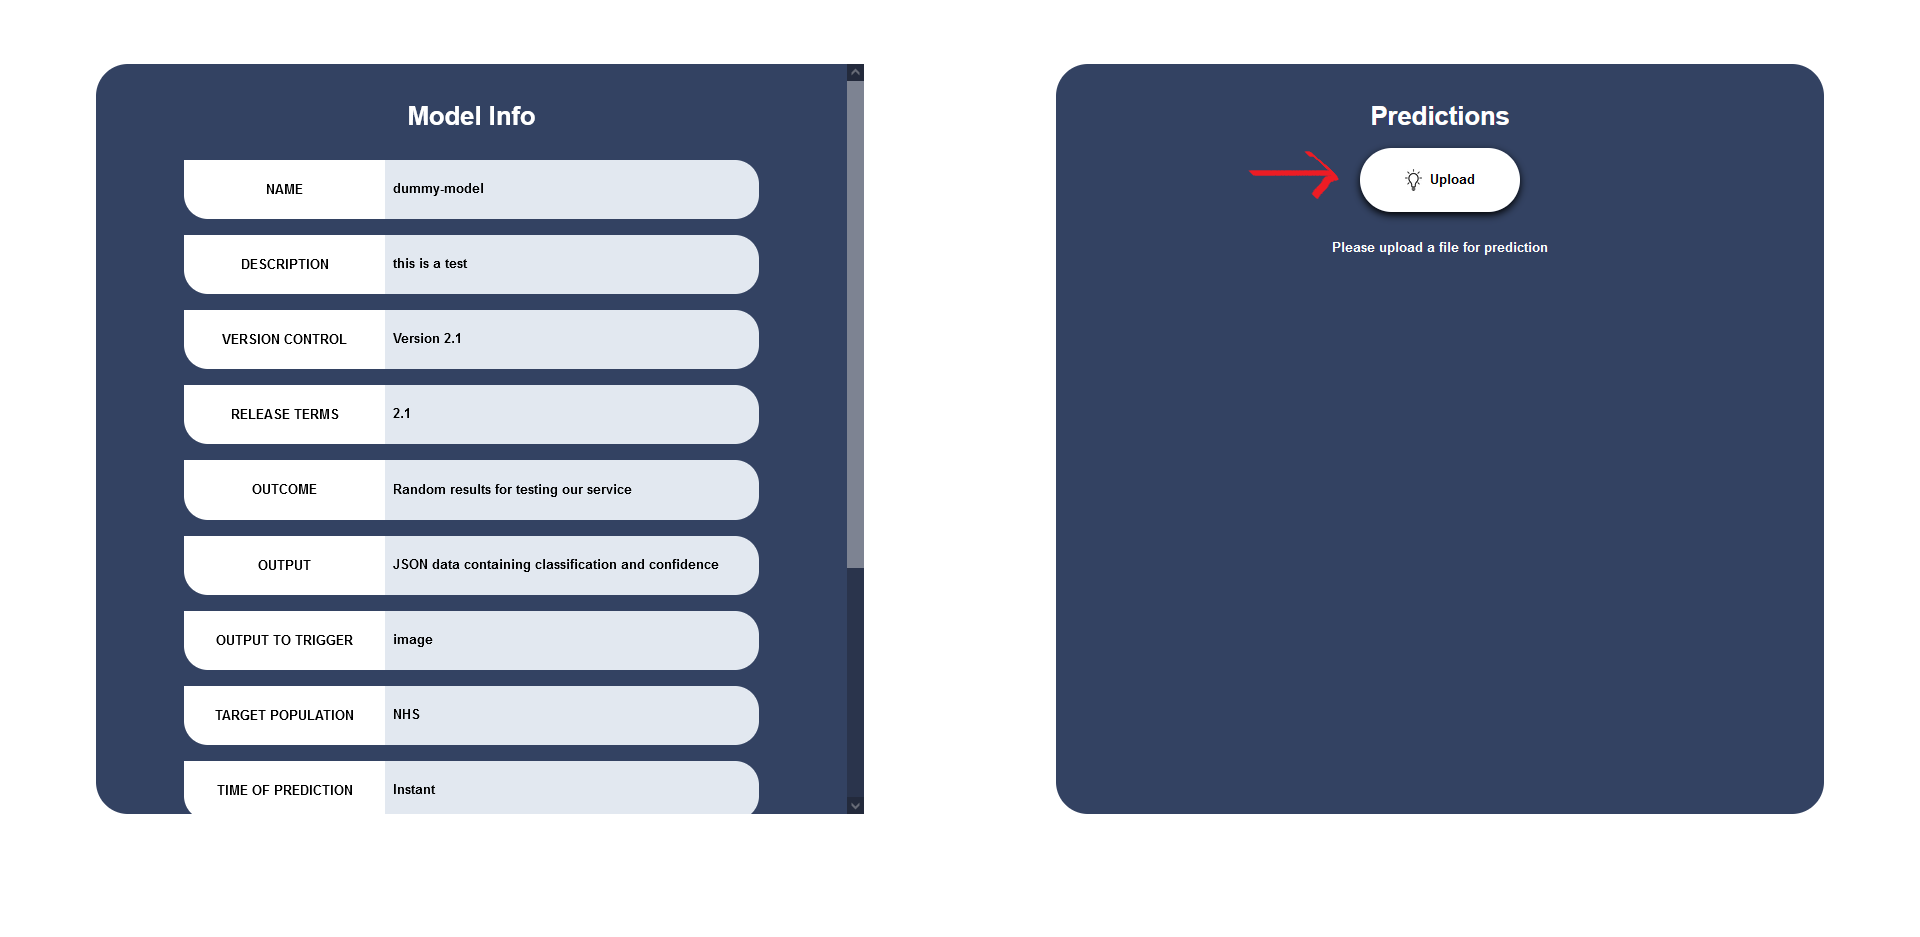
On the left-hand side, we can see the inputted parameters, and on the right, there is the file upload for calling the predict function.
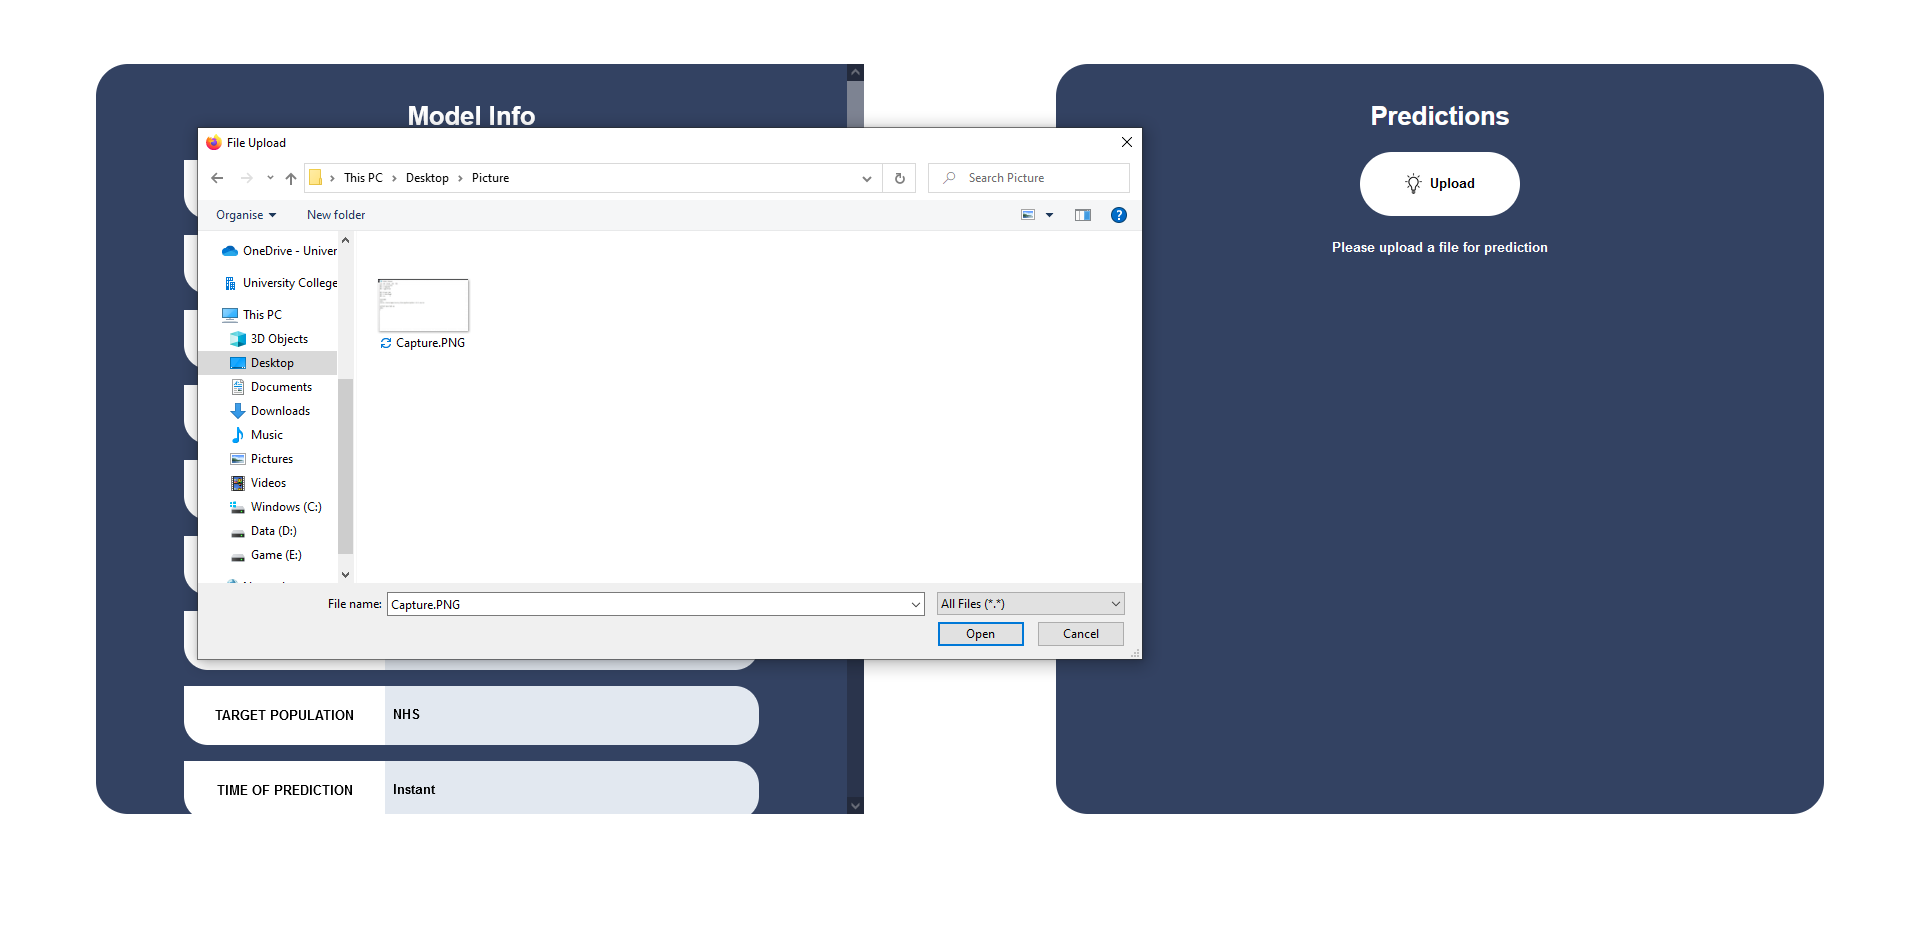
If we click that, we’ll be prompted to upload a file, and I’m going to select one from the HAM10000 dataset we uploaded:
And once I’ve uploaded that, I can see the output classification and confidence from the trained model:
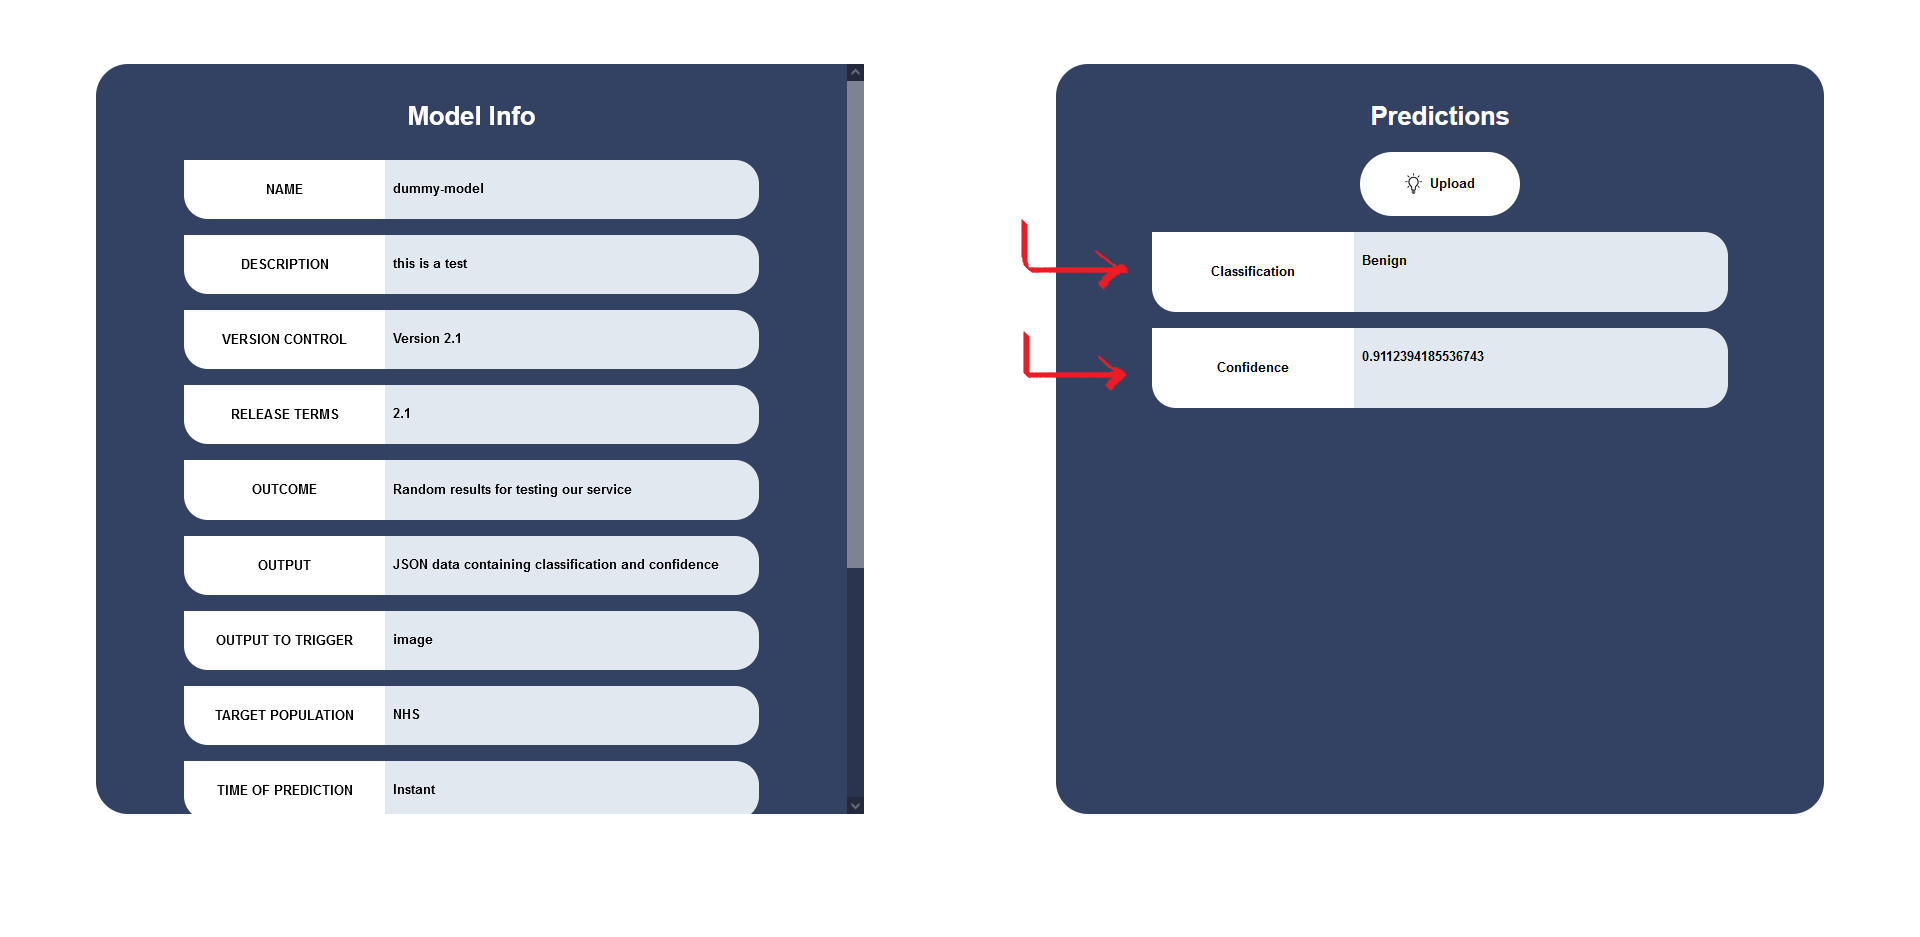
How cool is that!
When I’m done running classifications, we can stop the service by pressing ctrl + C in the terminal:
Making Feedback for a model
Now let’s head back to the main application and submit some feedback:

Here we can input feedback type and category, parameters defined by our client, and the feedback itself
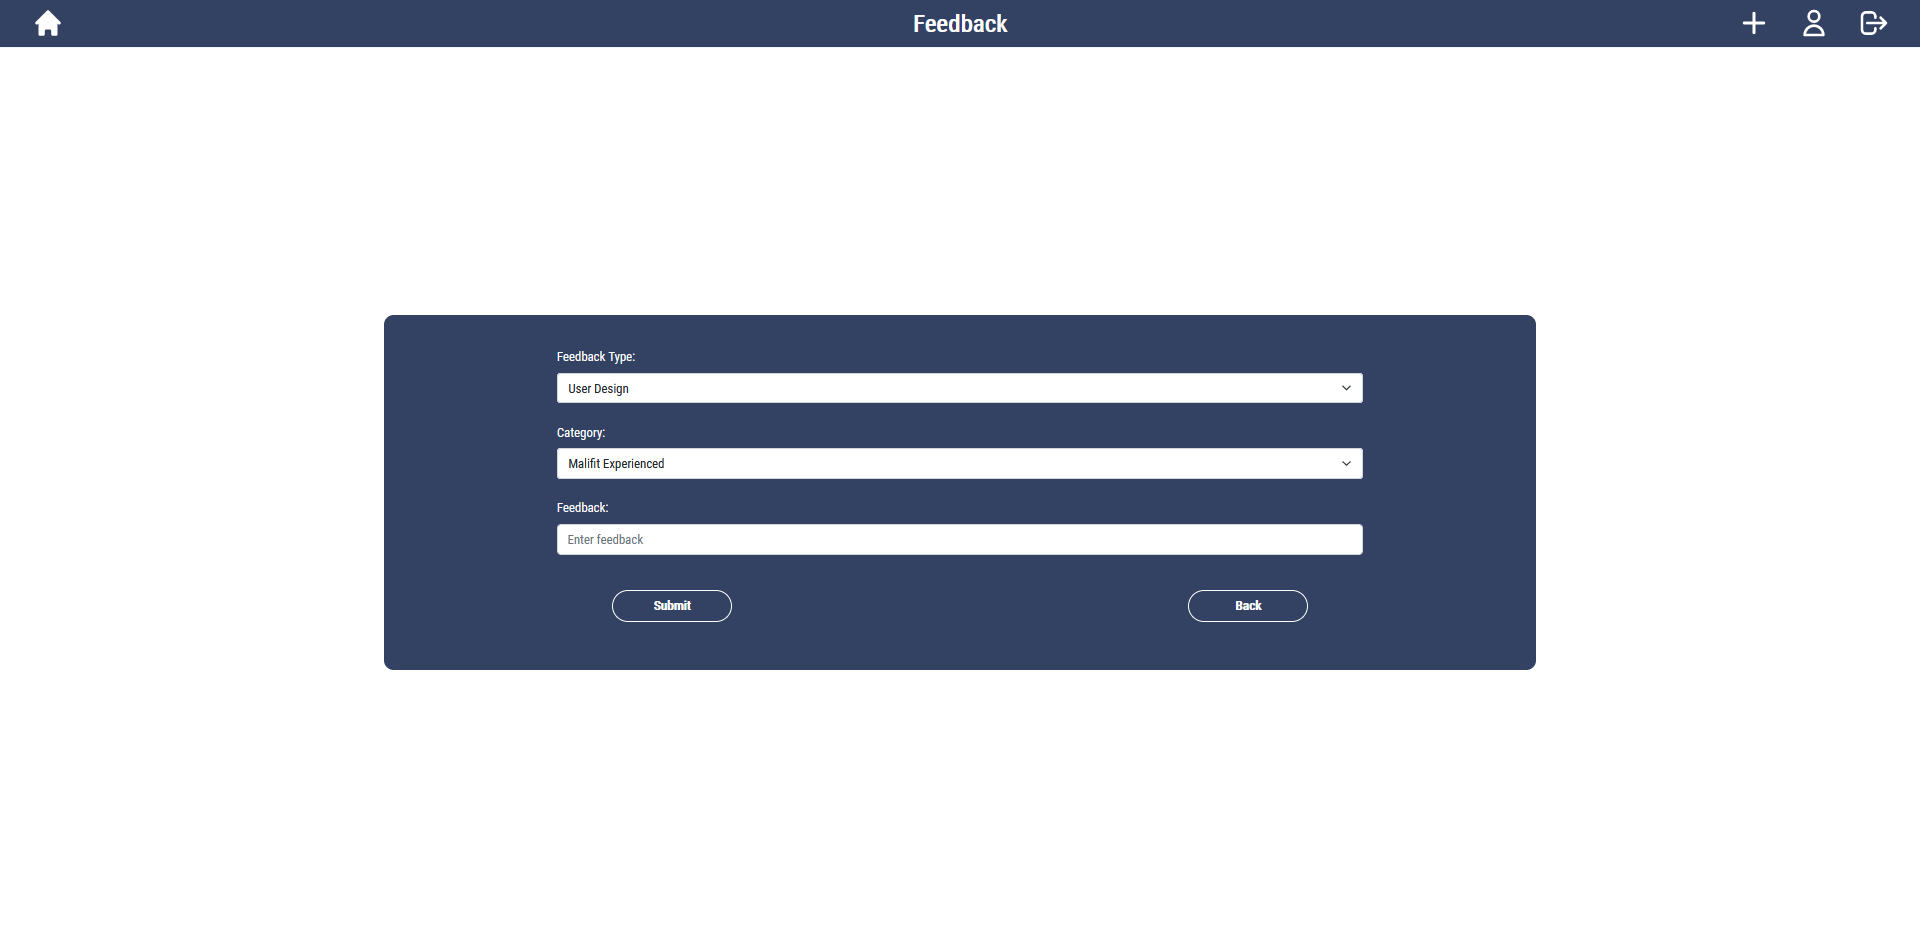
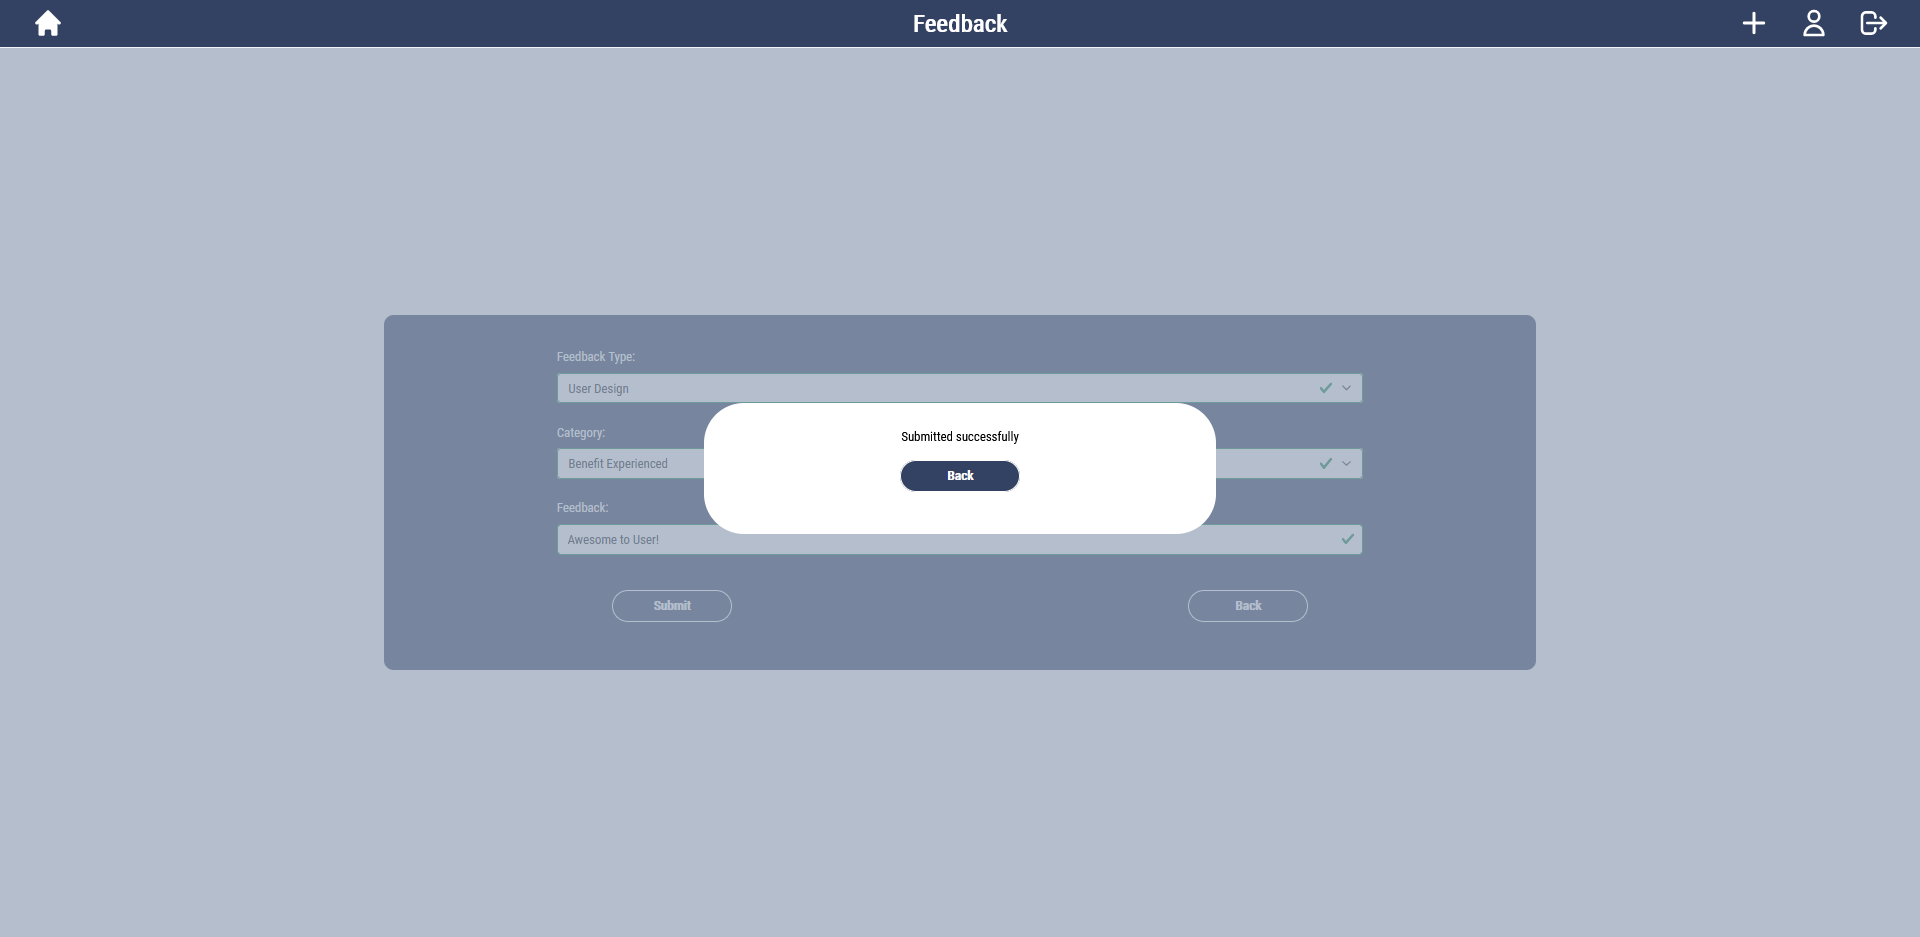
I’ll put in some example input and click submit:

Now if we go back to that model page again and scroll down, we will see our feedback:
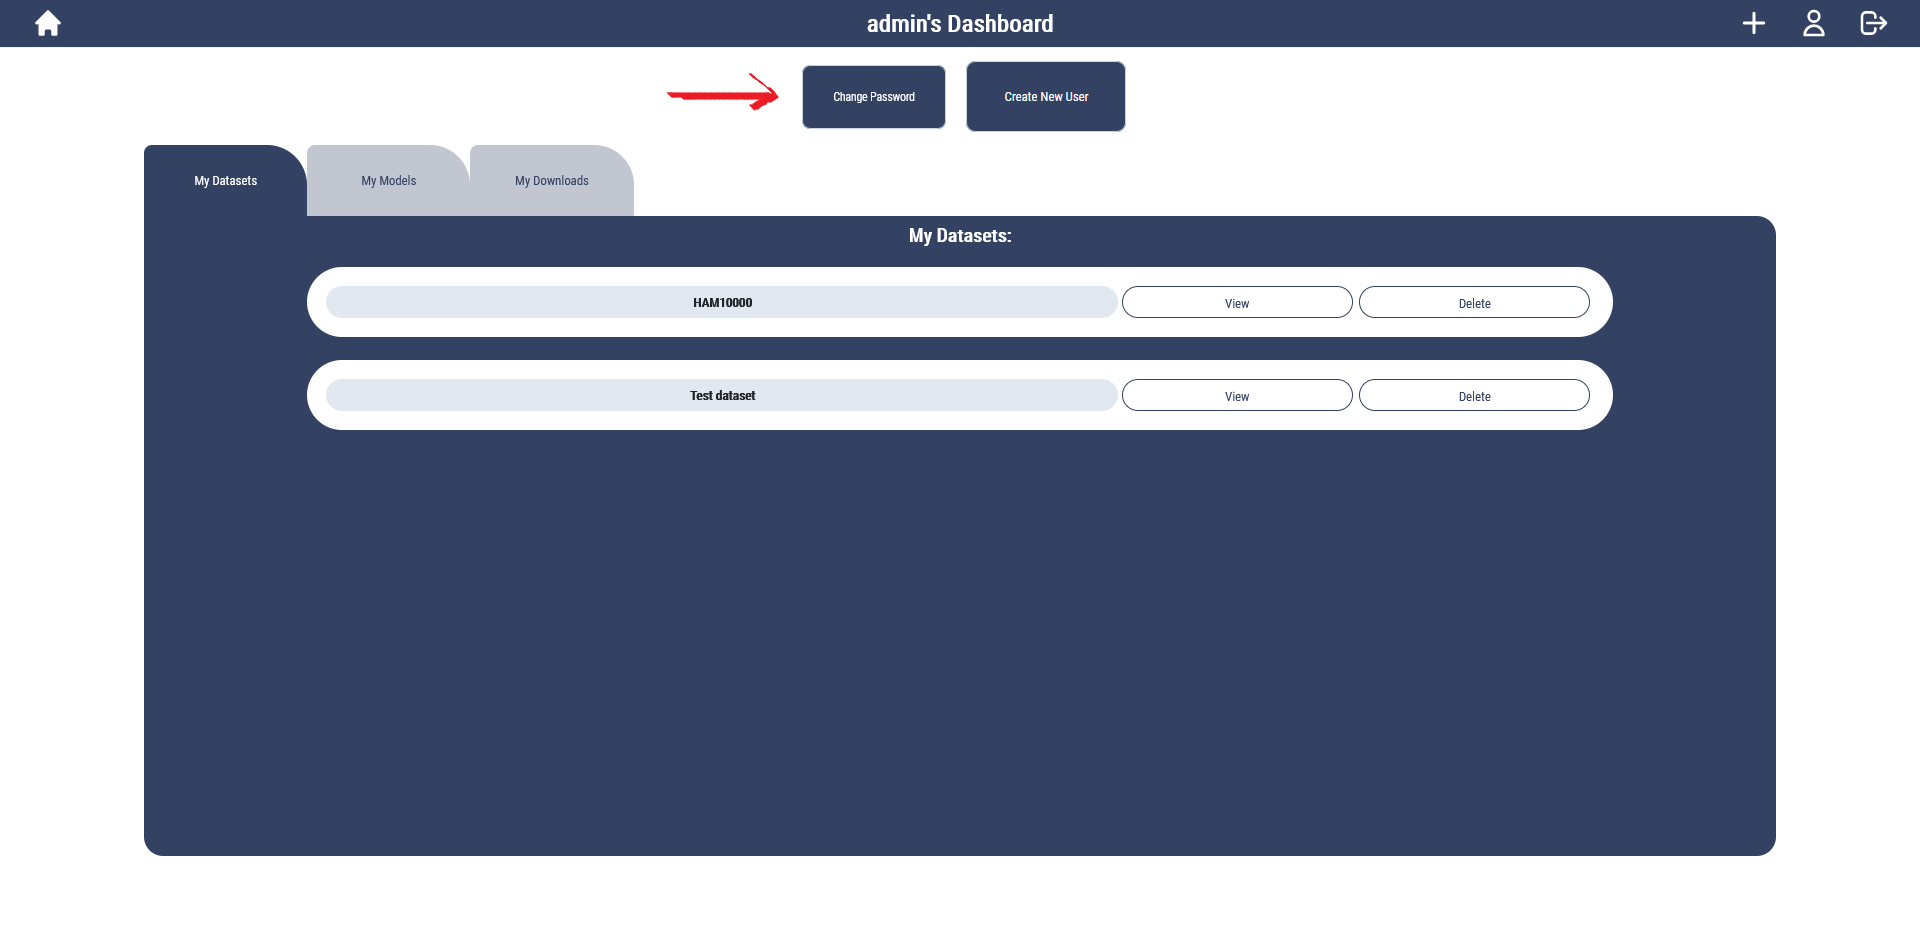
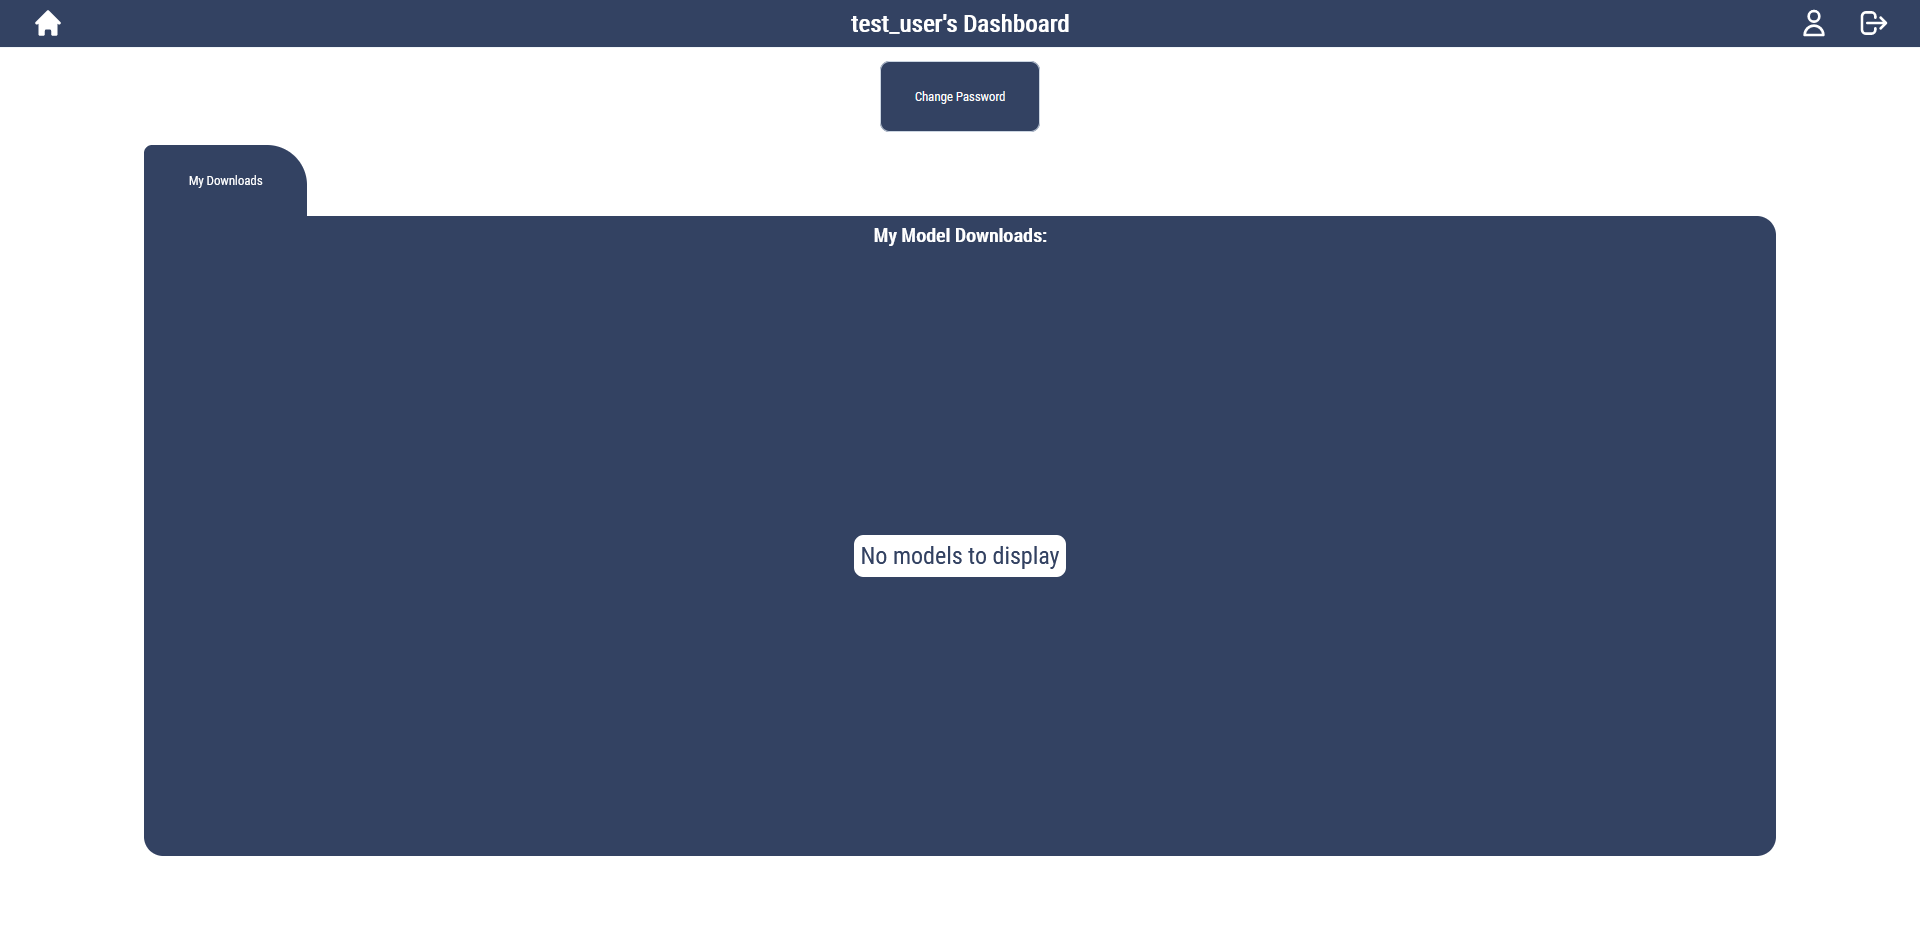
Dashboard
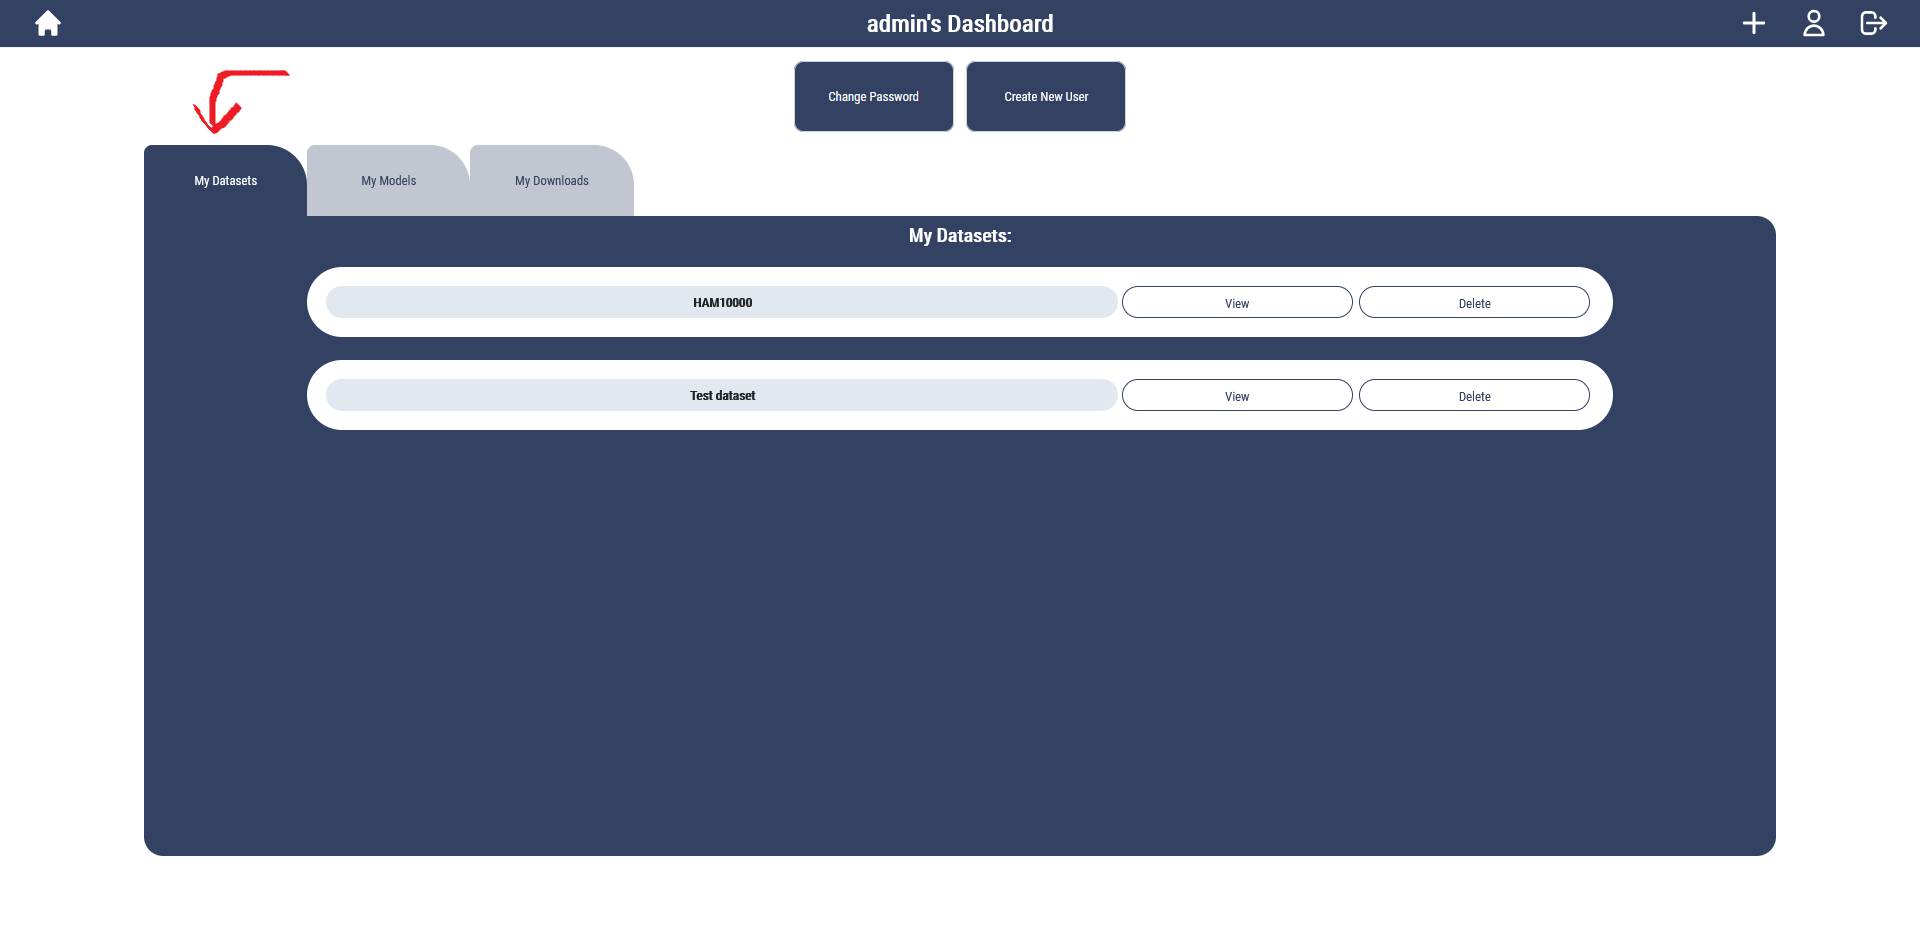
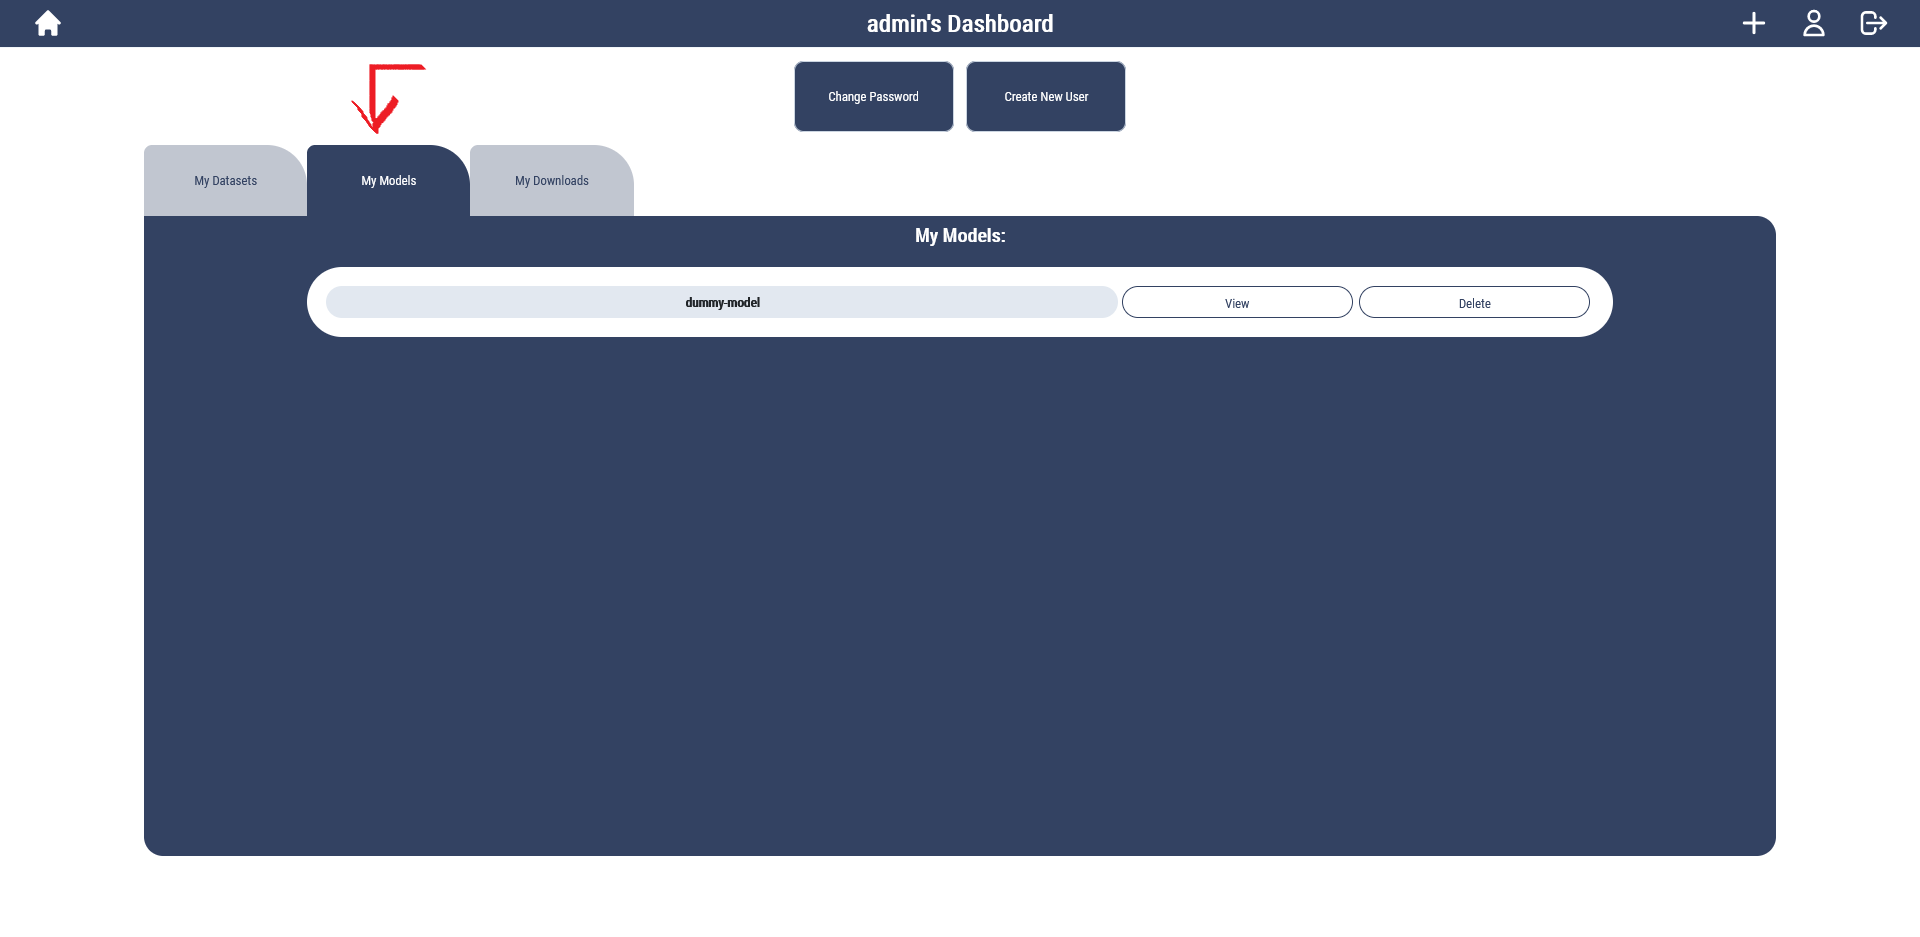
Let's checkout our dashboard:
Here we can see my uploaded models, datasets, and the models I’ve downloaded by clicking on the corresponding tabs:
Here I can quickly navigate to my models and datasets to view them or delete them.
I can also see the models I’ve downloaded for quickly giving feedback on the My Downloads page.

Change Password
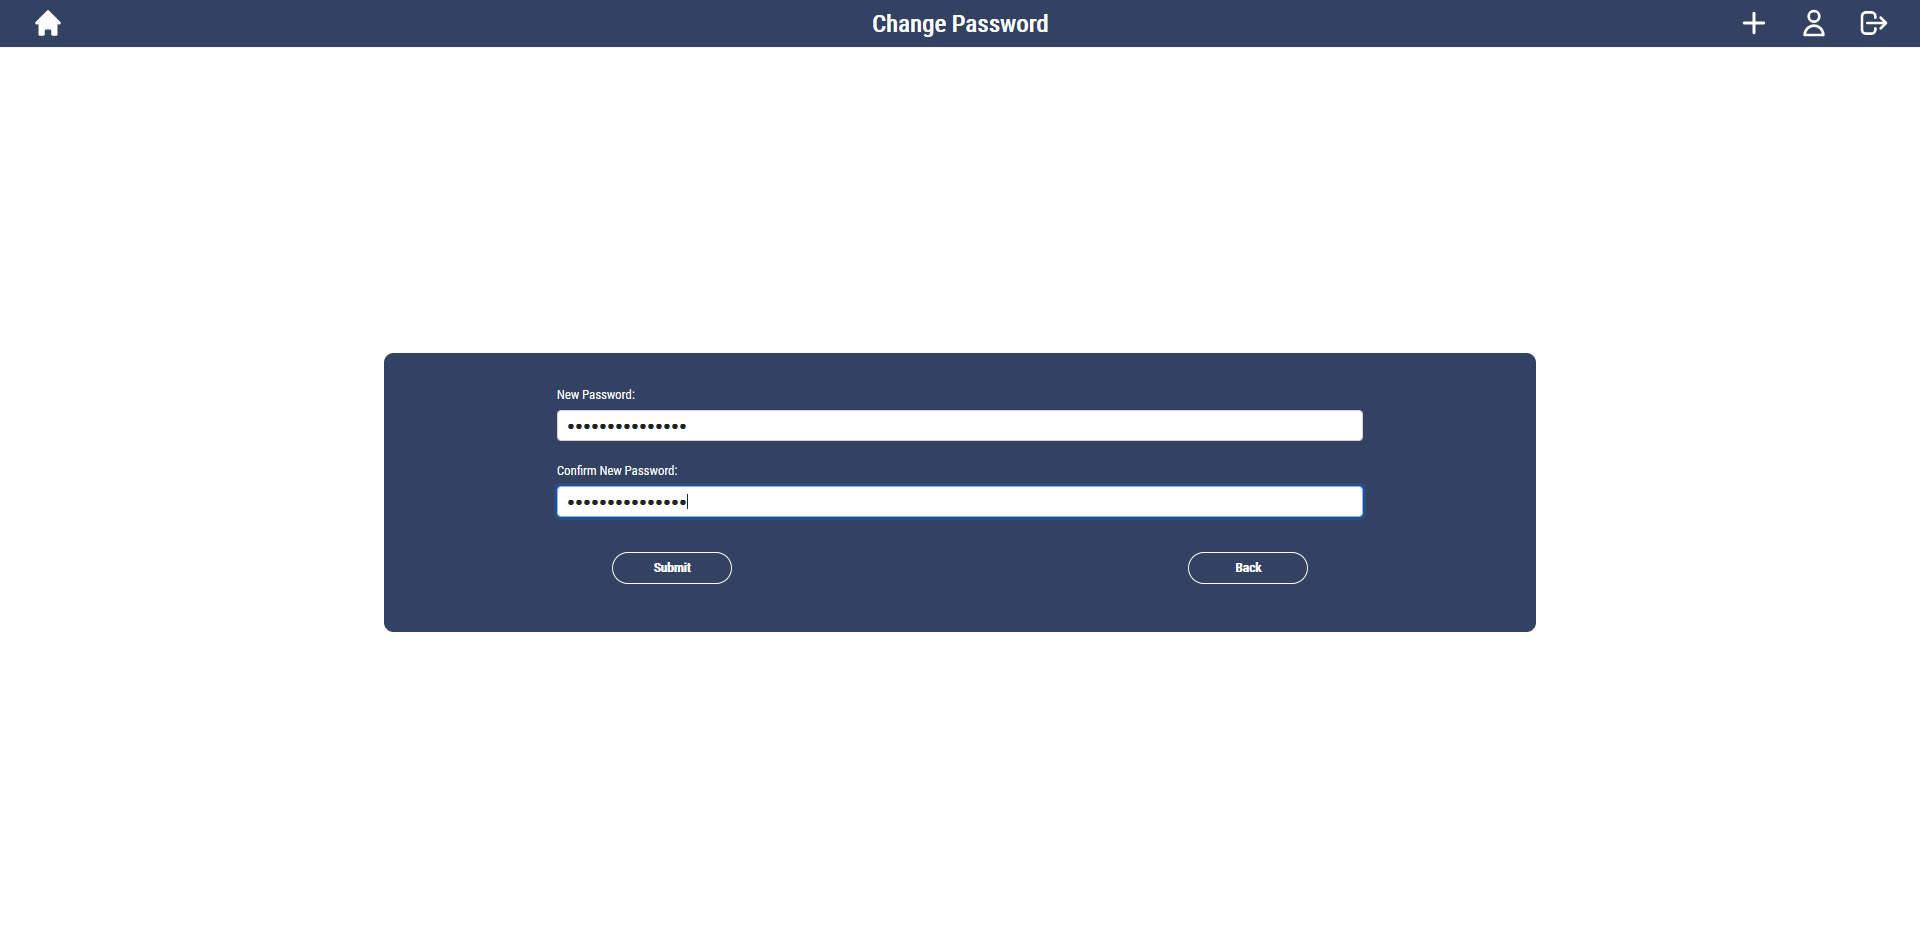
You would be able to change your password in your dashboard:
And you will be navigated to this page:
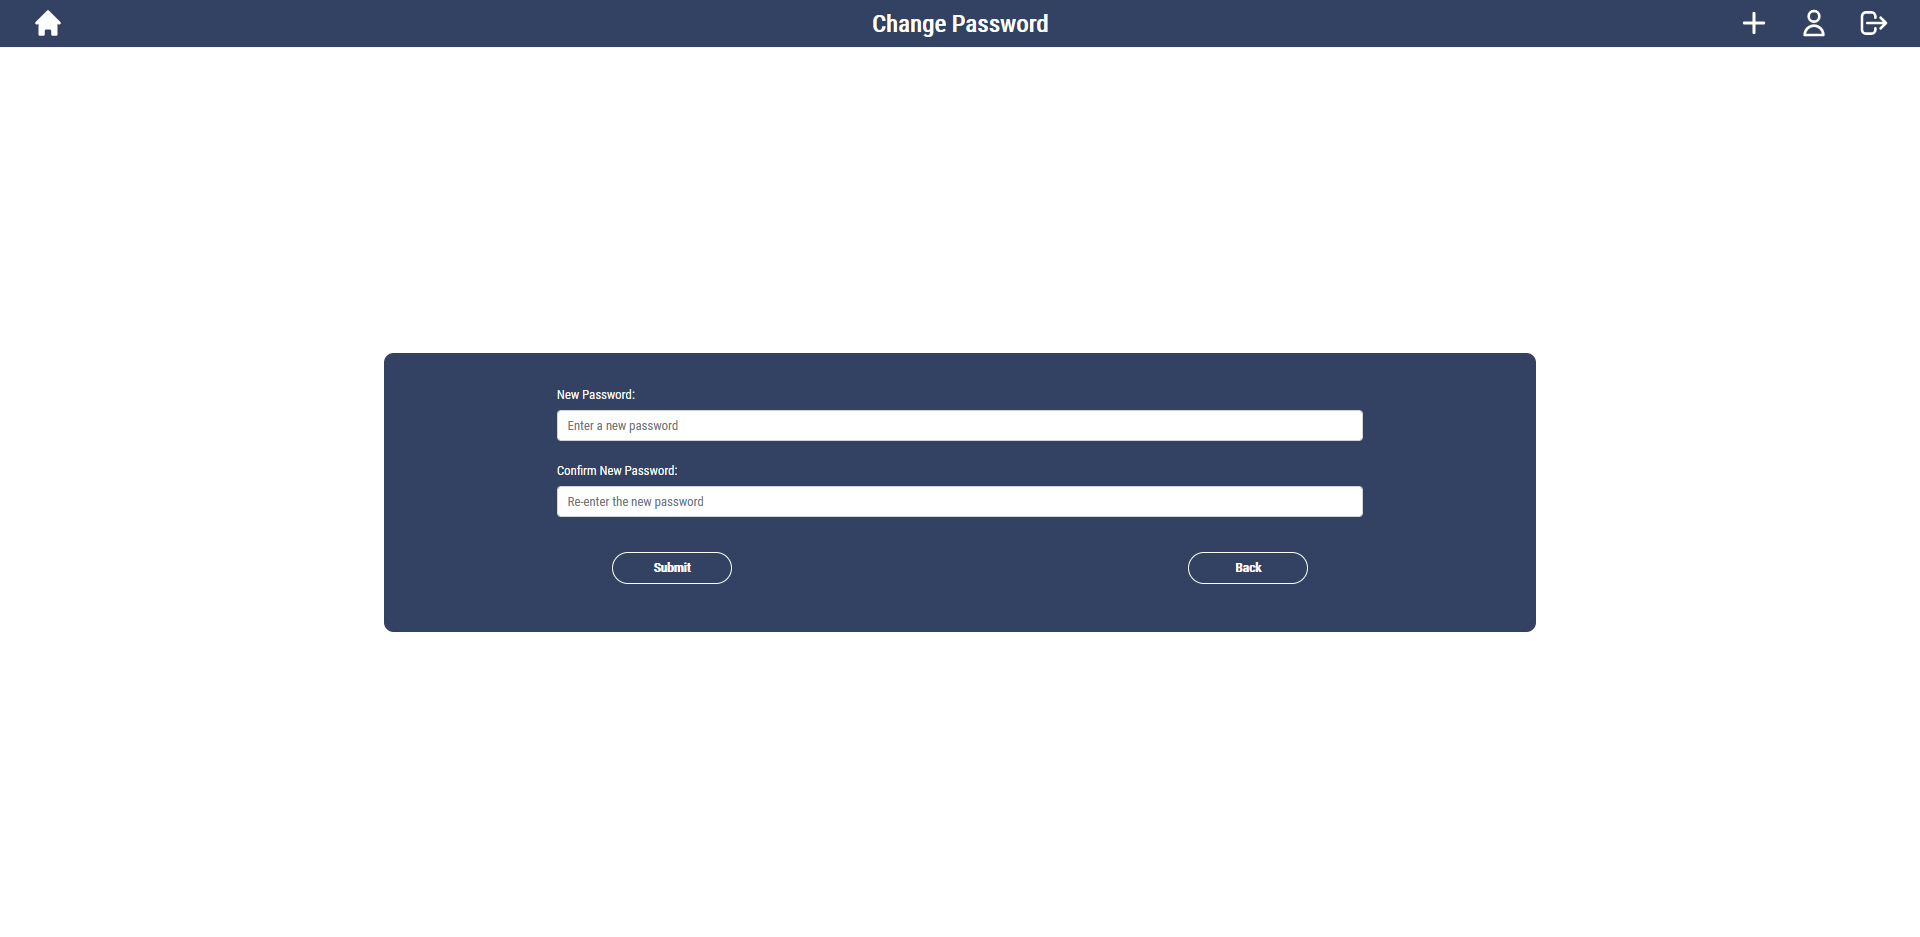
Click submit after entering your new password twice:
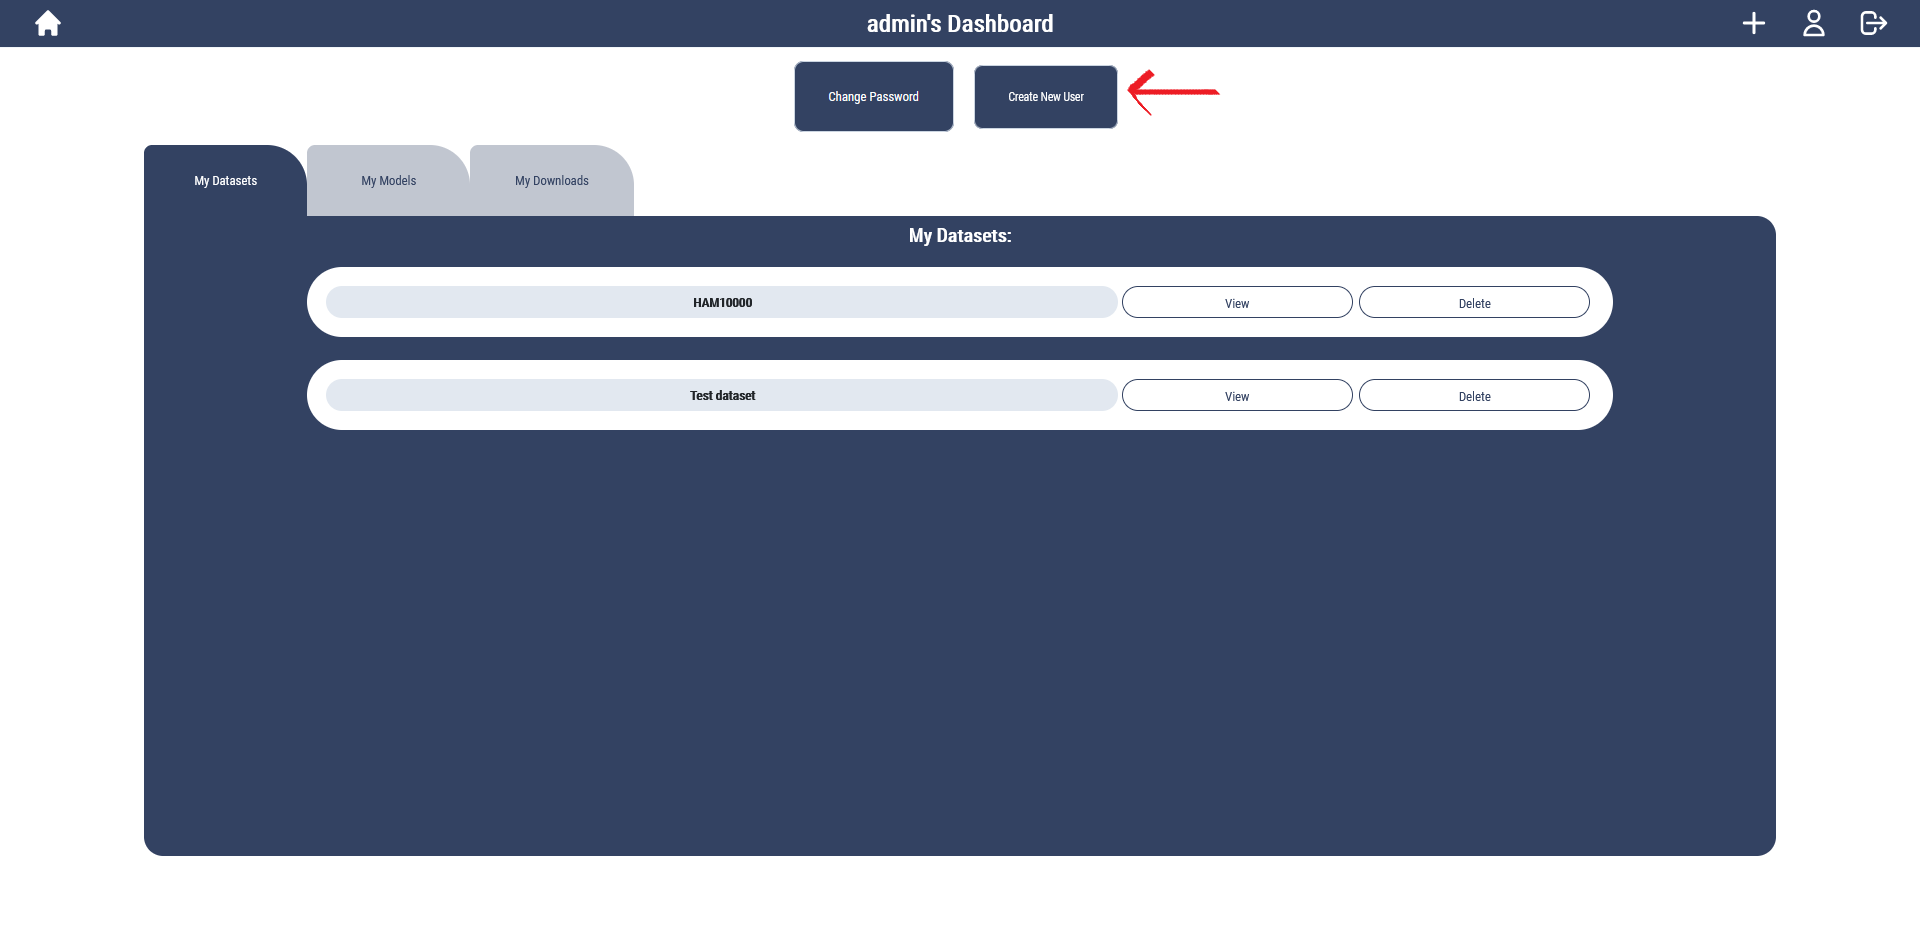
Create new user
Given that you are an admin user, you would be able to create new user in your dashboard:
And here is the new user page:
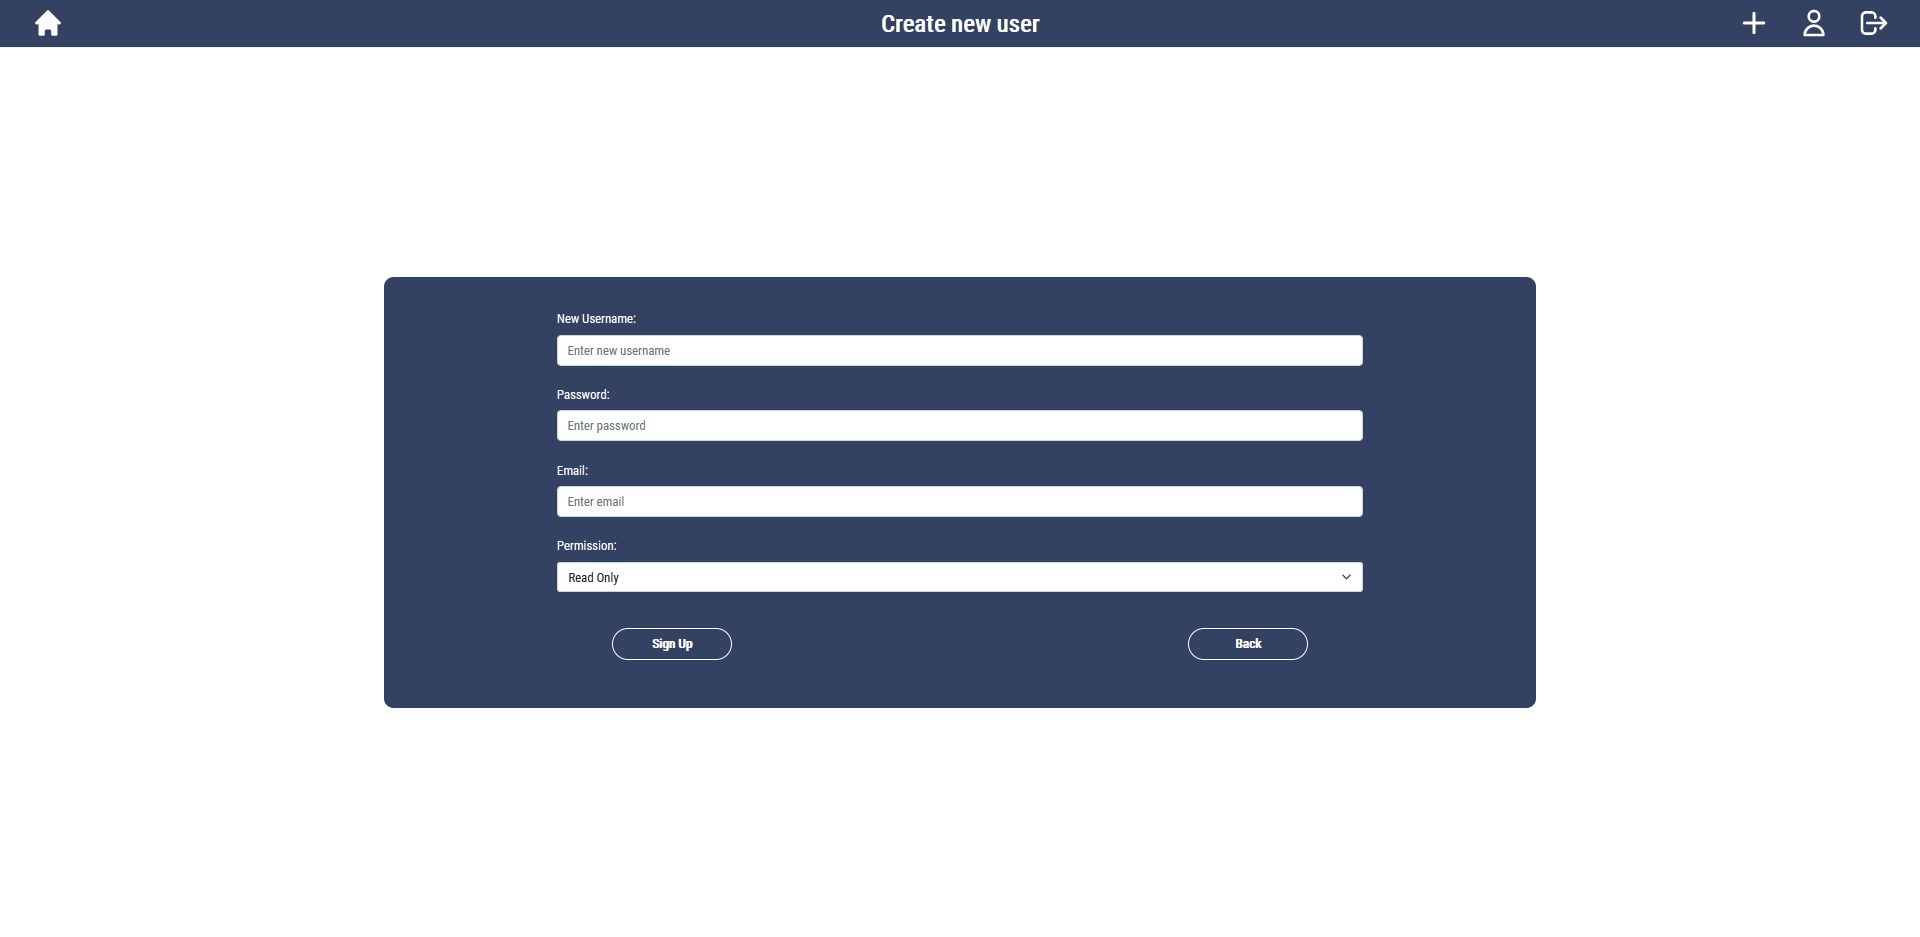
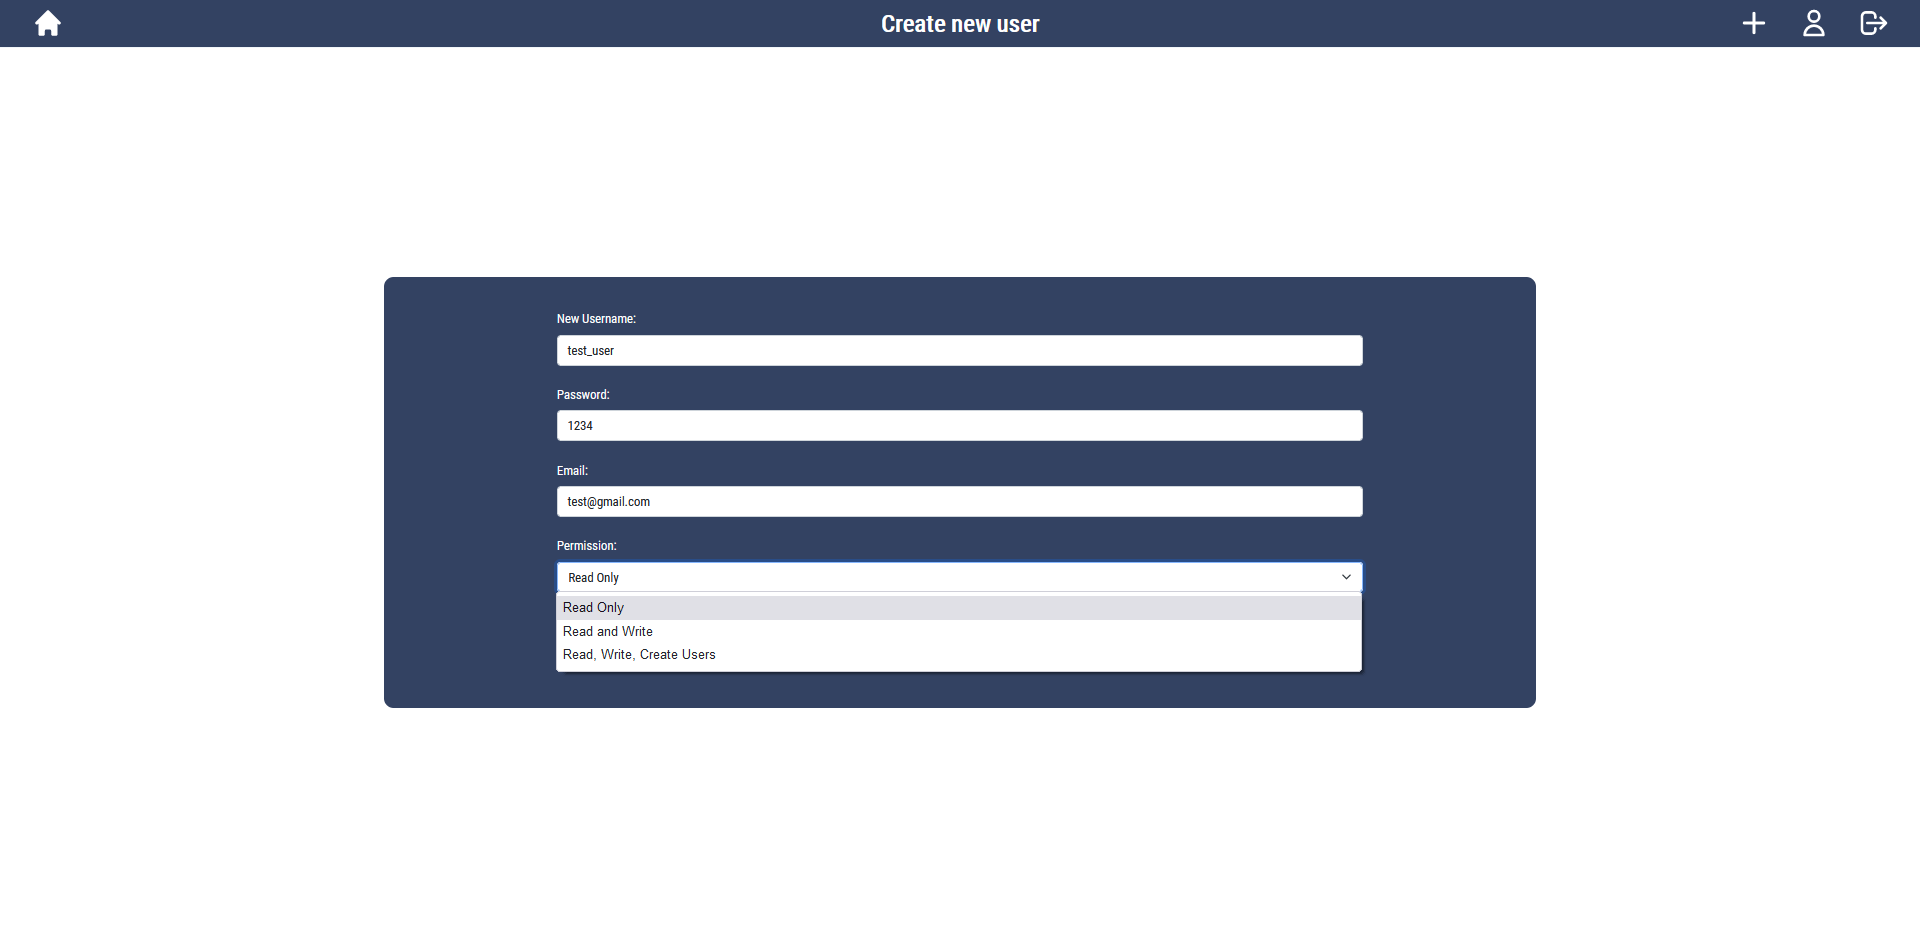
Note that only administrators with the correct permissions can create new users. Here we can enter the new users username, initial password, email, and permissions:
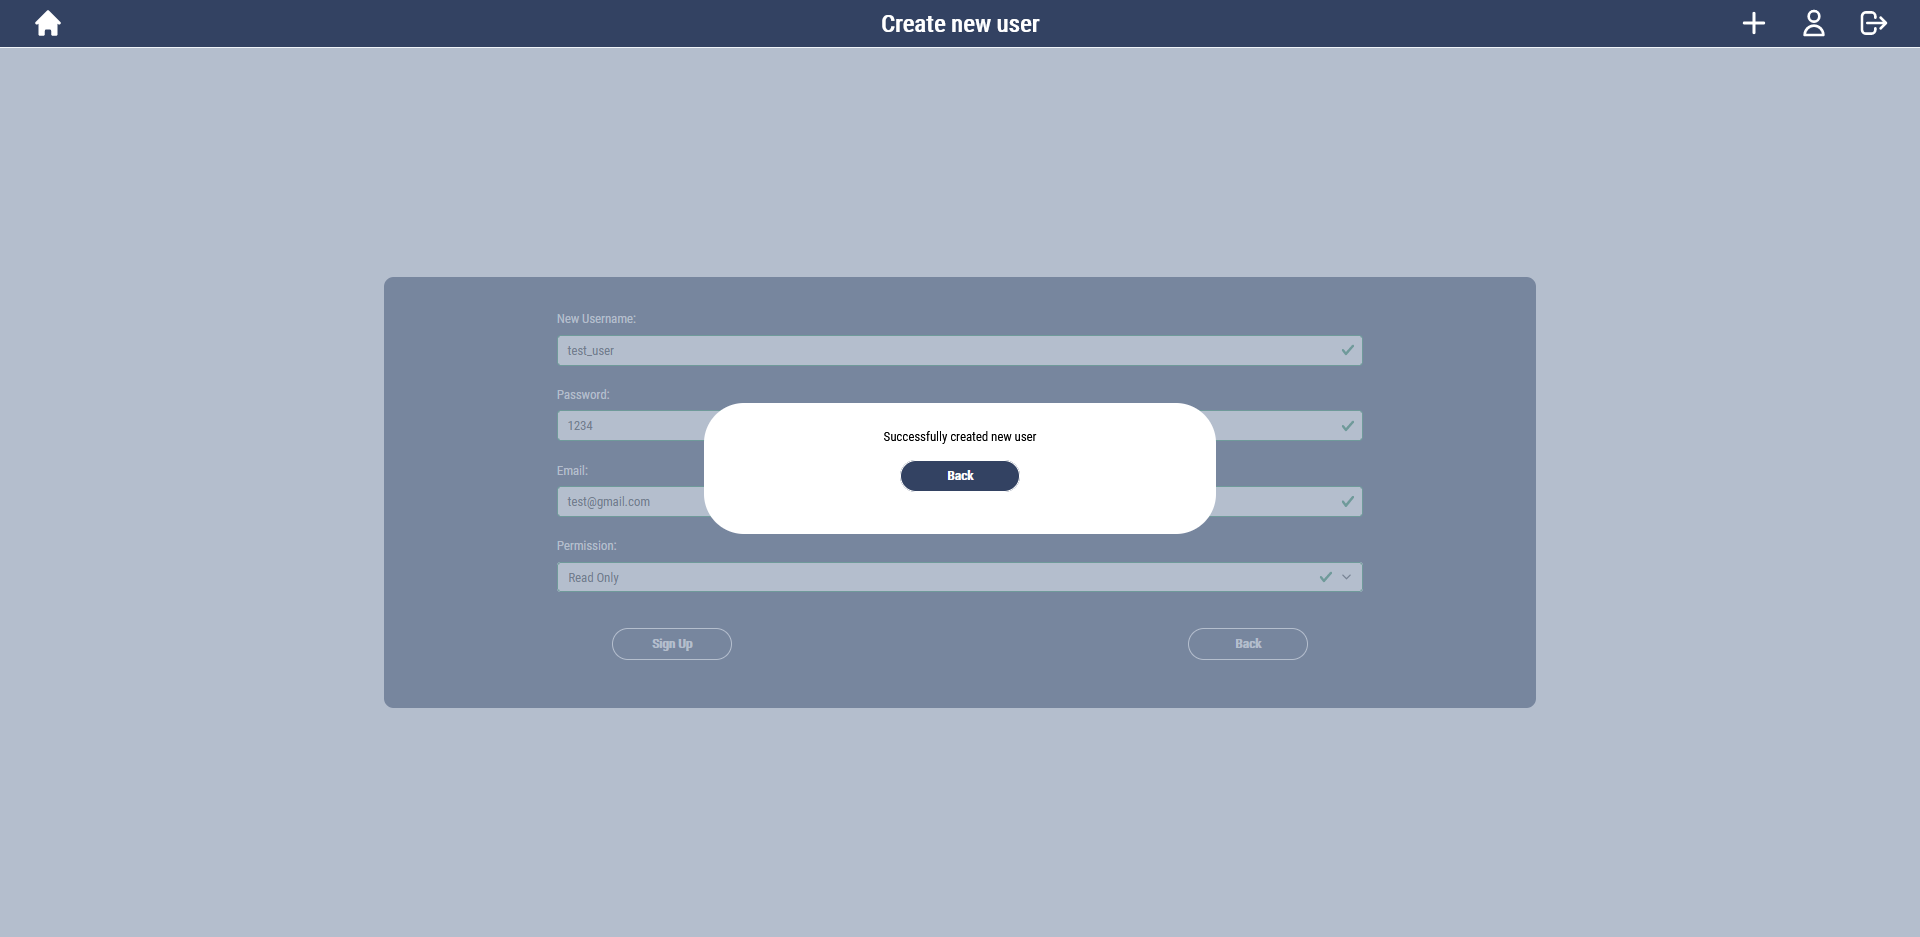
If I click sign up, this new user is created and can now login:

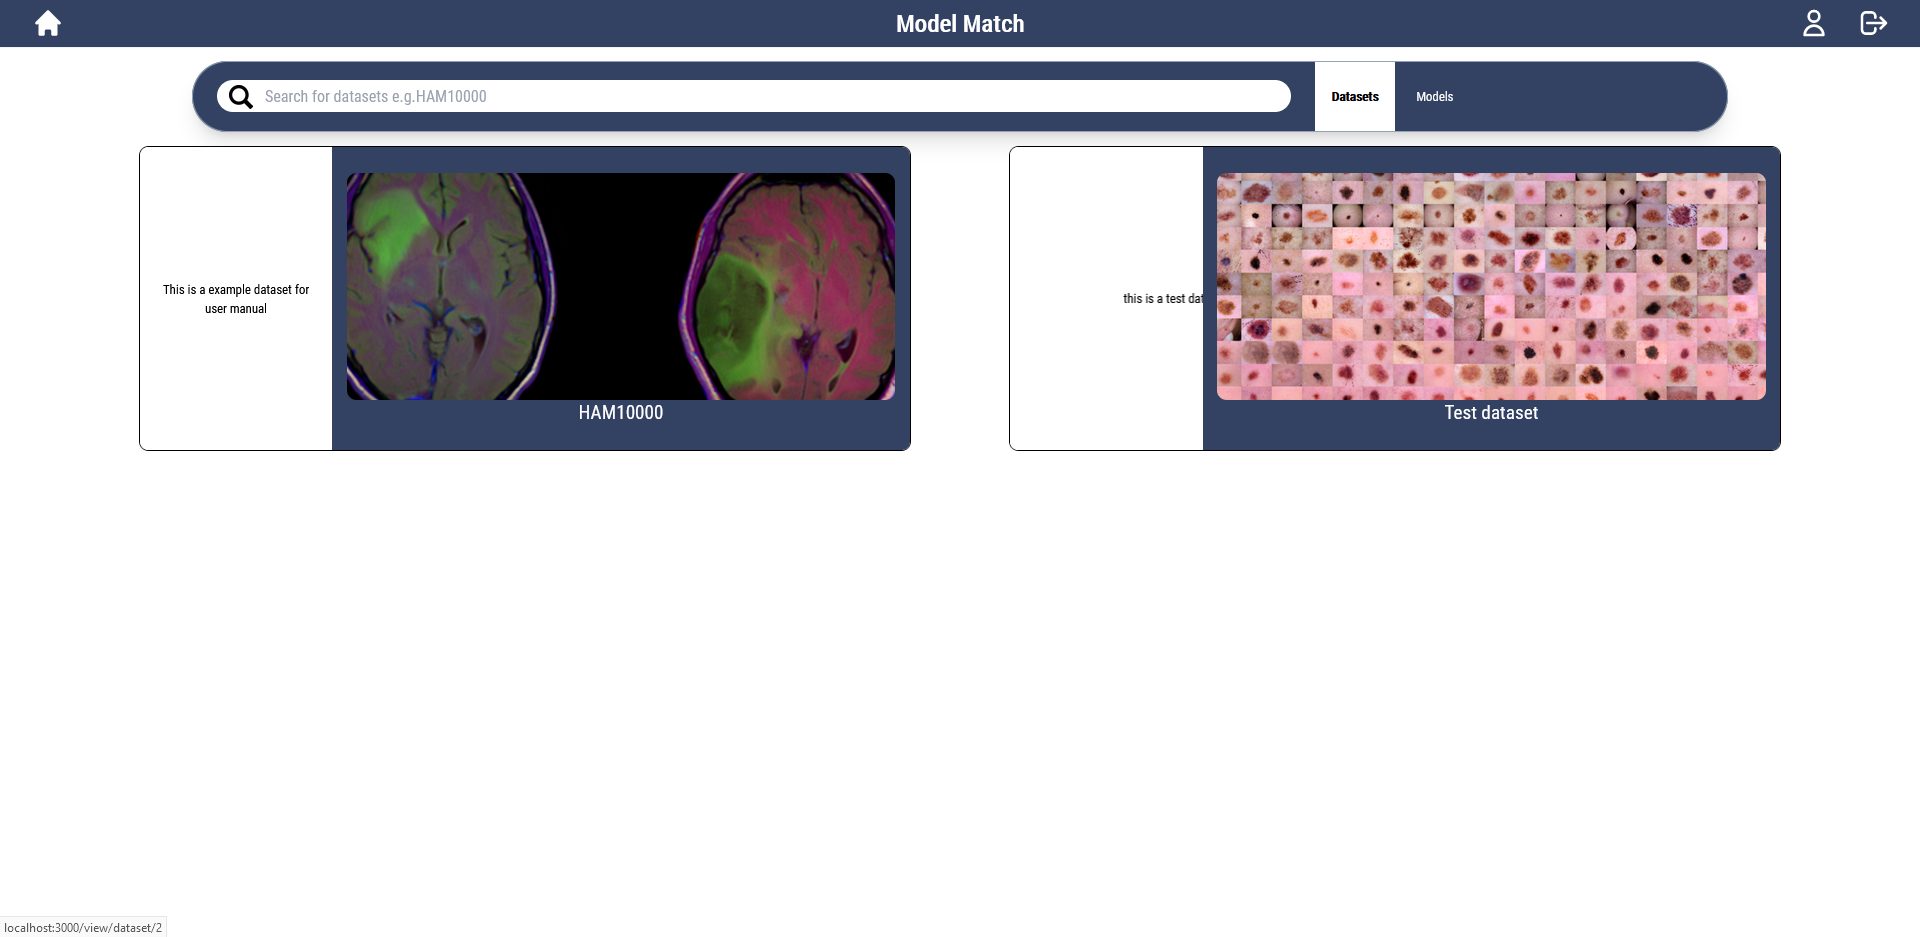
On their home page, they will be able to see and download the models and datasets we created earlier, but they wouldn't have the upload '+' button at the top right corner as they're read only:
In addition, their dashboard will be empty, as that displays your models and datasets that you’ve uploaded, and they wouldn't have the option to create new users as well:
Logout
In the top right of the navigation bar, there is the logout button:

Which takes you back to the login page:
Hopefully this has given you a better understanding of using our system. Happy model matching!