
User Manual
How to use our system.
Live website can be found
https://porterble-ui-c29ff.web.app/
Instructions on how to download the mobile app can be found
https://porterble-ui-c29ff.web.app/appInstructions
Porter Management
Before the mobile app can be used by the porters, they need to be registered in the system. This can be done by pressing "Add Porter" button in the main screen:
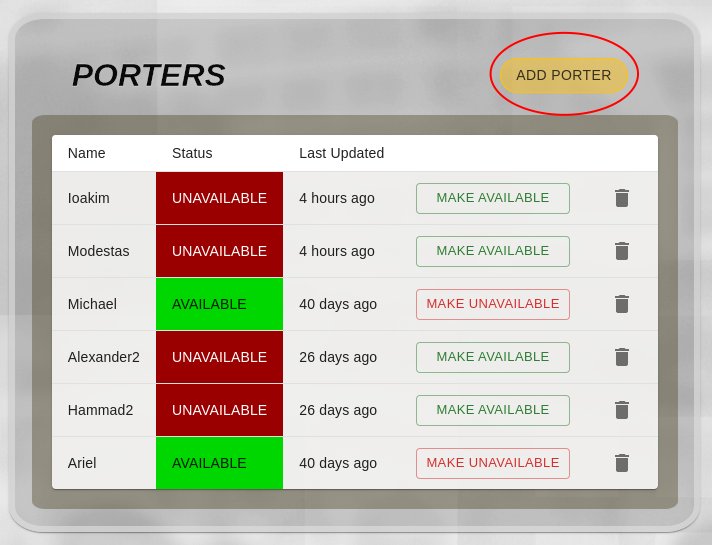
Figure 1: Add porter button
and then inputing the porter's name and phone number:
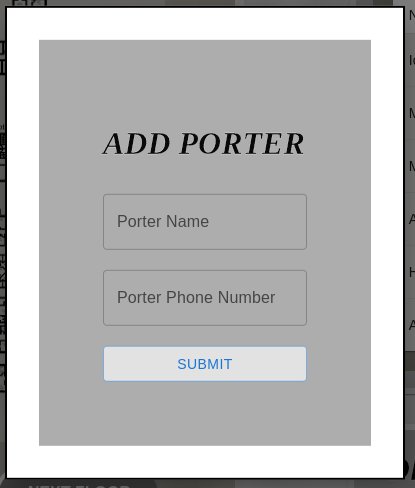
Figure 2: Add porter form
Beacon and Location management
Before the application can be used properly, the website administrator will need to add the beacons and locations. Beacons should be placed on the map corresponding to their position in the real hospital. Locations are the possible starting and ending points for delivery and can be placed on the floor plan the same way. Adding a beacon or location is as simple as navigating to the "Beacons" or "Locations" tab in the top right, respectively. Then clicking on the desired position on the floor plan, inputing a MAC address for the beacon or the name for location and pressing "Create". The list below the form will be automatically updated.
Figure 3: Add beacon form
Logging In
After the porter is added to the system, they can use the mobile app to login. The porter will need to input their name, phone number and press "Sign in". At that point, a new field for one time pin will appear and the porter will receive an SMS with the code. Entering the code and pressing "Submit" will log the user in:
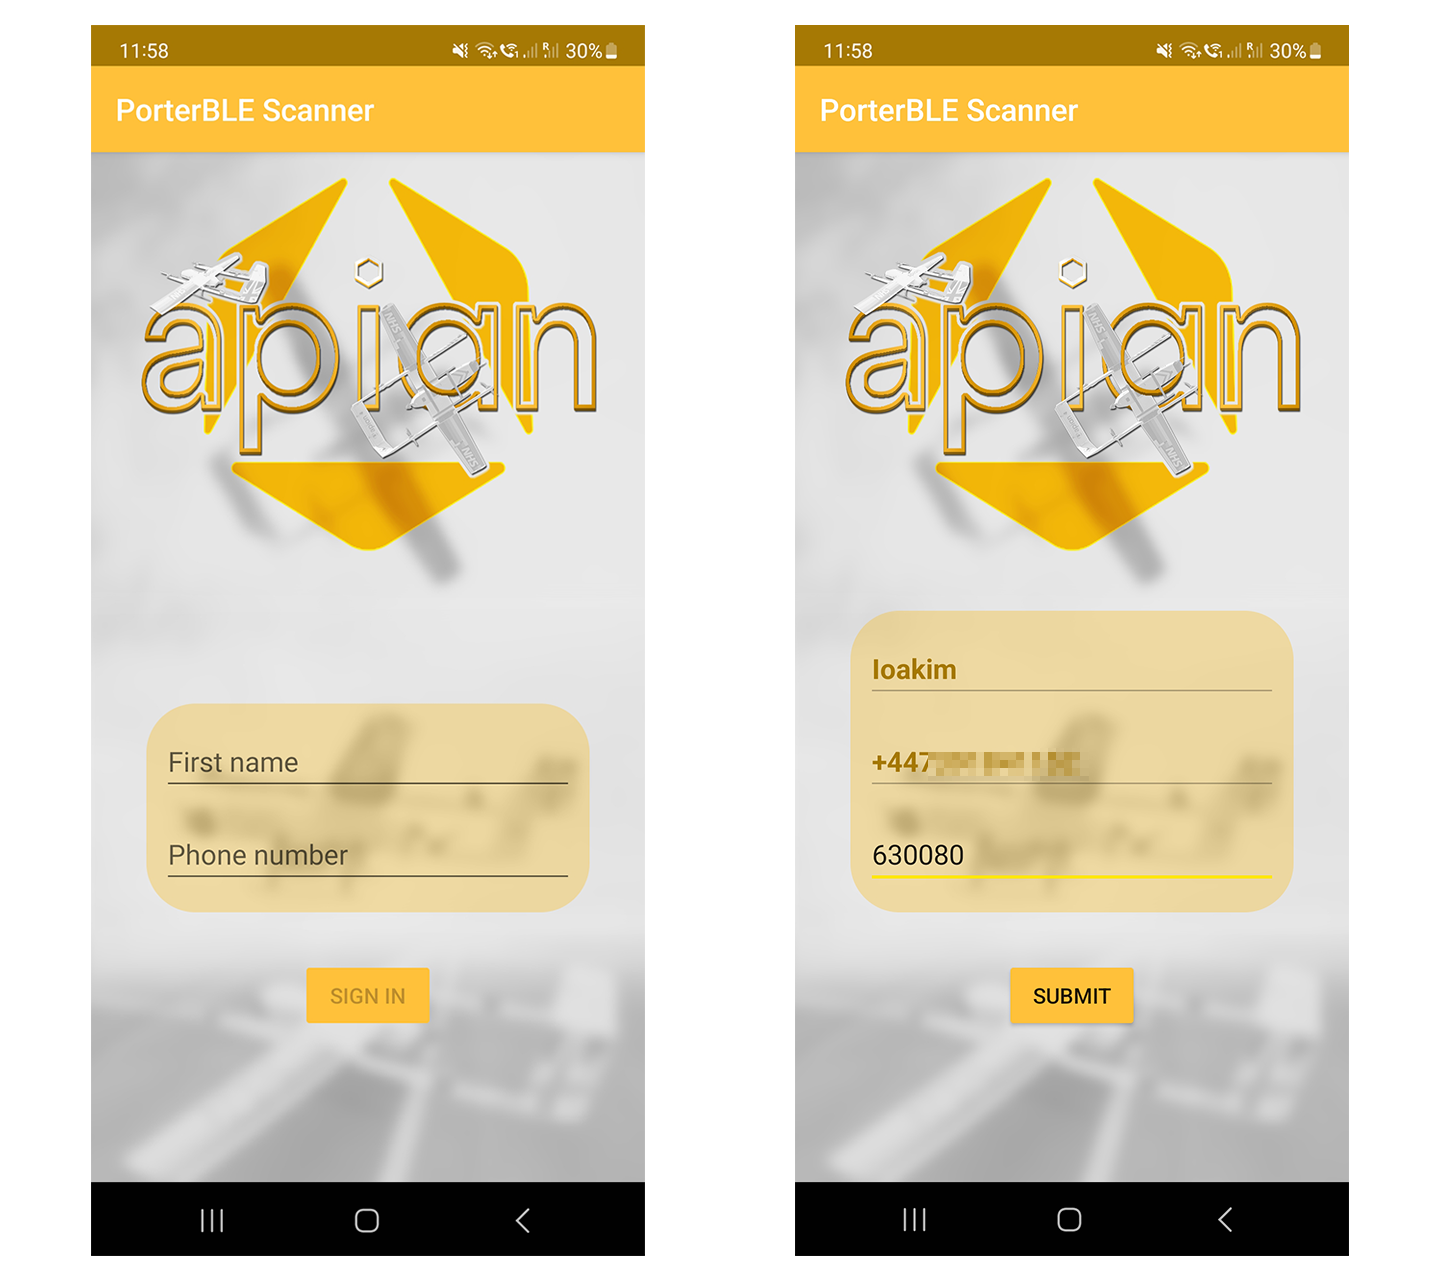
Figure 4: Mobile login screen
Requesting Delivery
From the main live monitoring page hospital staff can request a delivery. This can be done by specifying from and to locations in the dropdown menu which has all the available locations that were added in the previous section. Pressing "Submit" will send the request to the backend where the closest available porter will be notified. The live updates can be seen in the porters' list under status. Delivery history can be found in "Deliveries" tab.
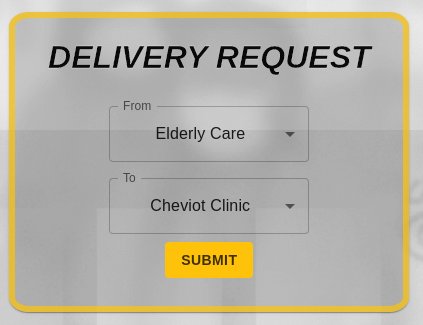
Figure 5: Delivery request form
Responding to Deliveries
Upon a new delivery, porter will receive a push notification. At that point, they can head to the app and press "Accept" to accept the delivery or "Decline" to decline. If the delivery is accepted, porters will have the ability to finish the delivery by pressing "Finish". All responses will be visible in the frontend UI instantly.
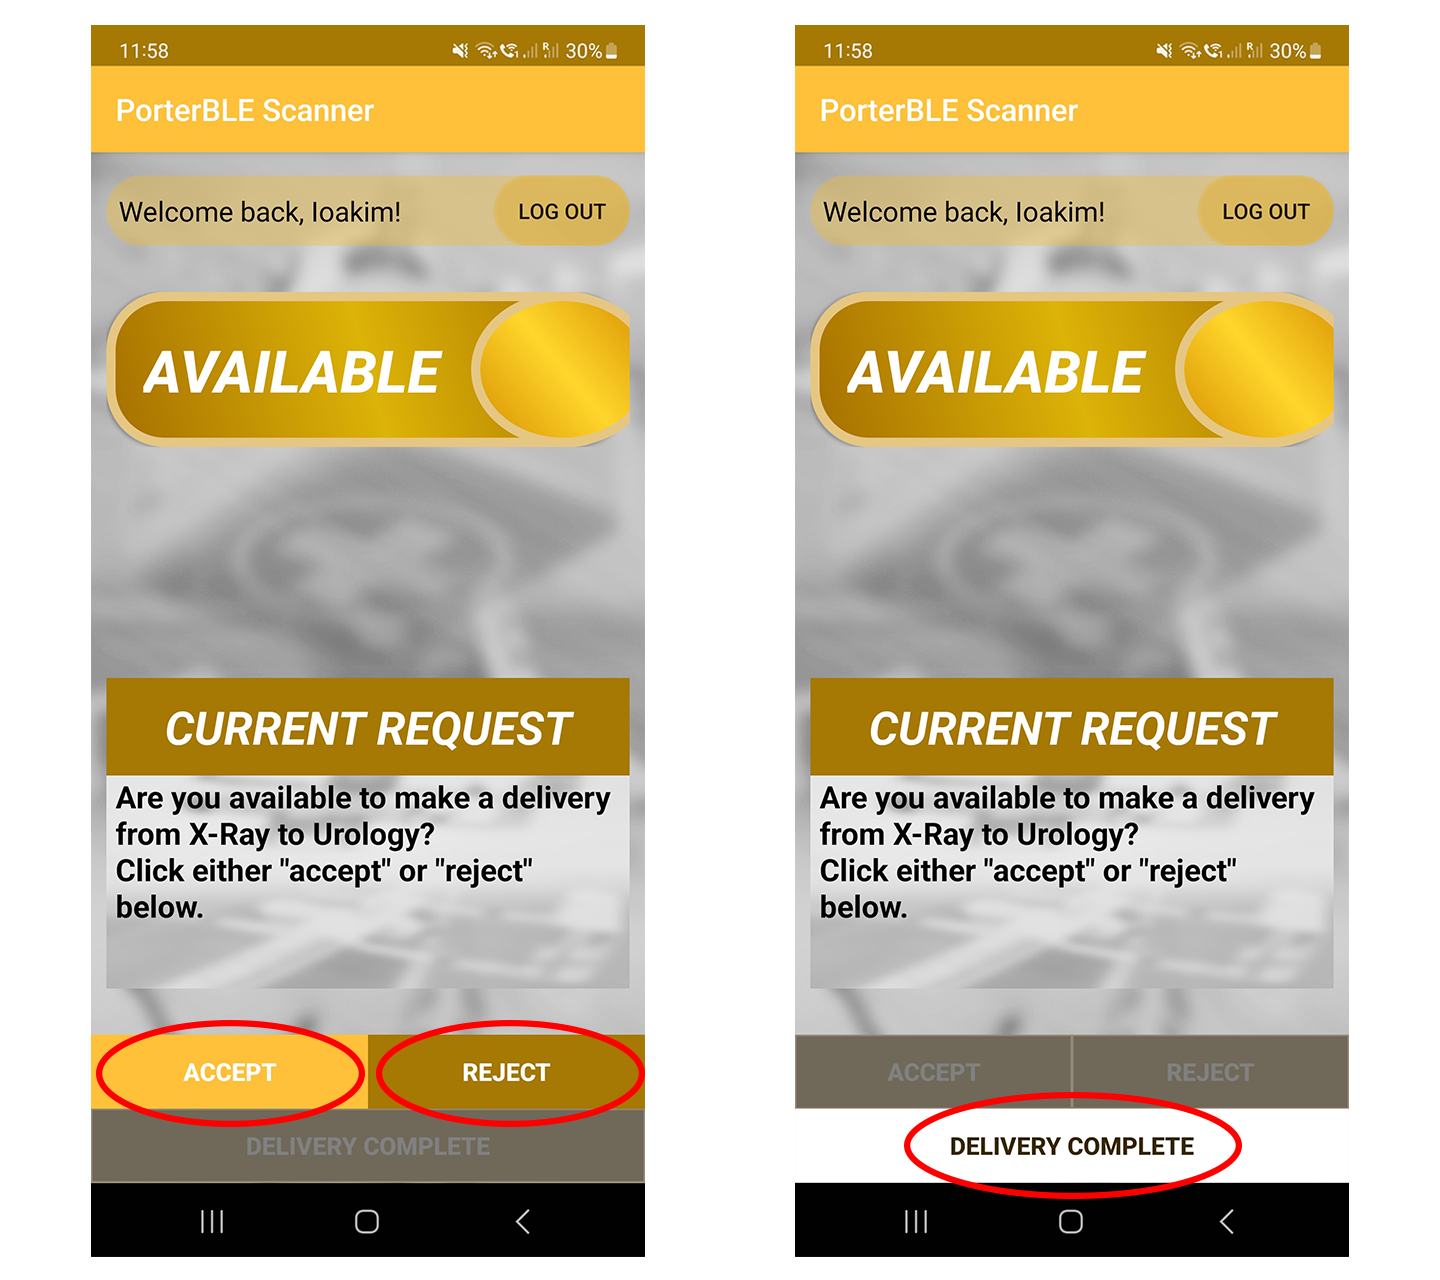
Figure 6: Android app response buttons