Testing
Our Testing Methodology
The way we tested our system varied considerably between the webapp and the API server. The development of the API largely followed a Behaviour-Driven Development (BDD), which aligned well with the way that our project was organised. The webapp, by its nature, is a lot more difficult to unit test and thus we adopted an iterative process, where a feature was developed and the developer used black-box testing to make sure the feature worked.
Automated Testing Integration Testing User Acceptance Testing Compatibility Testing
API Testing
Automated Testing Suite
Because the API was developed using the Django framework, we were
able to use its own testing harness and mocking environment. This test
environment can create a test database on the fly, and mock web requests
if we so wish to automate testing of the real API endpoints without having
to power up an actual web server. In addition to this, the test harness
automatically bundled each test in a test case into a single database
transaction by default, meaning that the suite ran much faster than it
would otherwise.
There were three main types of test in the automated suite: model tests, serializer tests, and API tests. The model tests acted like traditional unit tests, which tested model methods to ensure that they returned the correct value for a range of different inputs. The serializer tests were used to make sure that user input was properly validated and that the data serializers did not leak any private information (for instance, passwords). Finally, the API tests mocked API calls to the server, to make sure that the server could return the correct response code and data for a range of scenarios. These tests were developed according to the API specification, to make sure that the error codes were what an API consumer would expect to receive.
Continuous Integration testing (CI)

Thanks to these automated tests, we were able to set up a continuous integration solution to ensure that new code did not break the existing system. We chose Travis CI, because of its simple integration with GitHub, where our code repository is stored. We configured Travis to run the test suite as part of its test script, and set it up so that tests would run on all commits and pull requests. We also modified the GitHub repository settings so that code could not be pushed straight to the master branch (all code had to be merged in via pull request), and pull requests could not be merged into master unless the CI build passed.
Finally, to take this even further, we hooked up our CI system to the development server, meaning that once code passed tests on the master branch, a script would be run that deploys the code to our server, performs any package installs and database migrations, then restarts the server so that it’s running on the new code. This ties in partly with the ‘dogfooding’ methodology that’s used on the web app development. You can view all of our CI builds on the link below.
Manual Black-Box Testing

Often, to ensure our tests were working correctly, we’d perform manual
black-box testing. This would involve making API calls in the same manner
as a real API consumer, and check that the output received was what was
expected. For this, we normally used the Postman app, or cURL. Using
Postman, we could simulate the entire authentication flow, and test
actions like signing up for mentorship programmes.
Web Application Testing
User Acceptance Testing
We have conducted two major user acceptance test with our client to ensure that our client is satisfied with our progress before we continue our development. For both UATs, meetings were organised so that we could explain to the client how what are the features we have implemented so that we don’t miss anything out.
User Acceptance Test 1 (08/02/2017)
Interactive prototype feedback – Before we started developing our application during term 2, we decided to let our client take a look at our interactive prototype which was created using Ionic Creator which was a prototyping tool that allowed us to build simple prototypes which rich Ionic user interface features.
The goal of showing her our prototype was to allow our client to have a grasp of how the look and feel of the real application would look like during development. Our client was satisfied with our prototype and also the video we provided which includes a small demonstration of our prototype and our proof of concept.
User Acceptance Test 2 (05/04/2017)
Full-scale user acceptance test – At this point we have made significant progress in our application and have implemented most of the key features and requirements requested by our client. We decided to update our client with our progress and also allow our client to test out all of the features we have implemented and also detect any bugs so that we can work to fix them.
The team found that the UAT was very successful and the client was really satisfied with what we have produced so far. Below is a table of the list of features that was tested by the client and its results.
| Feature Tested | Description | Result |
|---|---|---|
| User Authentication | The client could login as an admin, normal user and register for an account. | Success |
| Profile page | The client could view her profile details and edit any changes made to them. | Success |
| Home Page | Client was satisfied with the display of the home page, stating that it had a nice layout and was very clear in displaying individua mentor programs. | Success |
| Programme Management (Admin) | This was an admin feature that allowed admins to create, edit and delete mentor programmes. Client successfully performed all 3 tasks and was happy with the results. | Success |
| Cohort Management (Admin) | This was also an admin feature that allows cohort creation, editing and deletion for individual programmes. Client successfully performed all 3 tasks. | Success |
| Cohort Registration | Users can only register if cohort is active, successfully tested by client. Users can choose to sign up as mentor or mentee, and search interest ‘tags’ from more than 20 interest. This was also successful. There was a minor bug the client noticed when registering as a mentee where the client got ‘stuck’ in the App. This was a minor fix and was fixed immediately. | Minor bug detected |
| Notification Page | Success. Client could see notifications when new programs are created and when cohorts are active and when matching begins for cohorts. | Success |
Compatibility Testing (Mobile Devices)
![]()
In order to ensure that our application was able to run on all mobile platforms, we used Ionic View to test our application on different devices when implementing new features. During development, we hosted the app locally on a chrome web browser by using Chrome developer tools to emulate the screen-size of different devices.
However, Ionic View allowed us to host our apps and share them with others so that other team members and our client can see the results of the newly implemented features on their mobile devices. We have tested our app on different mobile platforms such as IOS and Android. Below are some of the screen-shots of the app on both IOS and Android devices.
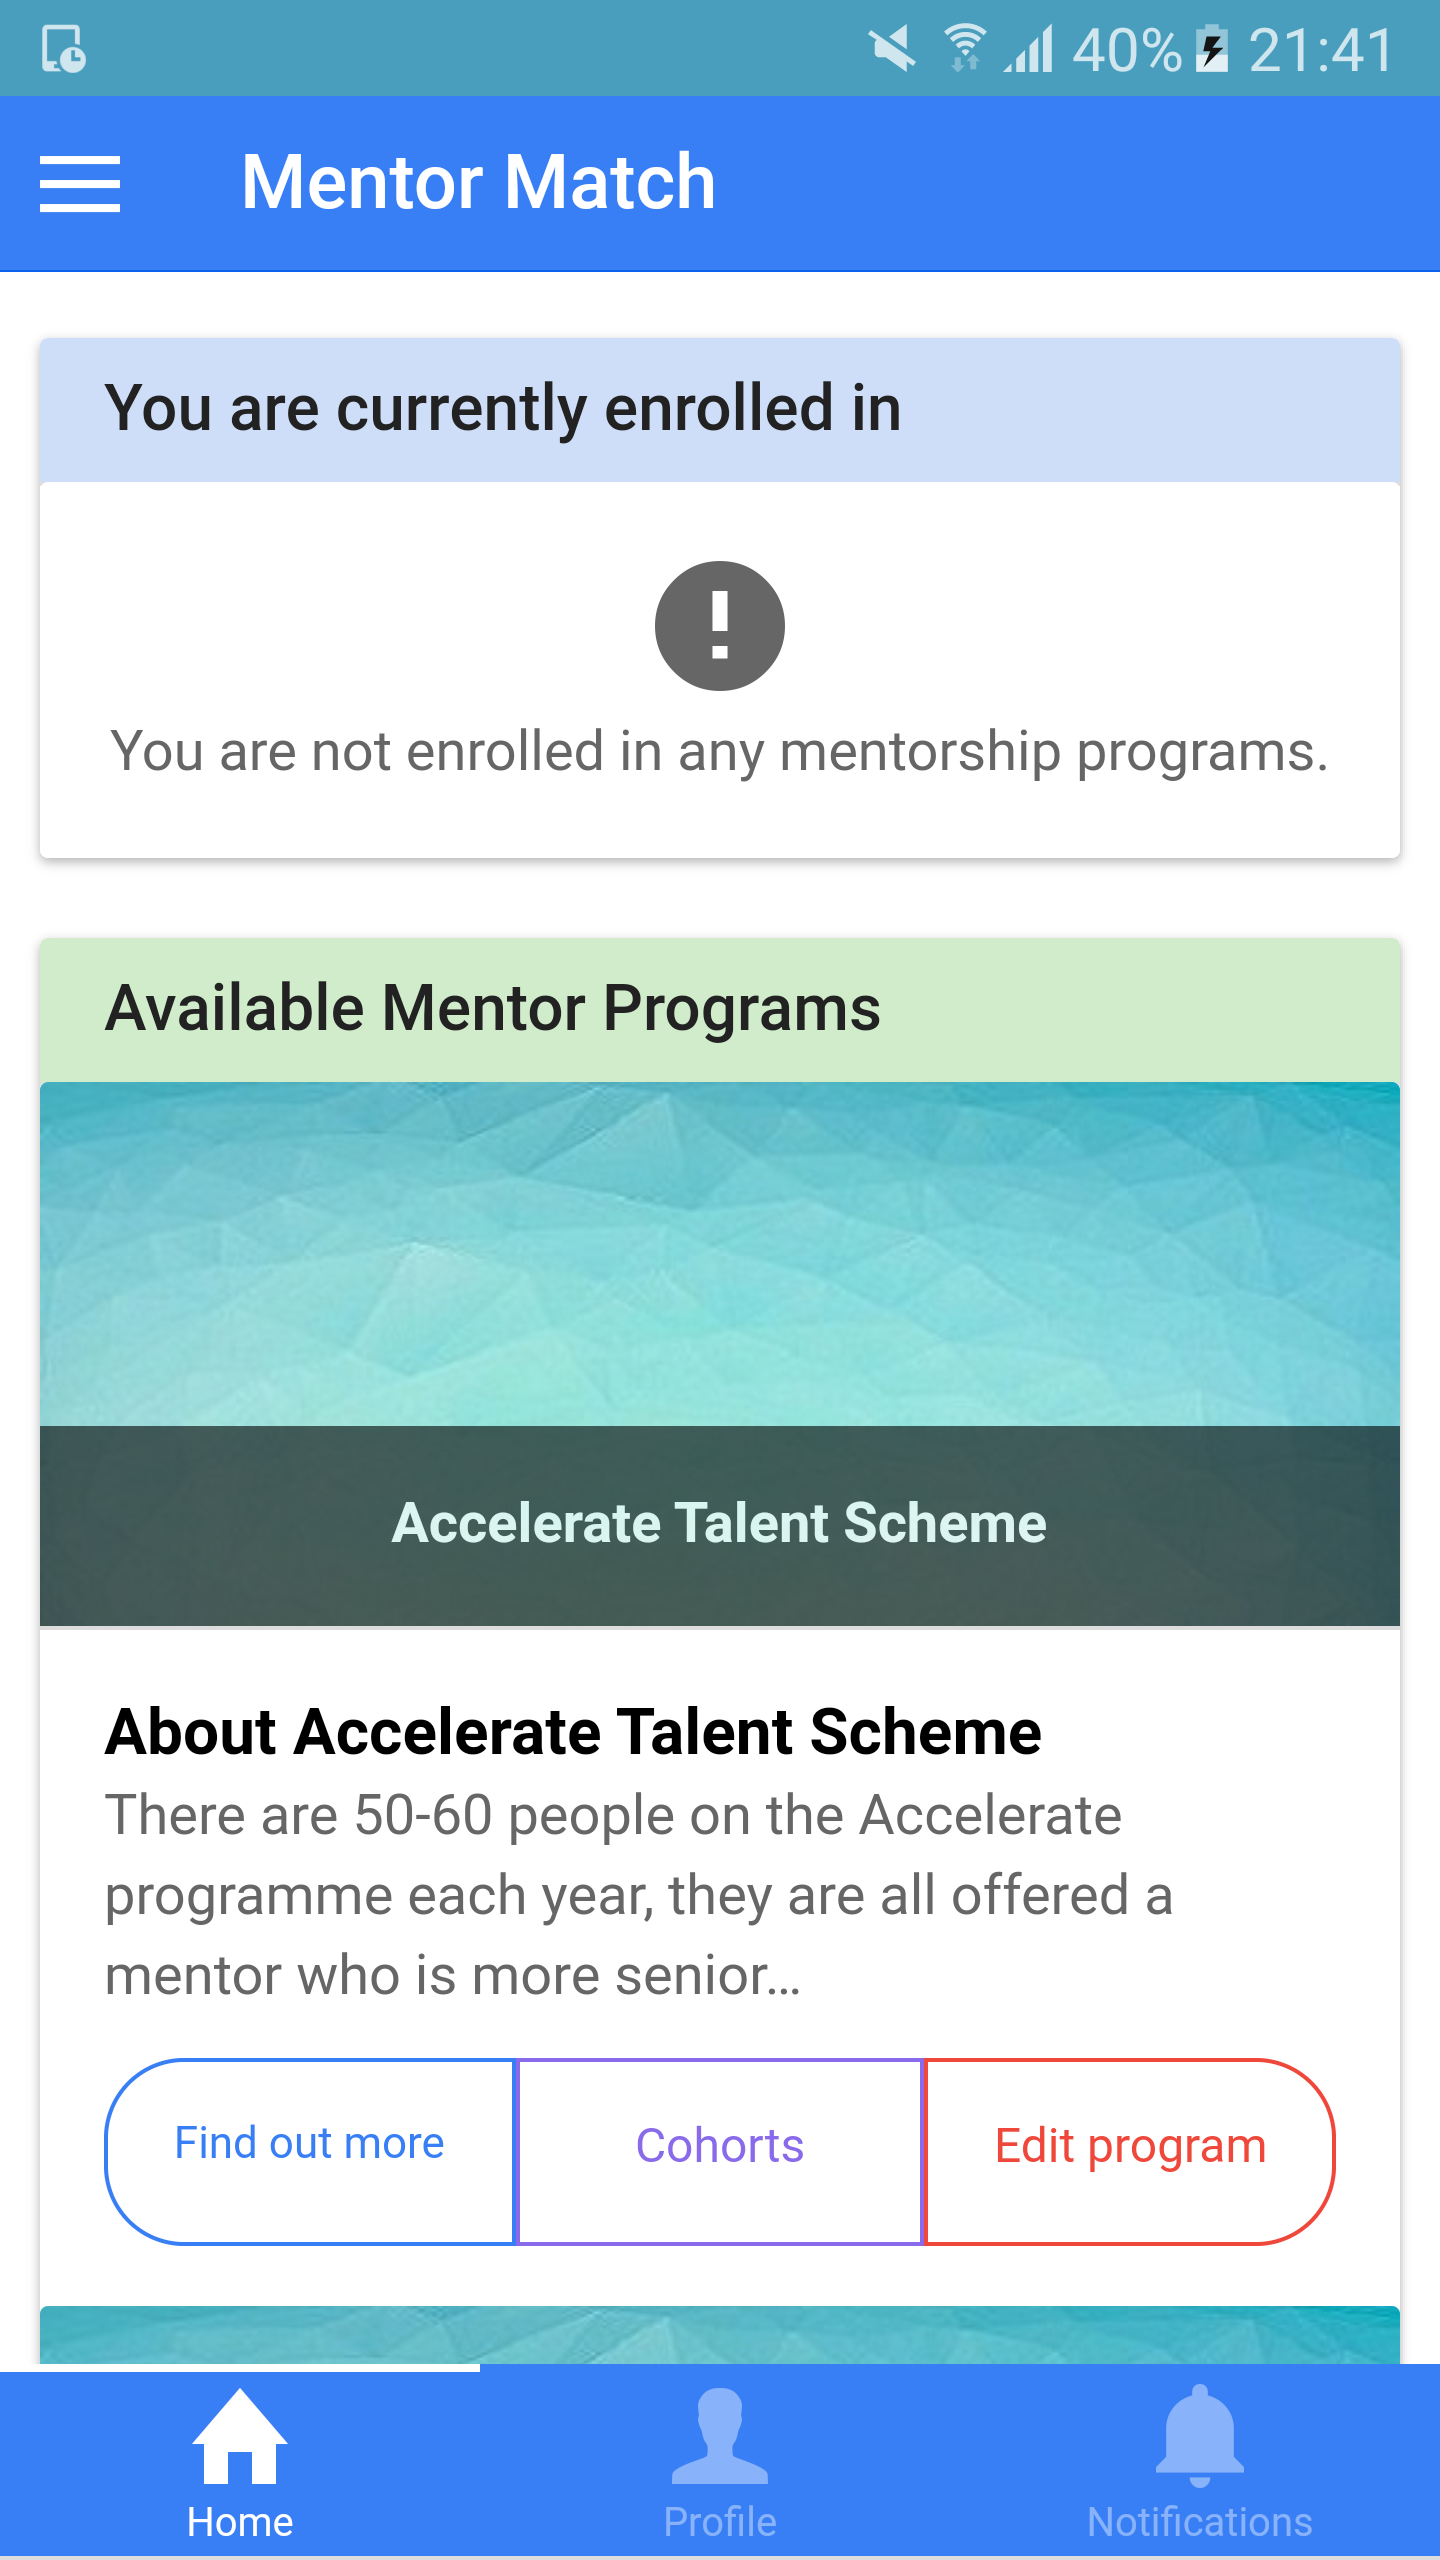
Home Page (Android)
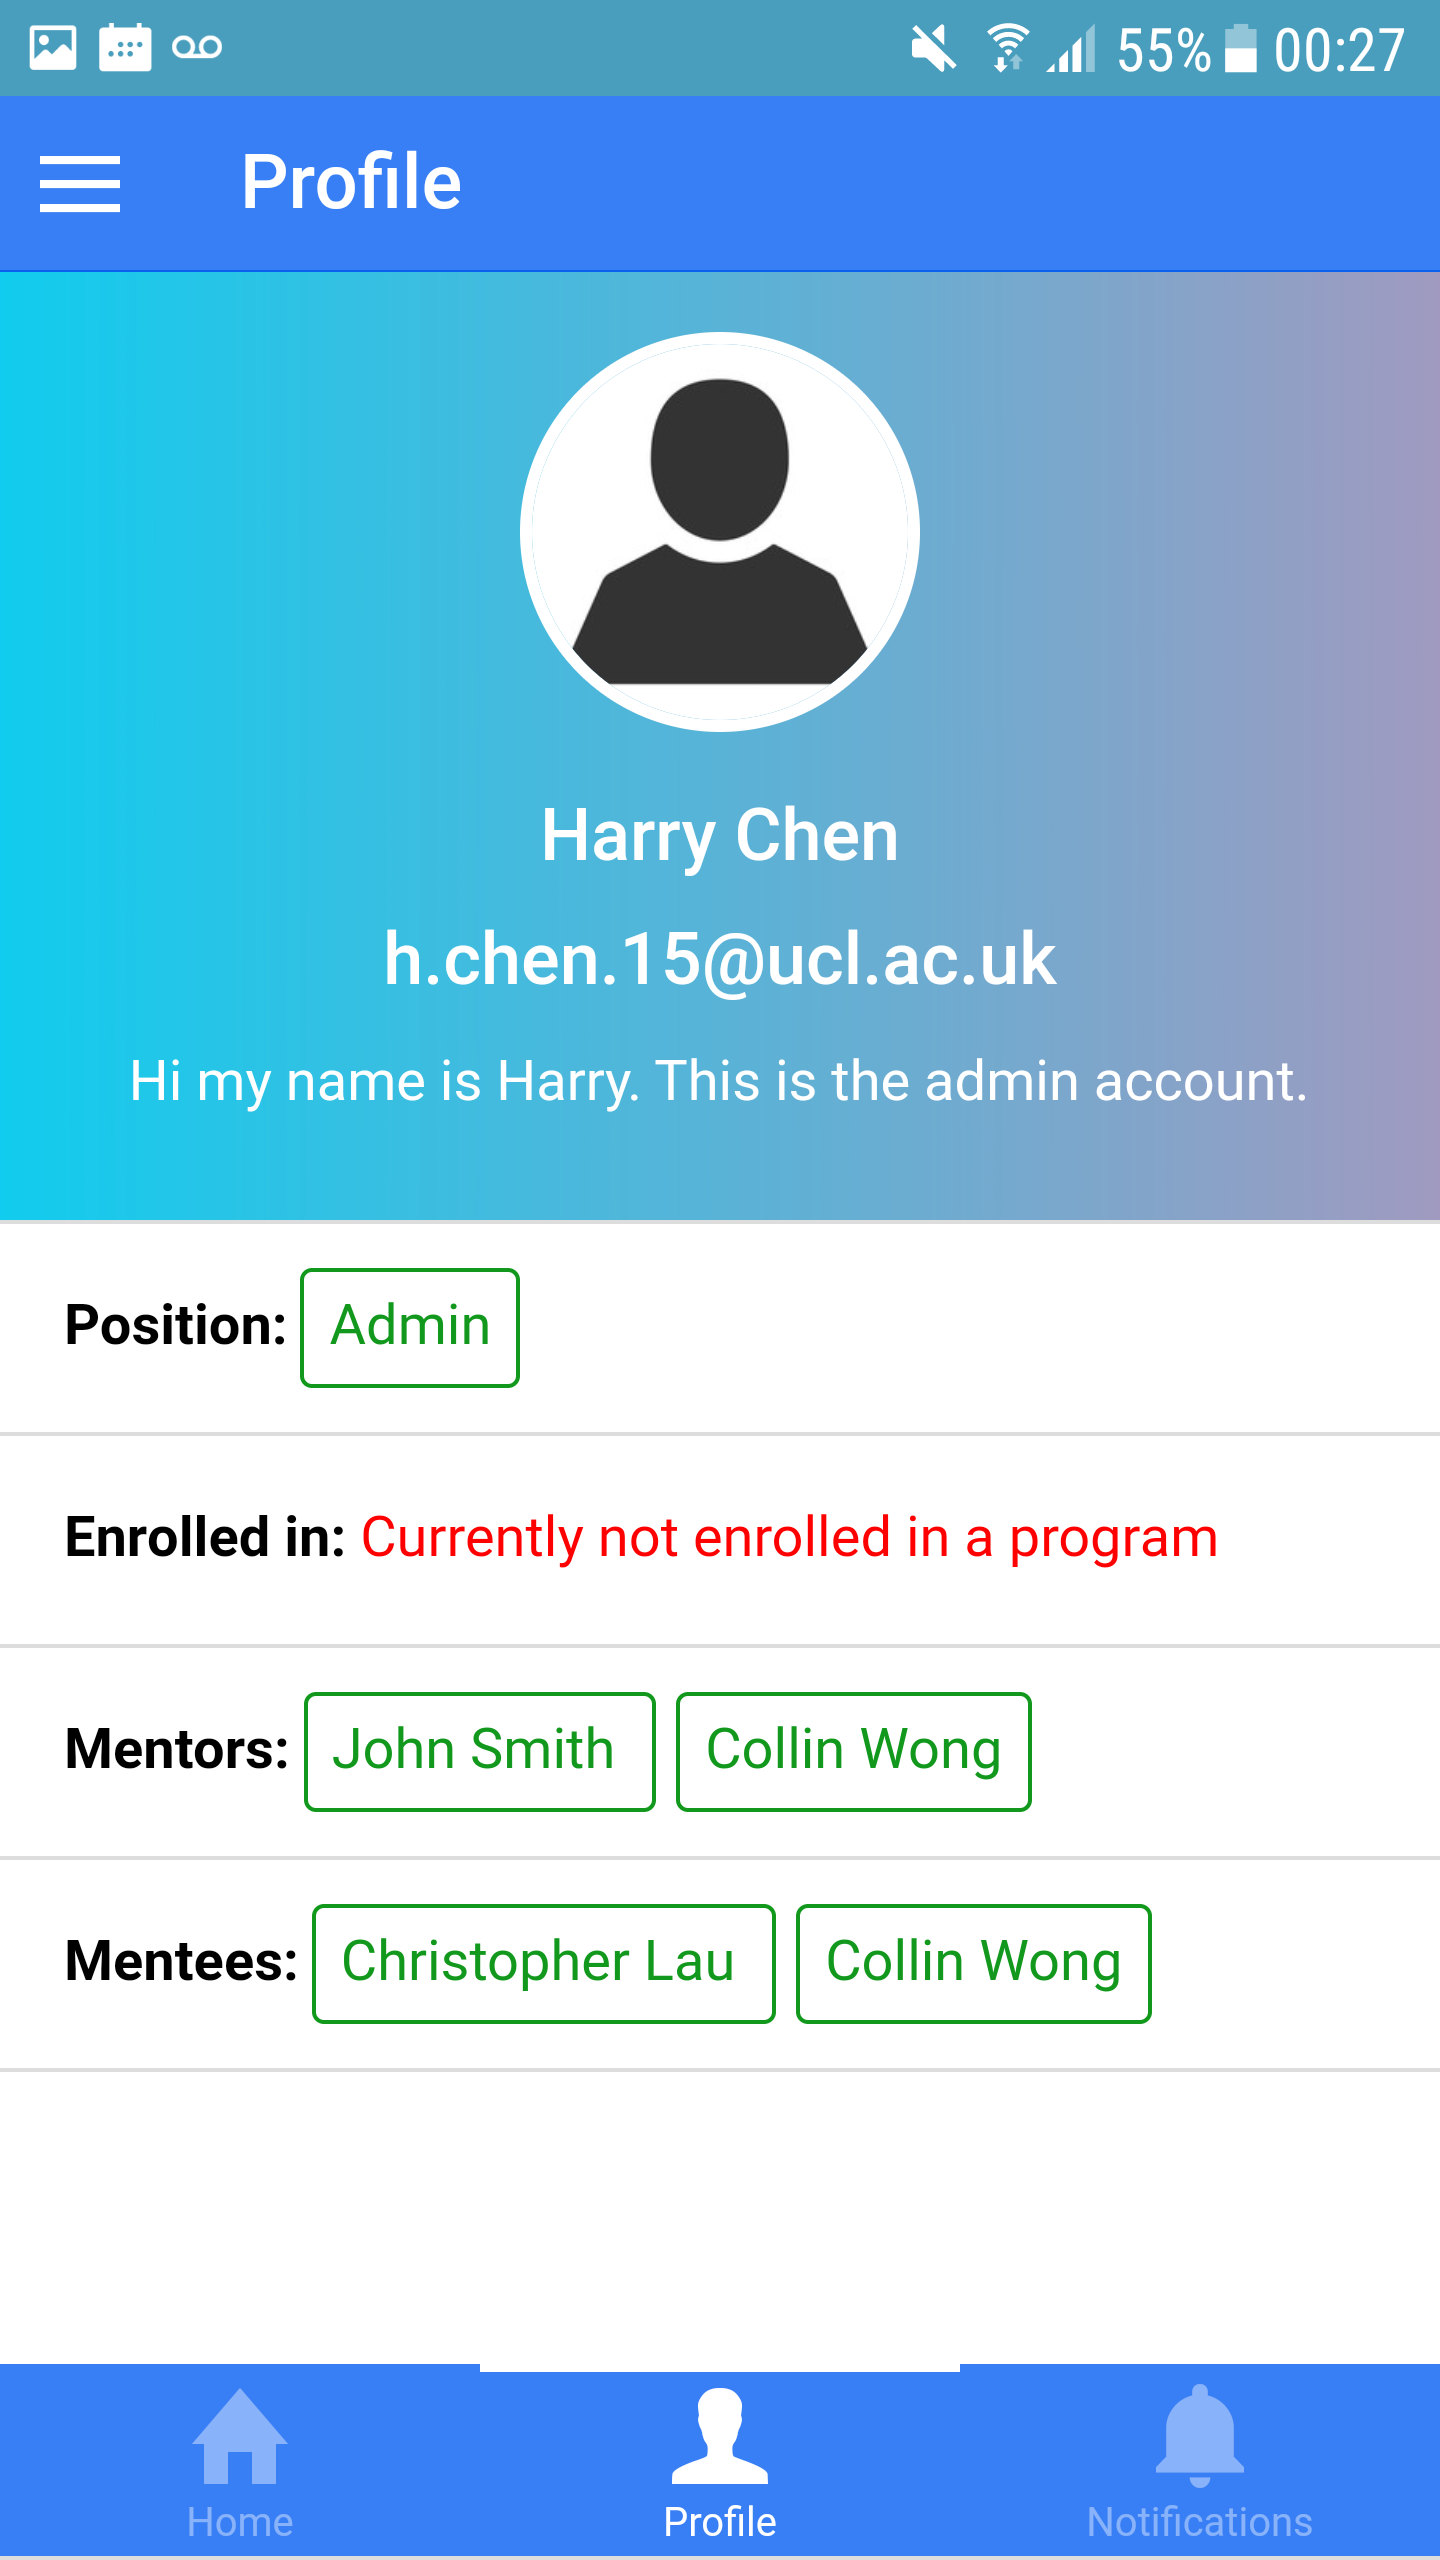
Profile page (Android)
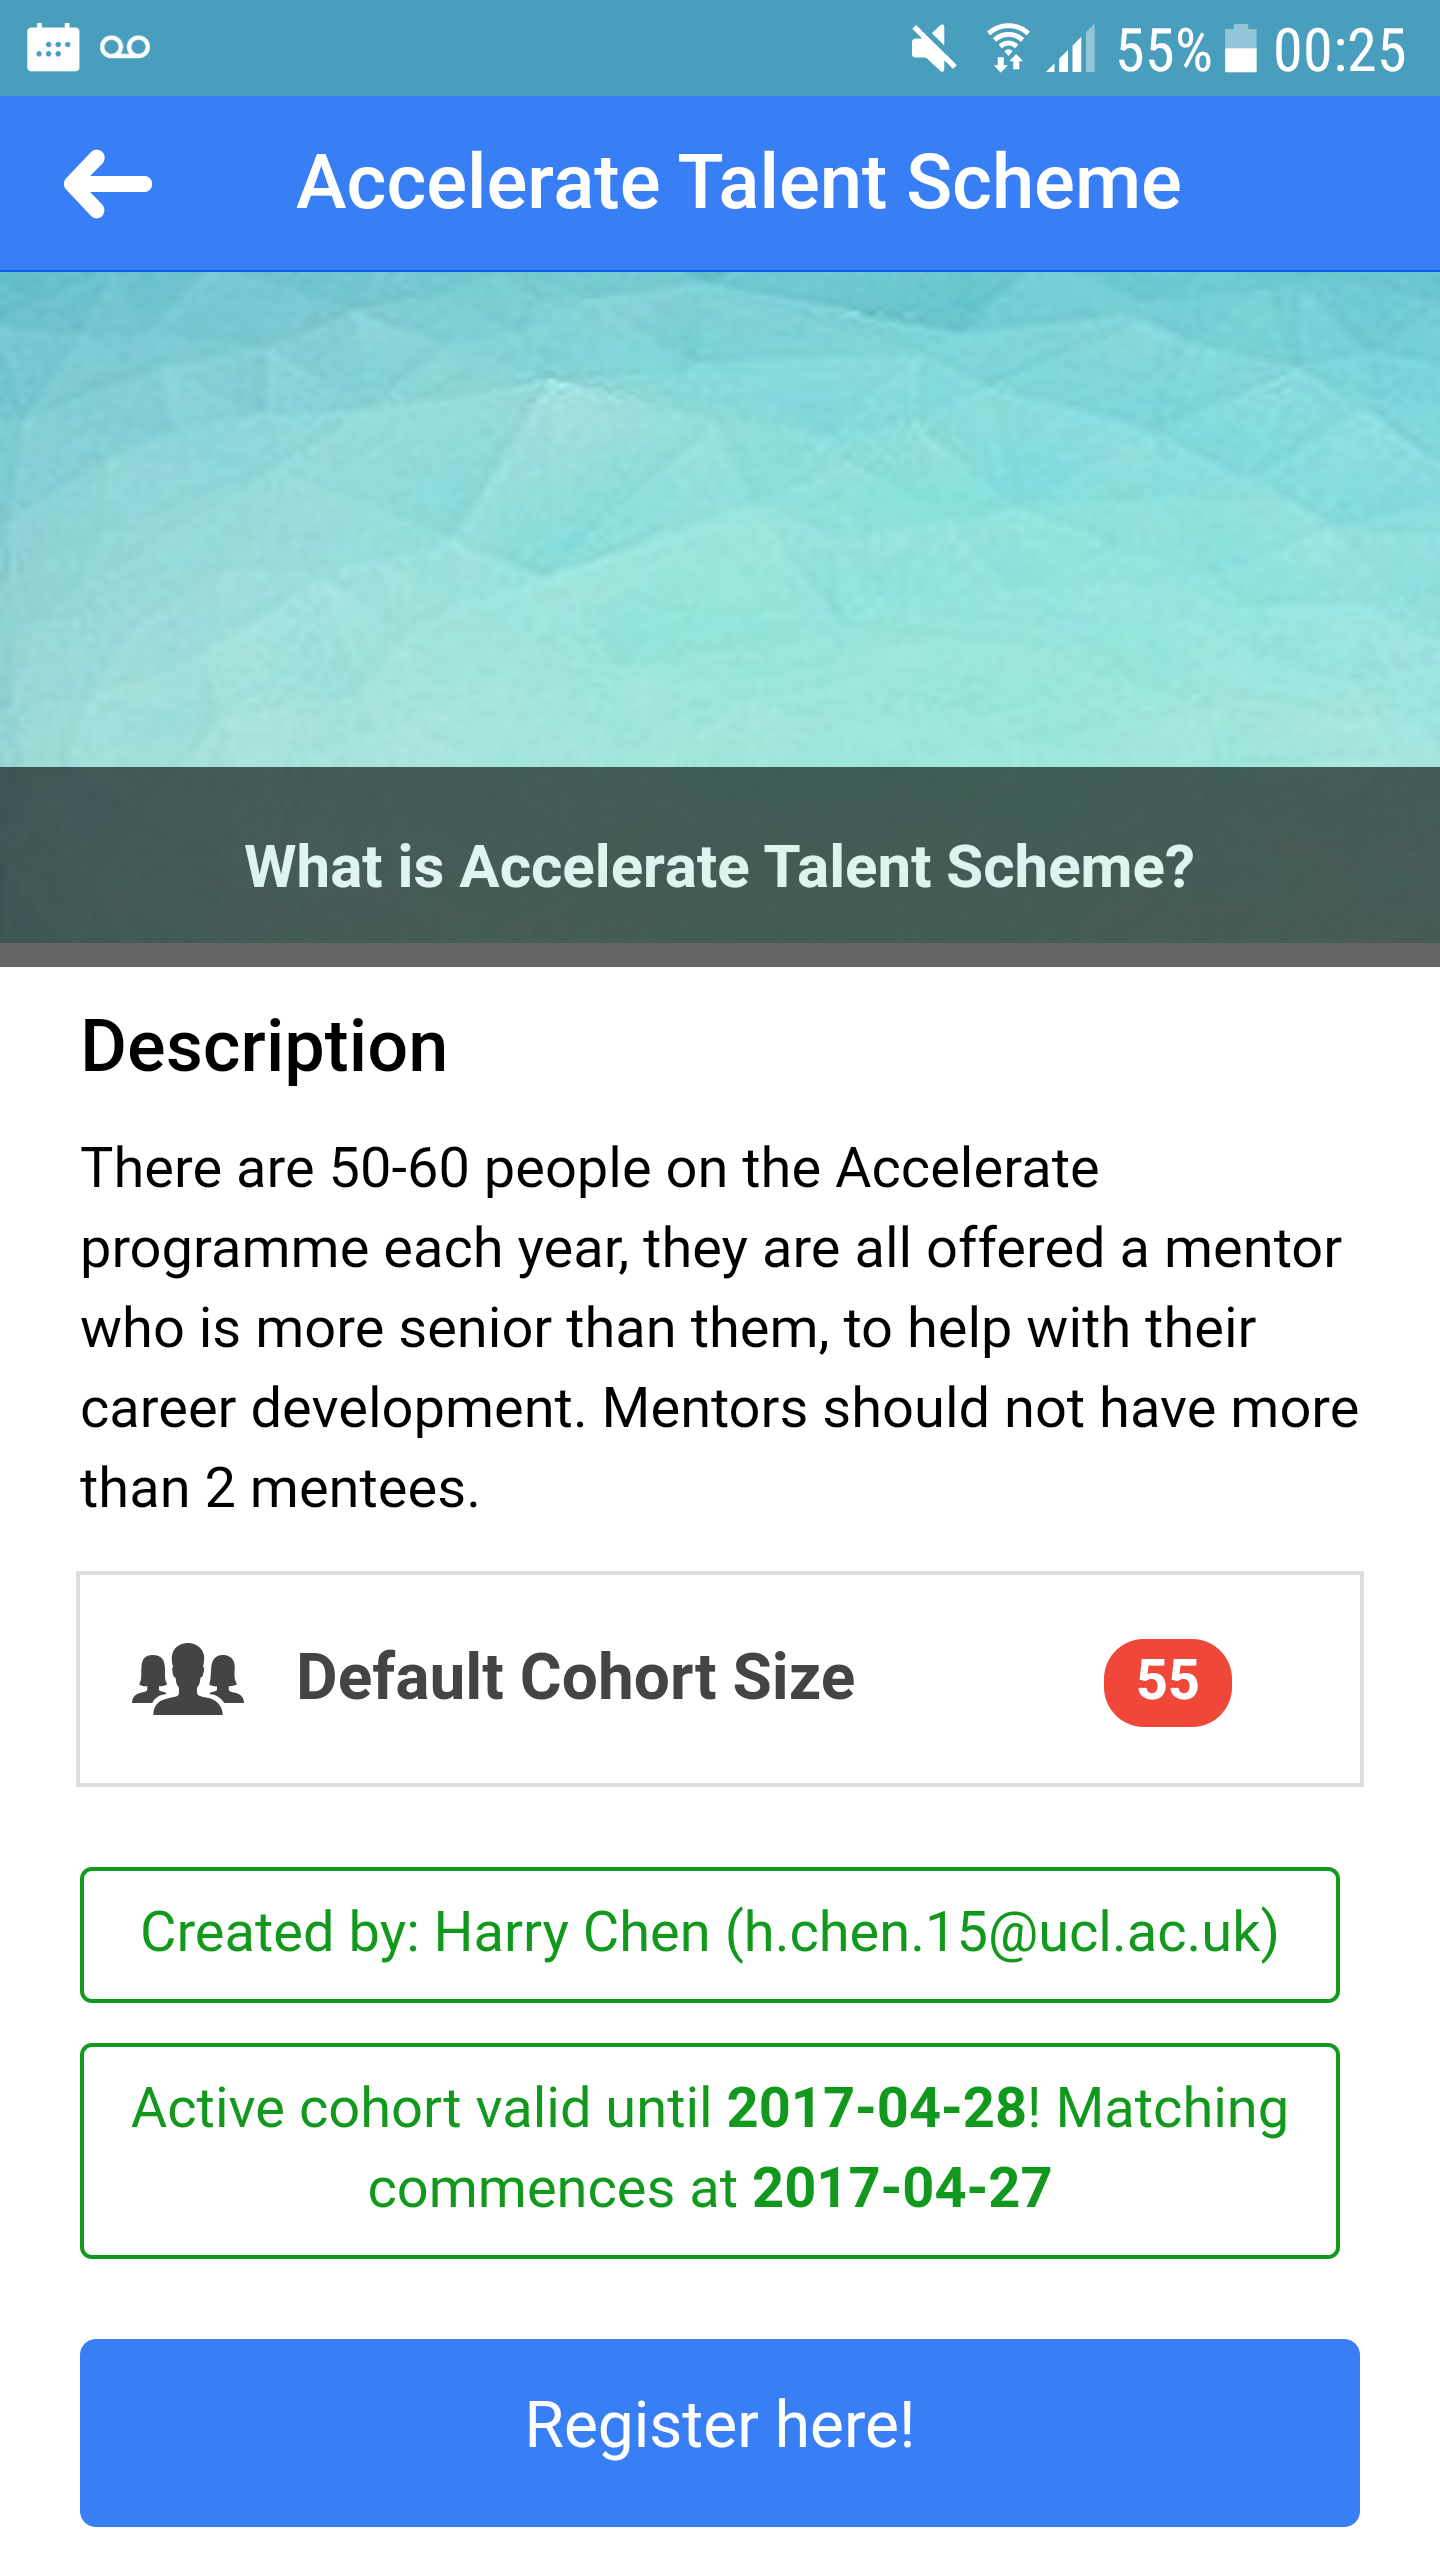
Program Description page (Android)
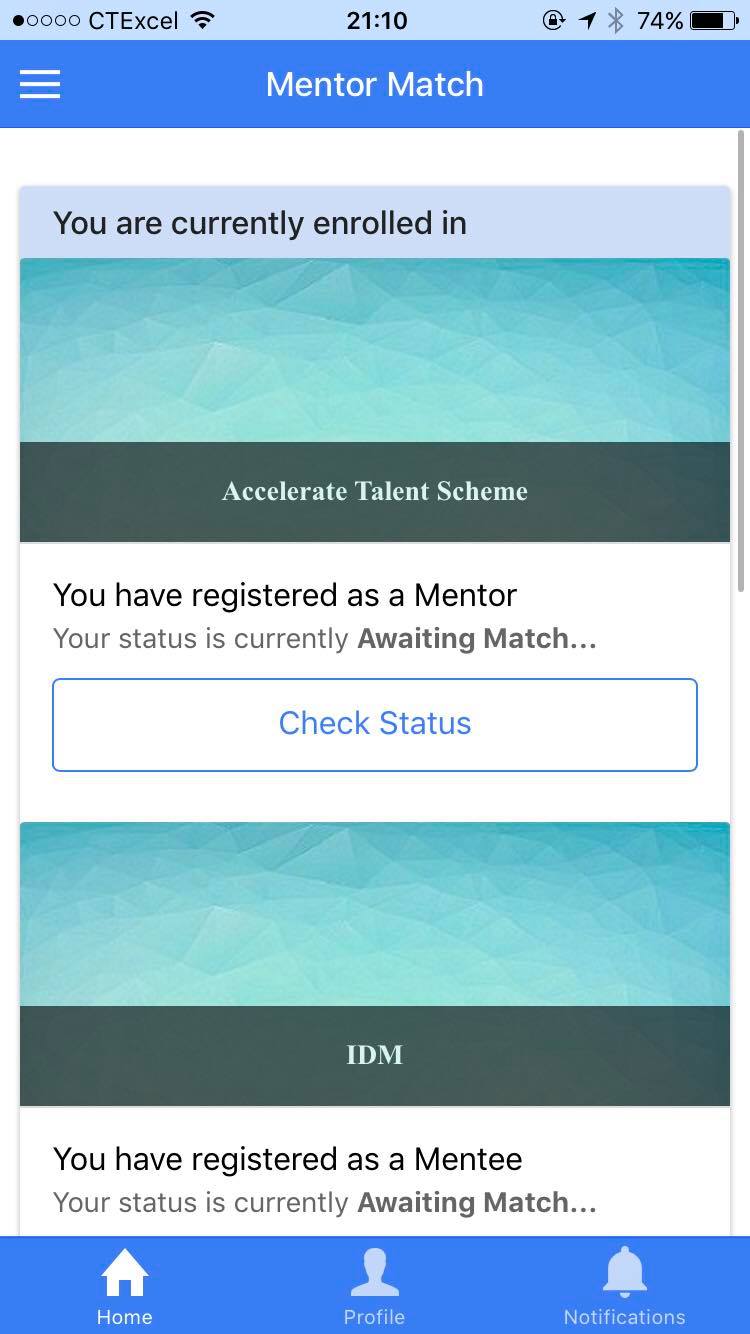
Home Page (IOS)
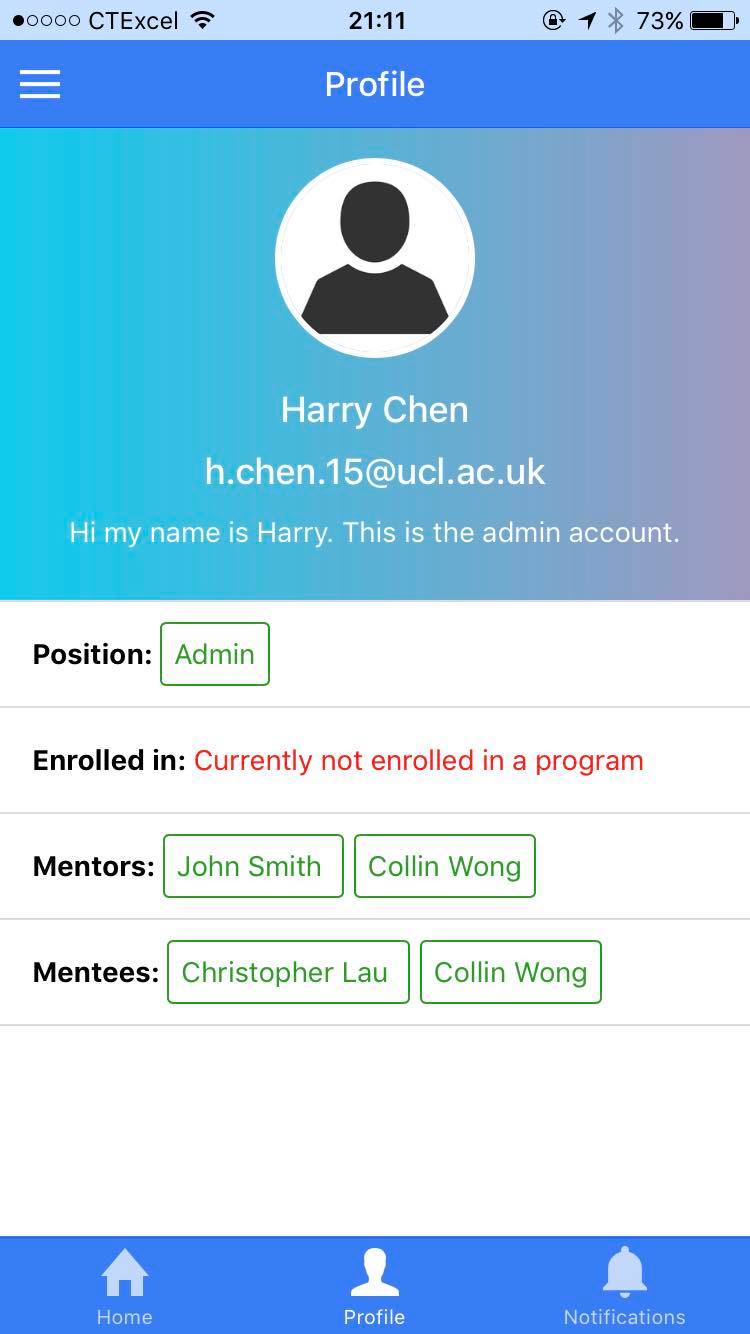
Profile page (IOS)
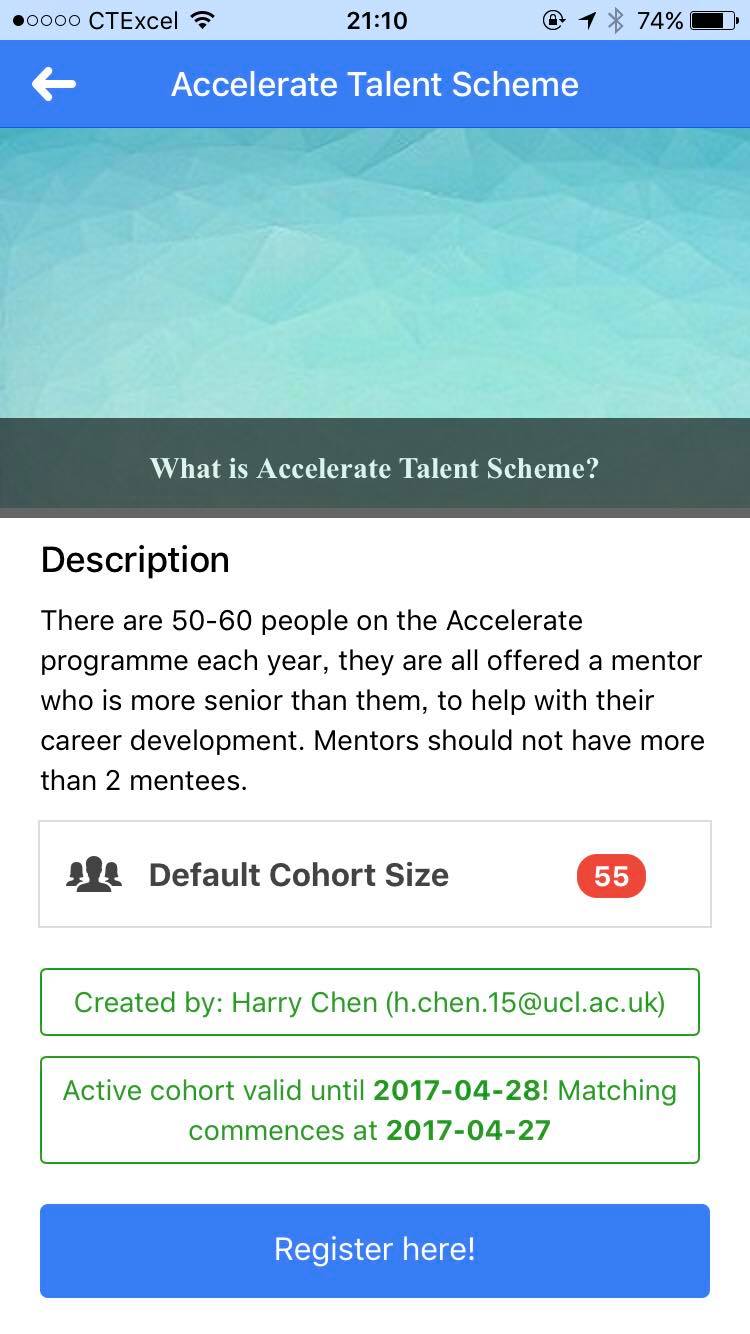
Program Description page (IOS)