Management
Manual
User Manual
Description of how to use the functions provided by the bot.Logging in
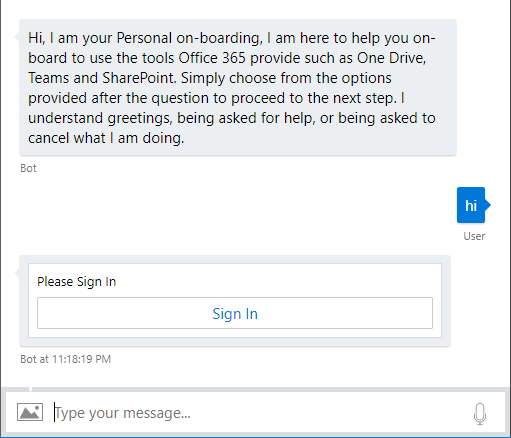
As the dialogues begin, a "Sign In" button will be displayed to the user. Pressing it will open a page in which the user can enter his Microsoft account information to login.
Choosing from the options
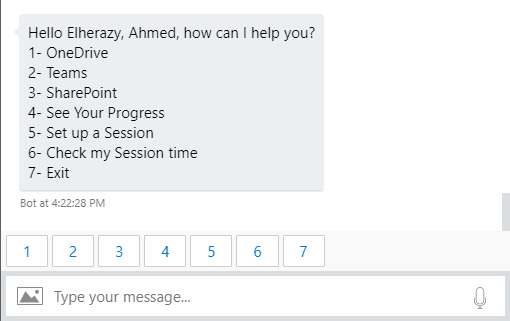
Various options, each with unique numbers attached are shown. To choose from the options, the user can either enter the number for the option he chooses or click the buttons provided in the text box.
Progress checking
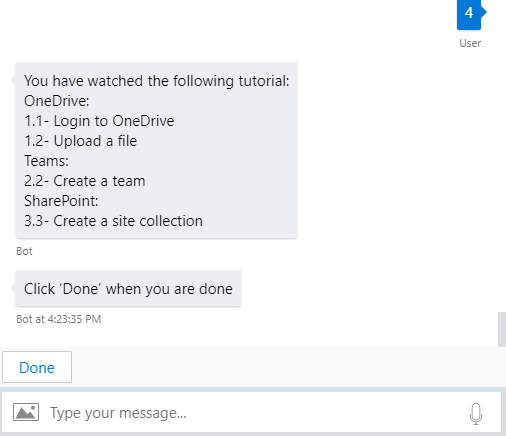
The bot keeps track of the user's progress. As the user finishes tutorials, a (tick) will be displayed next to the options the next time the tutorials come up. The user can also get an overview of his progress by choosing "4.See Your Progress" in the menu.
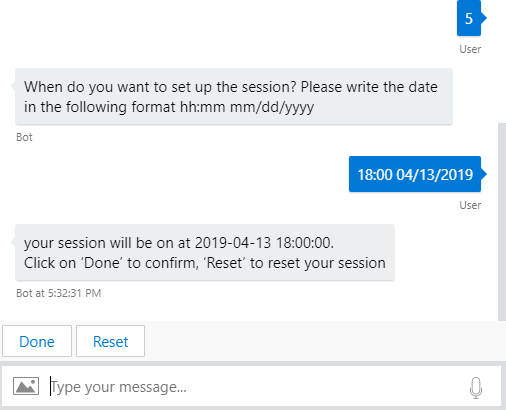
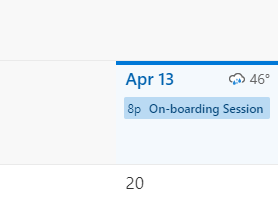
Setting up sessions
By choosing "Setting up sessions" user can set up a time for an on-boarding session. This time will be saved to his Outlook calendar.
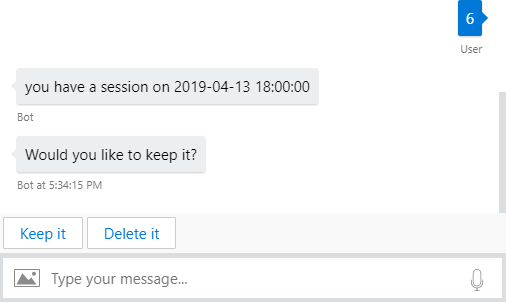
Checking for session time
By choosing "Check my session time", the session that have been set up will be showen in a clear manner. The user can choose to "Keep it" or "Delete it".
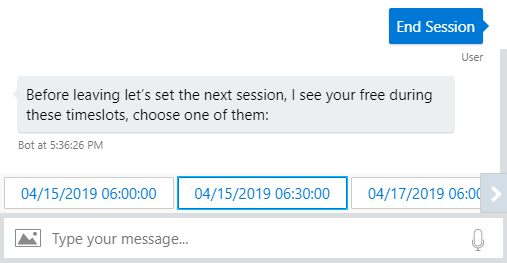
Pro-actively find time in your diary
Before leaving the bot by pressing "Exit" in the main menu or "End Session", the bot will suggest several time-slots that pro-actively retrieved from free time-slots in the user's outlook calendar.
Requesting a tutorial directly
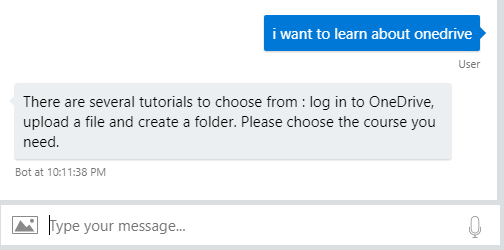
The user can type directly the tool he want to learn about without choosing from the options by typing for instance I want to learn about Teams or OneDrive as shown below.
Deployment Manual
Bot deployment
Steps for deploying the projectPrerequisition
1.Configure tunneling software within the Emulator using ngrok. Instructions are here.
2.To start running the bot, open the .sln file

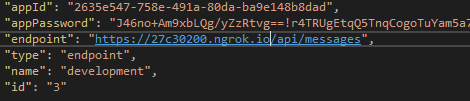
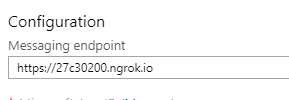
3.Change the endpoint to your ngrok endpoint in the .bot file and in the bot "Settings" tab in Azure to configure the tunneling.
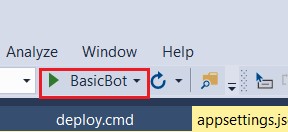
4.Run the bot
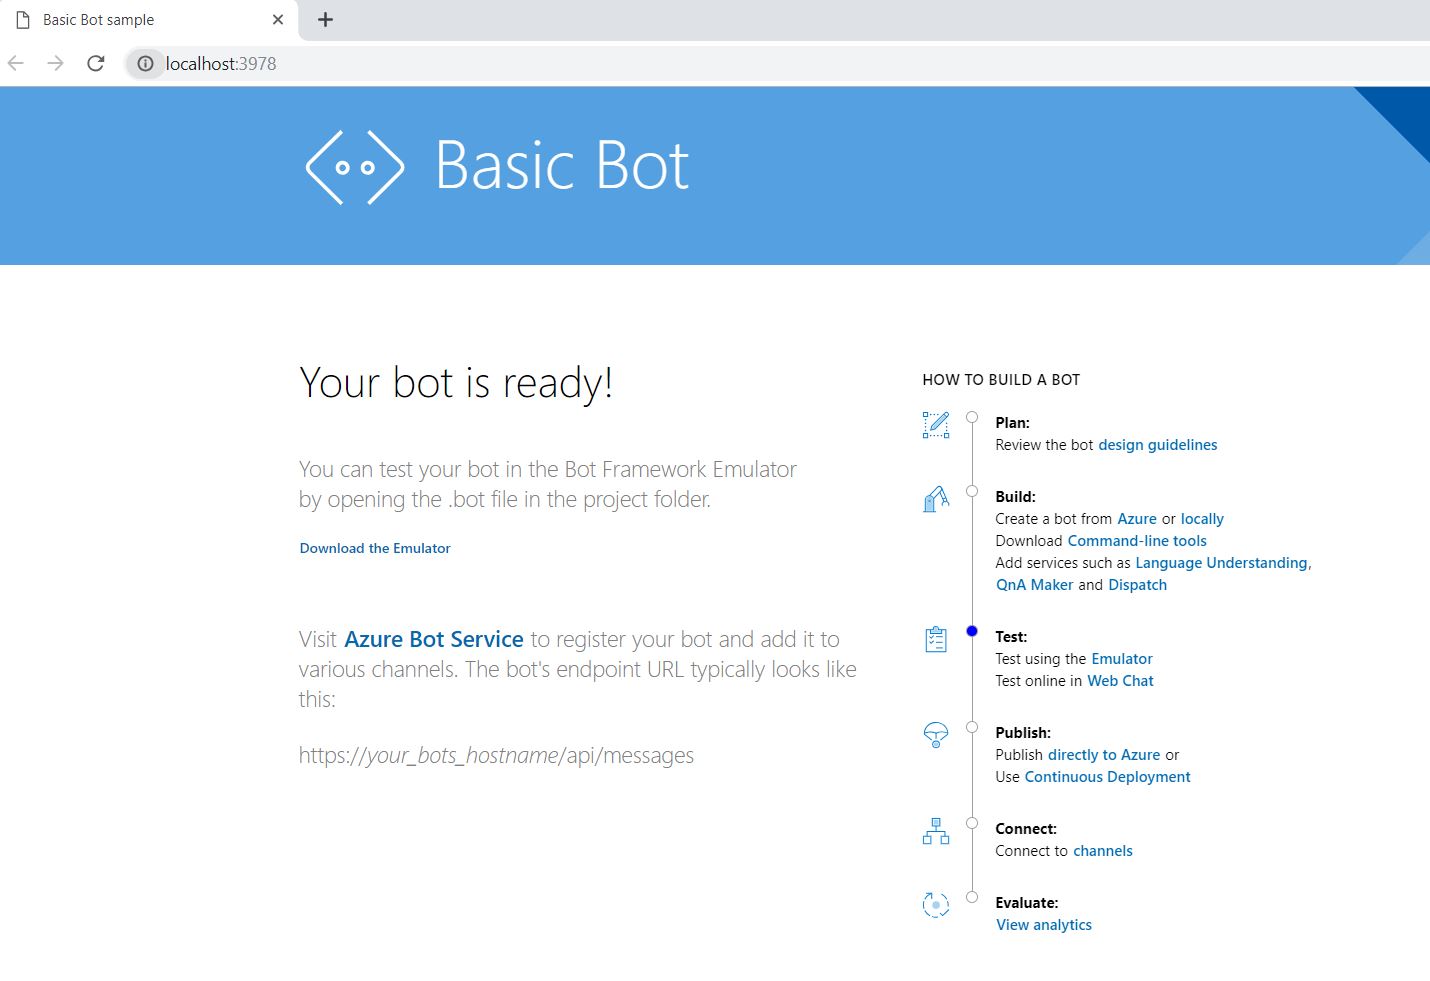
5. A window will then open, stating that the bot is now running.

6. The bot can now be opened with the .bot file.
Power BI deployment
Prerequisition
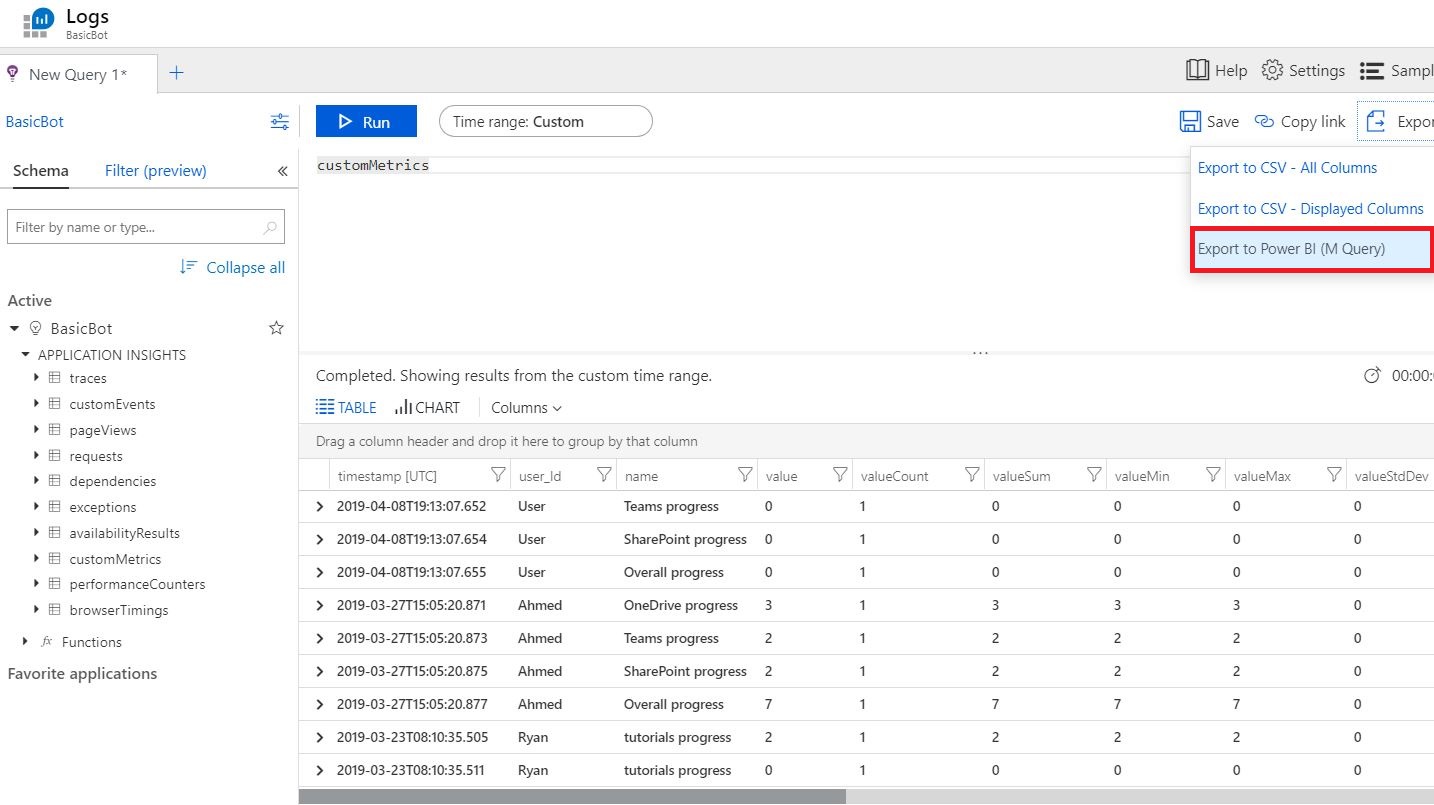
1.Make an SQL query if needed. Export the Query in Application Insights. A text file will be downloaded, copy the text.
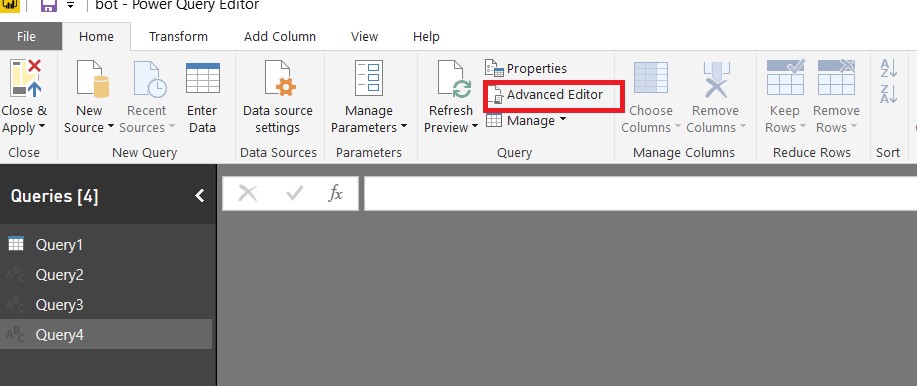
2. Open Power BI desktop. Click on Get Data, Blank Query and finally Advanced editor.
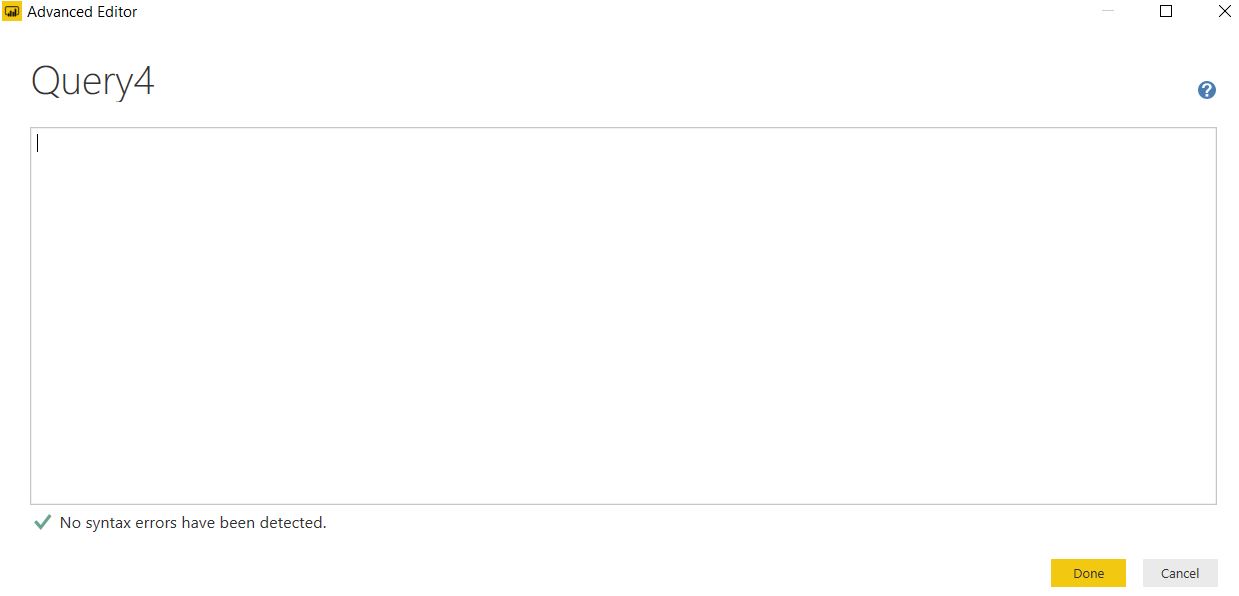
3. Paste the exported query and press done. The client can now be used to visualise the data collected from the bot.
Legal Issues
Potential Liability
Our bot is built with Azure Bot Service and published to Azure. Azure is a cloud service which provides us with an integrated environment with the Microsoft Bot Framework connectors and BotBuilder SDKs for running and developing of the bot. Therefore, the bot relies on online services Azure provides. It should be known that any issue that is caused by Azure is not the team's responsibility, as it is not related to our code. This could be a common occurrence as it happened several times during our development.
Intellectual Property type
A copyright is suitable for our project. While we started with a very basic echo bot as our template, the on-boarding bot was built by embedding various functions, systems and methods onto it. A large amount of coding and effort went into the bot we have right now. The final product will be unique and should qualify as an invention that hold a legal monopoly. By using copyright, we can make sure the features we added to the bot can be protected legally, giving us the right to own it.
Privacy Conisderation
While access to users' Microsoft account is needed, all private information collected from the accounts will be used for the on-boarding process. To make sure the bot processes the data lawfully, fairly and transparently, the bot will provide information on what data will be used and inform them that the data will only be used for the on-boarding. The information will not be used for other purposes or retained after the onboarding process.
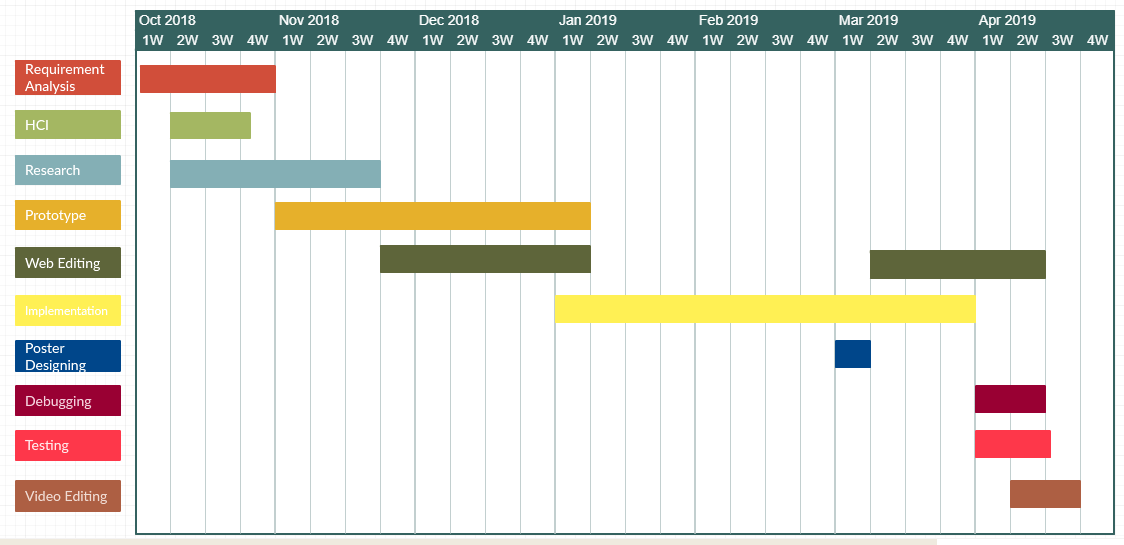
Project Schedule