User Manual
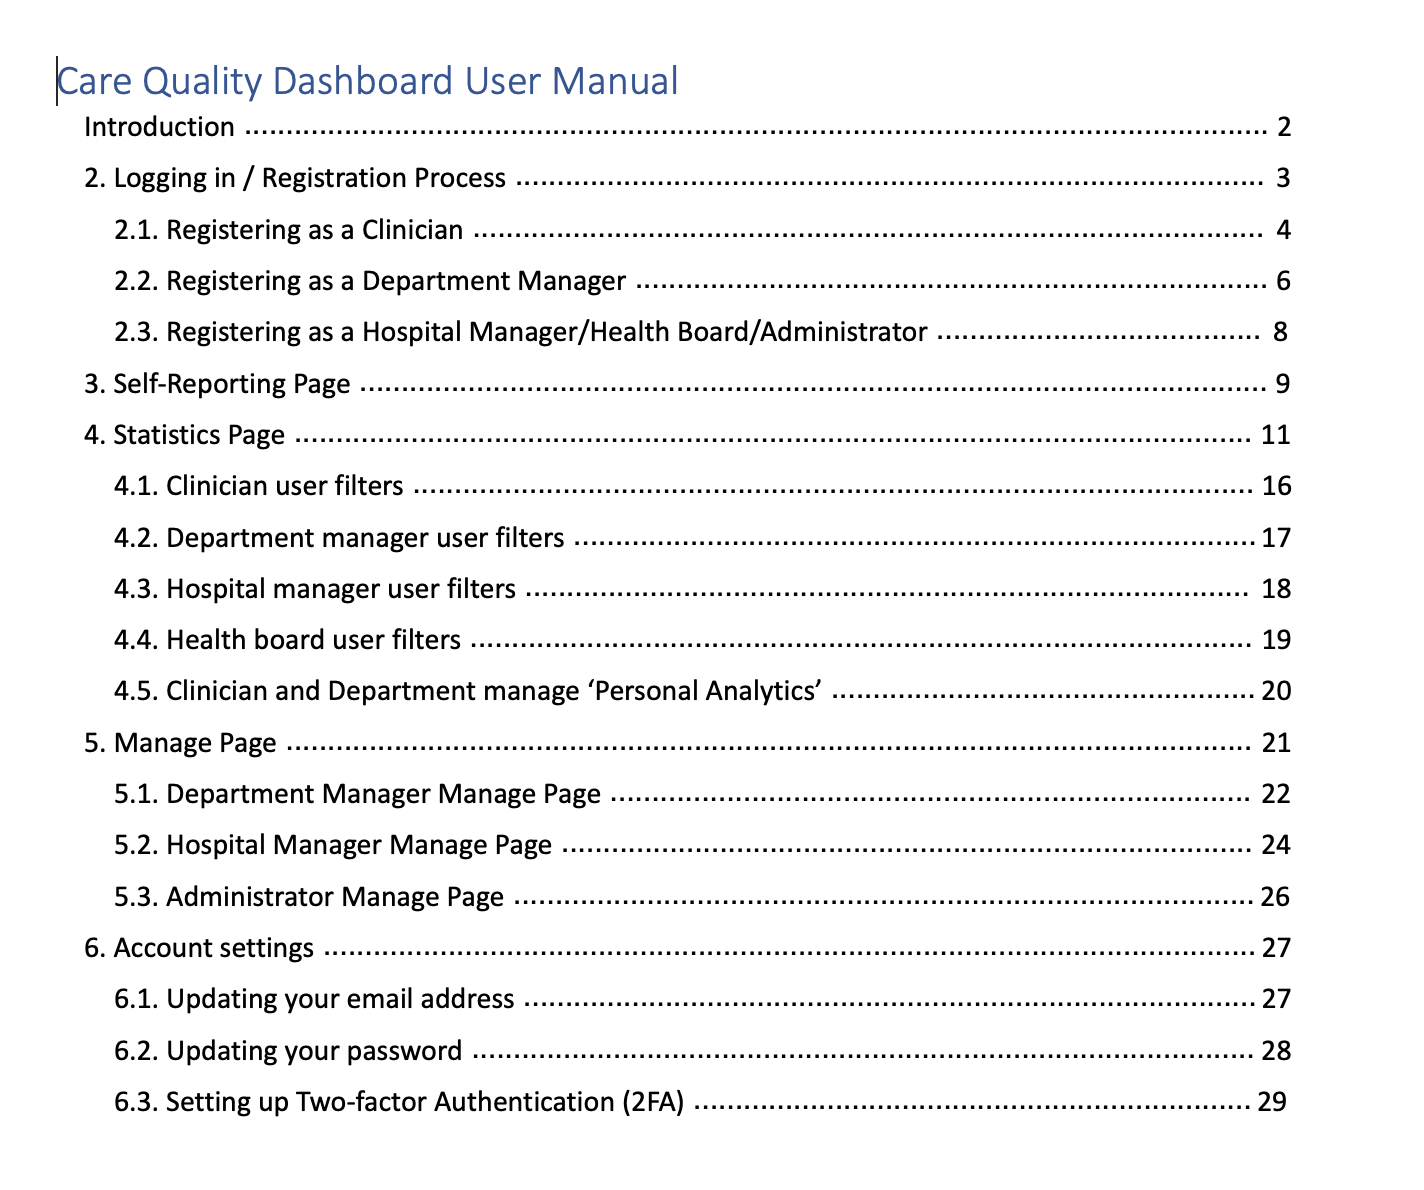
In order to help our users understand our product in the best way possible, we created a user manual, accessible through the "help" menu in our header:

This will hopefully mean that users will be clear about the platform and its functionality so they know how it can be used to solve their problem and navigate the platform independently.
Within each section, different subsections target different user types, so it is easier for them to see the exact functionality and UI available to them.
The manual consists of clear instructions on how to complete different tasks on the platform and how to use it. Throughout the guide there are also screenshots to take the user through each step. You can view the manual as a PDF here:

Deployment manual
We created a deployment manual to provide a step by step guide to show our industry partner how to deploy the project after they get the source code. This is accessible in our GitHub repository.
We want to ensure that all the relevant information for the DevOps process is well documented and public — this includes information such as how our GitHub Actions Workflows work for Continuous Integration and Deployment, as well as how the Docker image is published and how to deploy to a server:

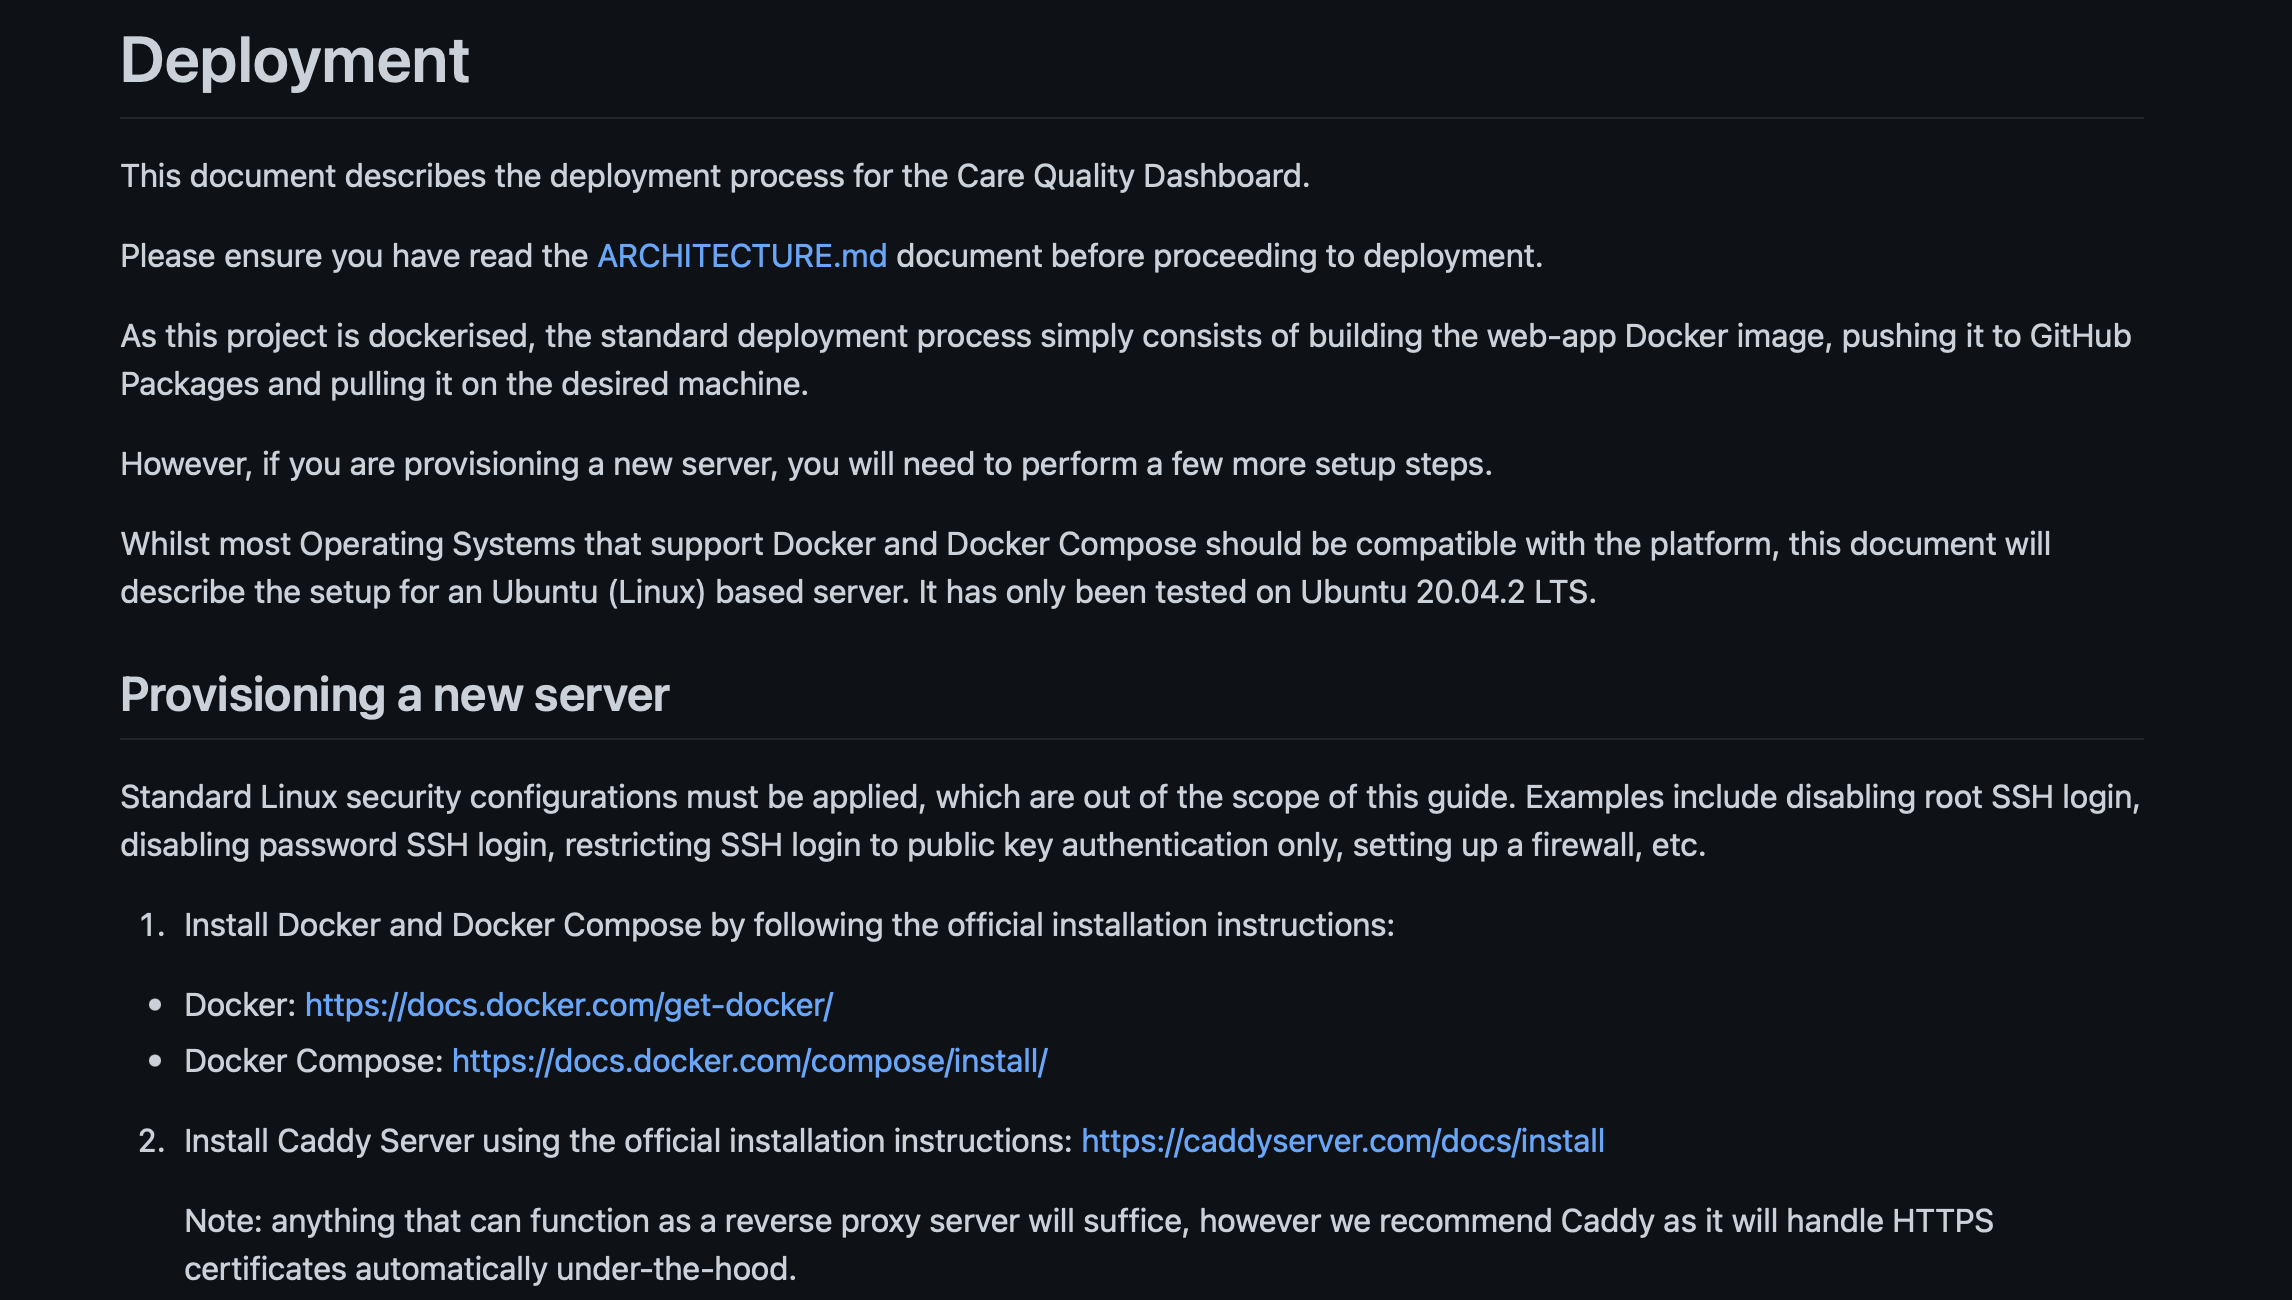
A copy of the deployment manual is below (click on the text to expand), if for any reason one is not able to have access to it through the GitHub repository:
Expand deployment manual
As this project is dockerised, the standard deployment process simply consists of building the web-app Docker image, pushing it to GitHub Packages and pulling it on the desired machine.
However, if you are provisioning a new server, you will need to perform a few more setup steps.
Whilst most Operating Systems that support Docker and Docker Compose should be compatible with the platform, this document will describe the setup for an Ubuntu (Linux) based server. It has only been tested on Ubuntu 20.04.2 LTS.
Provisioning a new server
Standard Linux security configurations must be applied, which are out of the scope of this guide. Examples include disabling root SSH login, disabling password SSH login, restricting SSH login to public key authentication only, setting up a firewall, etc.
Install Docker and Docker Compose by following the official installation instructions:
Docker Compose: https://docs.docker.com/compose/install/
Install Caddy Server using the official installation instructions: https://caddyserver.com/docs/install
Note: anything that can function as a reverse proxy server will suffice, however we recommend Caddy as it will handle HTTPS certificates automatically under-the-hood.
Create a new user
cqdashboard(with minimal privileges)Copy over the following files/directories to the root of
cqdashboard's home directory:keycloak/-- note: you must also copy the secretcare_quality_dashboard_realm.jsonfile into this folder tooUpdate the
Caddyfileto e.g. change the hostname based on the domain name that will be serving the website.Run
caddy runto start the Web Server (ensure the firewall allows HTTPS/port 443 requests)Run
docker-compose -f docker-compose-prod.yml up -dto start the Docker Containers for the system
The platform should now be running and accessible at your specified domain name over HTTPS.
Deploying to an already-configured server
Setting up Continuous Deployment
This project has Continuous Integration and Continuous Deployment configured. In most cases, this should be used for deploying the system, with minimal manual changes on the server.
To configure Continuous Deployment, update the following GitHub Secrets for the repository:
HOST-- the IP address of the server hosting the platformKEY-- the private key of thecqdashboarduser on the serverNEXT_PUBLIC_KEYCLOAK_USER_ACCOUNT_MANAGE_URL-- the URL for the user account manage page (e.g.auth.cqdashboard.net/auth/realms/care_quality_dashboard/account)
In addition, there are the following GitHub Secrets that may be configured if your setup requires:
DOCKER_COMPOSE_FILE-- the name of the Docker Compose file on the server (e.g.docker-compose-prod.yml)PORT-- the SSH port for the serverUSERNAME-- the username of the Care Quality Dashboard-dedicated user on the server (with minimal privileges)
Once these are configured, the ./github/workflows/deploy/yml GitHub Actions Workflow should automatically run on all pushes to the main branch, and will build the web-app docker image, publish to GitHub Packages for the uclcomputerscience/comp0016_2020_21_team20/care-quality-dashboard-web repository, and SSH into the server to restart the Docker containers.
Note: If the Docker Image repository is different, it must be changed in the GitHub Actions Workflow.
Deploying manually
If you require to deploy manually, simply SSH into the server and run docker-compose -f docker-compose-prod.yml pull && docker-compose -f docker-compose-prod.yml up -d --build (replacing filenames as appropriate) to re-fetch the latest Docker image and start the containers.
Note: the Docker Compose file is configured to fetch the Docker Image from the uclcomputerscience/comp0016_2020_21_team20/care-quality-dashboard-web repository. If this is different it must be changed in the Docker Compose file.
Documentation
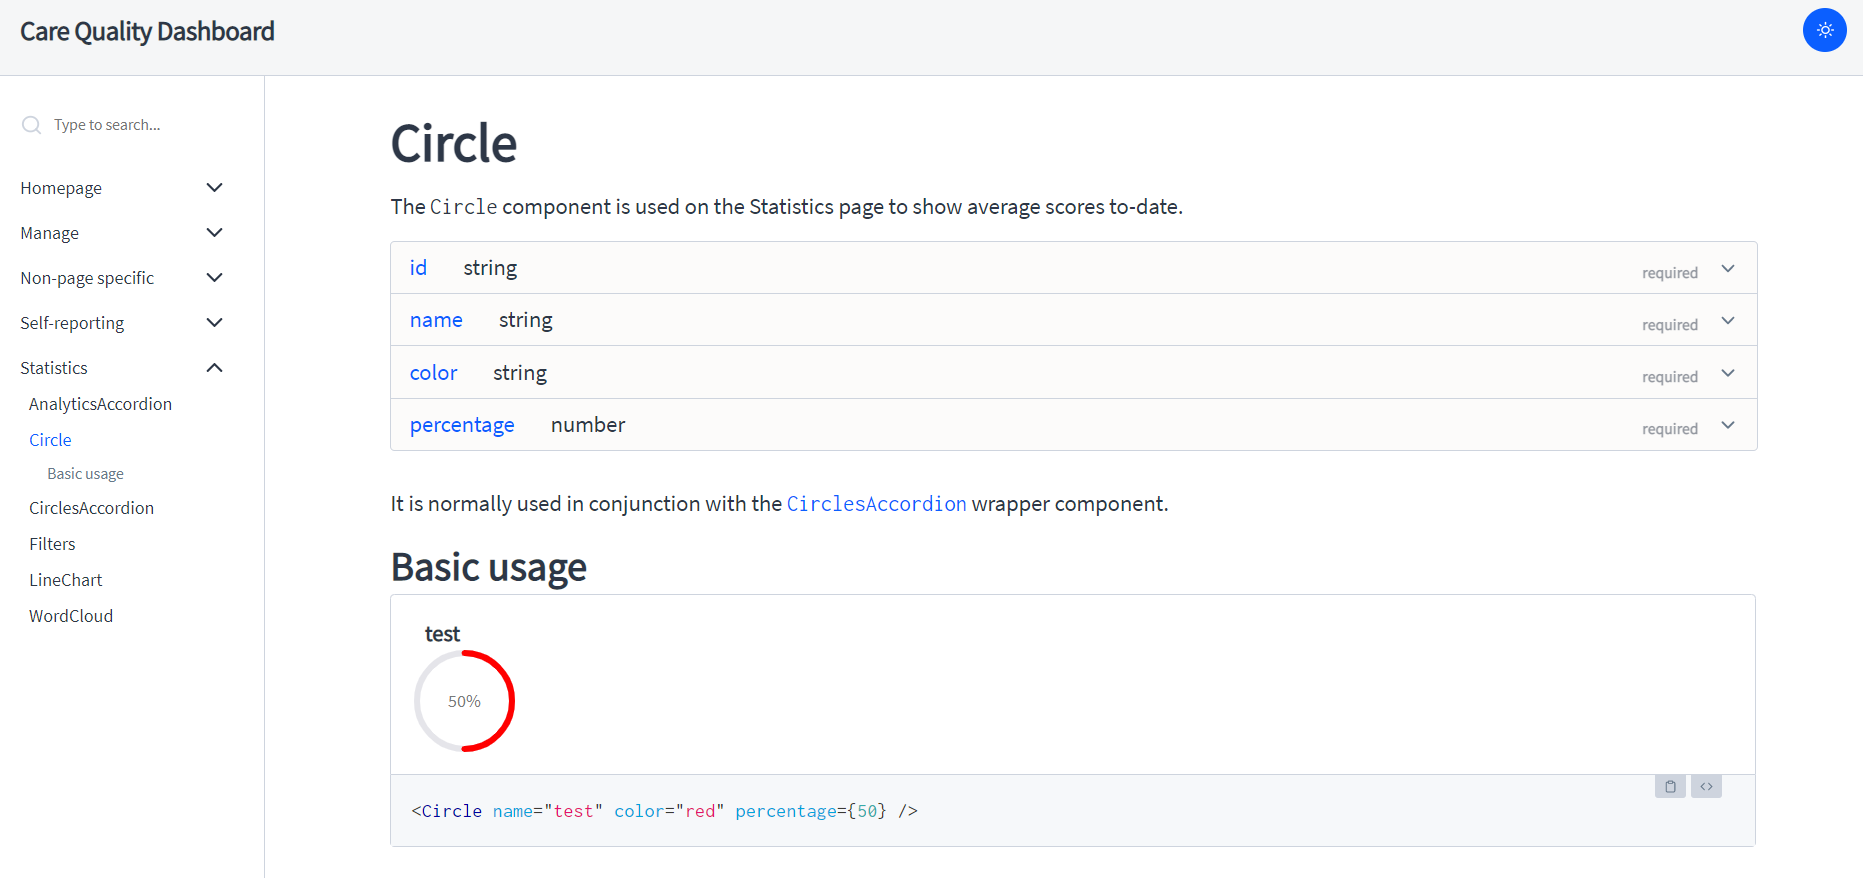
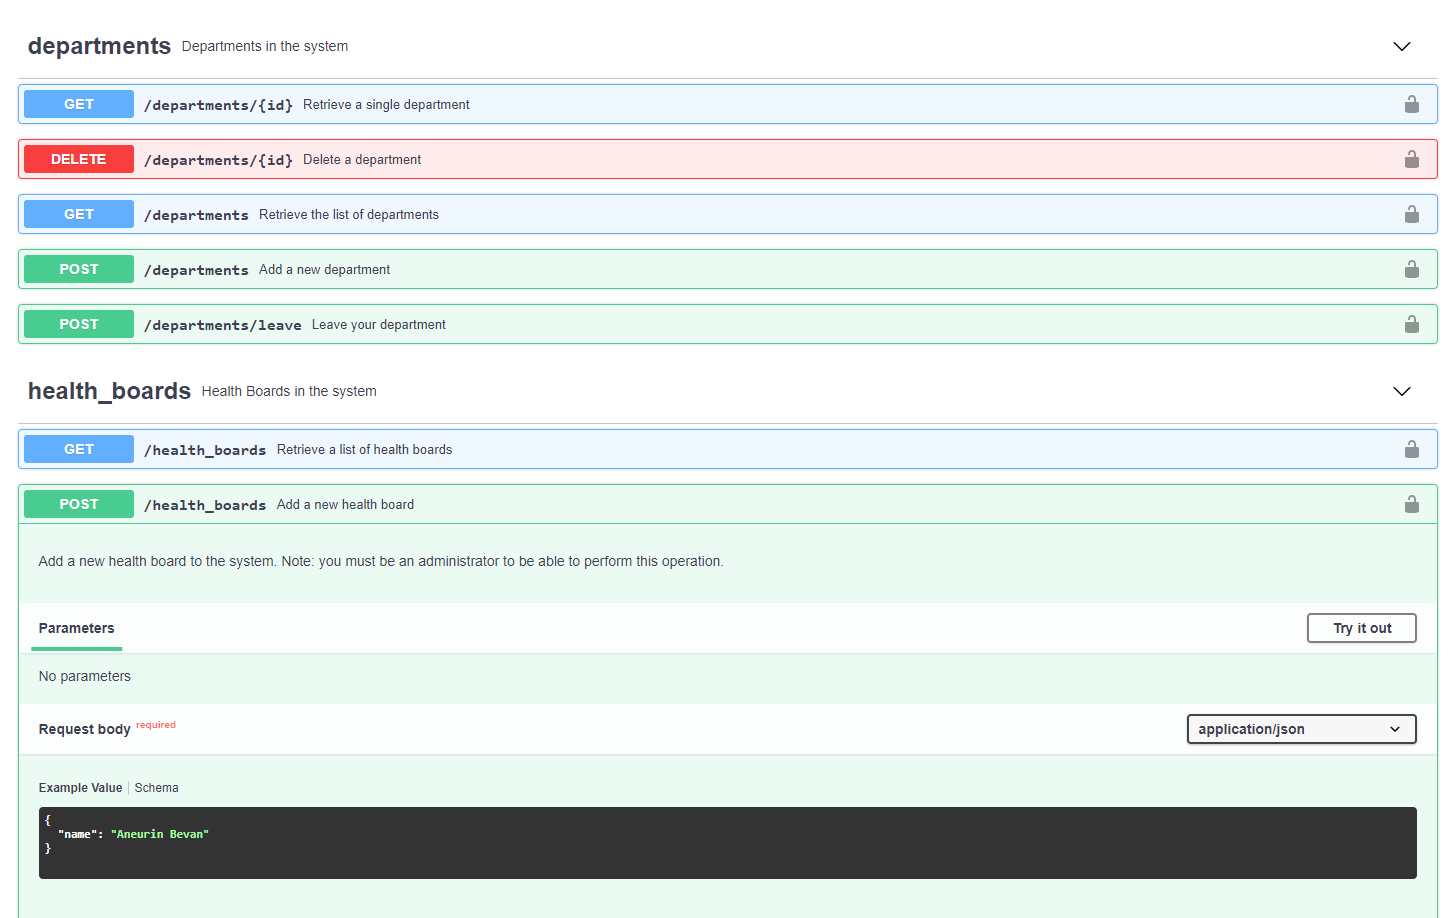
We have written extensive documentation for the frontend and backend parts of this project.
You can find our frontend component-level documentation here:
You can find our backend REST API Swagger-rendered documentation here: