The Engduino is a devise packaged with a several sensors, a microprocessor, communication modules and most importantly 16 multi-colour LEDs which are primarily used as a visual form of communication between the device and the user. As the Engduino has no form of output other than its LEDs, it is very important to effectively use the LEDs to output results which the users are easily able to understand. For Example – What colour will you make the LEDS light if the temperature you are measuring changes? How fast will the colour change as the temperature changes?
This simple step-by-step guide will go through all the information you require to successfully operate the LEDs as well as the button in the Engduino. By the end of this tutorial you should be able to:
- Set an LED to a particular colour
- Change the colour of an LED
- Change the brightness of an LED
- Use the button to change colour
- Create programs that make use of both the LEDs and the button
The LEDs
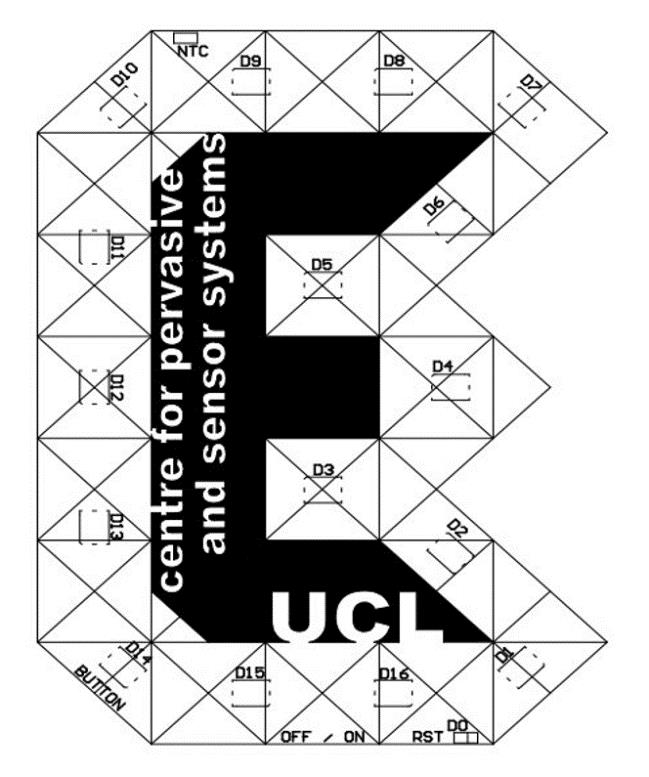
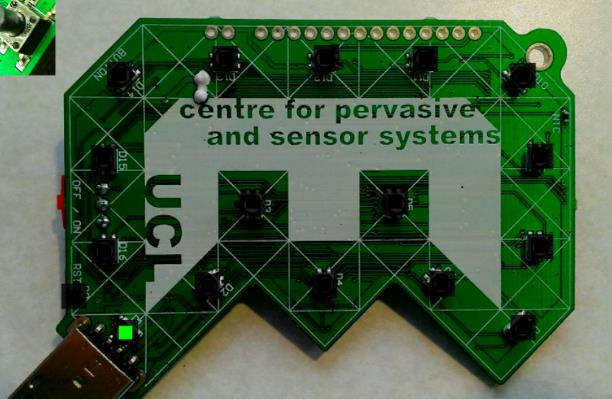
Each Engduino has 16 LEDs, these LEDs are able to display three different colours which are red, blue and green. However, it is also possible to change the brightness of each LED as well as mix different amounts of the three colours in order to produce a large spectra of colours which can be displayed. The LEDs can be set individually or they can be set all together, in order to set them individually you must use the number of each LED, if you look on the devise you will see these numbers (D1-D16) written next to each LED, they can also be seen in the diagram below:
Basic Functions - LED
1. Set all the colours of all the LEDs at the same time
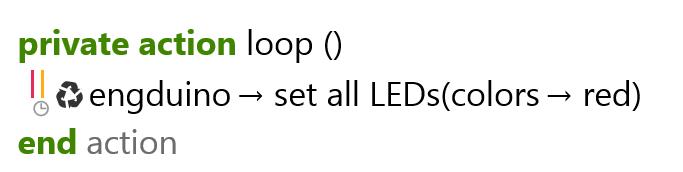
To set all the LEDs in the devise to Red at the maximum brightness we add the following code to the loop:
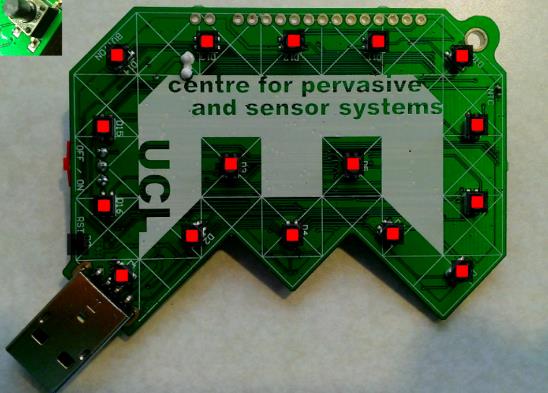
Result:
2. Changing the colour to a lighter or darker variant
We are able to make a colour lighter by selecting a number that ranges from 0-1 (order of increasing lightness) and adding this value to the code as follows:

This code sets all the LEDs to a light blue colour (increasing the value to 1 will cause the LEDs to light up white).
You can also replace the word ‘lighten’ in the code to ‘darken’ this will create a darker colour.
3. Setting a single LED
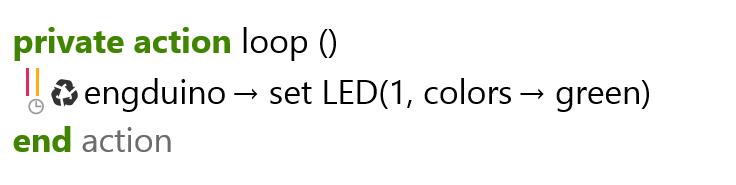
We are also able to set the colour of a single LED. For example if we want to set LED 01 to green we do the following:
Result:
4. Manually set the colours
Though Touchdevelop comes with a large range of pre-set colours, we are also able to create our own colours by mixing in the three primary colours (Red, Green and Blue) in different quantities.
For Example we can do:

This code sets the concentration of red to 0.5, green to 0.2 and blue to 0.8. It is important to note that each value must be in the range from 0 – 1 (a higher value signifies a higher concentration of that particular colour).
Exercise
Now that we know how to set colours, let’s try to make a program that creates an illusion of a single running light around the Engduino. This can be done by switching off an LED and simultaneously switching on the LED to its left, continue this pattern till you go through all the LEDs.
A demonstration of the program in action can be seen here: http://tdev.ly/mlmja
The program can be implemented using the following code:
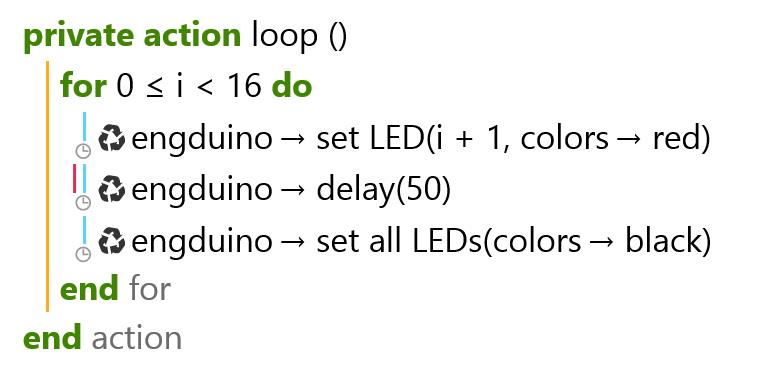
Notice when we set the LED to red we use ‘i + 1’ as the LED number because all the LED numbers are in the range 0 – 16.
We then set a delay of 50ms, this is the amount of time a single LED will be lit for, increasing this value will decrease the speed of the running lights.
The next thing we do is set all the LEDs in the Engduino to black, this is similar to switching of all the LEDs.
Finally when the loop is executed again, the next LED will light up, this process will continue to repeat itself giving an illusion of a running light.
Task
Now that we know how to set colours, try to make a program that makes the LEDs fade in and out:
Hint: Remember when fading the colours out we have to increase their lightness. And when fading the colours in we have to decrease their lightness.
If you have any trouble completing this exercise, click on the link below to see a tutorial: http://tdev.ly/ayezi
The Button
The Engduino contains a single user button which can be used as a form of input to control the actions of a program.
There are two basic functions for using the button, these are:
1. Button pressed
This checks if the button is currently pressed, it then return a Boolean value which could be used to control the program. For example we can use this function to create a program that makes the Engduino light up for as long as the button is pressed
We then set a delay of 50ms, this is the amount of time a single LED will be lit for, increasing this value will decrease the speed of the running lights.
The next thing we do is set all the LEDs in the Engduino to black, this is similar to switching of all the LEDs.

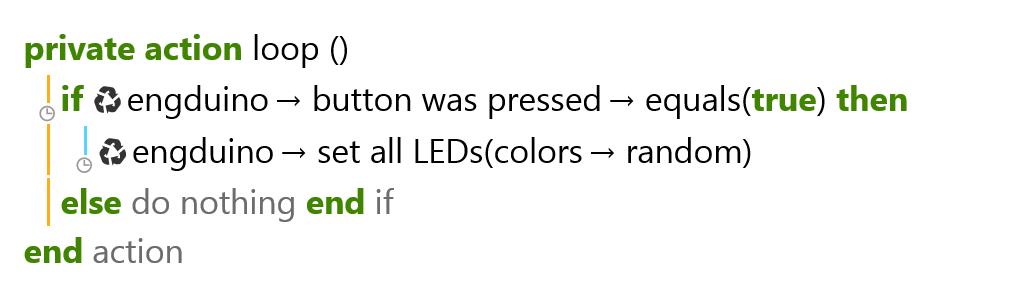
2. Button was pressed
This function will tell you if a button has been pushed or released since you last called the function. This is especially useful in cases where your program is doing something else and you press the button, in this way your button press will never be missed. For example we make a program that changes the colour of the LEDs when the button is pressed
You can see a demonstration of the program here: http://tdev.ly/avzhe
Challenge
1) Create a program that causes the LED lights to fade in and out of random colours.
2) Create a program that turns the Engduino into a torch. Every time the button is pressed all the lights should go white, when pressed again all the lights should switch off.