
2 posts tagged with "UI"

View All Tags

· 3 min read
Hugh Stanway

Further App Improvements

In the second half of the month we starting with making UI improvements to the app. This included added a navbar to basic app navigation and updating the logic for how moving between different content pages was handled. We then added the logic required to save a list of paired devices to the devices storage and finished off the month by writing comments for all code we have written.

1. Added UI to Display List of Already Paired Devices

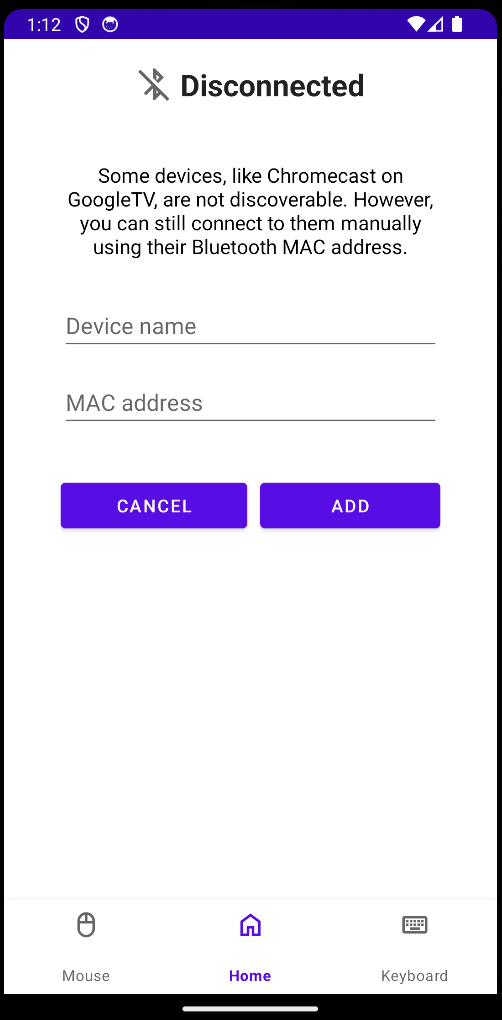
We added UI to the main page that displays all of the previously and current paired devices to the app. This will be the main interface used to manage the apps currently known devices as well as connect to a given device and remove a given pairing.

When the app first starts the backend queries the device storage to find all the currently saved devices. It will return the result as a list of all the known devices. Each item is then displayed in a list on the devices main page.

For each item in the list we display the device name and its MAC address. Then we also have delete icon for each device which the user can press to delete an item in the list. When this is pressed it will remove the item from the list of paired devices. This removes it from the device storage therefore it won't be displayed anymore unless the user adds it again.

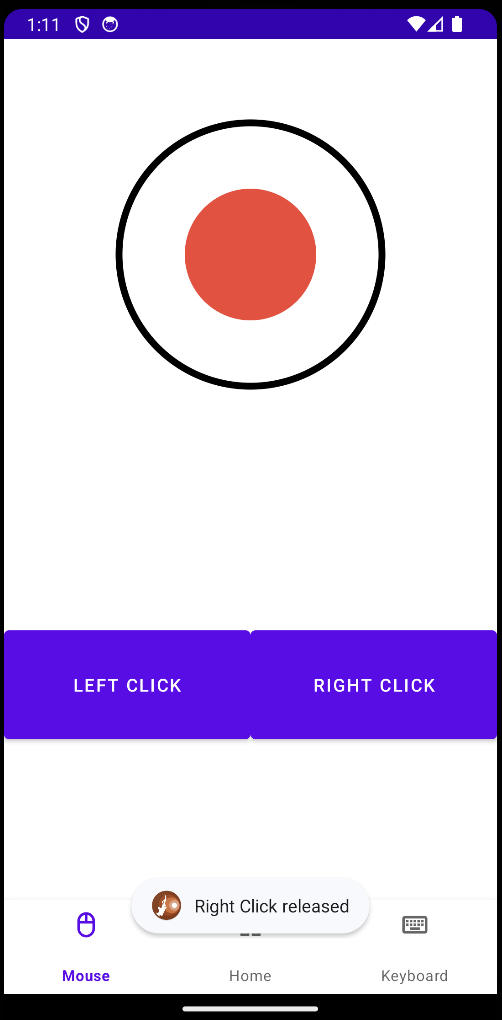
The user can click on a given device in the list and it will start the connection process to that device. Once the app has connected to the device it then will turn to a darker shade of grey to signify which device is the one connected. To then disconnect from that device the user can then click on that device again.

2. Added Support to Store Paired Device Stroage

We defined a 'Target Device' class that each know device will be initiated as. This class contains the reference to that derives name and MAC address as well as its connection status. This class then provides the required getter methods.

We then defined a 'Target Device Storage' class that makes calls to and from the Android devices storage to save and recieve the list of known devices. To achieve this we used the Jackson library to convert the list of Target Device objects to a JSON string which can then be saved to the device storage and vice versa.

Upon app boot the JSON string is retrieved from the device storage and initialised as a list of Target Devices using Jackson. This list is then retrieved and used by other components of the app when needed.

Then when devices are deleted or added the list of saved devices these chanegs are automatically updated in the devices storage.

3. Added Comments To All Files

We went through and added documentation comments and Javadoc comments to all methods and classes within the project to maintain a high level of readability. We will ensure to keep doing this throughout the project.

· 4 min read
Hugh Stanway

Beginning to Write Code

Now that our project research was complete and we had a clear plan and roadmap of what we wanted to achieve we could begin writing code. Starting off, we created a blank project in Android Studio using Gradle and our chosen language Java.

1. Created a Vitual Mouse Interface

We needed to design a mouse interface within the controller that the user would use from within the app. We then went onto implement a joystick that the user could press and move on the app screen to input X and Y mouse movements and two buttons on the screen for left and right click. This simple but effective interface gives full control over mouse input from within the app.

Not Supported Pupup Image

2. Added HID Device Support For Mouse

Added the required functionality to make a bluetooth connection using the HID protocol using Androids native libraires.

First we defined a 'BluetoothMain' class that is instantiated on app start. This contains all the high-level methods needed by the different app components to create bluetooth connections and send data. This initialises a bluetooth adapter which checks whther the devices supports the required Bluetooth profiles and also whether Bluetooth is enabled on the device. It then initialises this using the BLUETOOTH_HID profile to allow us to use the bluetooth HID protocol.

Once everything has been initialised the Bluetooth Main class provides methods to connect to a given Bluetooth MAC address and also send data packets.

Finally we had to define our own Bluetooth HID descriptor. This took a lot of research to find the correct packet formatting we needed to use. Once we understood what was required we then defined out descriptor to use 3 bytes. The first byte was used for the click buttons, each button uses one bit of space therefore we designated 3 bits for the left, middle and right clicks and the other 5 bits were reserved for padding. The second and third bytes designate a 16-bit signed integer that would give the integer range -127 to 128. This would be used for the relative X and Y position of the mouse.

3. Added Manual Connection Via Bluetooth MAC Address

We have added functionality to manually add devices to the app by entering the target devices MAC address. This includes all the UI and backend functionality necessary.

The UI now has an 'Add Manual' button which when pressed takes you to the new page to add devices. This new pages contains two buttons, 'Cancel' which takes you back to the main page and 'Add' to submit the new device. There are also two input fields 'Name' and 'MAC Address' where the user can enter the MAC address and the name identifier of their chosen device.

The UI also includes error handling. It will only allow the user to submit a valid MAC address of the format 'XX:XX:XX:XX:XX:XX' and will display error messages on the screen if the user enters something otherwise. It will also not allow the user to submit a empty field and will also display the respective error message in this case.

Once the user submits a new device it will be commited to the apps device storage and saved for future usage.

Not Supported Pupup Image

4. Tested Sucessfully on Ipad and Mac

We were able to connect to Mac and IPad devices using the 'Manual Connect' feature and control their respective cursors using our apps JoyStick interface. This included successful usage of X and Y movement and both left and right click.