Manuals and Standard Development Kit (SDK)
Systems Manual
Browser Requirements
The app supports most web browsers. This is because the front-end has been written using JavaScript, HTML and CSS only. However, to take full advantage of all of the website’s features, ensure that your browser has been updated to the latest version. The following browsers are supported:
- Google Chrome.
- Safari.
- Mozilla Firefox.
Other Requirements
JavaScript
The website uses JavaScript for many features, so it must be enabled in your browser.
To enable JavaScript in Google Chrome:
- Select Preferences in the Chrome menu.
- Select “Under the Hood”.
- Click on “Content Settings” under Privacy.
- Choose “Allow all sites to run JavaScript” under the JavaScript tab.
- Close the window and refresh your browser.
To enable JavaScript in Safari:
- Select Safari, then Preferences.
- Click on Security.
- Click on “Enable JavaScript”.
- Make sure “Block pop-up windows” is not selected.
- Refresh your browser.
To enable JavaScript in Mozilla Firefox:
- Select on the menu button.
- Click on Preferences.
- Select the Content Panel.
- Enable JavaScript.
- Select Close to close the preferences window.
- Refresh the browser.
User Manual
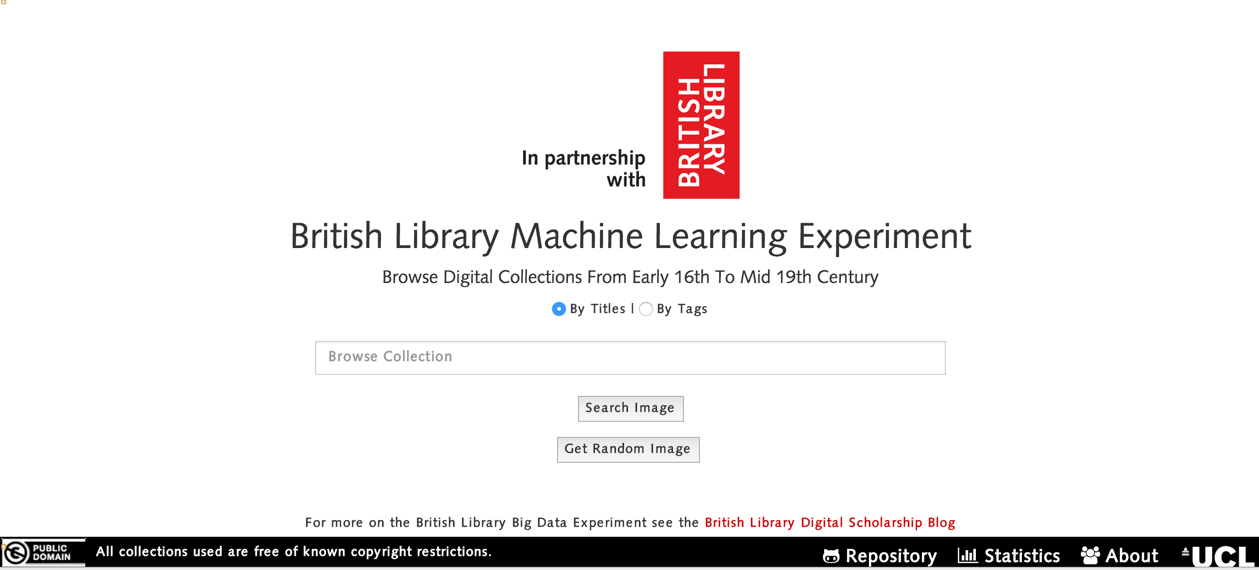
In order to access the British Library Machine Learning Experiment website, the user will have to navigate to the app in a browser, which will redirect the user to the homepage of the website. This can be seen from the following screenshot:
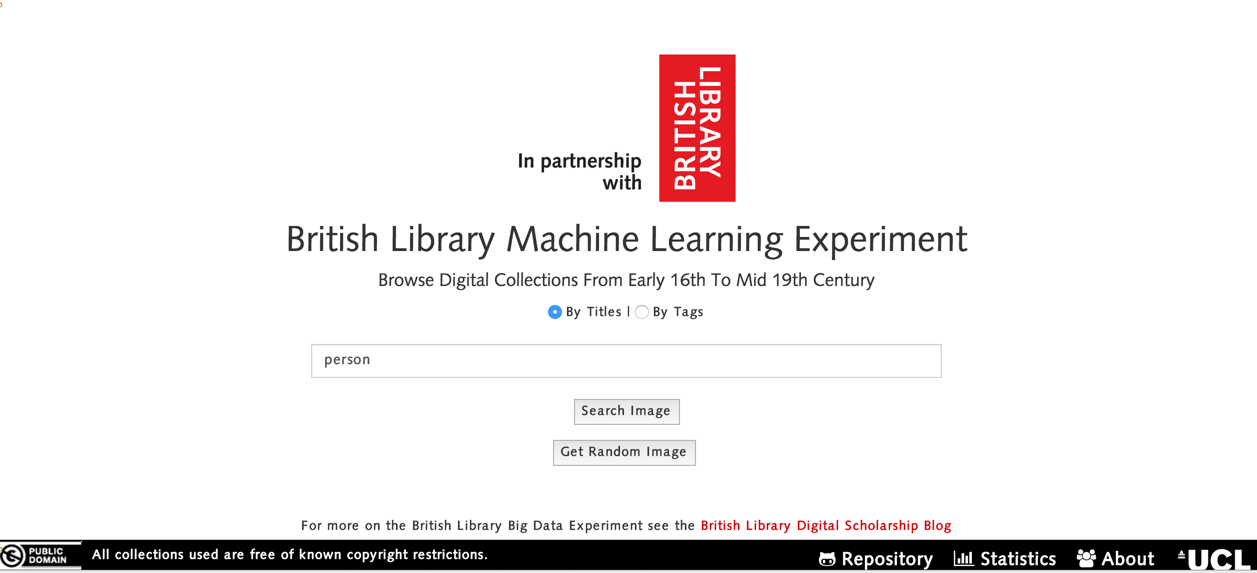
Searching Images By Title
If the user wants to search all of the books that contain certain keywords in the title, then searching for images by title is appropriate. To do this, the user has to populate the text field with a relevant title, tick the checkbox, “By Titles” and then click on “Search Image”.
Searching Images by Tag
Users can also search for images by the tag associated with them. This can be done in the home page, users have to type in a search query, check “By Tags” and then click on “Search Image”. This can be seen in the following screenshot:
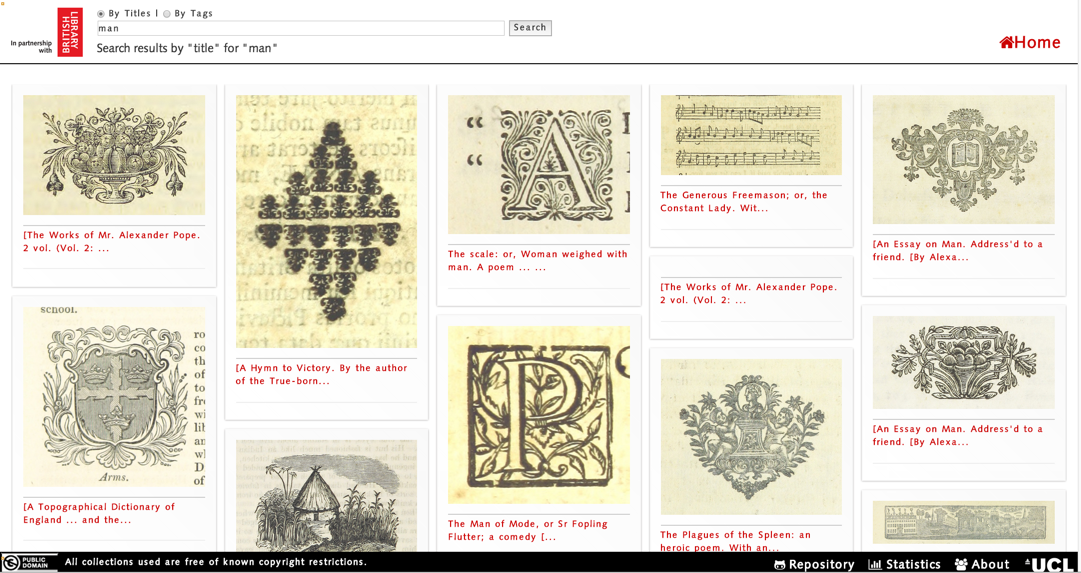
Viewing Images
Once the user has selected to search images by tag or by title, a list of images will be displayed to the user, in order of the relevance. The more results that exist for a search query, the higher the number of images that are displayed to the user. This is a screenshot of the page where users can view images:
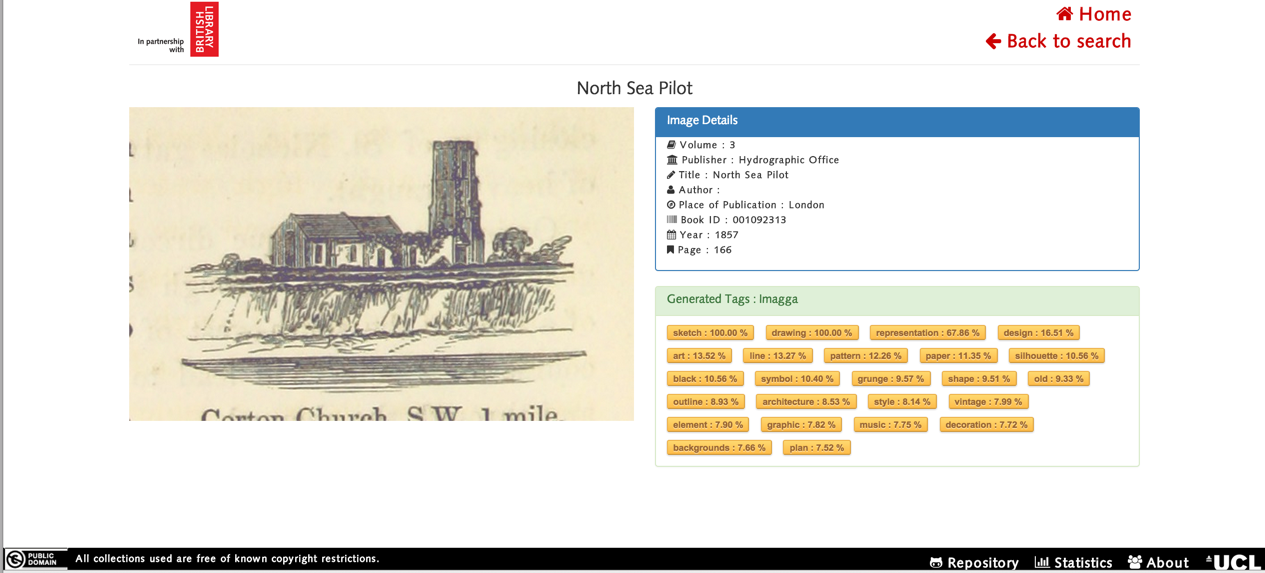
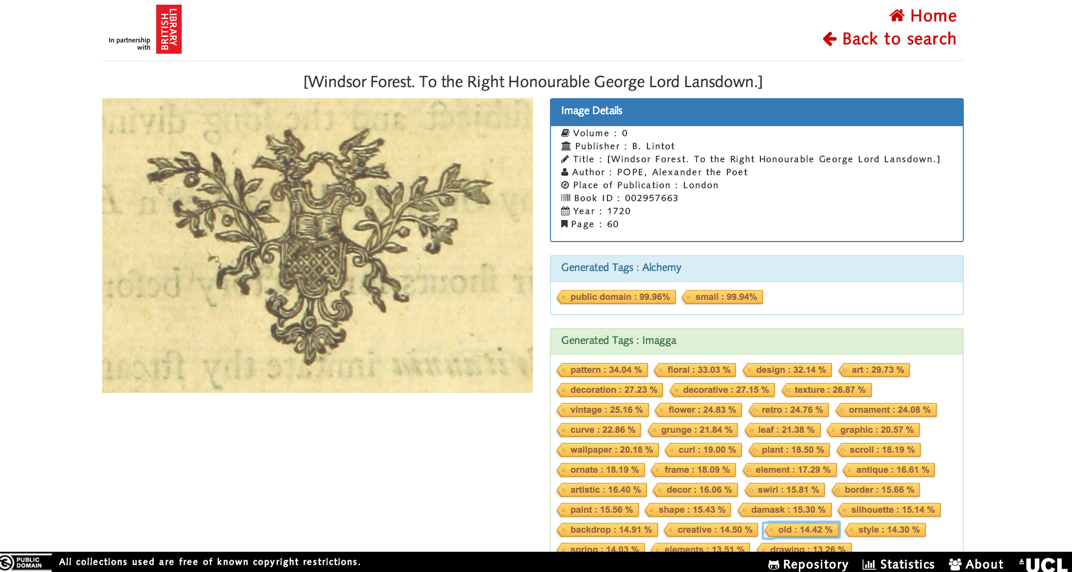
Selecting a Specific Image
If a user wants to find out more about a specific image, then the individual image needs to be clicked on. The user should then be redirected to another page that has more information about the image. This is a screenshot of what the page looks like:
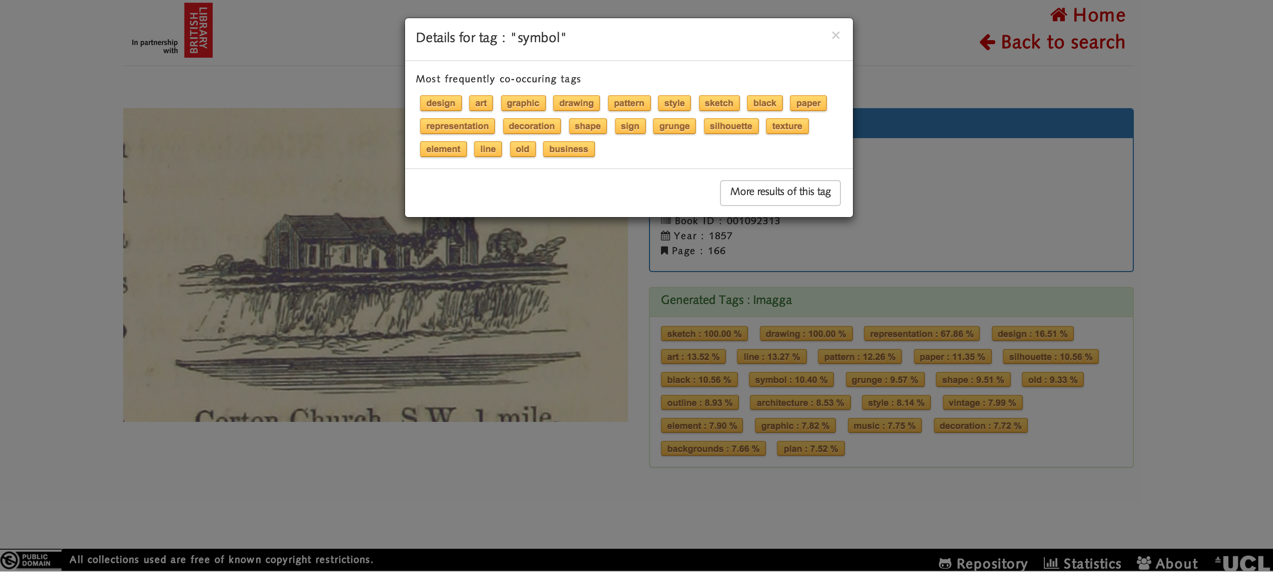
Finding Co-occurring Tags
If a user wants to find out the most common co-occurring tags, then the user has to click on the tag. Then the user can search for the tag that they have selected or view the co-occurring tags. This is a screenshot of what it looks like when the user clicks on the “Symbol” tag:
Getting a Random Image
There is also the option to get a random image, this would randomly select an image from the dataset, tag this image and display its information to the user. The feature to get a random image can be invoked by clicking the “Get Random Image” button:
Once the user has clicked on “Get Random Image”, the user is presented with an image that has been randomly selected. The image is then tagged using AlchemyAPI, Imagga API and our own machine learning algorithms. Additional information about the image, such as the book publisher, the book author, the place of publication, the year of publication and the number of pages, is also displayed to the user:
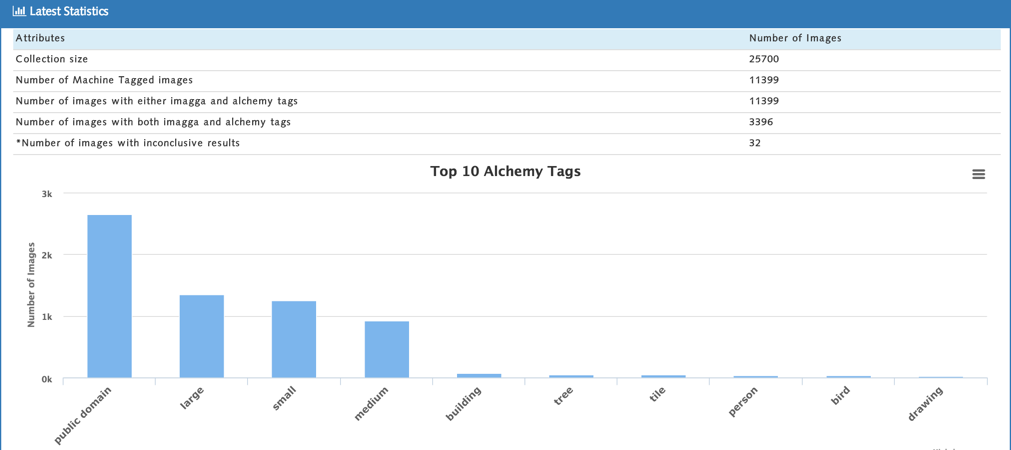
Statistics
Users can also find out useful statistics about the tags generated for the images. The stats that can be found out are:
- Collection size.
- Number of Machine Tagged images.
- Number of images with either imagga and alchemy tags.
- Number of images with both imagga and alchemy tags.
- Number of images with inconclusive results (images do not produce any results after they have been analysed).
- Top 10 most occurring AlchemyAPI tags.
- Top 10 most occurring Imagga API tags.
Standard Development Kit (SDK)
Application structure
For complete files structure, please visit the repository on github.The list below shows all the url paths of the application:
- GET / - home page.
- GET /search – search page with no query body.
- POST /search – search page that displays the images given the query body.
- GET /searchTags – search page that displays the images given the tag query body.
- POST /searchTags – search page that displays the images given the tag query body.
- GET /searchTags/:query - search page that displays the images given the tag query parameters.
- GET /search/:imageid – image page that displays the image details given image id.
- GET /search/random - retrieves random image page.
- GET /stats – statistics page that shows information about the image collection.
- GET /api/getCoOccuringTags/:tagName – returns co occurring tags of a tag given its name.
- GET /api/getImagesByTitle/:title – returns the list of images that matches the query by title.
- GET /api/getImagesByTag/:tag – returns the list of images that matches the query by tag.
- GET /api/getImagesByID/:imageid – returns the image details given imageid.
- GET /api/getStatistics – returns the collection statistics.
REST APIs that return resources in JSON format.
App Configuration
Some attributes such as port number, database and Imagga API credentials can be configured from the config.js file in the config folder. Other attributes, such as Alchemy API key, have to be changed manually.
Minimum Technology Requirements
The list below is the list of technologies for minimal set up:
- NodeJS – To install NodeJS, please follow this installation guide.
- Database – The app uses on MongoDB database. To install it, please follow this guide. Alternatively, the user can also use mongoDB as a service such as Mongolab. Please follow the Mongolab's quickstart guide to get started.
How To Run the App Locally
Before starting, ensure that that the minimum technology requirements are met.
- Change configuration file in config.js to point the right database and Imagga API credentials. To obtain an API key, please register for the API key with Imagga API.
- Change Alchemy API key in api_key.txt in lib/alchemy path. To obtain an API key, Please register with Alchemy API.
- Import the images_ml_tags.json and tags.json into the database.
- Once everything is in the above is carried out. Simply run the app by typing node server.js in the command line.
How to deploy to Heroku
Before deployment, please follow steps 1 to 3 of the instruction "How To Run the App Locally" above. To deploy a NodeJS app on Heroku, please visit their NodeJS deployment guide from here.
How To Run Unit Tests Suite
Simply run mocha in the command line. The tests are located in runTests.js in the test folder.
Machine Learning System Requirements
The following libraries are all required to run the image processing and machine learning functionality:
- Python
- Numpy
- Scipy
- OpenCV
- Weka - the weka.jar file must be placed inside the machine-tagging folder
- FlickrPy - the file flickr.py must be placed inside the machine-tagging/python folder
Further Image Tagging
All of the tagging is run from inside the machine-tagging folder.
Manually Tag Images
The image files to be used for training the classifier should be separated into folders, where the folder name corresponds to the name of the tag that applies to all the images in that folder.
Training Classifier
Changing the parameters in generate_features.py to point to the created folders and running the script will output an .arff file in the ARFF folder with the values of the image features for every image. The ‘train_tag.sh’ shell scripts, with the appropriate files specified, will use these features to train the specified classifier and output a .model file to the model folder.
Tag images
By using generate_features.py again, but on the whole image dataset, you will get a set of features that can be used for determing the tag for each image. The ‘classify_tag.sh’ shell scripts uses these features and the specified model to classify them and outputs an .arff file with the classified tags.
The assemble_tags.py script is used to combine all the tags generated and output a .json file of the correct format for our app. Although it is set for the tags we used on this project, this script can be adapted to use different tags and different numbers of tags in future.
Find co-occurring tags
Finding the co-occurring tags is done from inside the similar-tags folder. Using a .json file of the same format as that used on the website, you must first run get_tags_from_json.py to turn them into a .csv file. Using this .csv, you can then run tags_freq.py (according to the README) and it will generate another .csv which contains the most frequently co-occurring tags for each tag Finally, this .csv can be used with generate_json_output.py to create a .json file of the correct format.