
Appendix
Navigation
1.1 Go to the deployed webpage at https://ifrc-ada.netlify.app.
You should be greeted with the home page like this: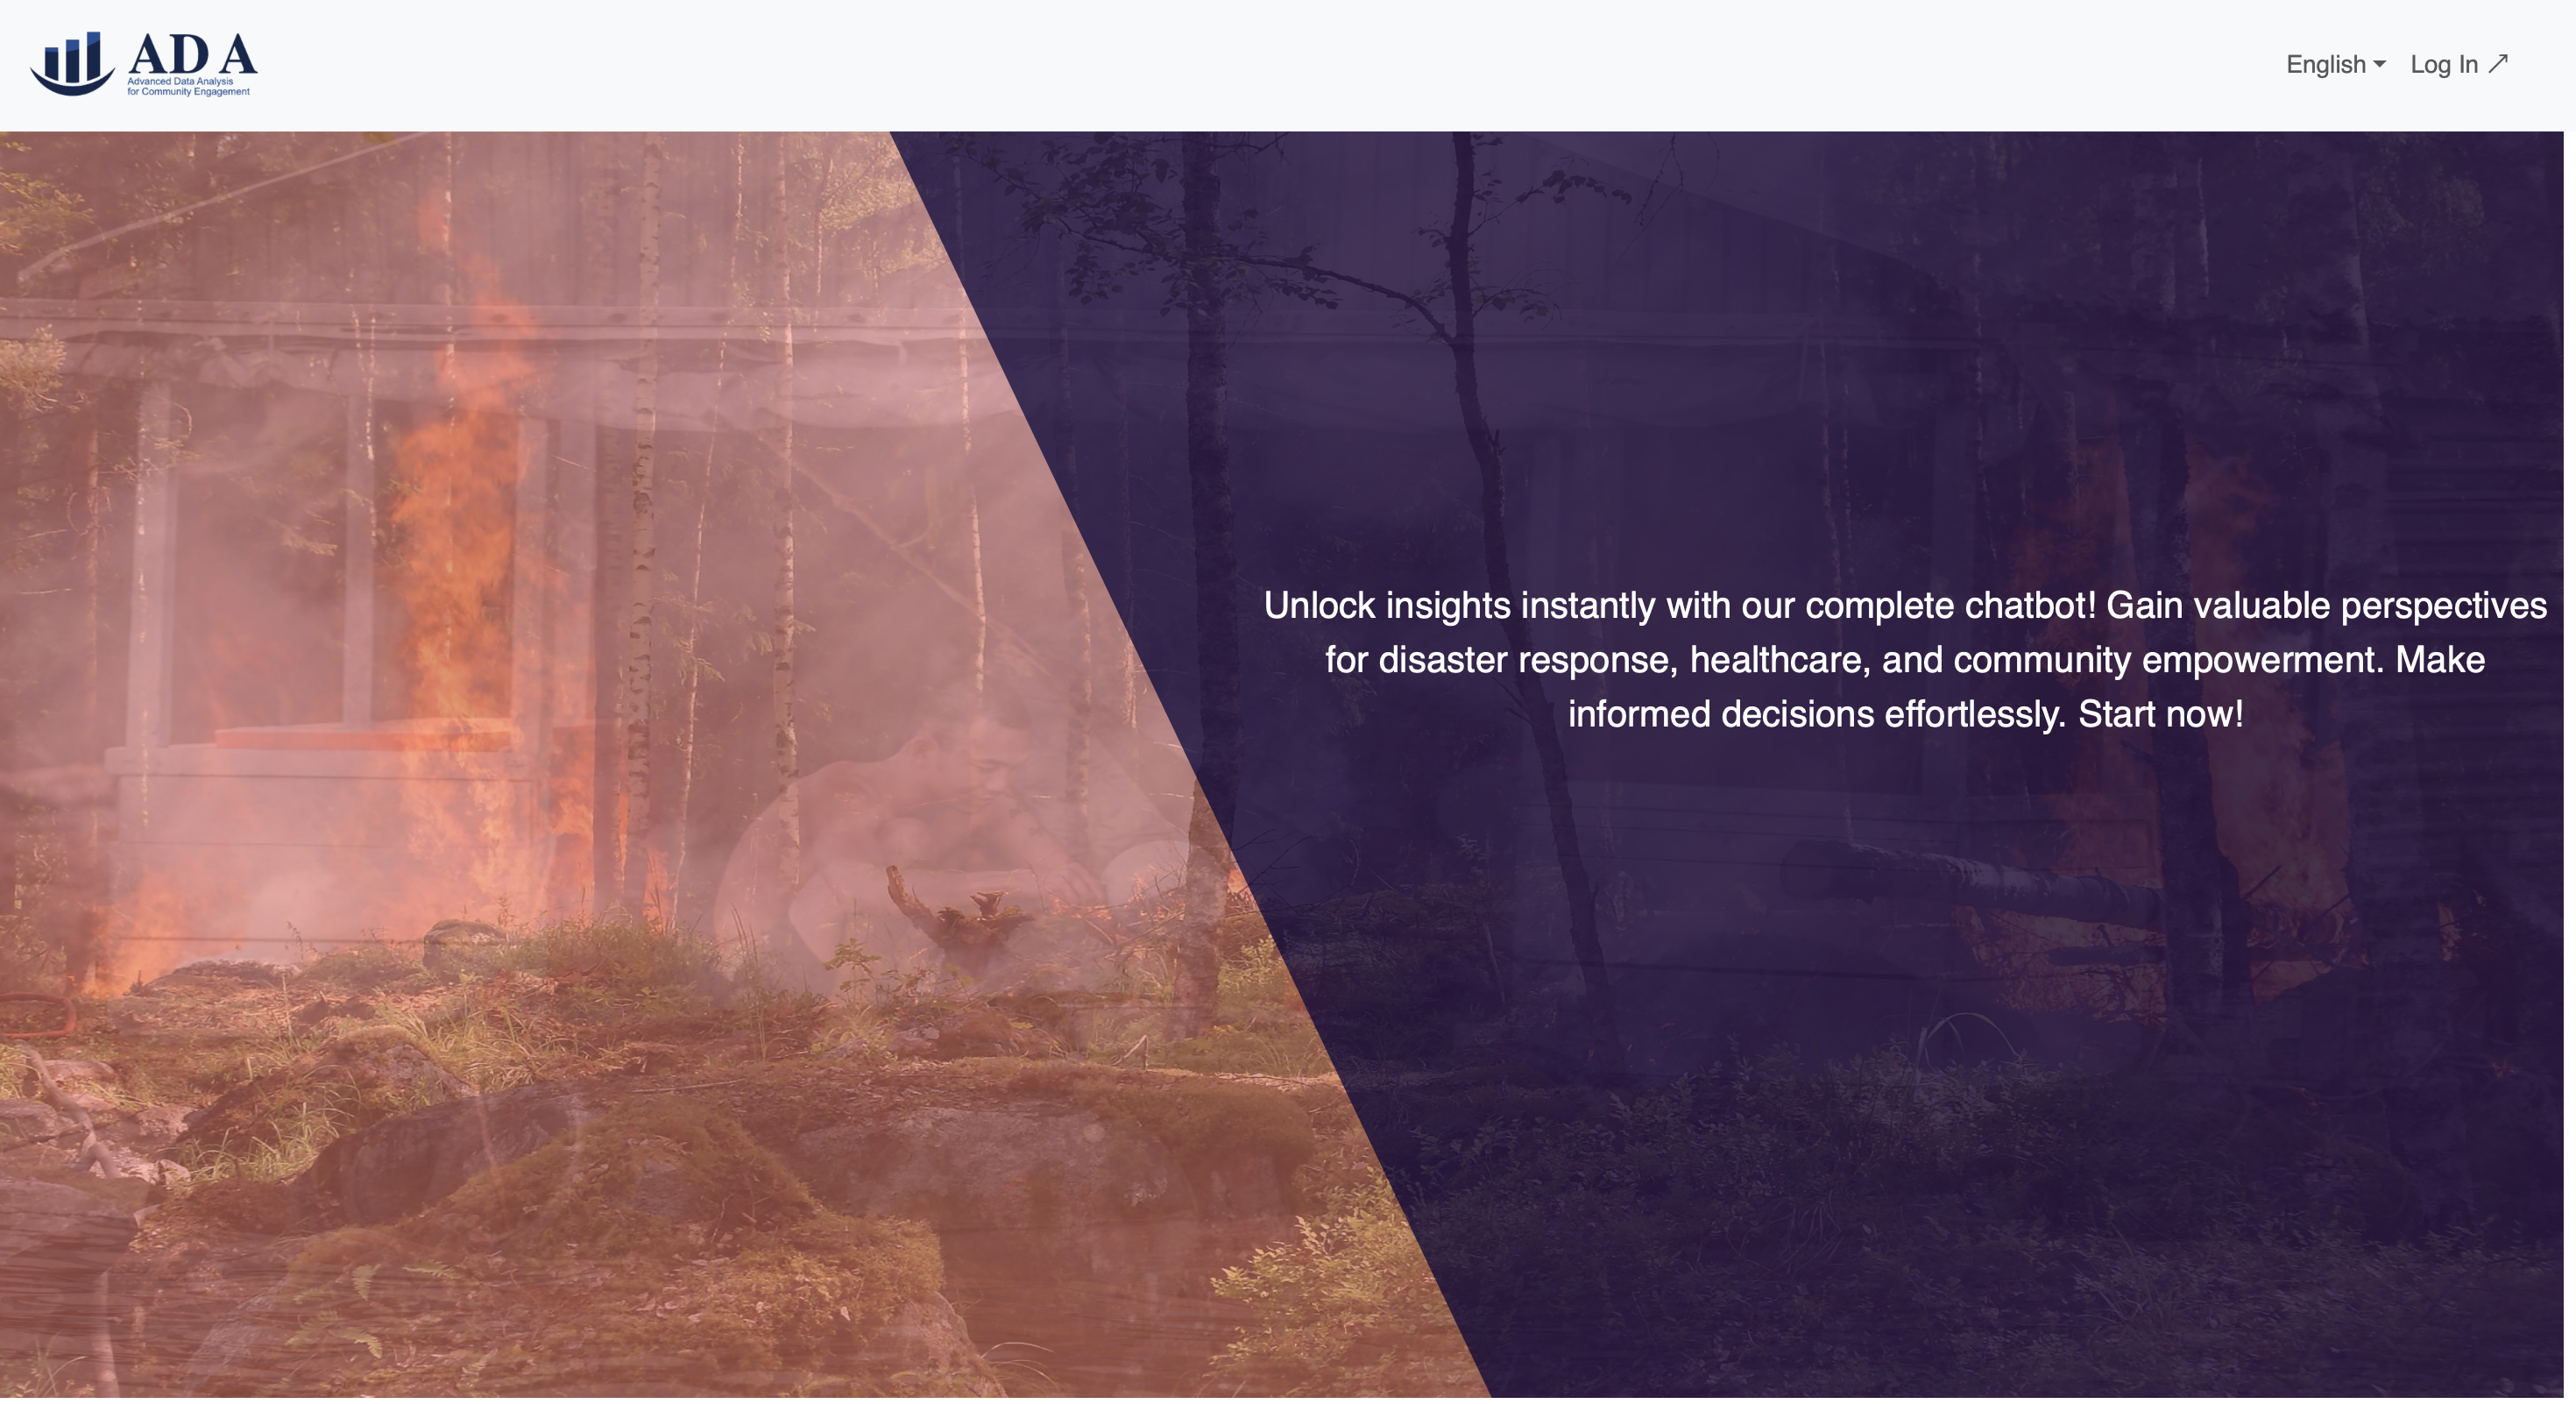
1.2 (Optional) Tools & Articles
Scrolling down further, you will see a list of technologies that we used, along with the articles we wrote to demystify the process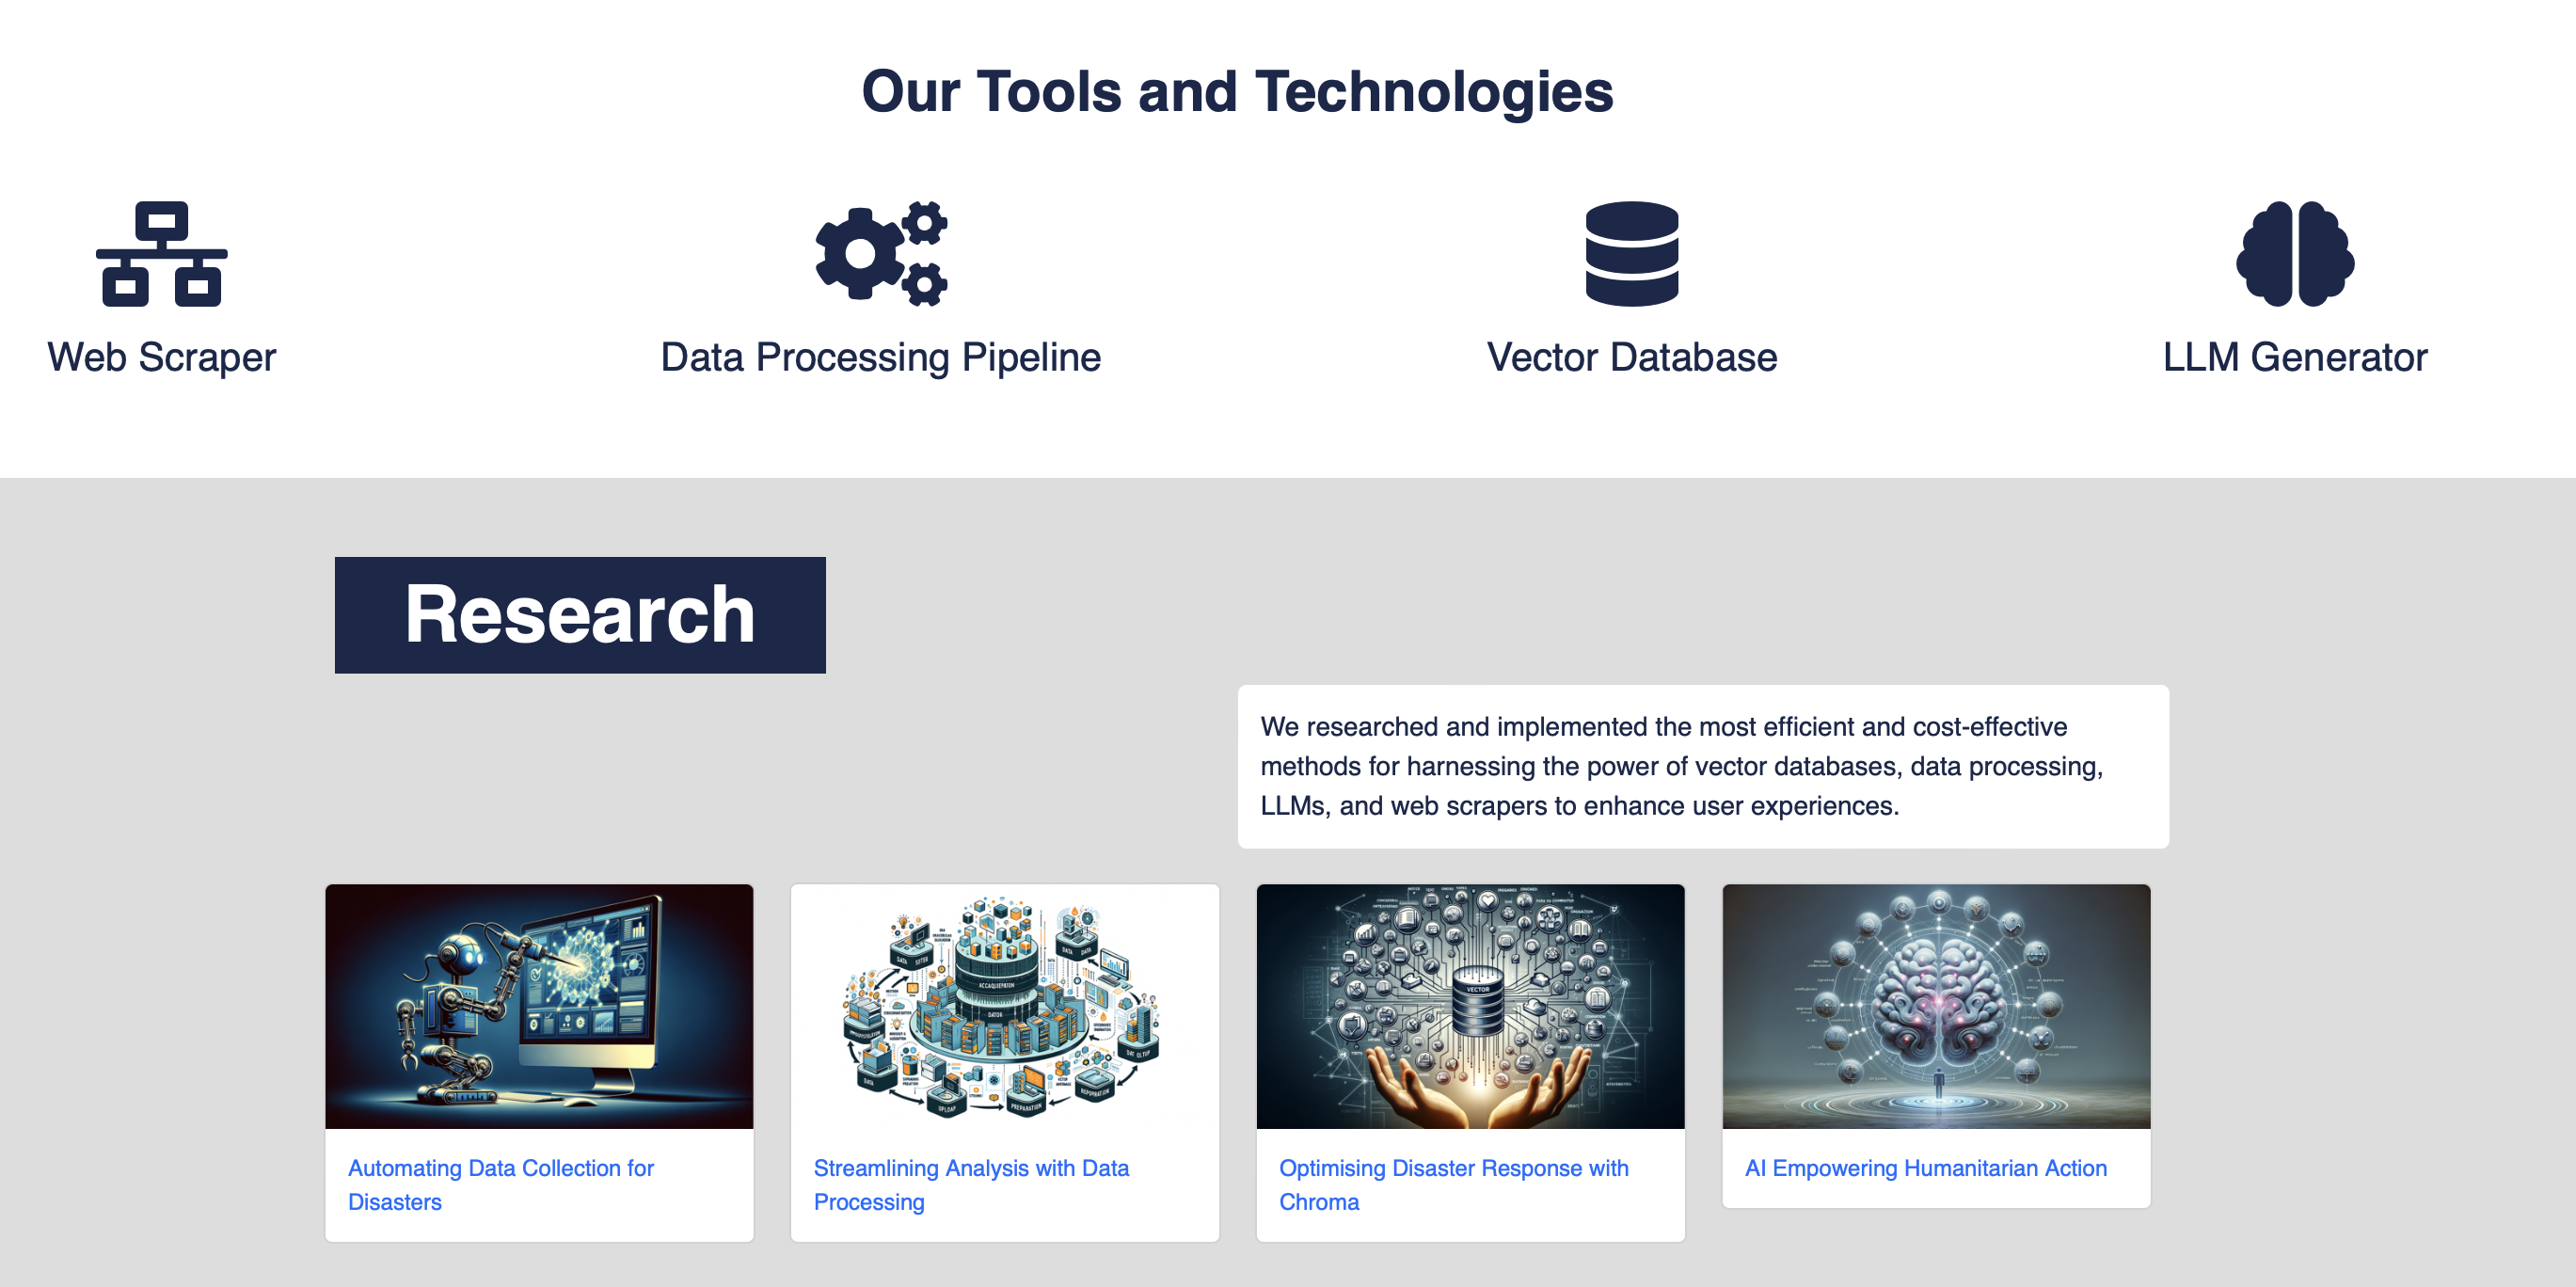
1.3 (Optional) Footer
Scrolling all the way to the bottom, you will see the footer with links to the project partners and relevant sections.1.4 (Optional) Multilinguility
On top of the navbar, there is a language switcher that allows you to switch between English, Spanish or French.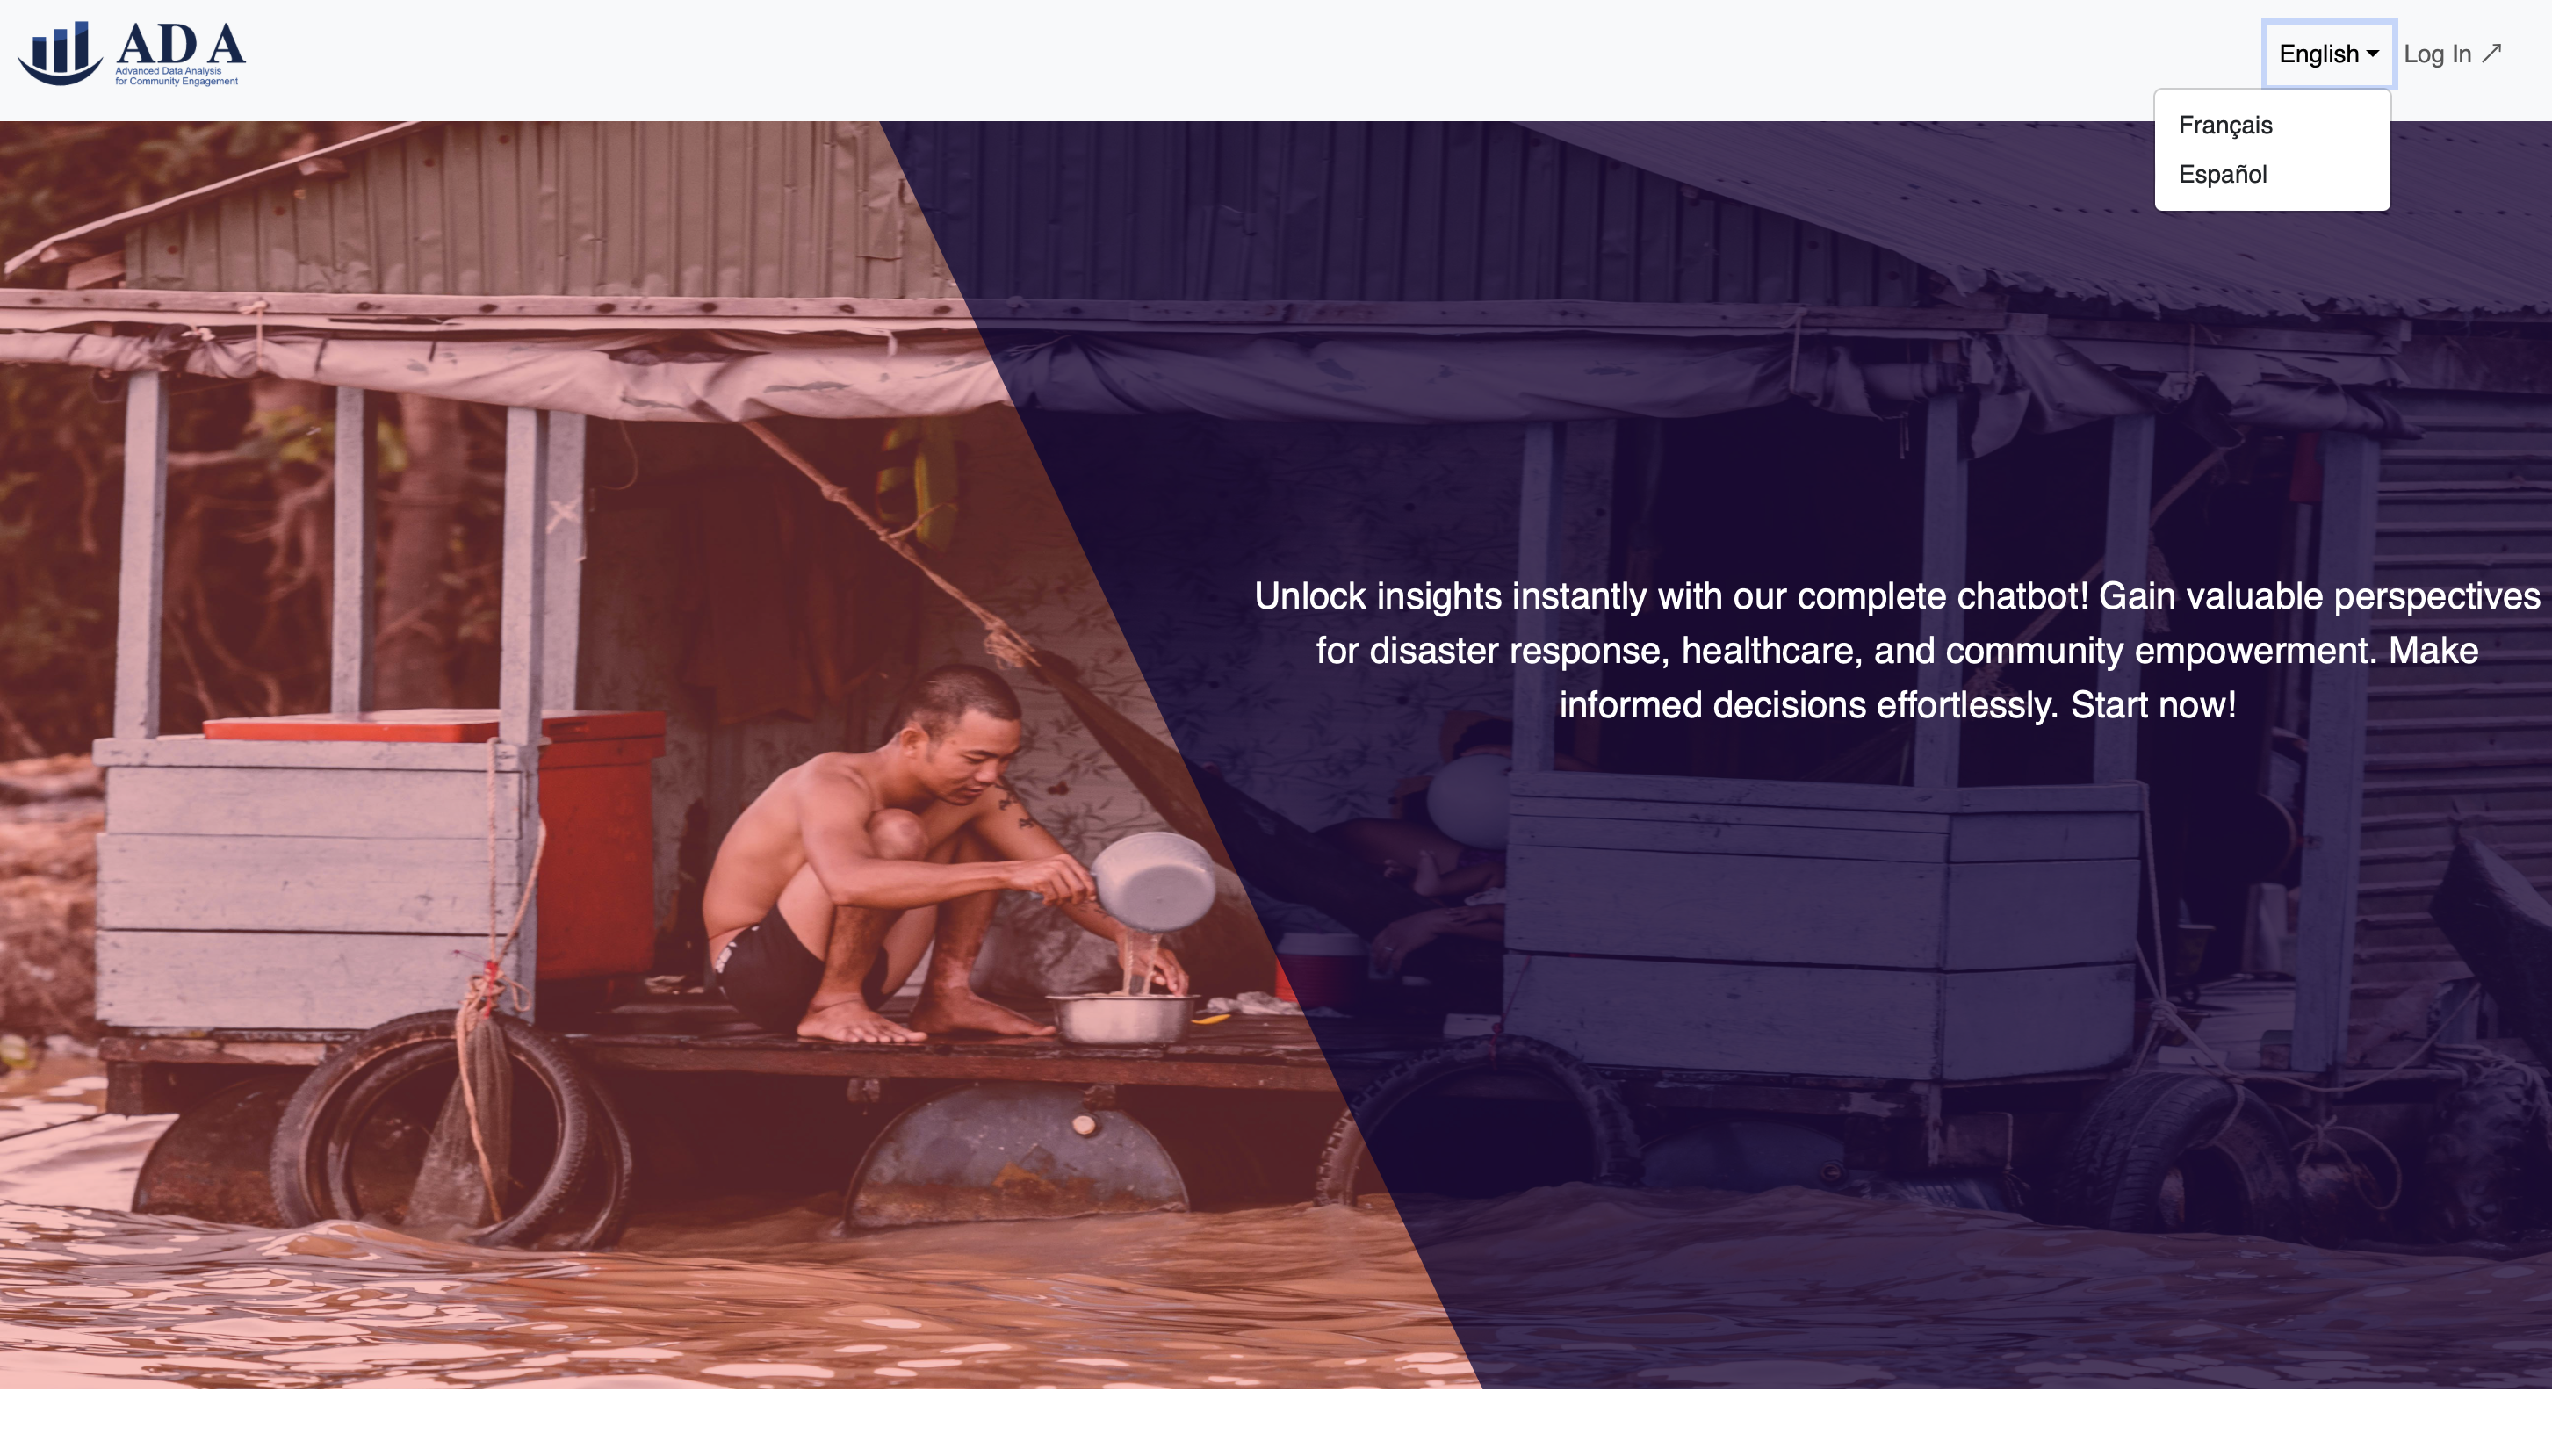
1.5 Logging In
To access the full functionality of the application, you will need to log in. Click on the "Log In" button on the top right corner.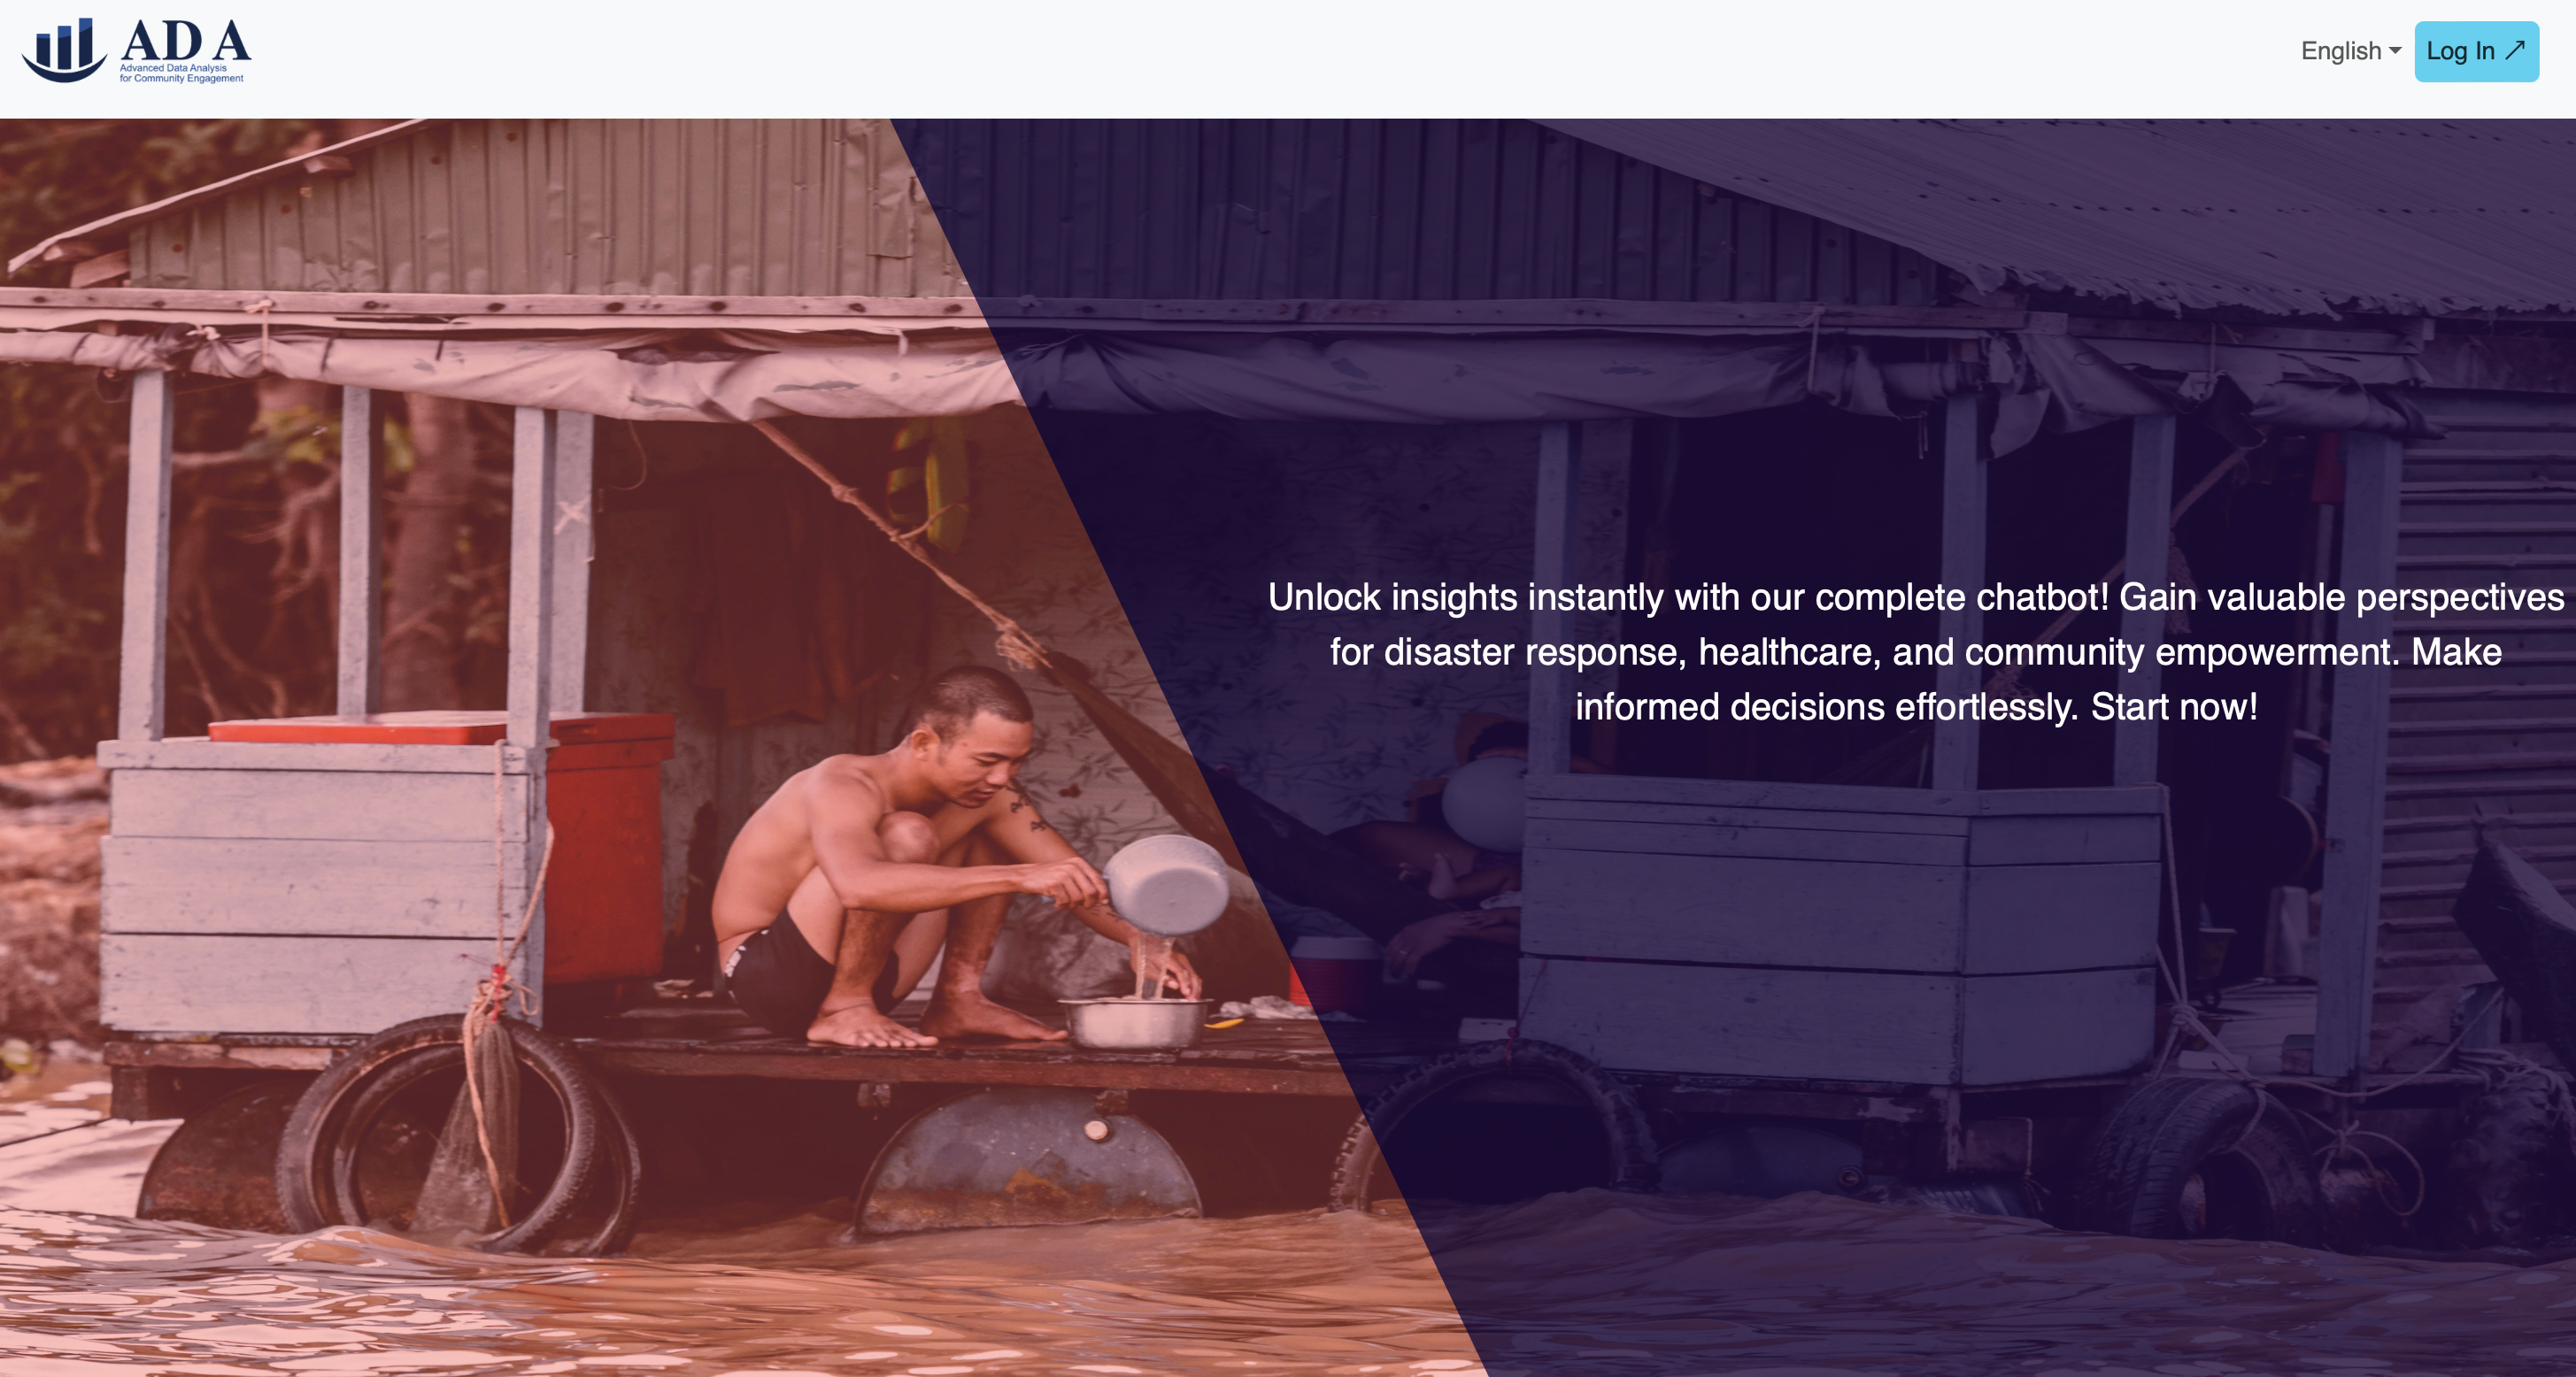
1.6 Login Page
You will then be directed to the login page, where you can pick a variety of login methods, including the conventional email, Google or Microsoft login.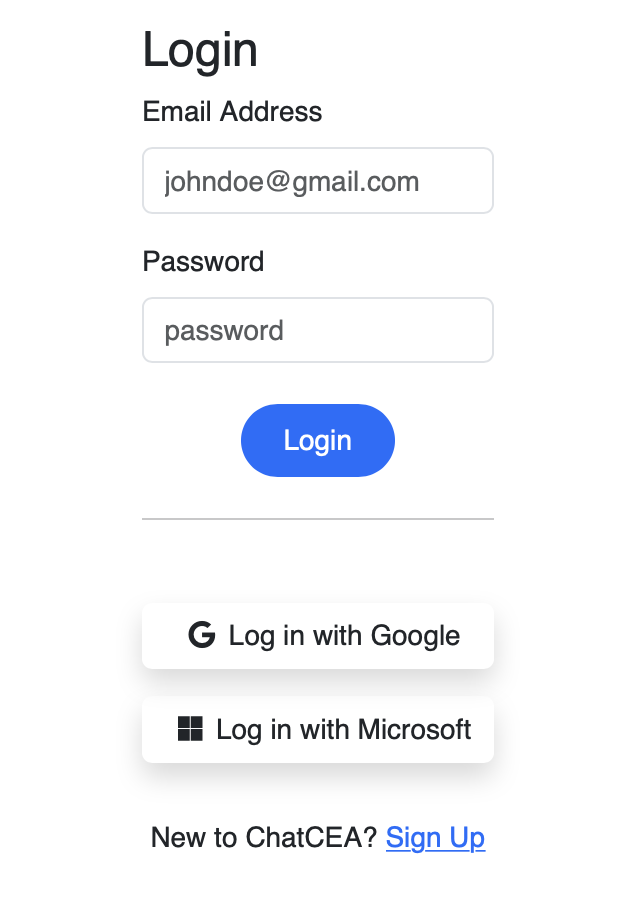 >
>
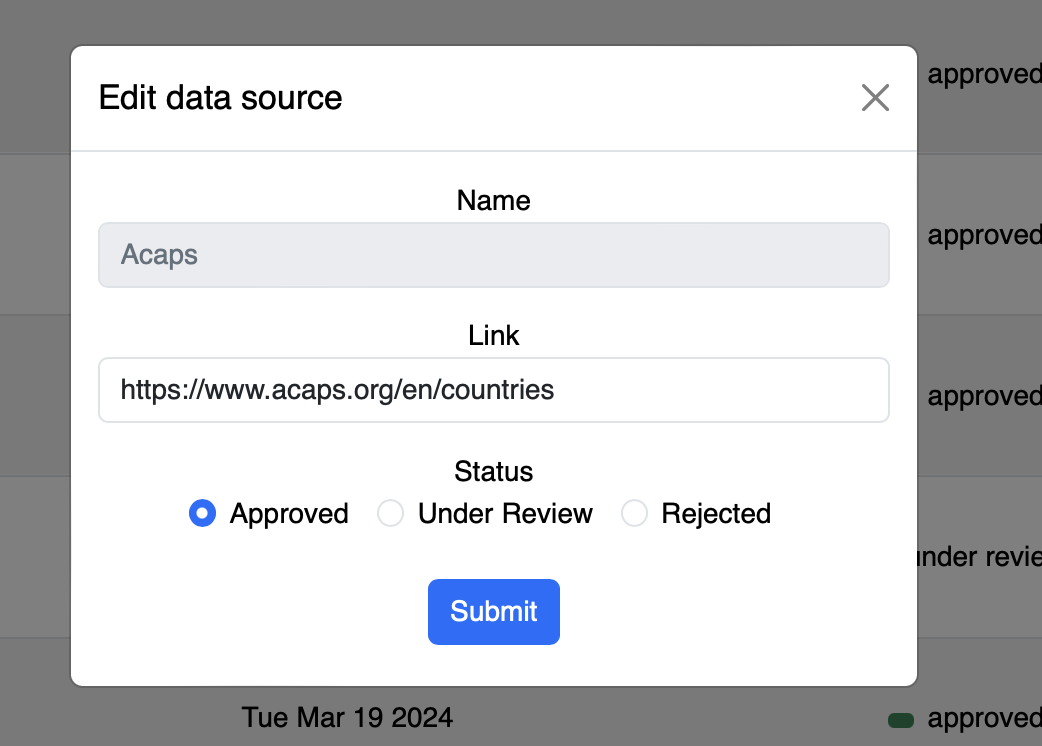
1.7 Data Management System
You will first be directed towards the Chat page, however, I would like to draw your attention to the Data Management System first.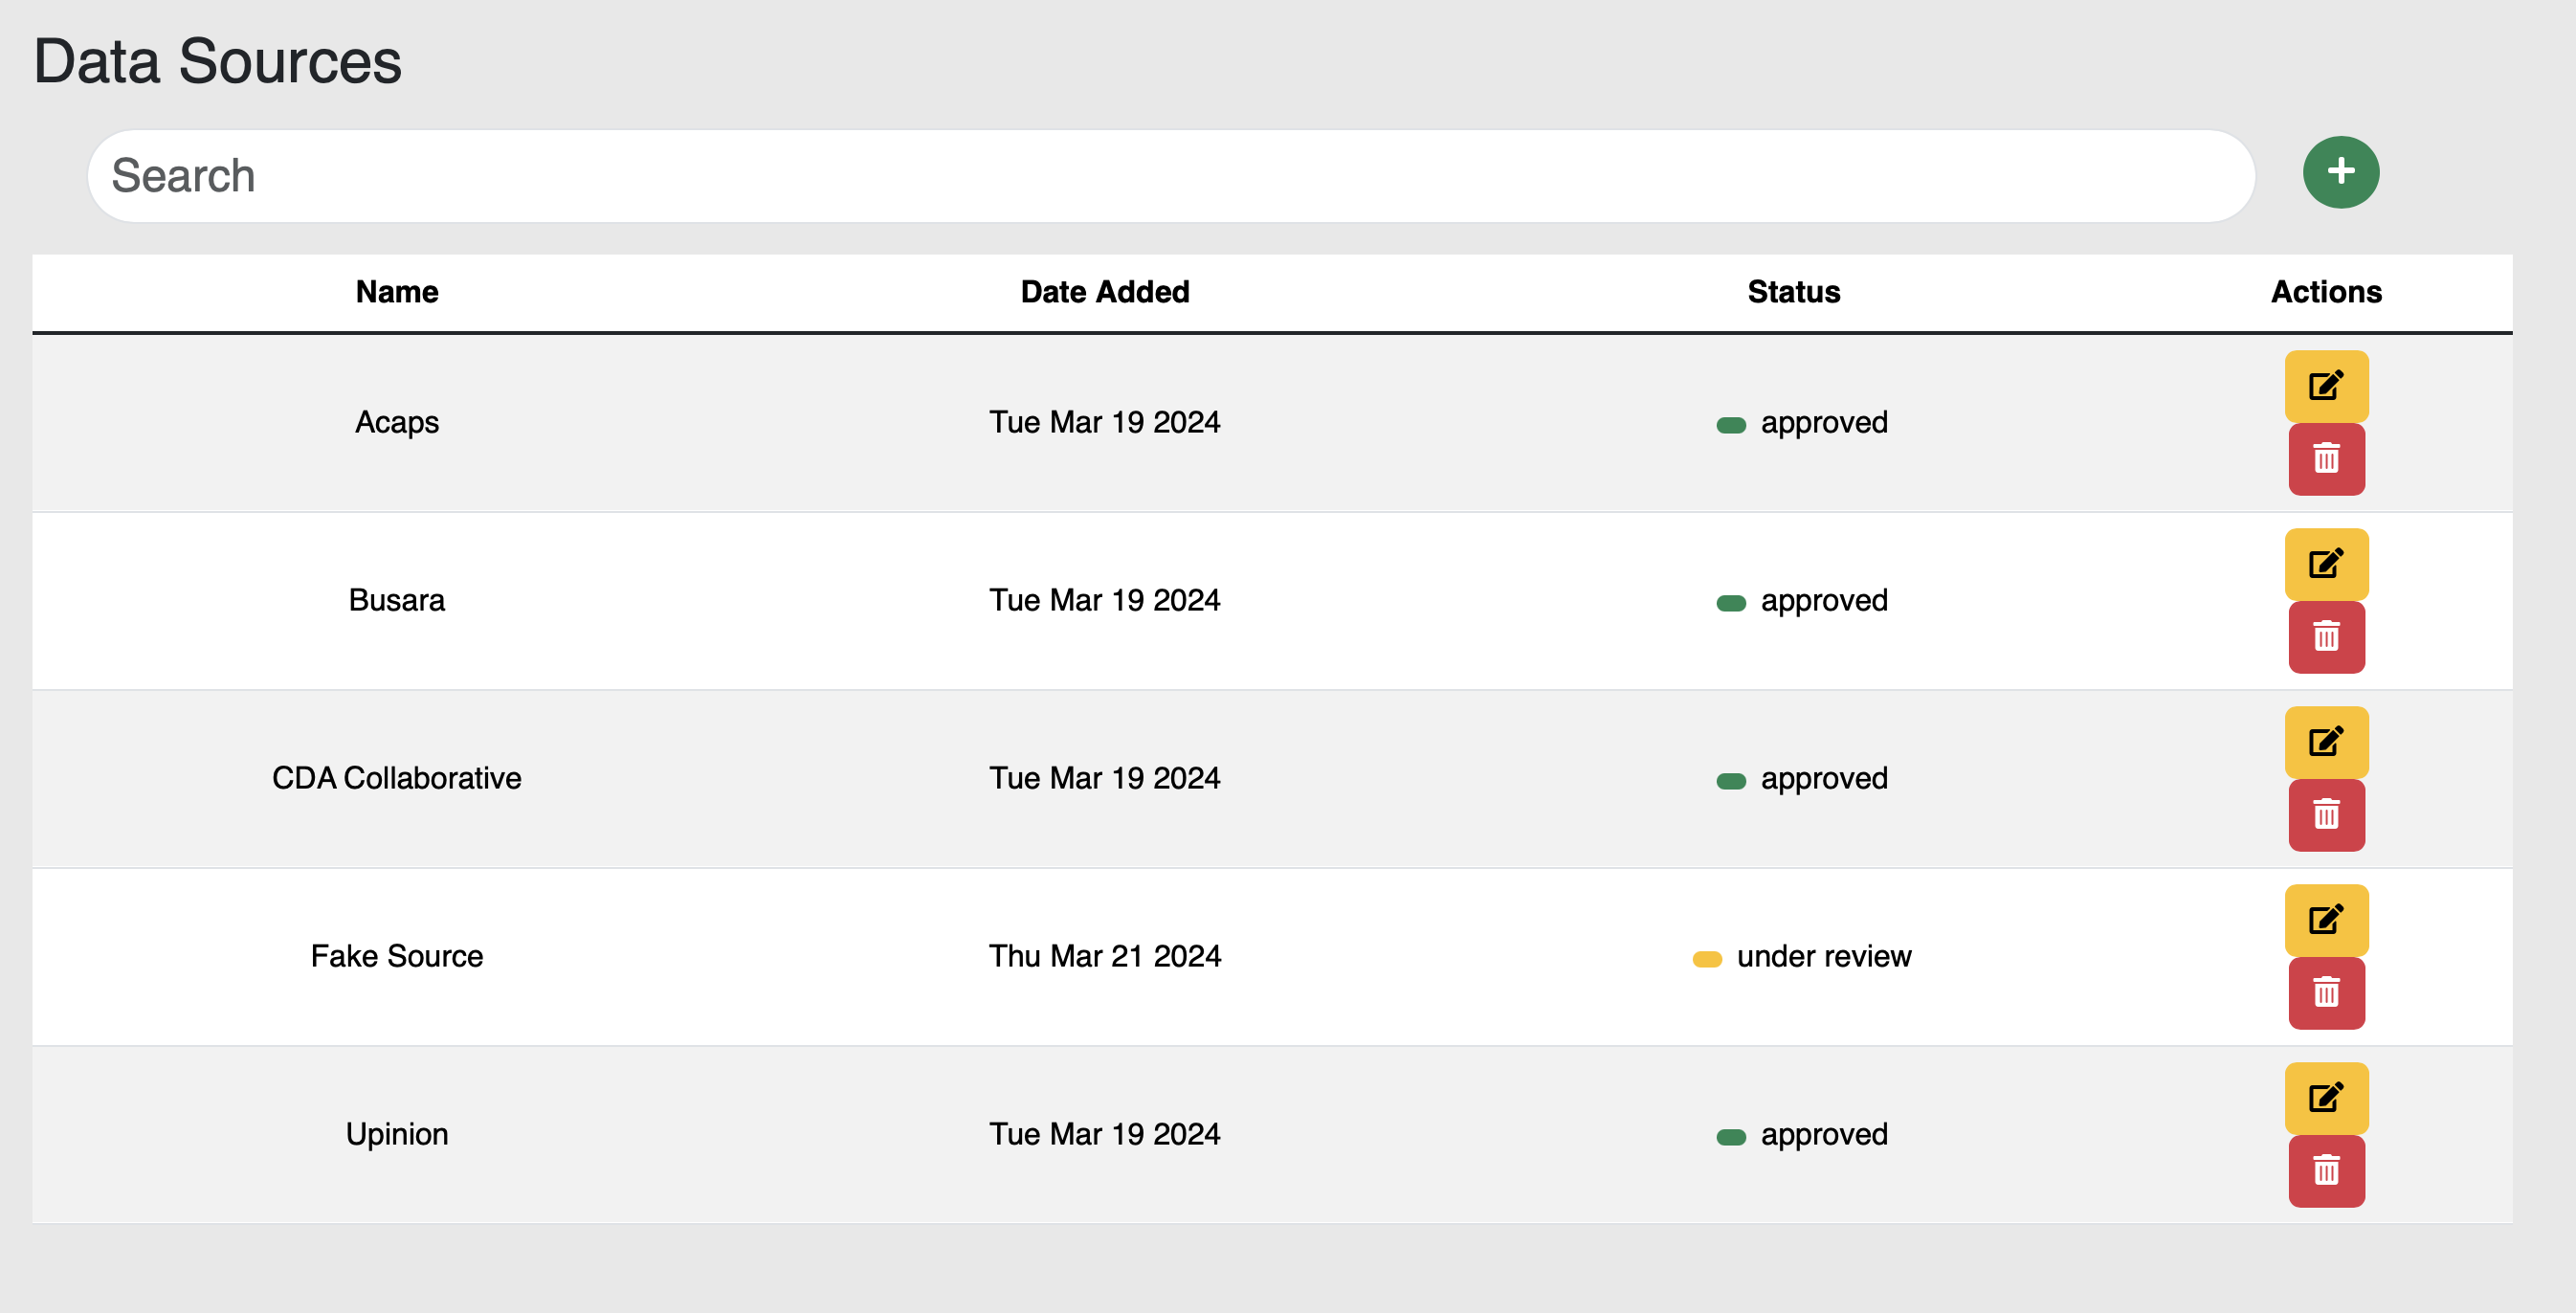
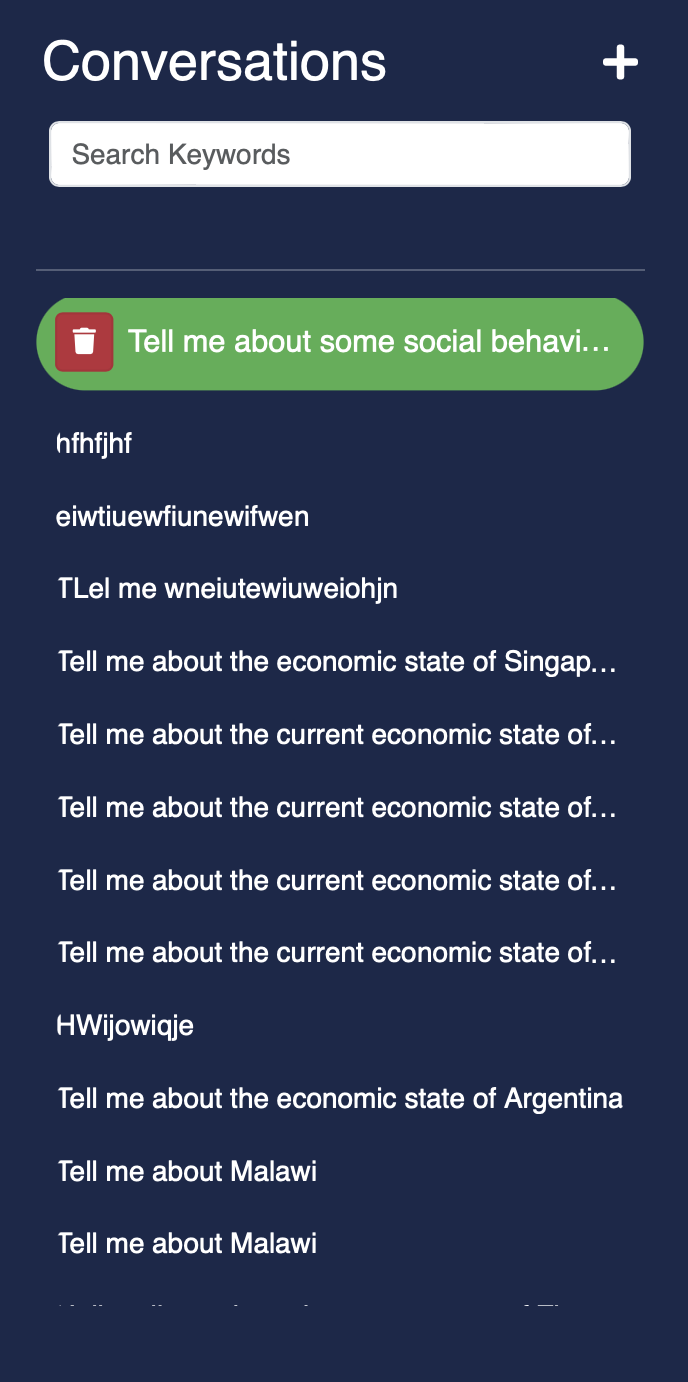
1.8 Chat Page
Now, let's go back to the Chat page. Which is navigated via the navbar on top.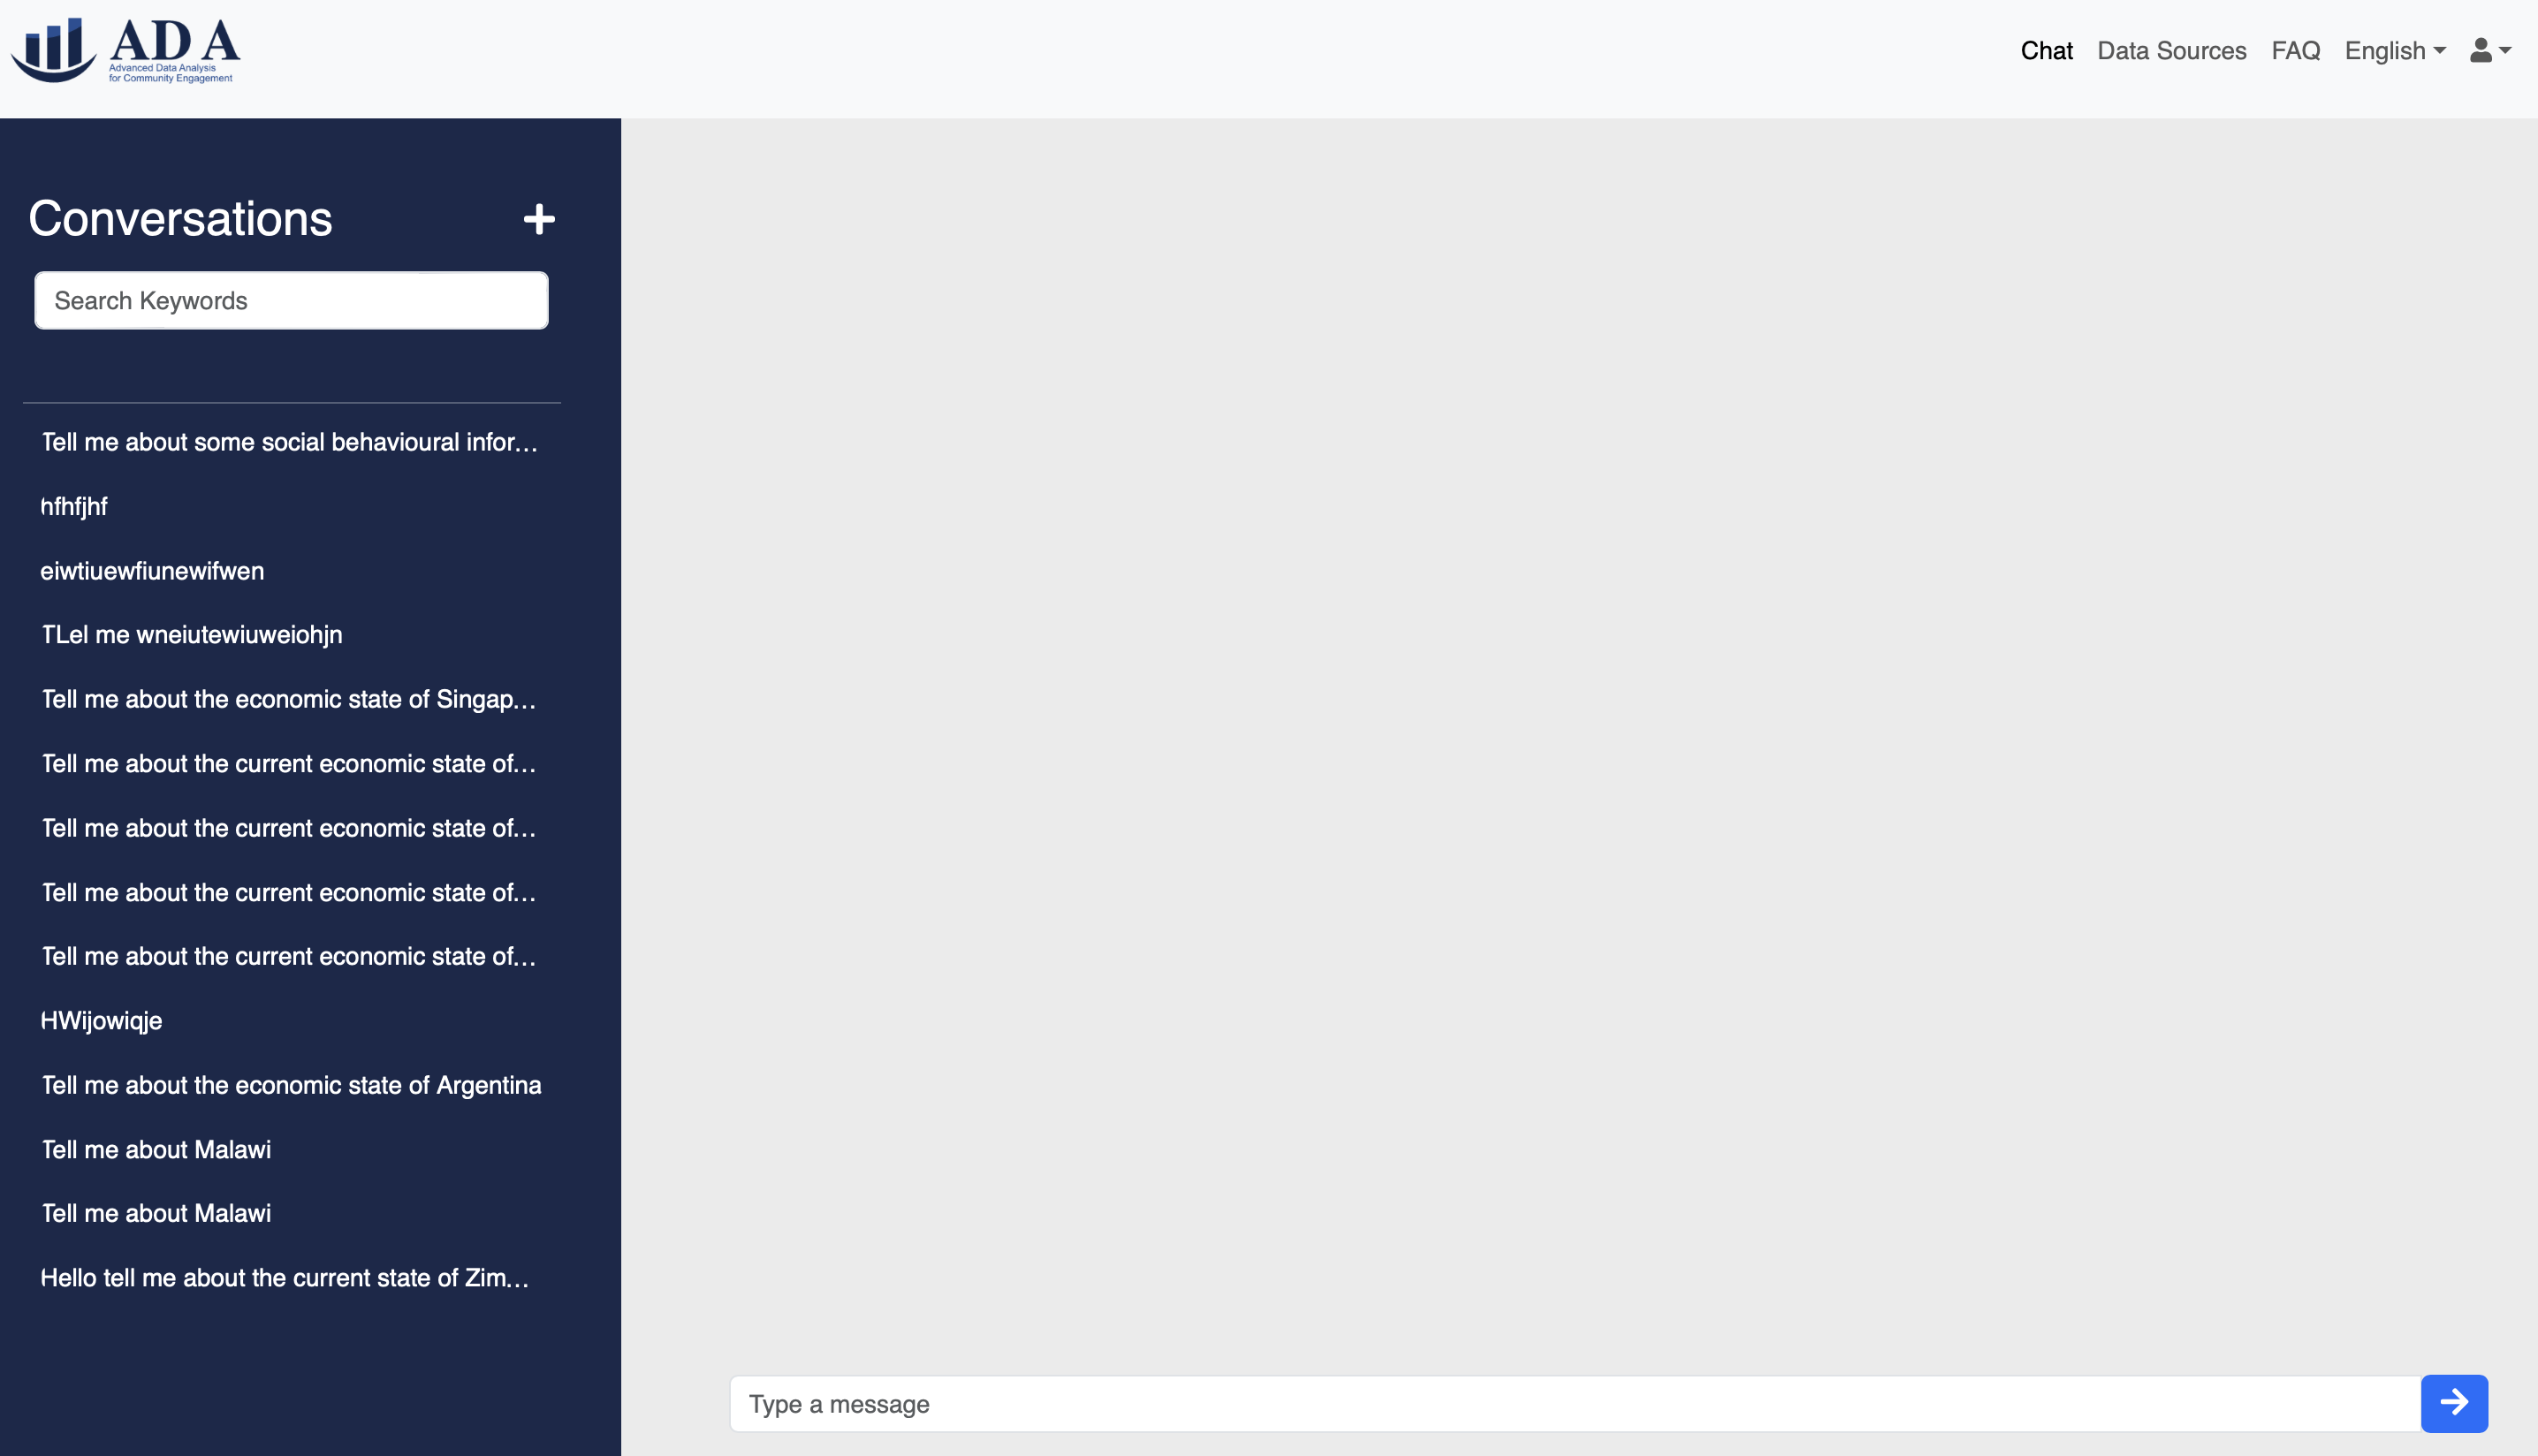
User can view previous conversations and even delete them if they wish.
1.9 Prompting + Generation
Users can then prompt the chatbot with a question, and the chatbot will generate a response based on the data sources. Note that the average response time is around ~30seconds, as the chatbot is processing the data sources in real-time.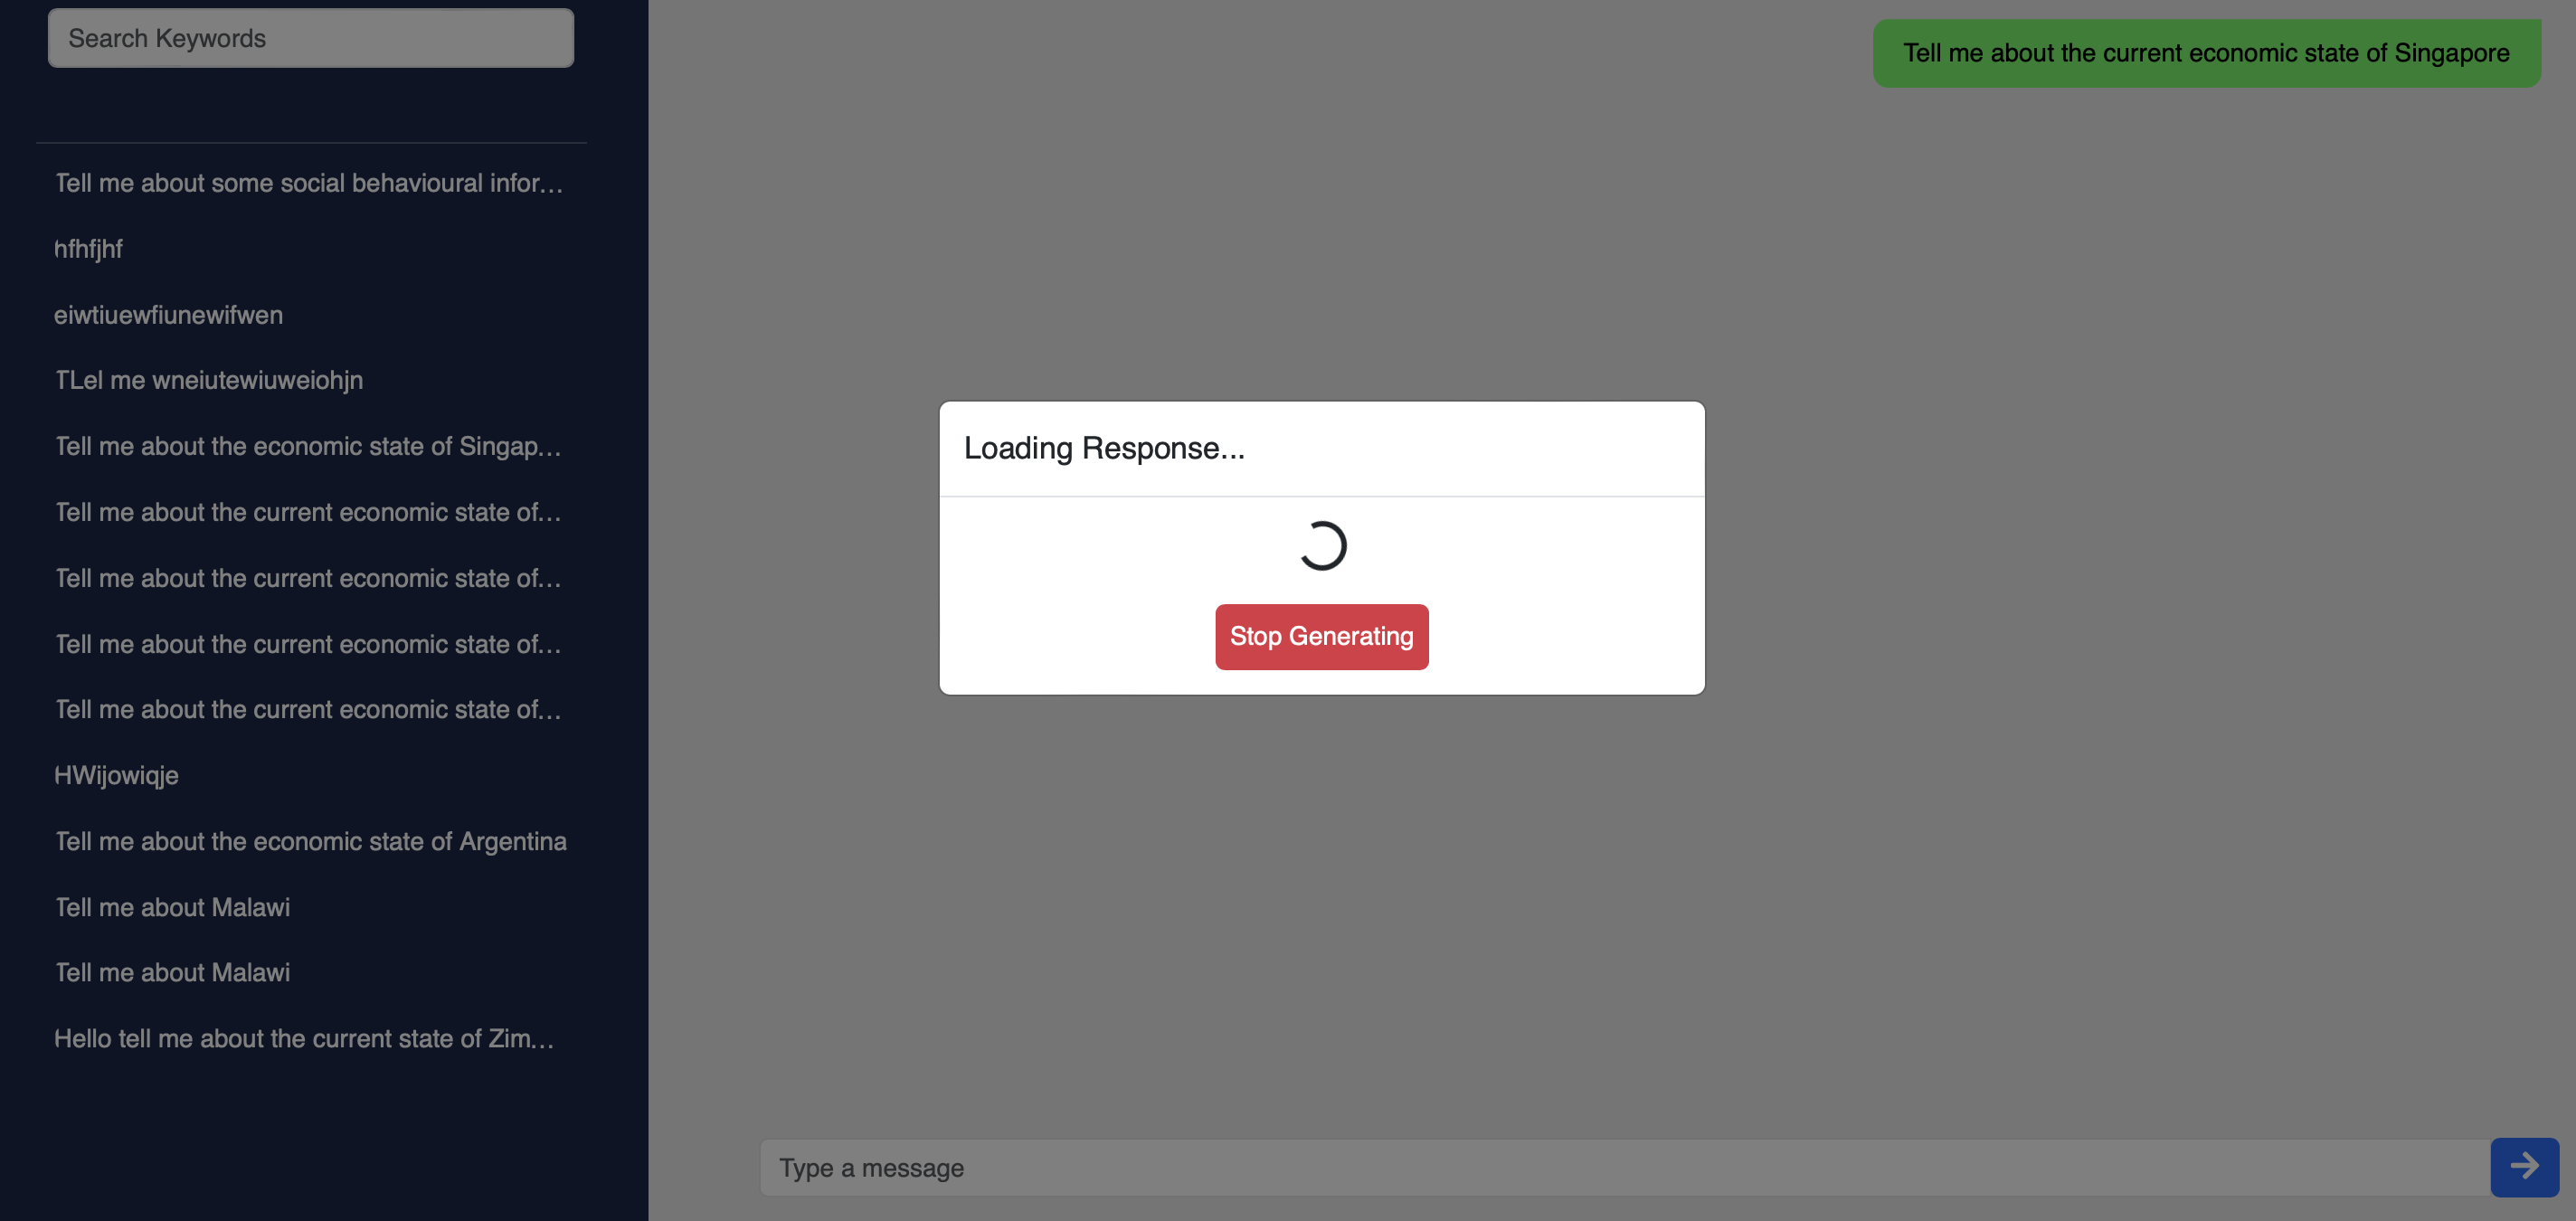
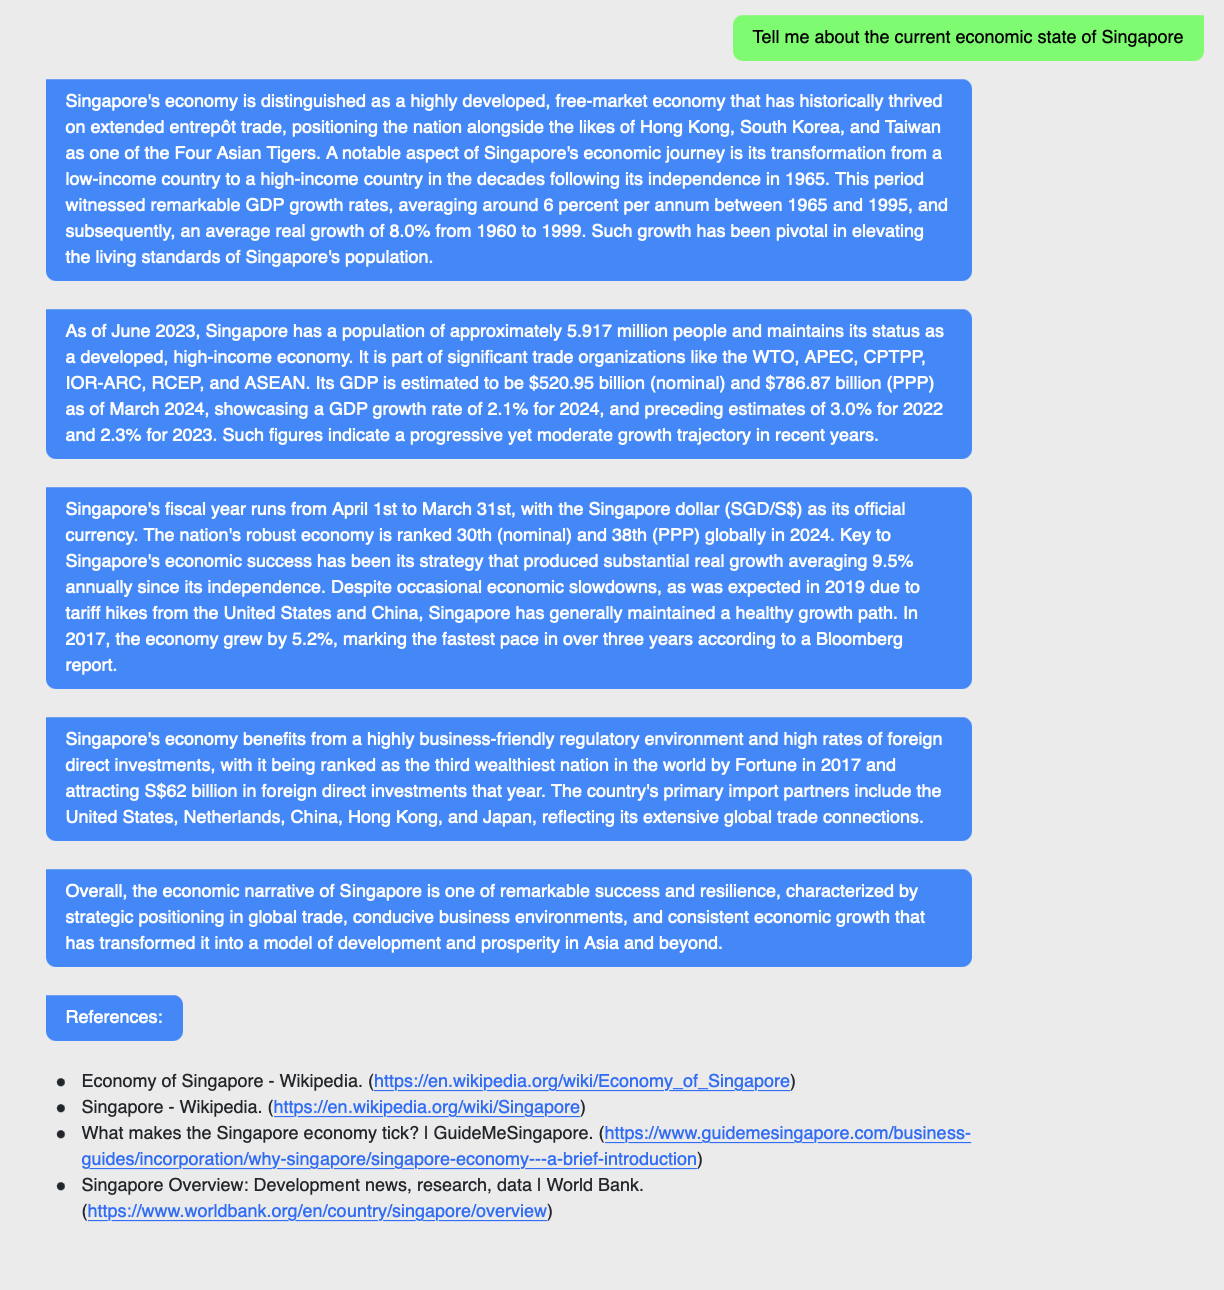
This is a highly iterative process, where the user can ask follow-up questions or even ask for more information.
1.10 (Optional) Logging Out
Once you are satisfied with the information, you can log out by clicking on the "Log Out" button on the profile icon on the top right corner, which will redirect back to home.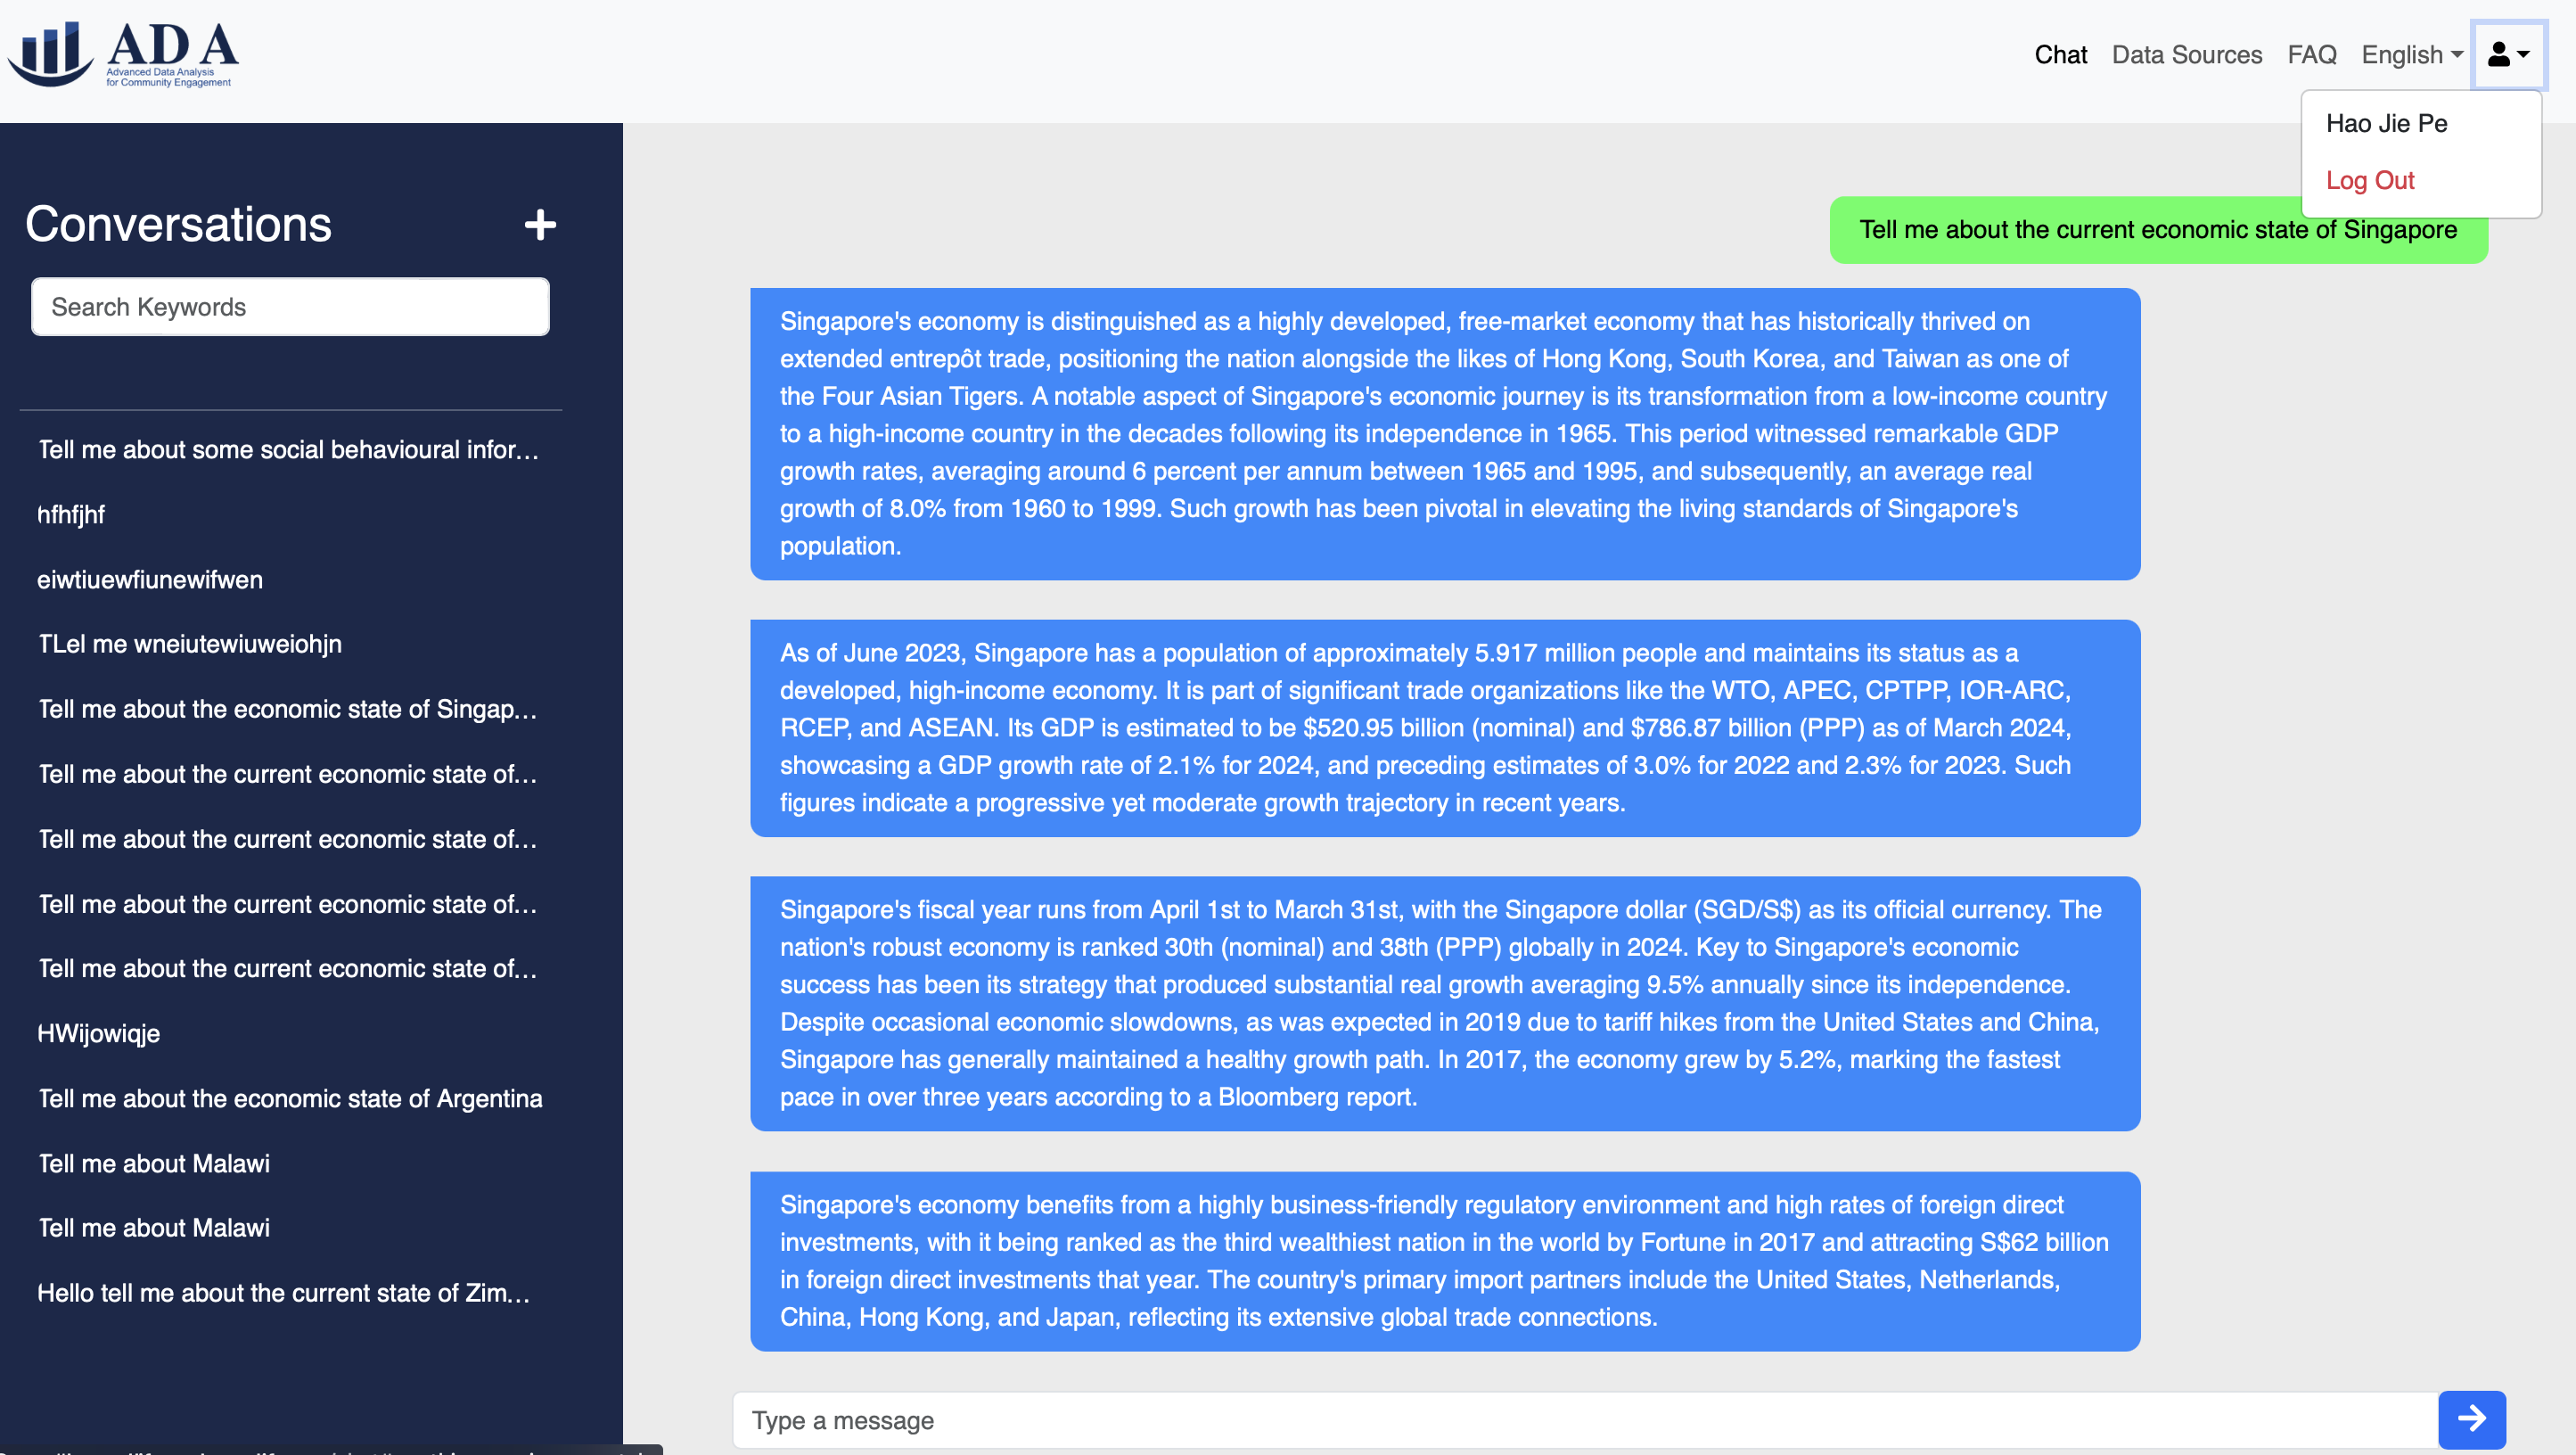
1.11 Multilinguility v2
It is noted that the chatbot itself is natively multilingual and inheritly supports most of the most spoken languages in the world.2.1 As mentioned in the user manual, the application is already deployed at https://ifrc-ada.netlify.app.
Hence, this will just be a guide of how to deploy the application using your own API keys.2.2 Prerequisites
Our application uses a number of external services and APIs, which require the use of API keys for authentication. Before deploying the application, you will need to obtain API keys for the following services:- Firebase
- Google Cloud and Custom Search Engine
- Microsoft Azure Translator API
2.3 Frontend Environment Variables
From the handoff, you will have received access to the Netlify hosted frontend. In particular, this manual will cover updating the environment variables using the ui, however, note that other options are possible. This is the structure of the environment variables that you will need to update: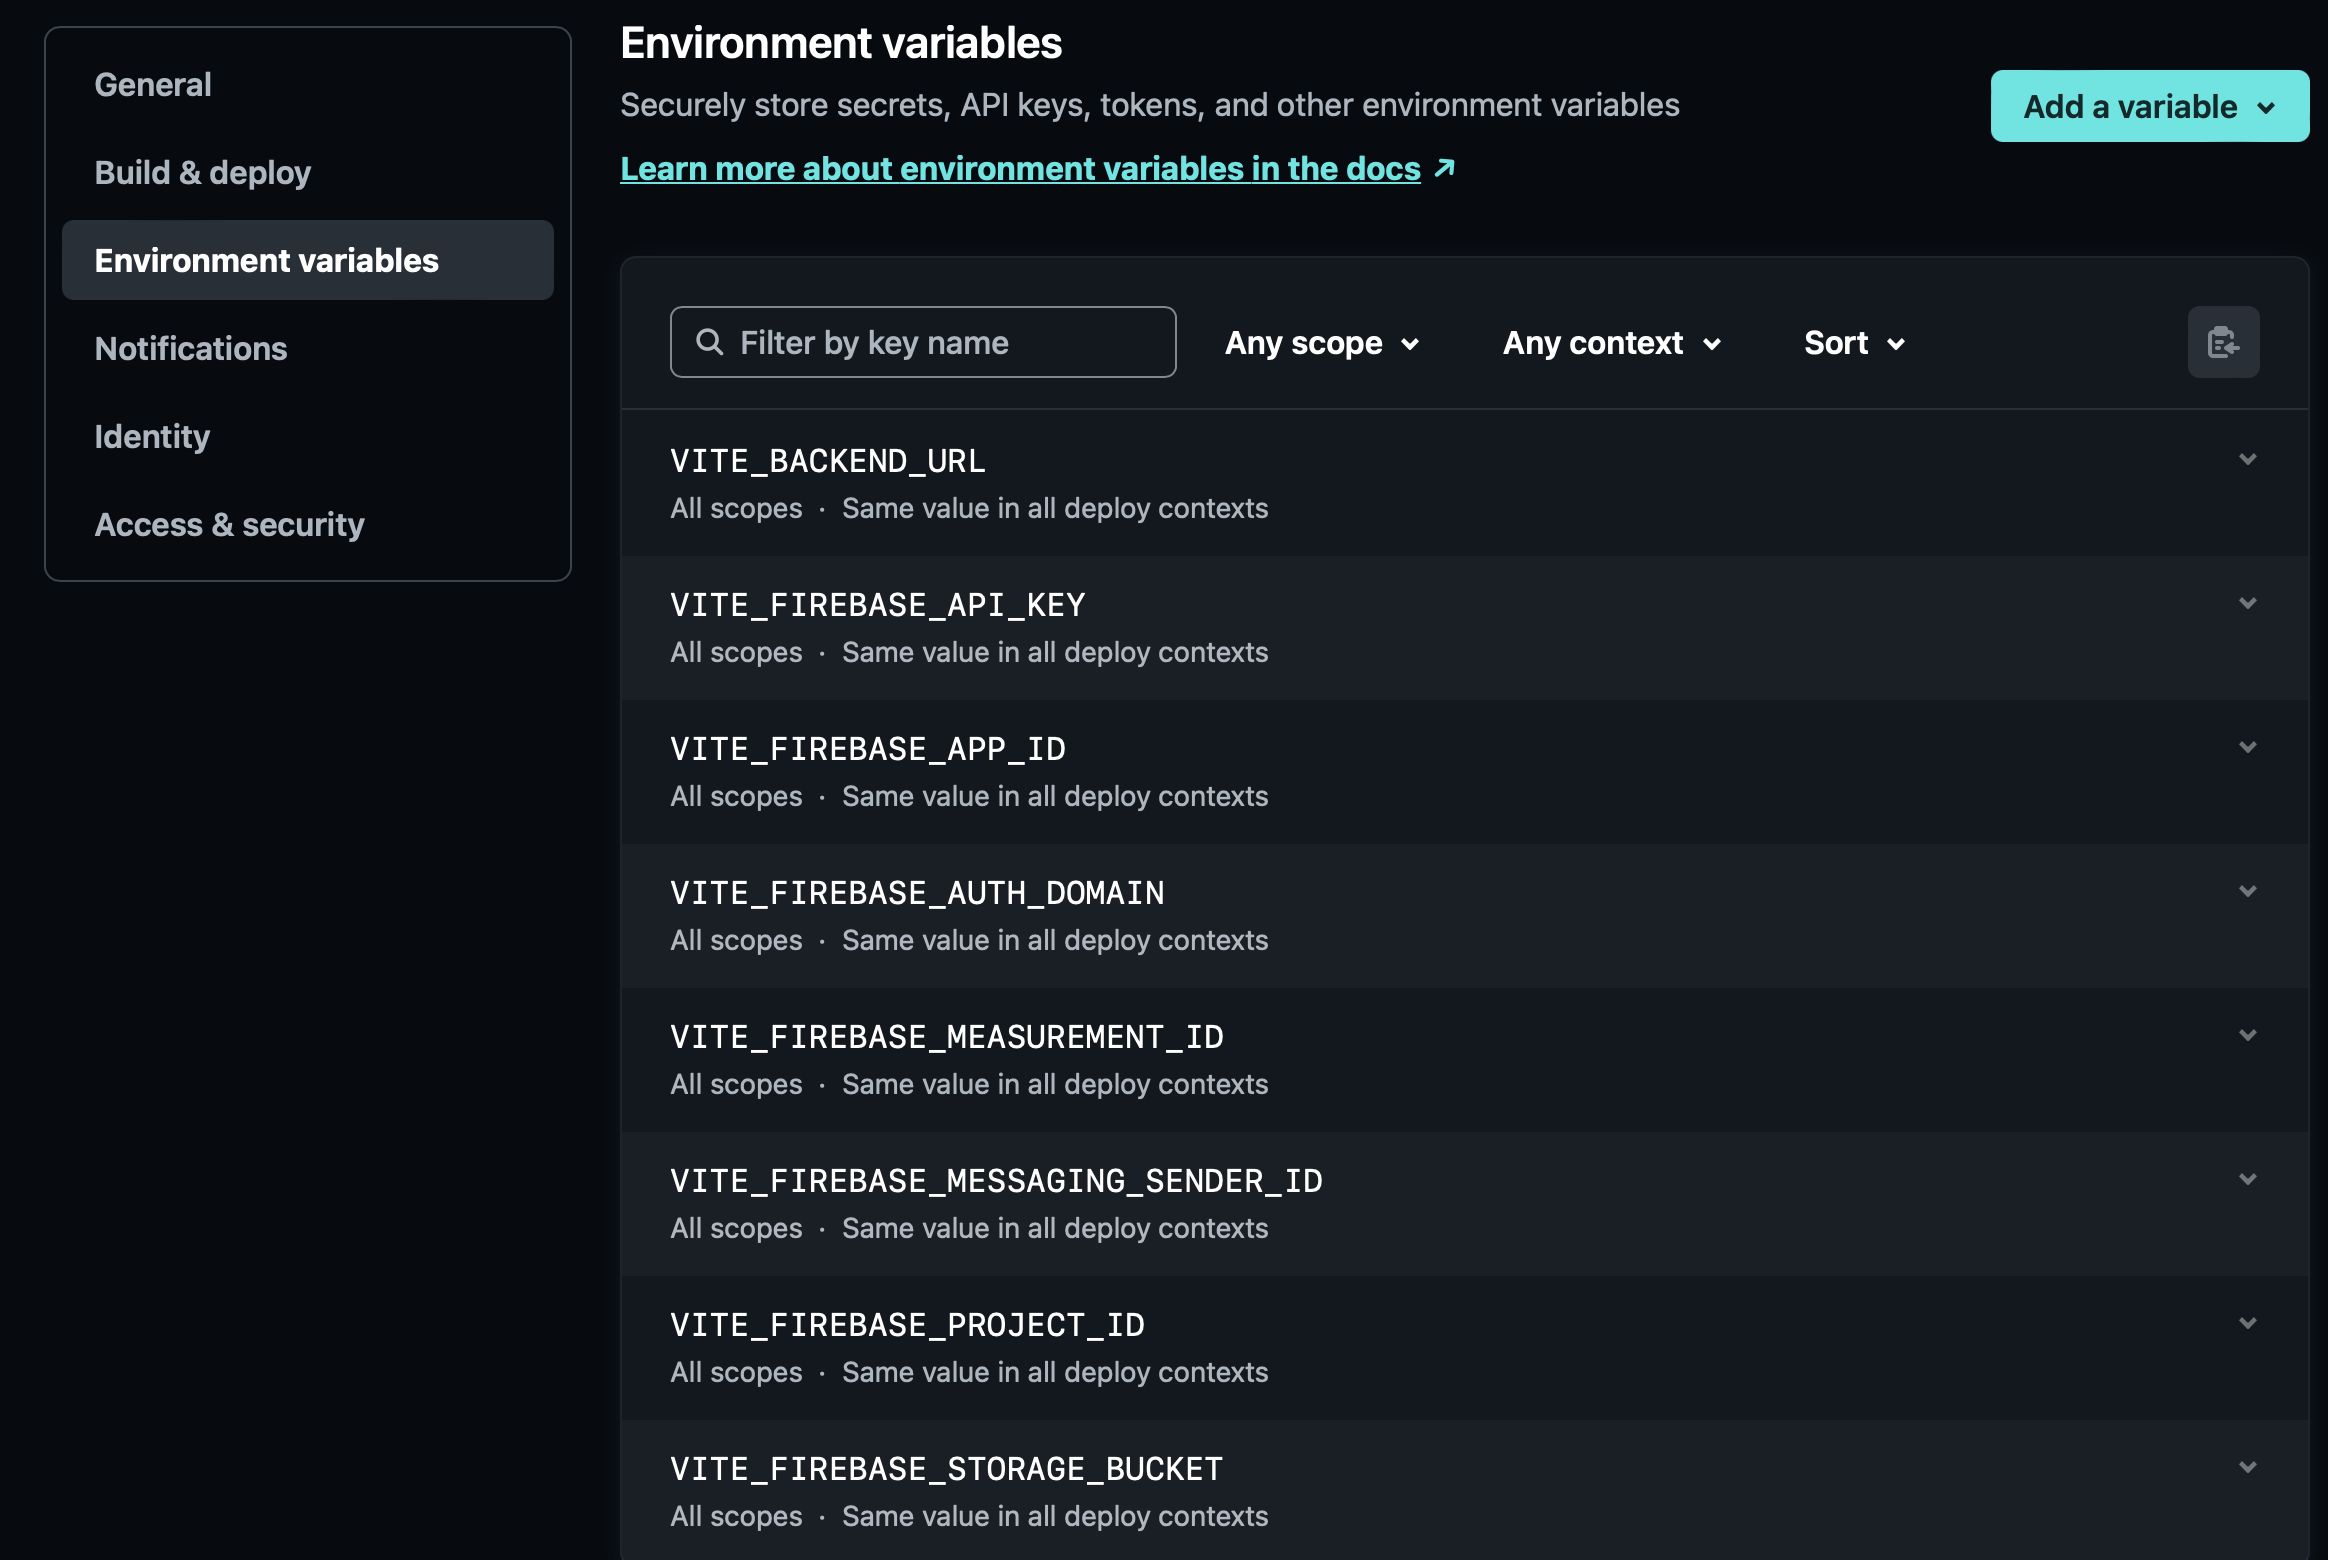
2.3.1 Firebase Variables
A firebase app can be setup by following the instructions here. It is noted that only the first portion till 1:08 is required for this. The rest is just additional knowledge.What we really care about is the API key, auth domain, project id, storage bucket and messaging sender id.
                        // Import the functions you need from the SDKs you need
                        import { initializeApp } from "firebase/app";
                        import { getAnalytics } from "firebase/analytics";
                        // TODO: Add SDKs for Firebase products that you want to use
                        // https://firebase.google.com/docs/web/setup#available-libraries

                        // Your web app's Firebase configuration
                        // For Firebase JS SDK v7.20.0 and later, measurementId is optional
                        const firebaseConfig = {
                          apiKey: "XXXXXXX",
                          authDomain: "XXXXXXX",
                          projectId: "XXXXXXXX",
                          storageBucket: "XXXXXXX",
                          messagingSenderId: "XXXXXXXX",
                          appId: "XXXXXXXXX",
                          measurementId: "XXXXXXXX"
                        };

                        // Initialize Firebase
                        const app = initializeApp(firebaseConfig);
                        const analytics = getAnalytics(app);
A visualize of the obfuscated variables that we care about. Using this information, you can update the environment variables accordingly.
Note that the enabling of the authentication and firestore is required for the chatbot to work.
2.3.2 VITE_BACKEND_URL
This variable is basically the url of the backend server. In our case, it is the Django server that we have hosted on Azure. Again, given the hand off process, this should already be given to you.2.4 Backend Environment Variables
For the Azure App service, you will need to update the environment variables in the Azure portal, see below: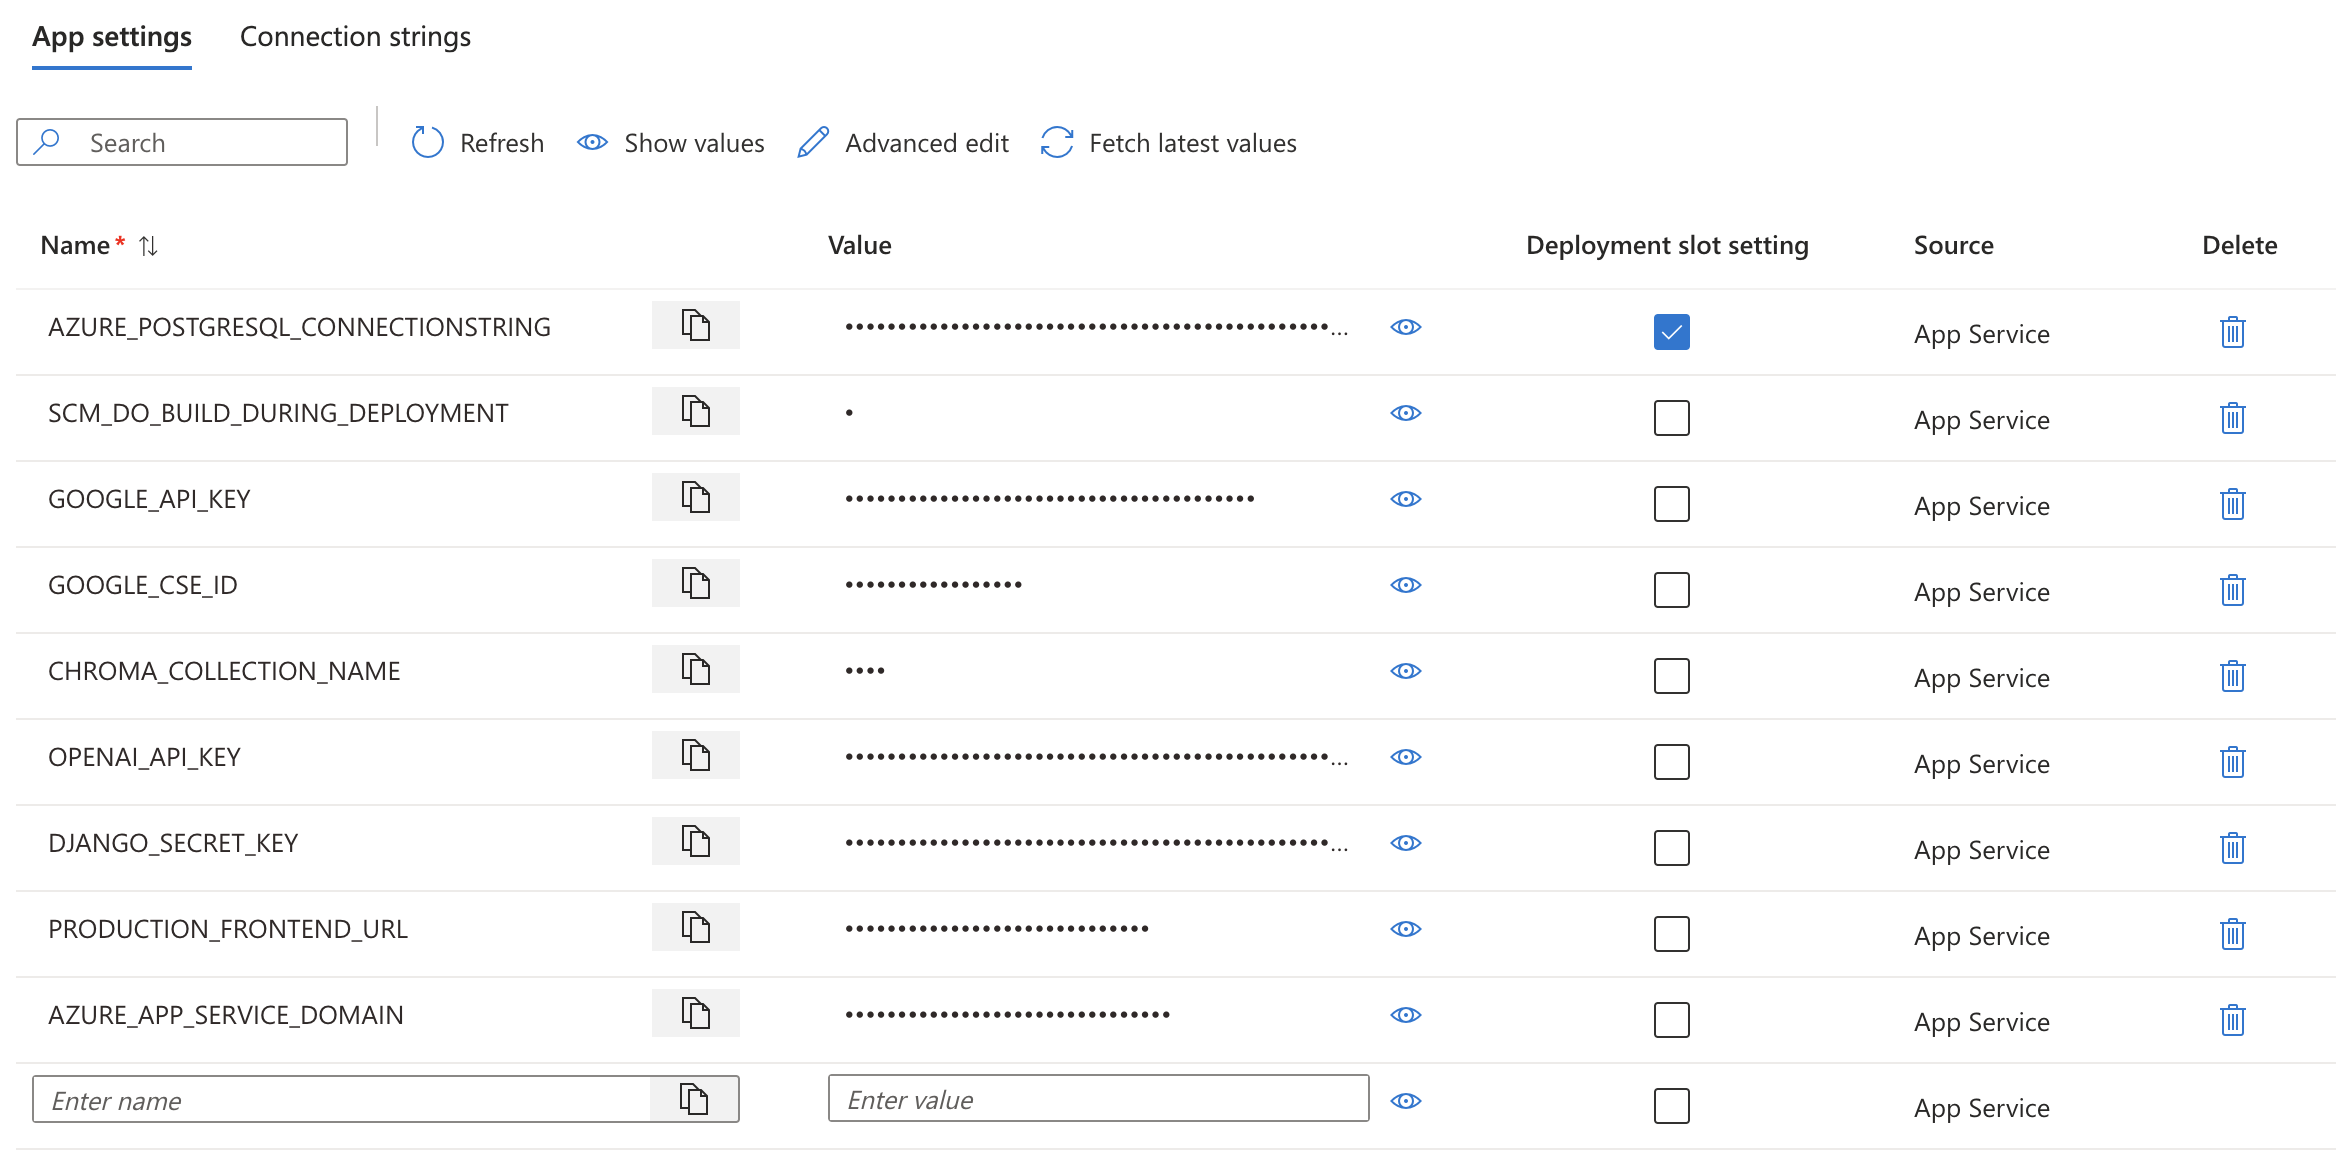
2.4.1 Google Keys
For our scraper, we leverage the google search terms to get the top results, this is done using Google's Programmable Search Engine. This is enabled here, and the API key and search engine id can be found in the control panel, it is noted that we didn't restrict any websites for the engine, as we do that in the backend itself.A more detailed overview of the process can be found here. All that is left is to generate the API key and search engine id and update the environment variables accordingly.
2.4.2 CHROMA_COLLECTION_NAME
This variable dictates the collection name of the ChromaDB (vector database), which is used to store the vectors of the data sources. It can be randomly selected but should be hidden for security reasons.2.4.3 OPENAI_API_KEY
This key should be obtained from yourself, and is used to access the GPT-3 API.2.5 Contact
That should settle it in terms of the deployment process, if you have any questions, feel free to contact me at hao.pe.22@ucl.ac.uk.3.1 GDPR Compliance and Licensing
In today's digital landscape, where data privacy and security are of paramount concern, it is crucial to ensure that our application adheres to the relevant regulations and guidelines. One such crucial regulation is the General Data Protection Regulation (GDPR), which has become a cornerstone of data protection laws in the European Union and beyond.3.2 GDPR Compliance
As an organization committed to responsible data practices, we have taken proactive steps to ensure that our application is fully compliant with the GDPR. This has involved a comprehensive review of our data collection, processing, and storage practices to ensure that they align with the key principles of the regulation.We acknowledge that this is a prototype without an official data controller. All user data is fictional and no security testing has been facilitated. No personally identifiable data is to be stored in this proof of concept.
3.3 Data Minimization and Purpose Limitations
A core tenet of the GDPR is the principle of data minimization, which requires that we only collect and process the personal data that is necessary for the specific purposes of our application. We have carefully evaluated the data requirements of our application and have implemented measures to ensure that we do not gather or retain any unnecessary personal information.Additionally, we have clearly defined the purposes for which we collect and process personal data, and we have ensured that our data handling practices are limited to these specific purposes.
3.4 Licensing and Intellectual Property
In addition to our commitment to data protection, we have also carefully considered the intellectual property and licensing aspects of our application. We recognize the importance of respecting the rights of third-party content creators and have ensured that our use of any external assets, such as images, icons, or libraries, is in full compliance with the applicable licensing terms.3.5 Open-Source Components
Our application incorporates several open-source components, which have been thoroughly reviewed and vetted to ensure that we are adhering to the respective open-source licenses. We have documented the use of these components and have made this information readily available to our users, as required by the terms of the licenses.3.6 Proprietary Content and Branding
While we have embraced the use of open-source components, we have also developed proprietary content and branding elements that are integral to our application. We have taken the necessary steps to protect these intellectual property assets, including the registration of trademarks and the implementation of appropriate copyright notices.By addressing both GDPR compliance and licensing considerations, we have demonstrated our commitment to responsible data practices, respect for intellectual property rights, and a dedication to providing our users with a secure and transparent application experience.
4. Monthly Videos
Please find below the monthly videos tracking our progress. These comprehensive videos provide a detailed overview of our ongoing efforts and achievements, offering valuable insights into the evolution of our project. Click to delve deeper into the intricacies of our journey and gain a better understanding of the milestones we've reached.Site Info
This is the website for UCL Year2 2023-2024 COMP0016 Team 35: Social Behavioural Synthesis, which introduces the team project and contains all the portfolios.
© Copyright 2023. All Rights Reserved