Supporting documentation and additional resources for the Portalt project
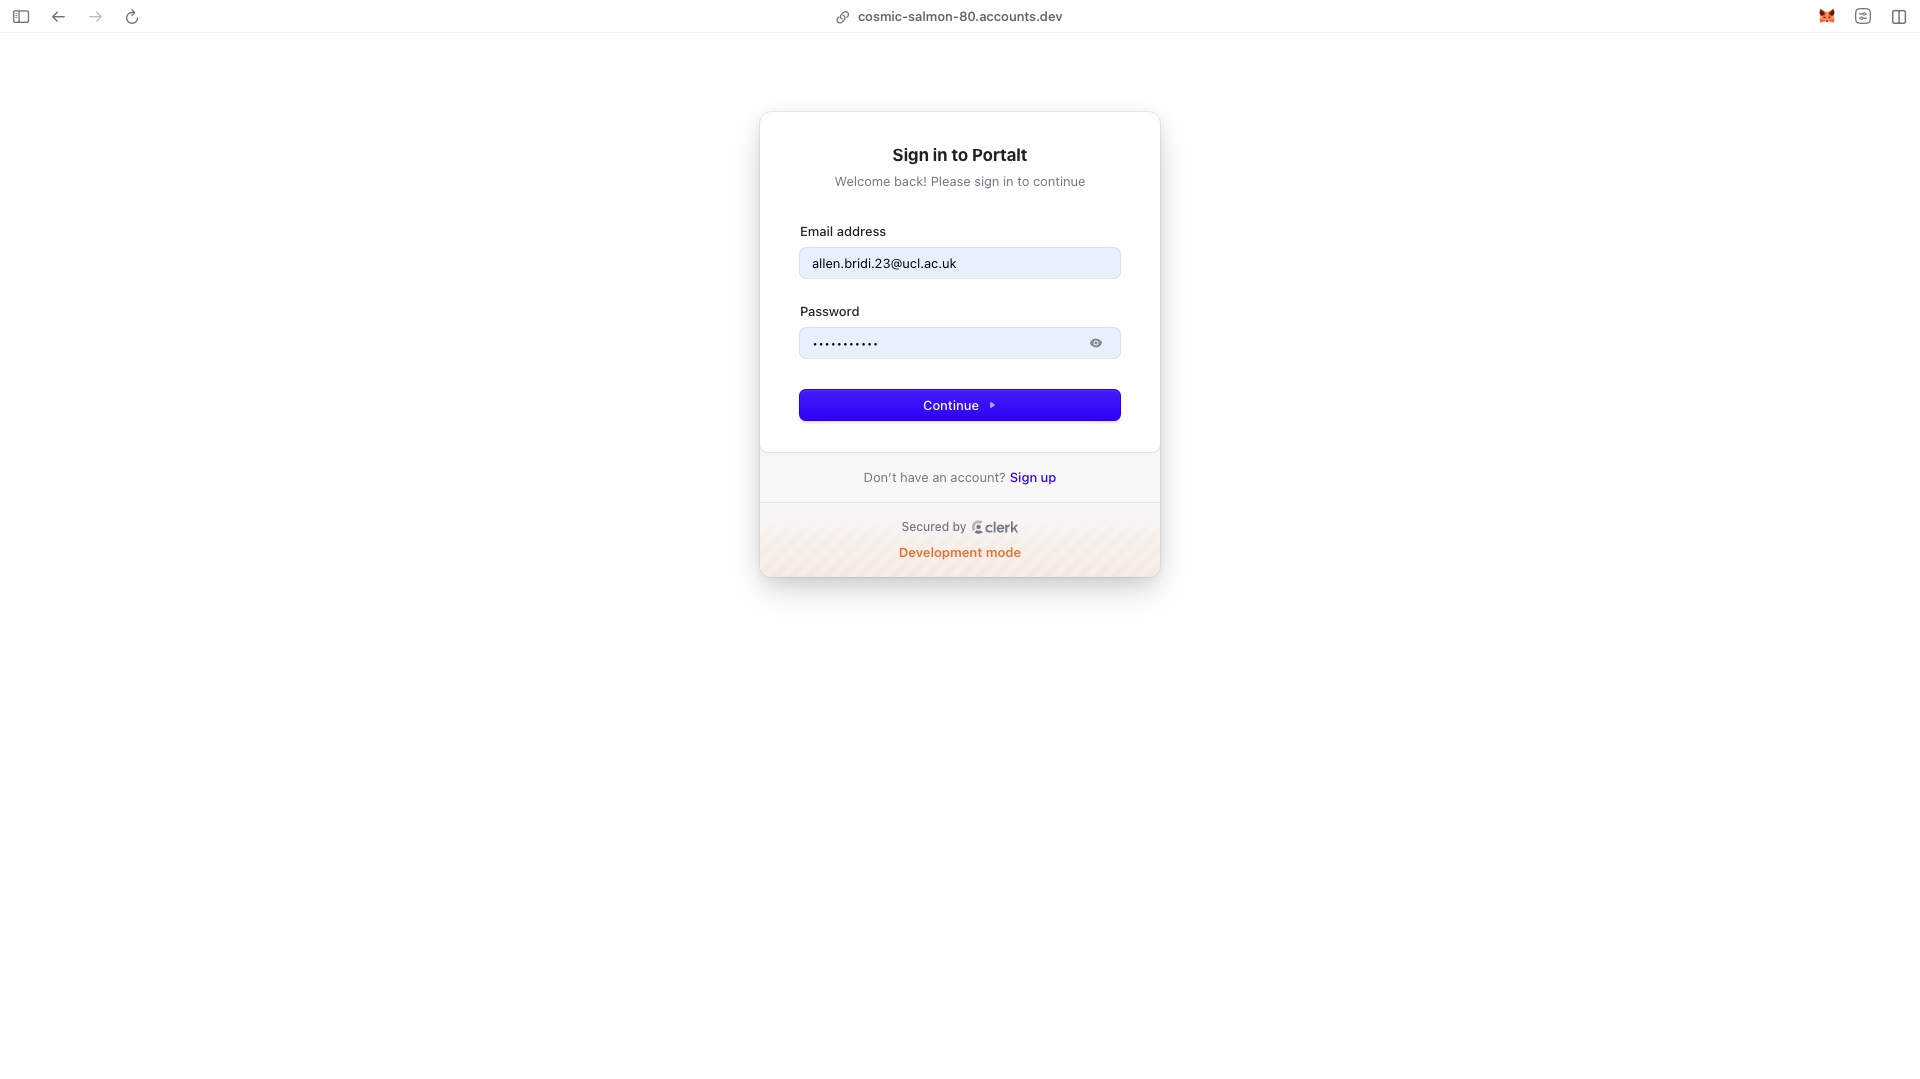
Use your credentials to access the admin dashboard.
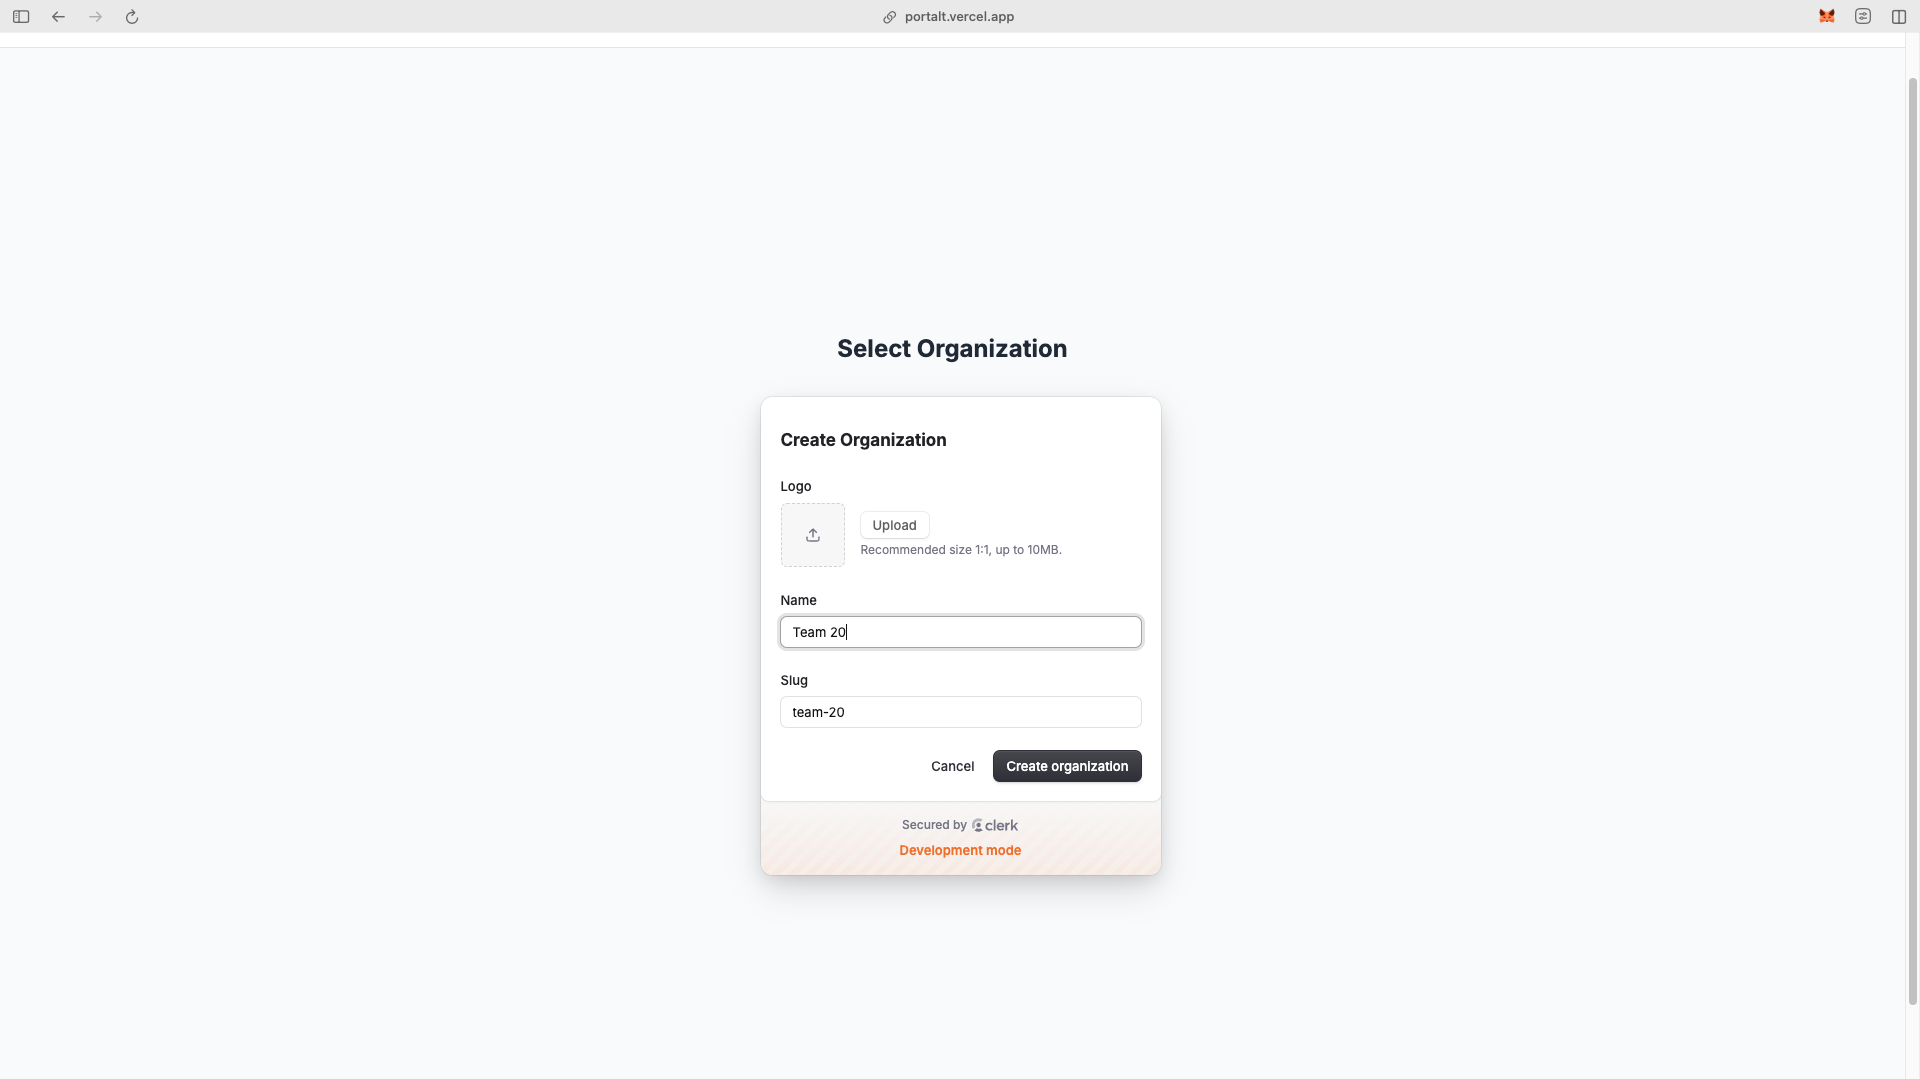
After logging in, you can create a new organization by clicking the "Create Organization" button.
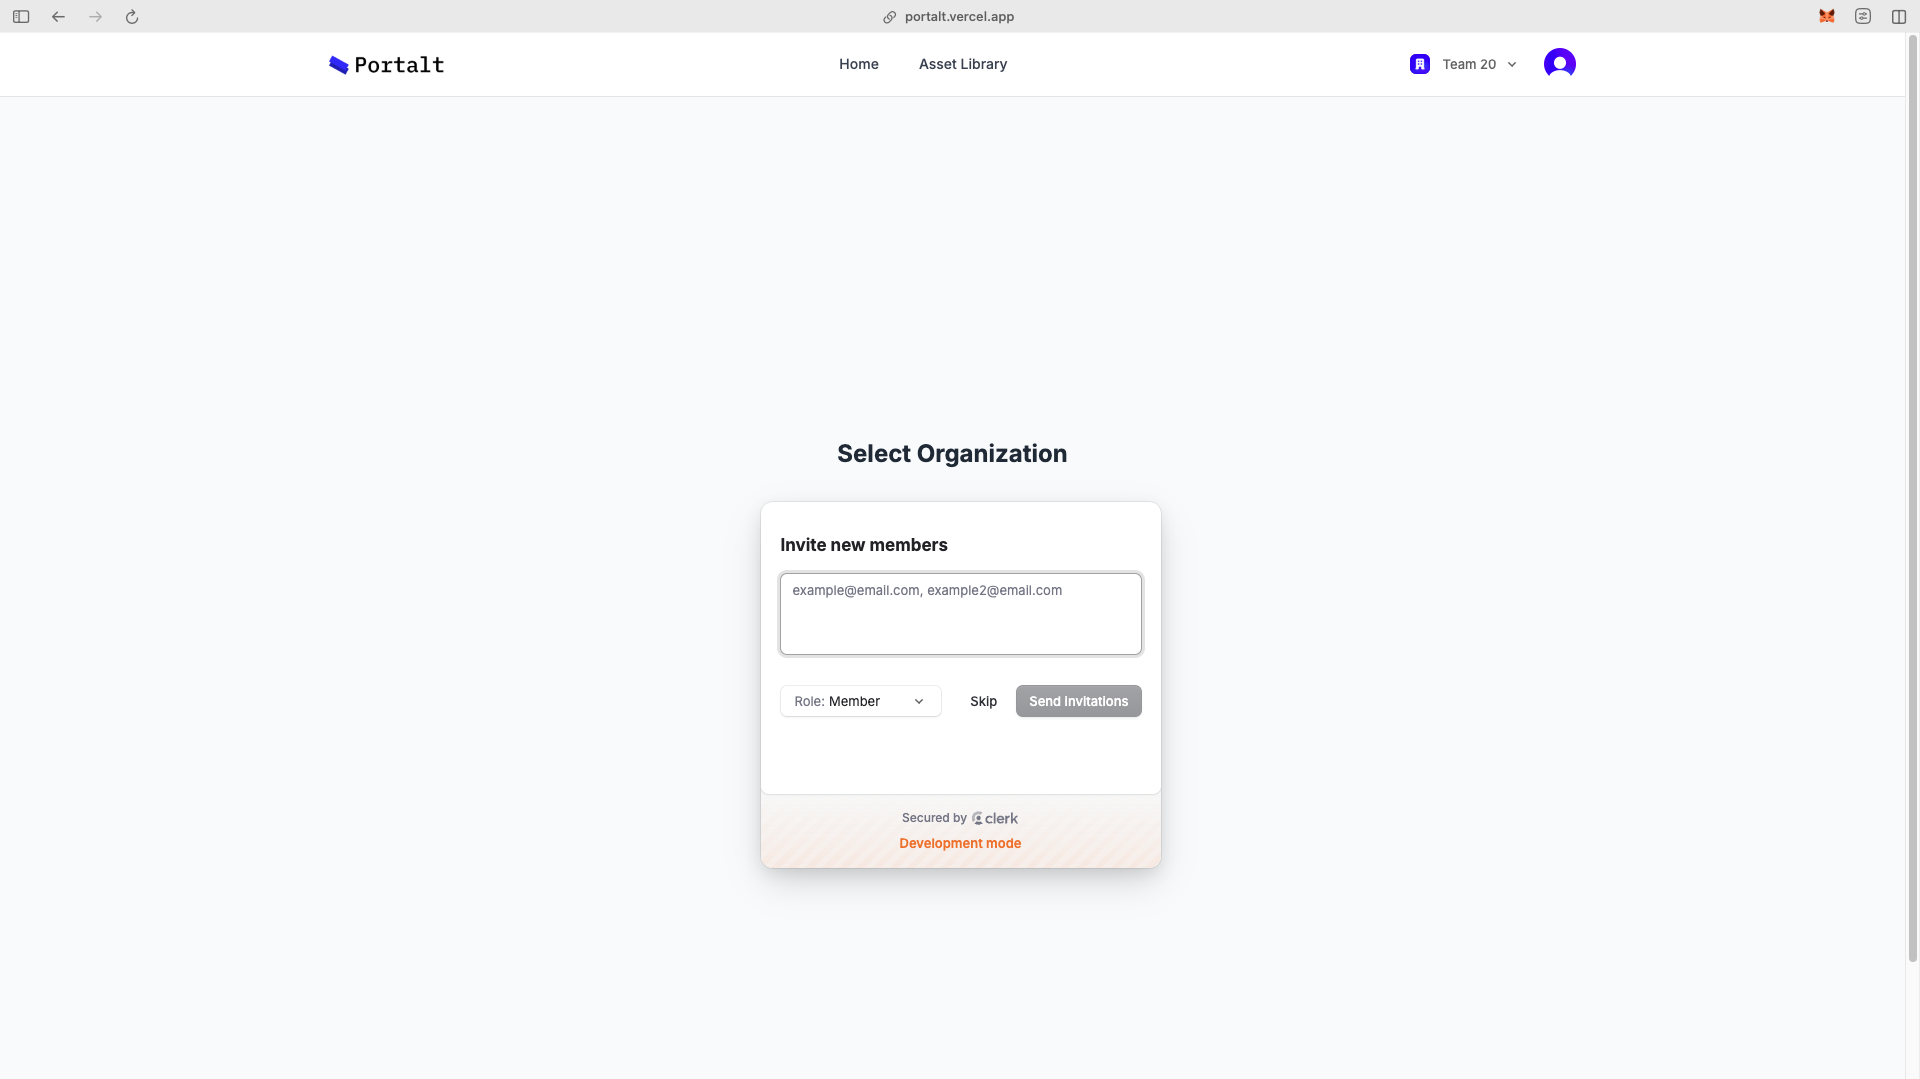
Invite team members to your organization by adding their email addresses.
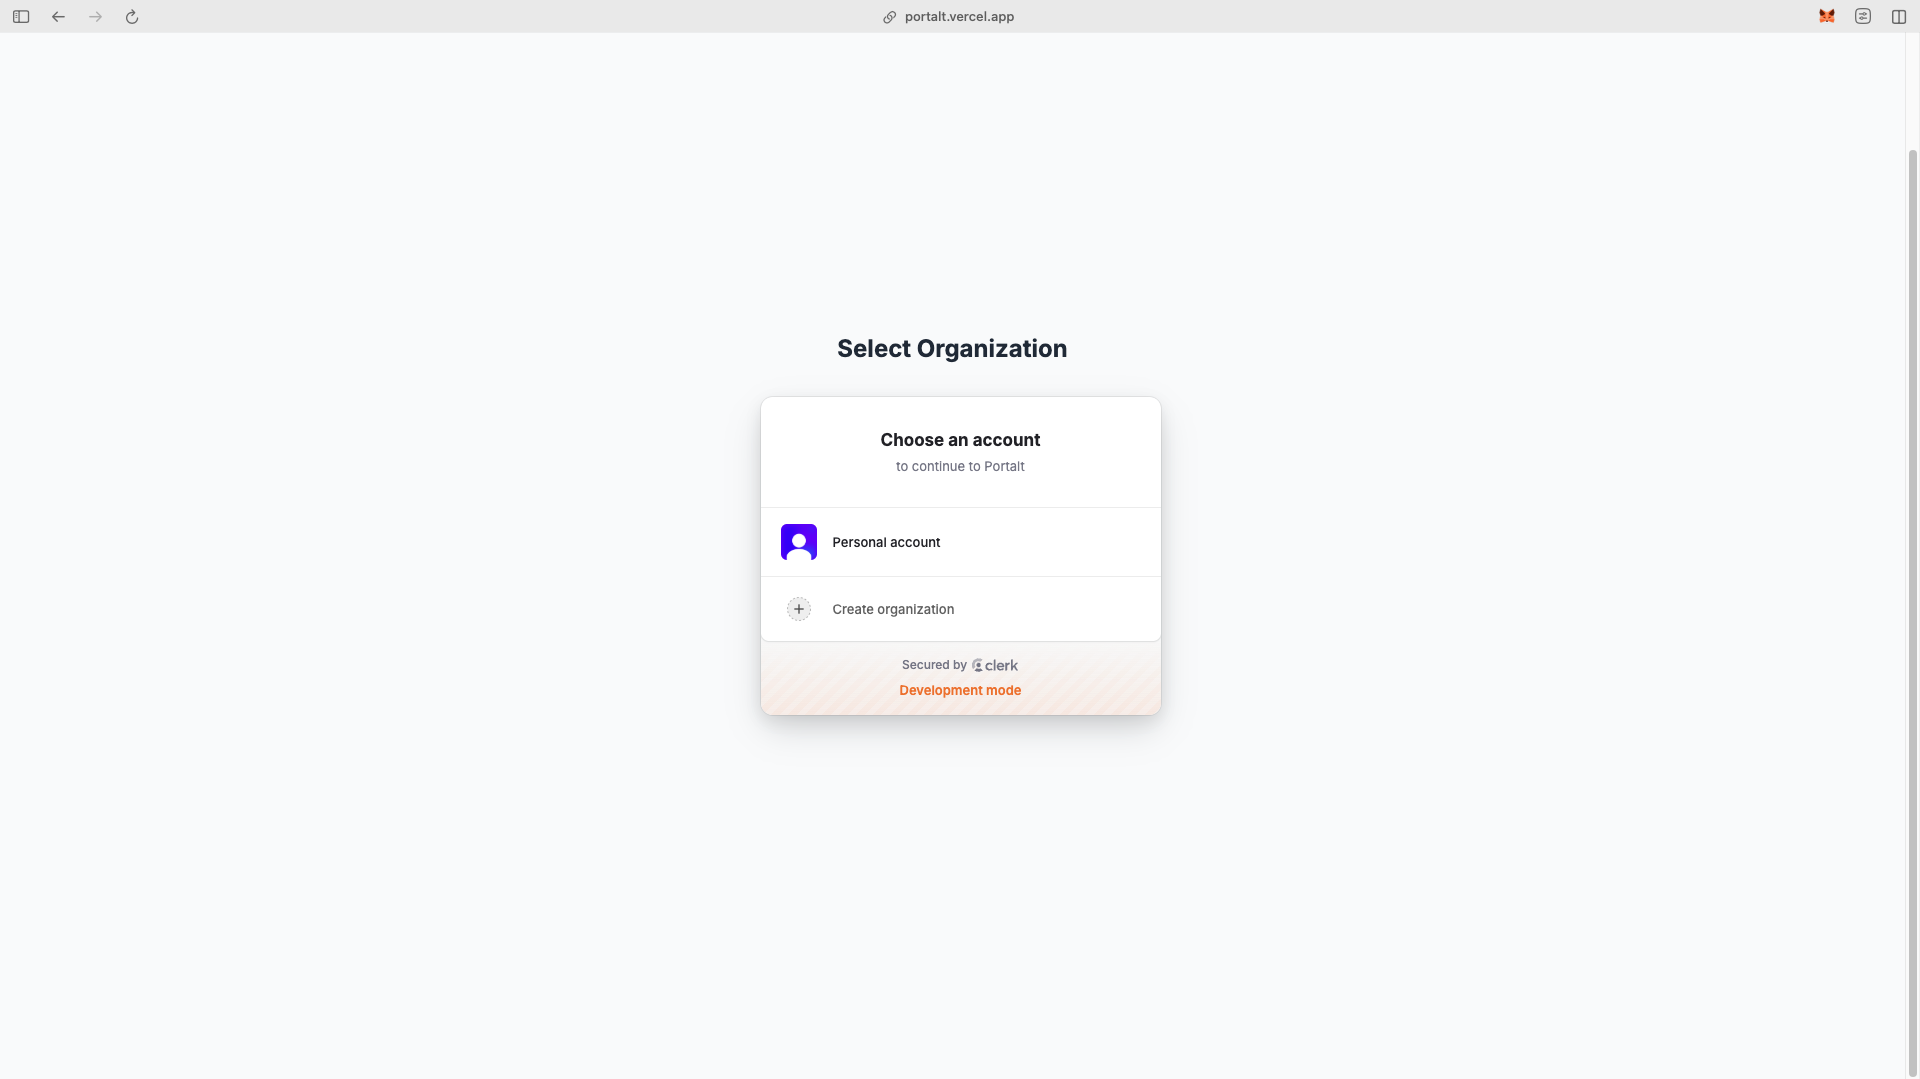
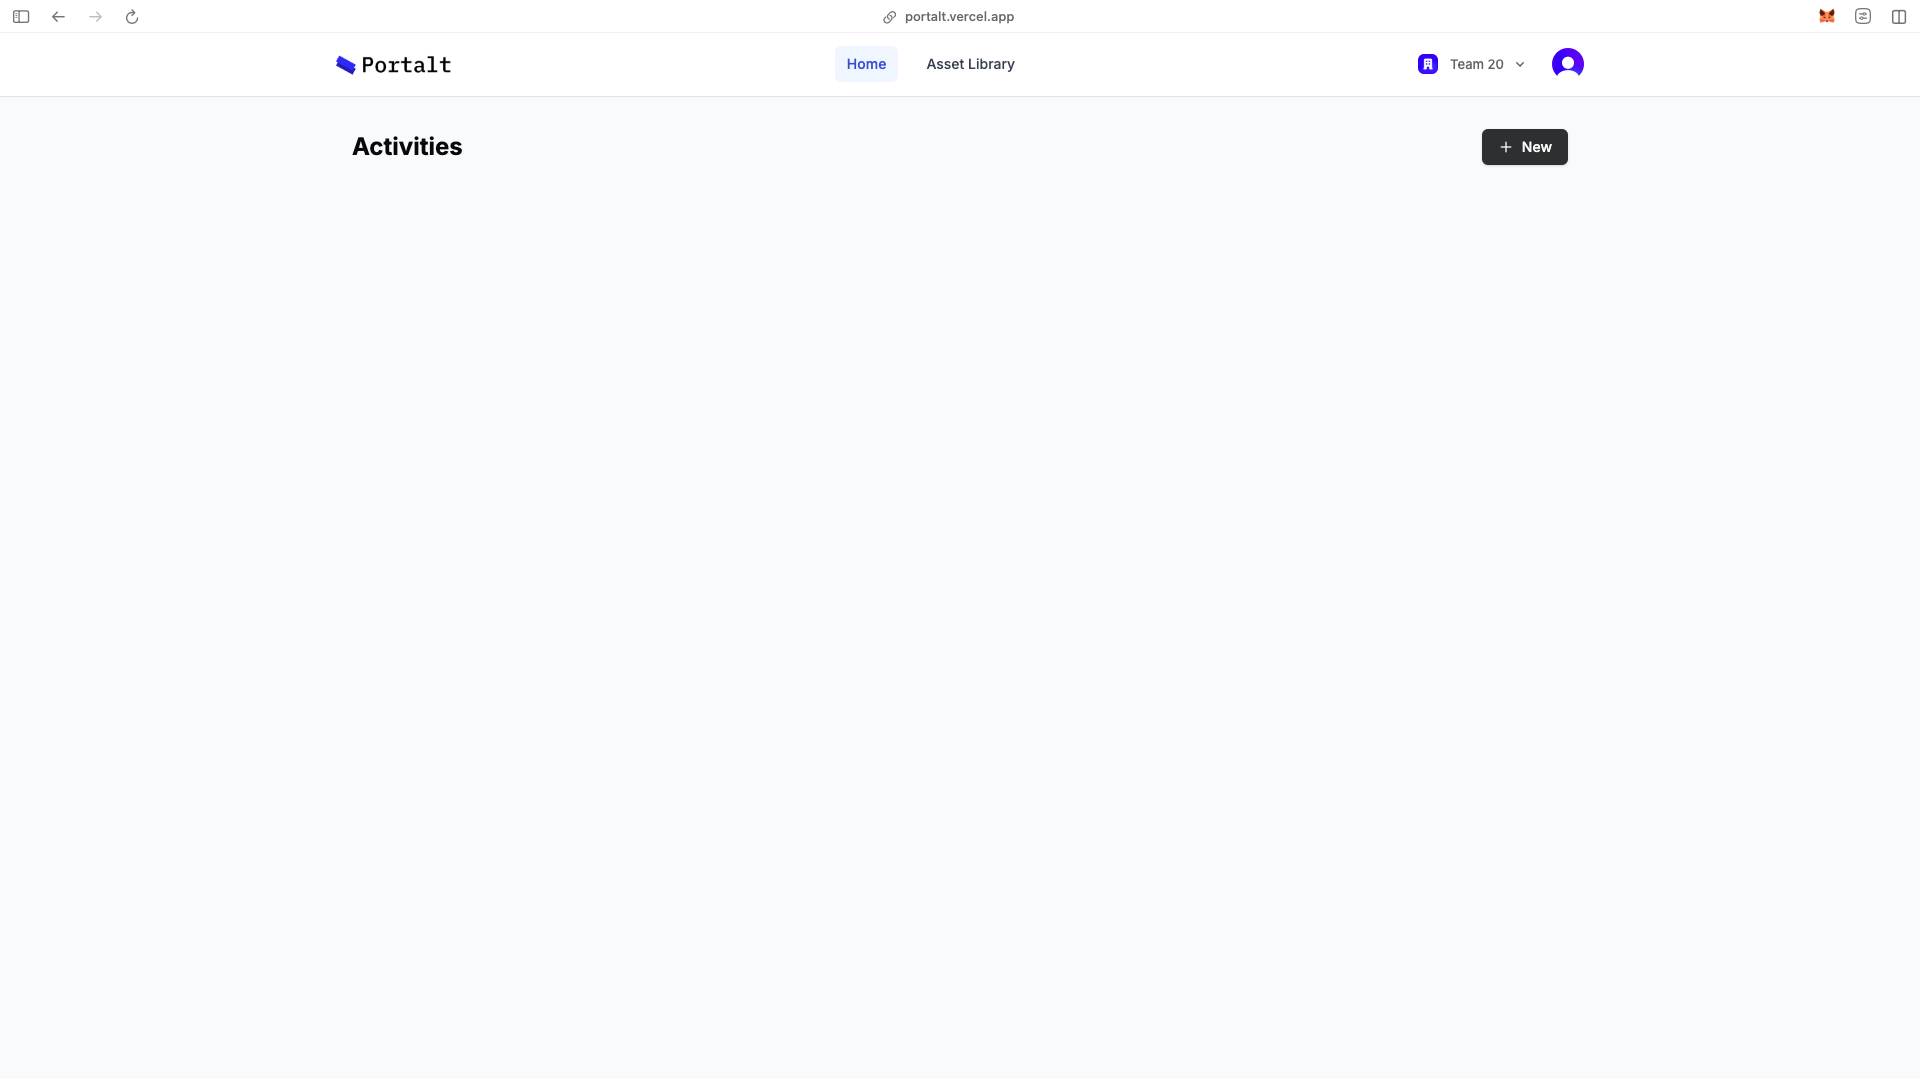
Choose your organization from the list to access its dashboard.
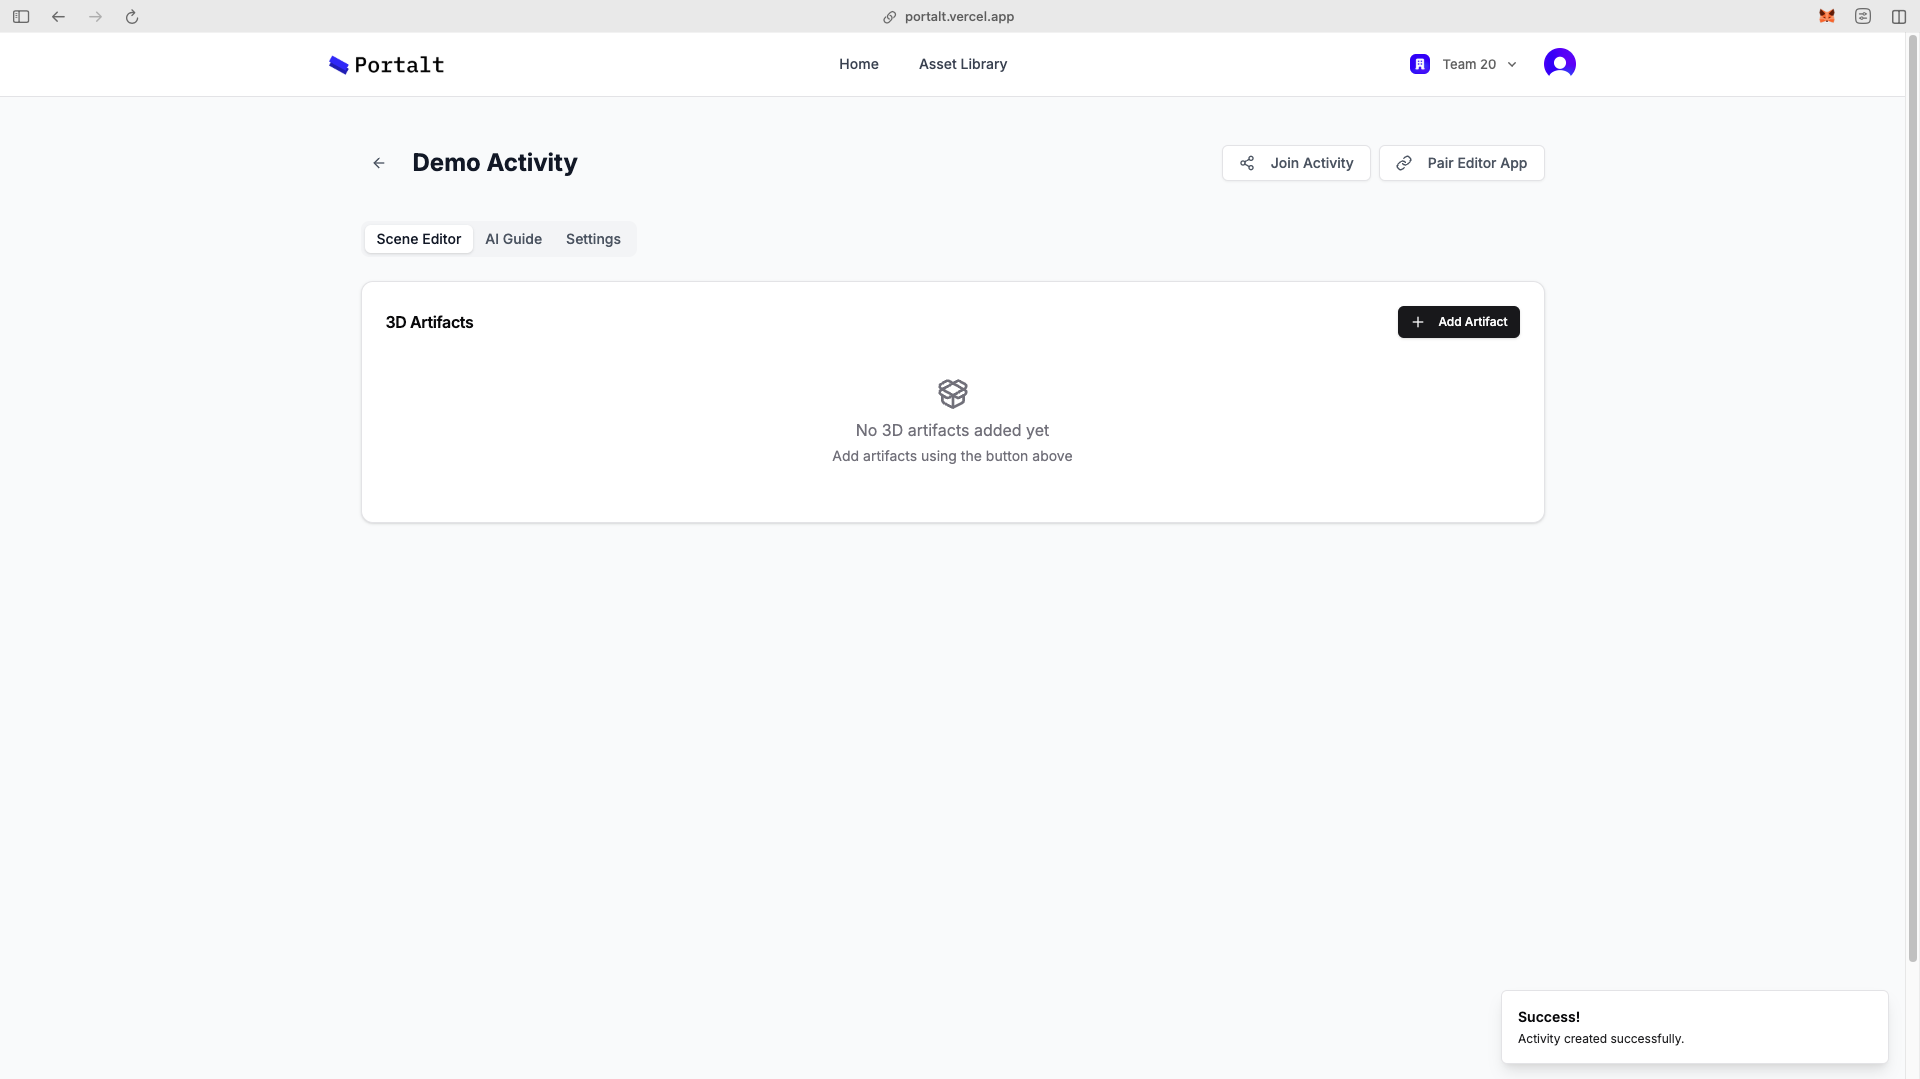
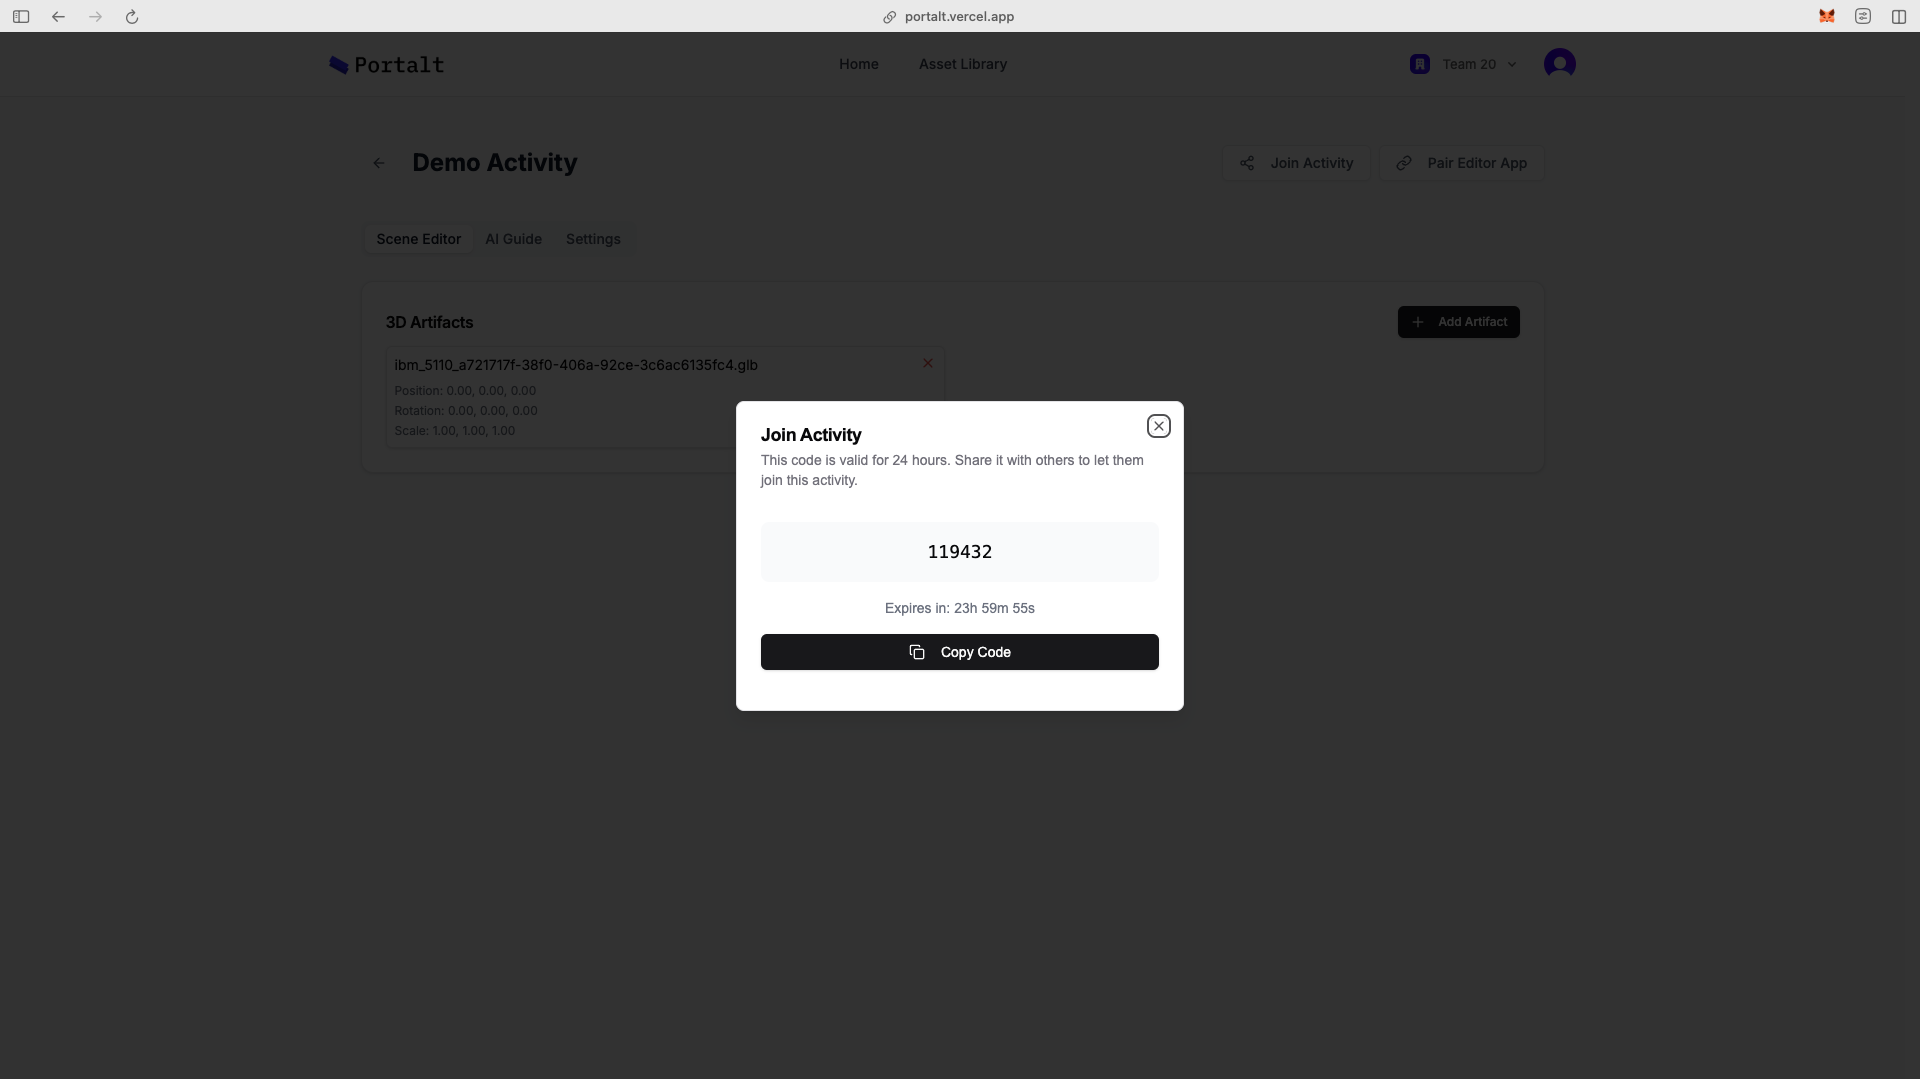
From your organization's home page, click the "Create Activity" button to start a new activity.

Fill in the following details:
Click "Create Activity" to finalize.
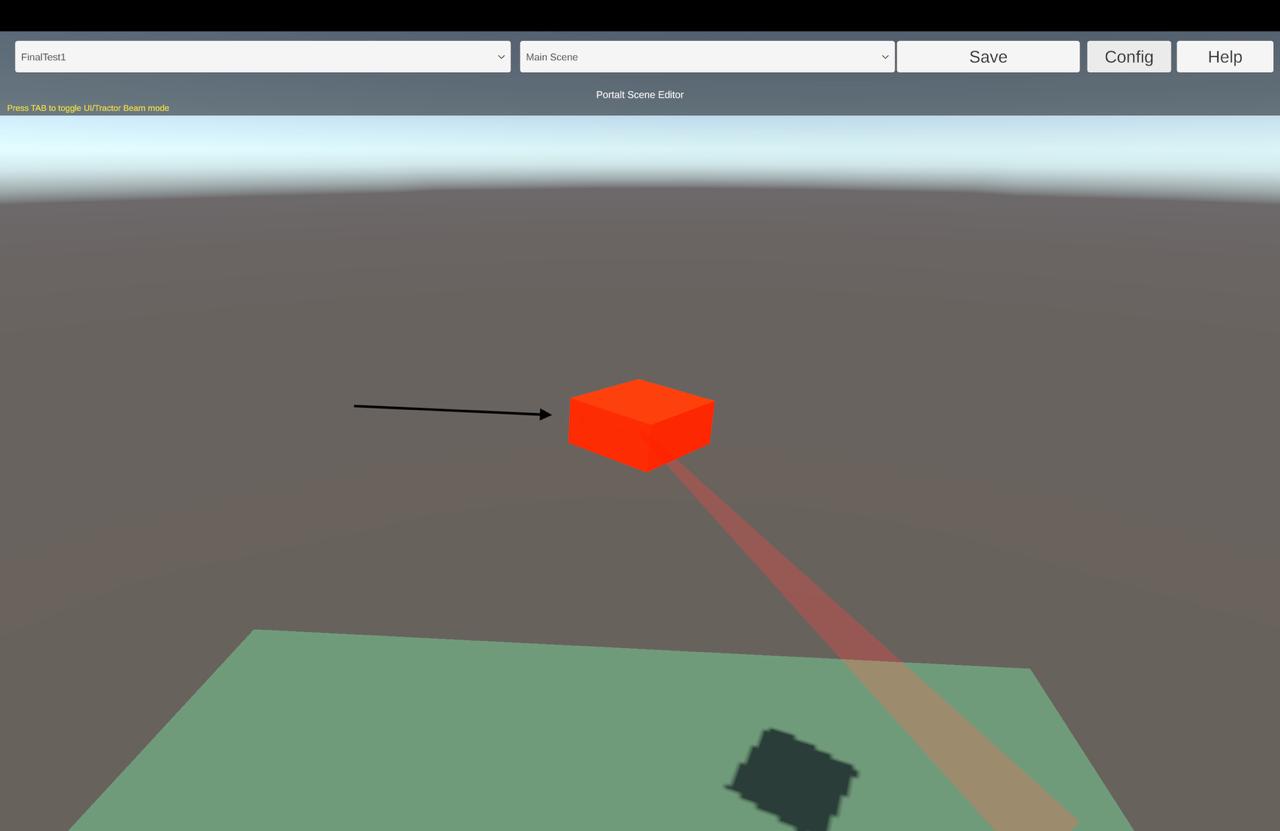
After creating an activity, you'll be directed to the activity page with the scene editor.
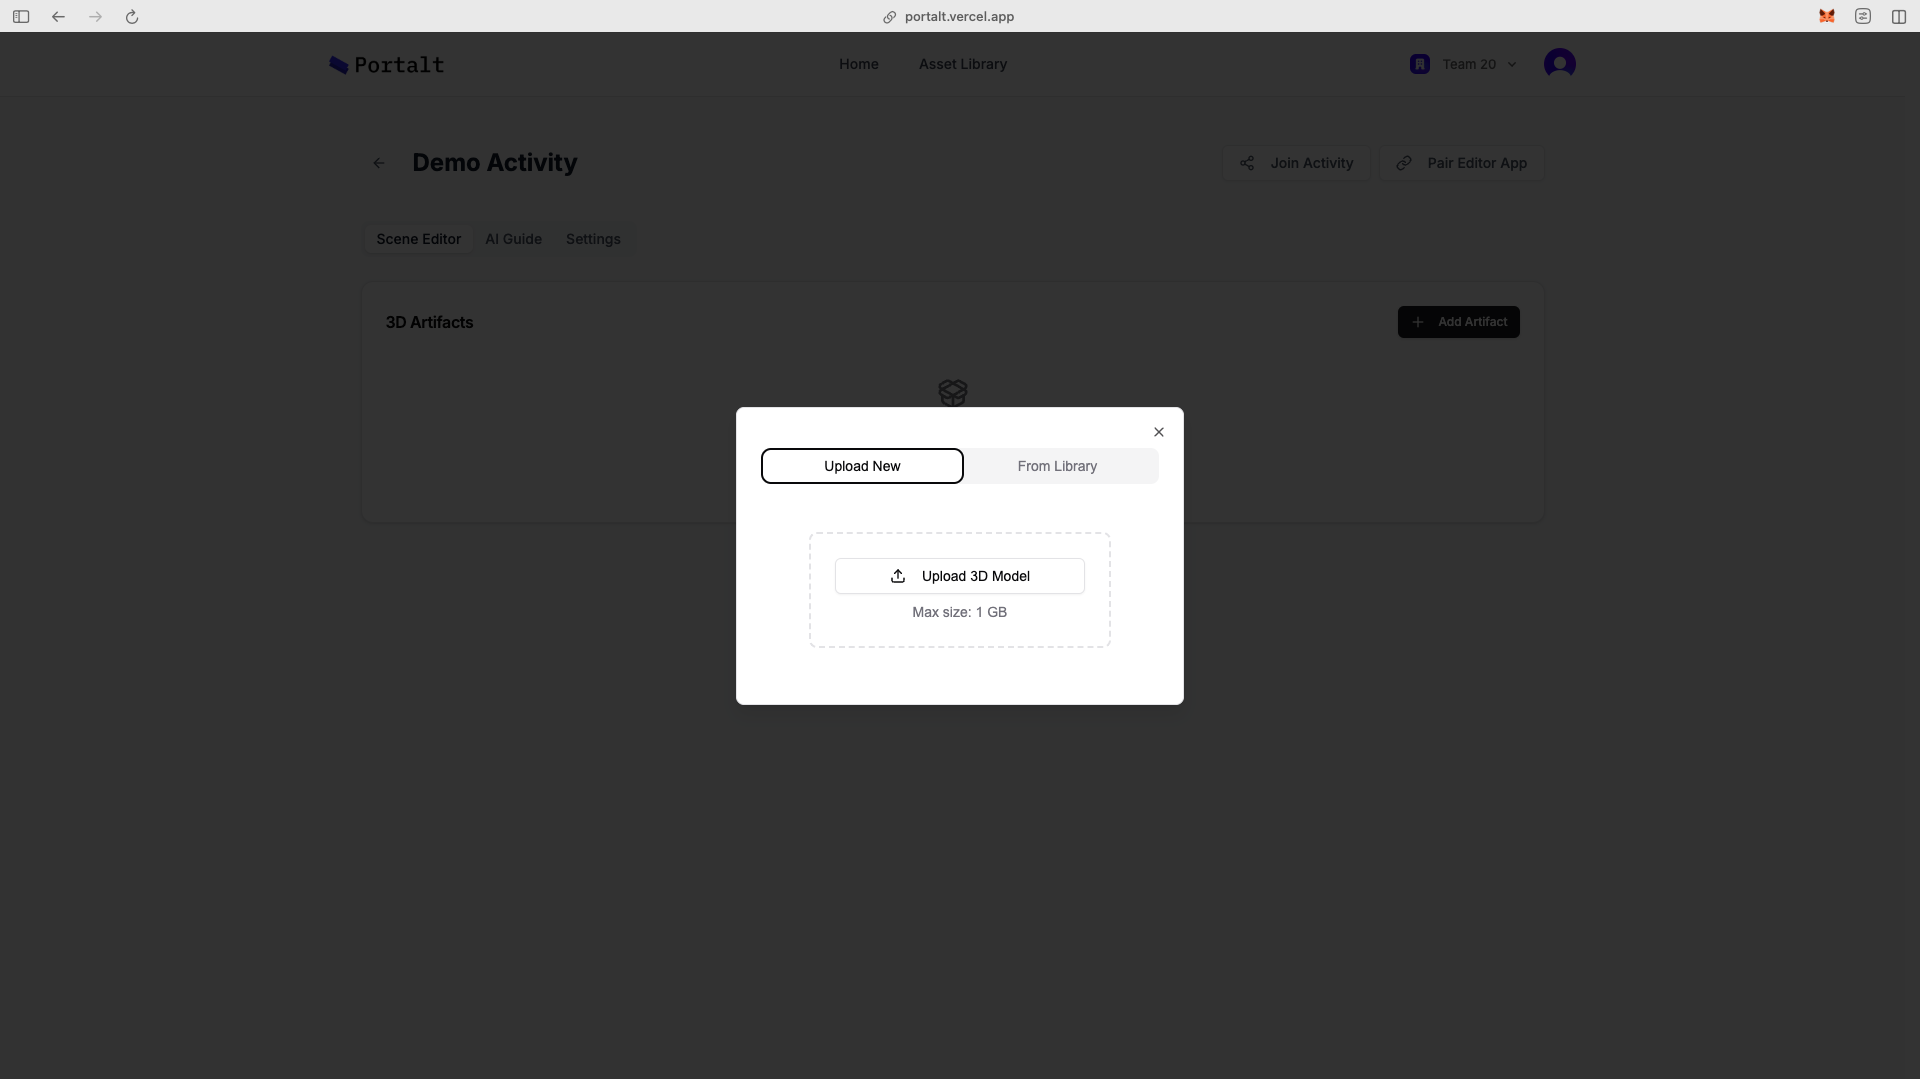
To add an object to your scene:
Navigate to the AI Guide page and activate the RAG (Retrieval-Augmented Generation) feature.
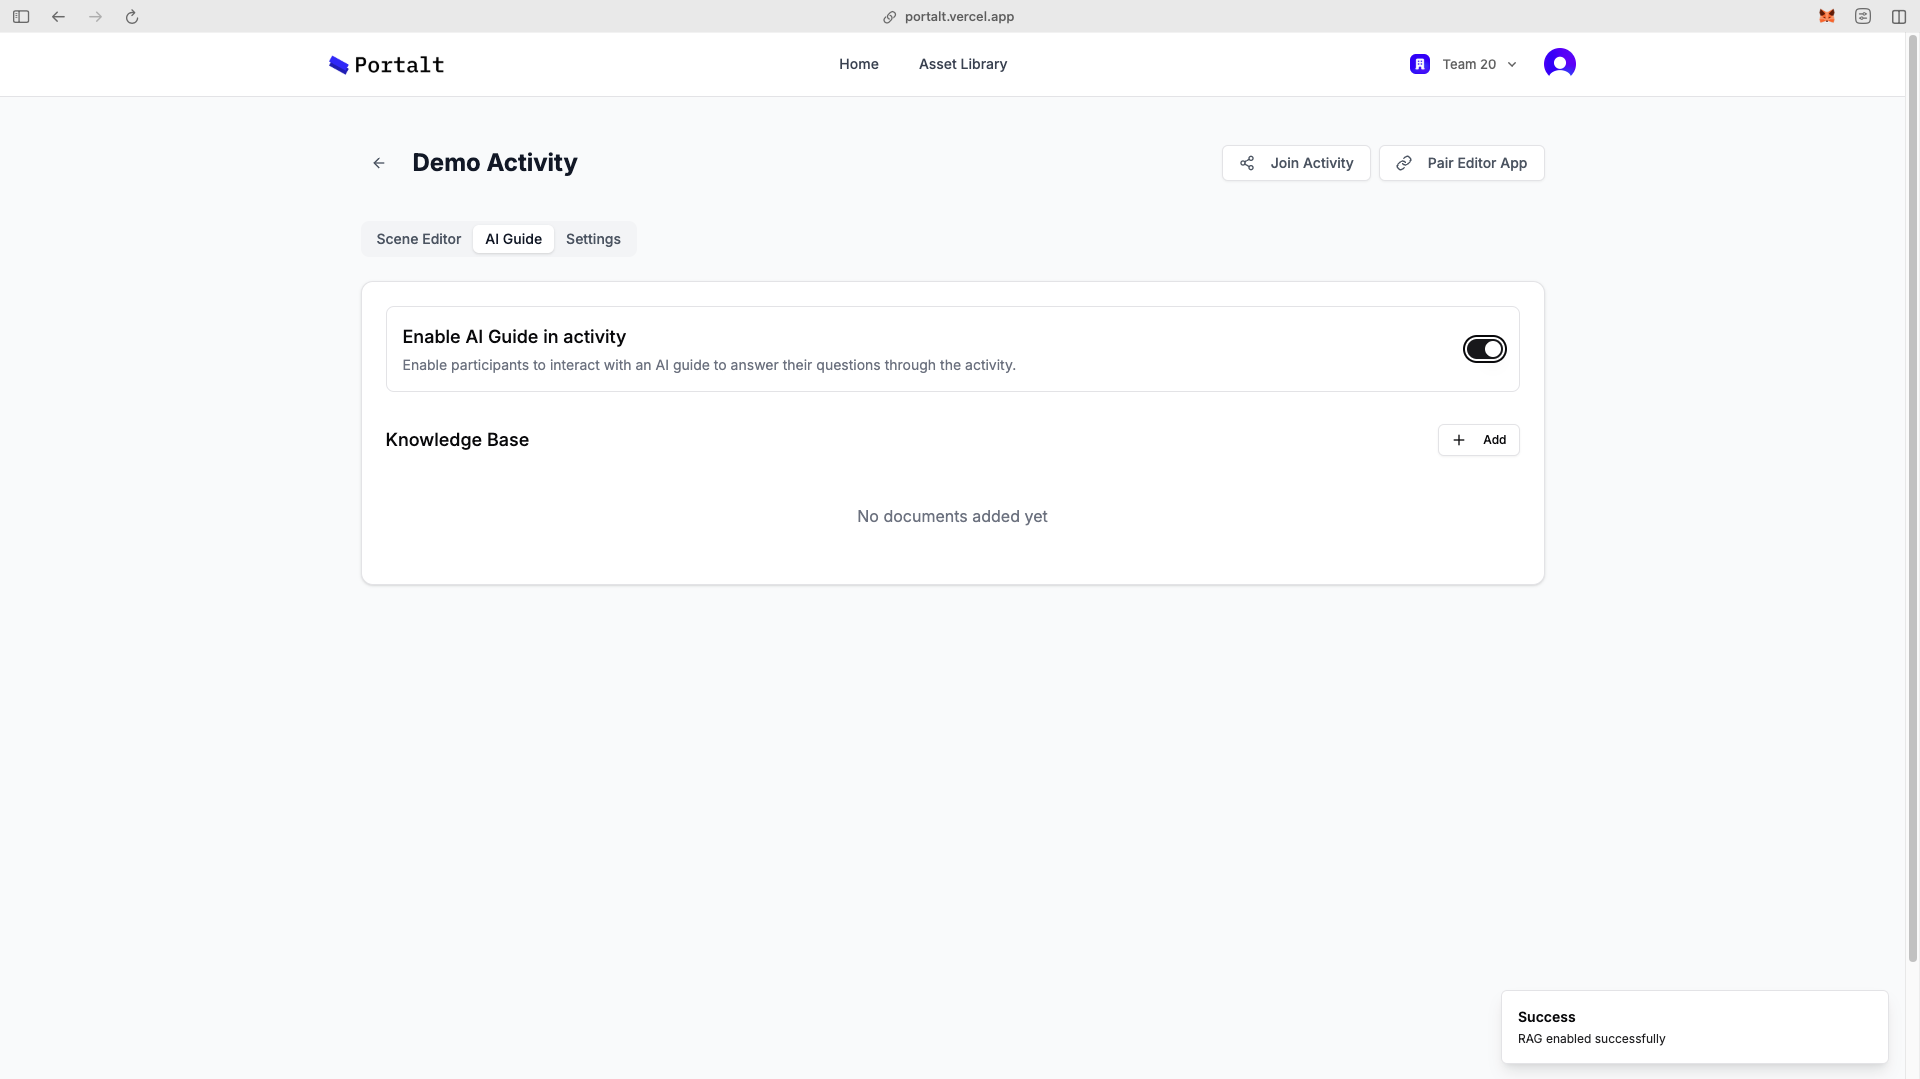
After activating RAG:
To access your scene from the admin executable:
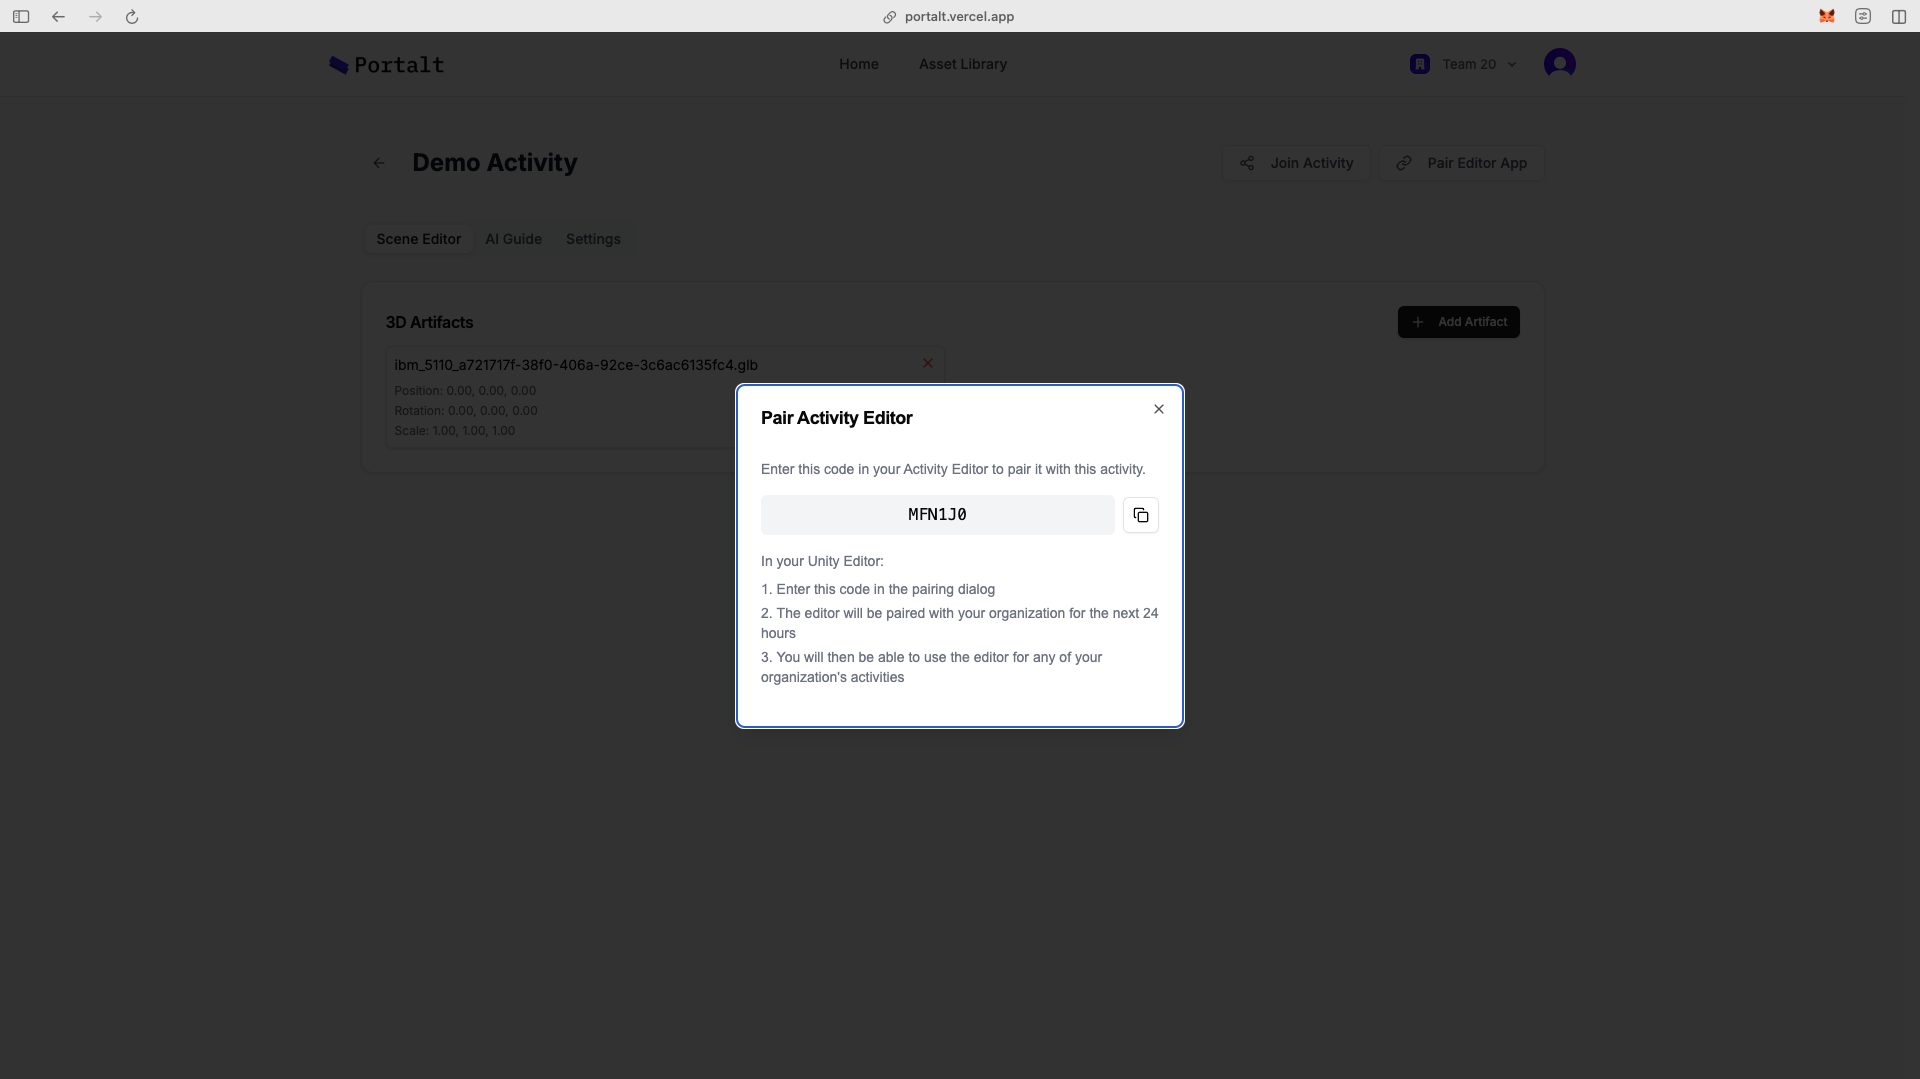
Enter the pair code when configuring the activity in the admin editor scene
Enter the activity join code when joining an activity in the viewer scene
When you launch the Viewer Scene, you'll be prompted to enter connection details:
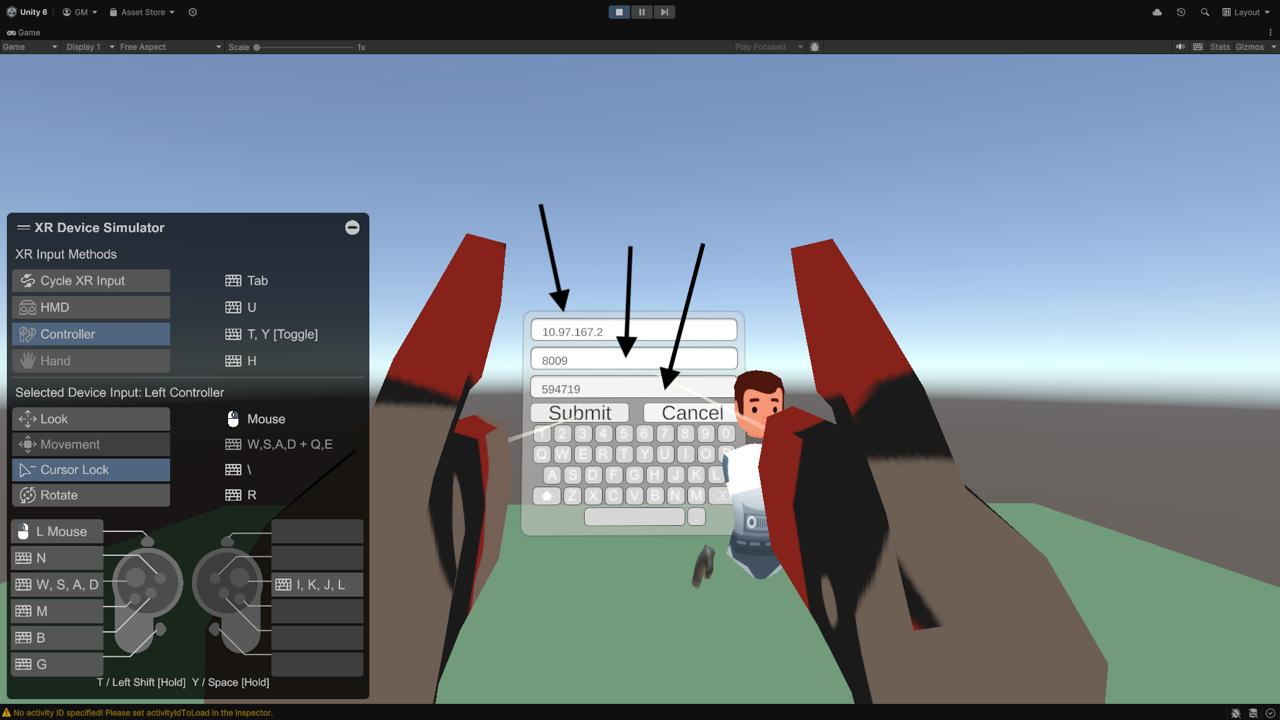

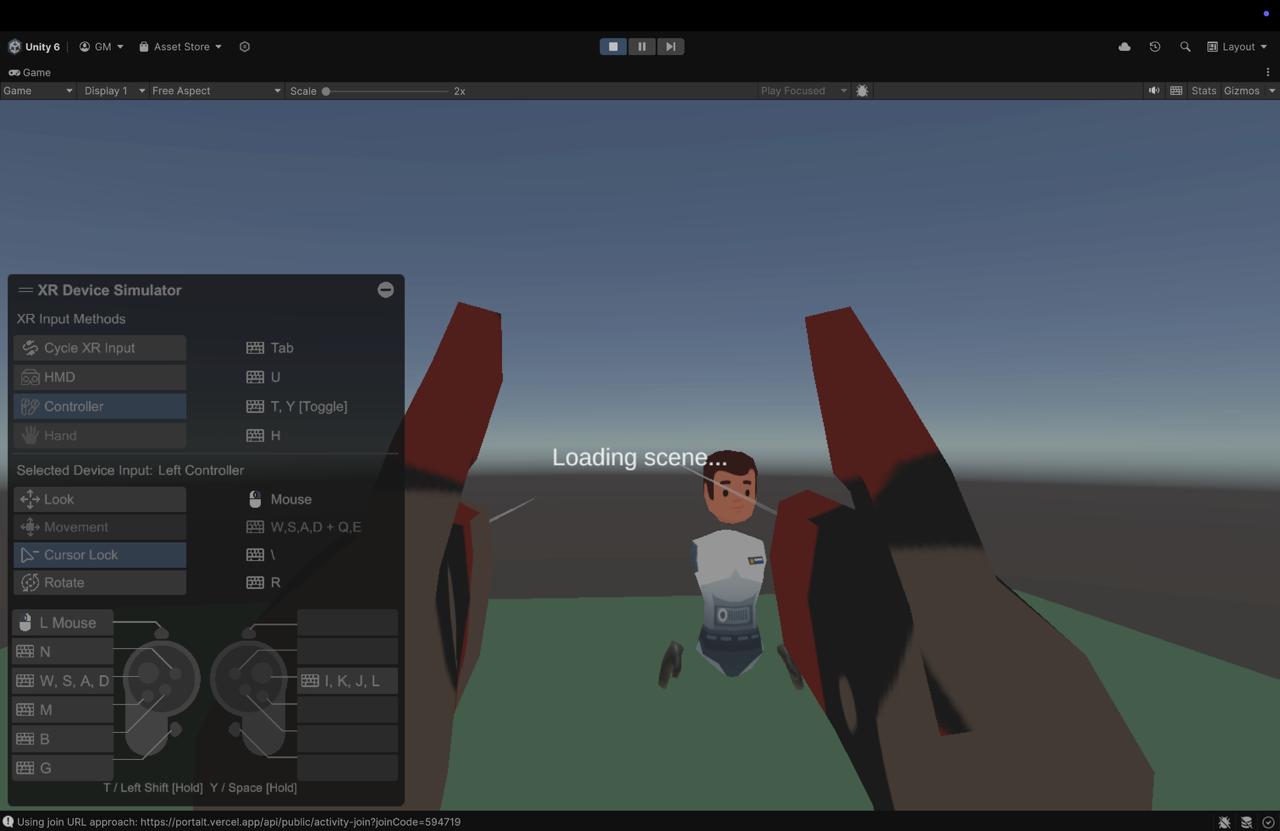
After entering the correct connection details, the scene will dynamically pair with the administrator's created activity and load all assets that were placed in the environment.
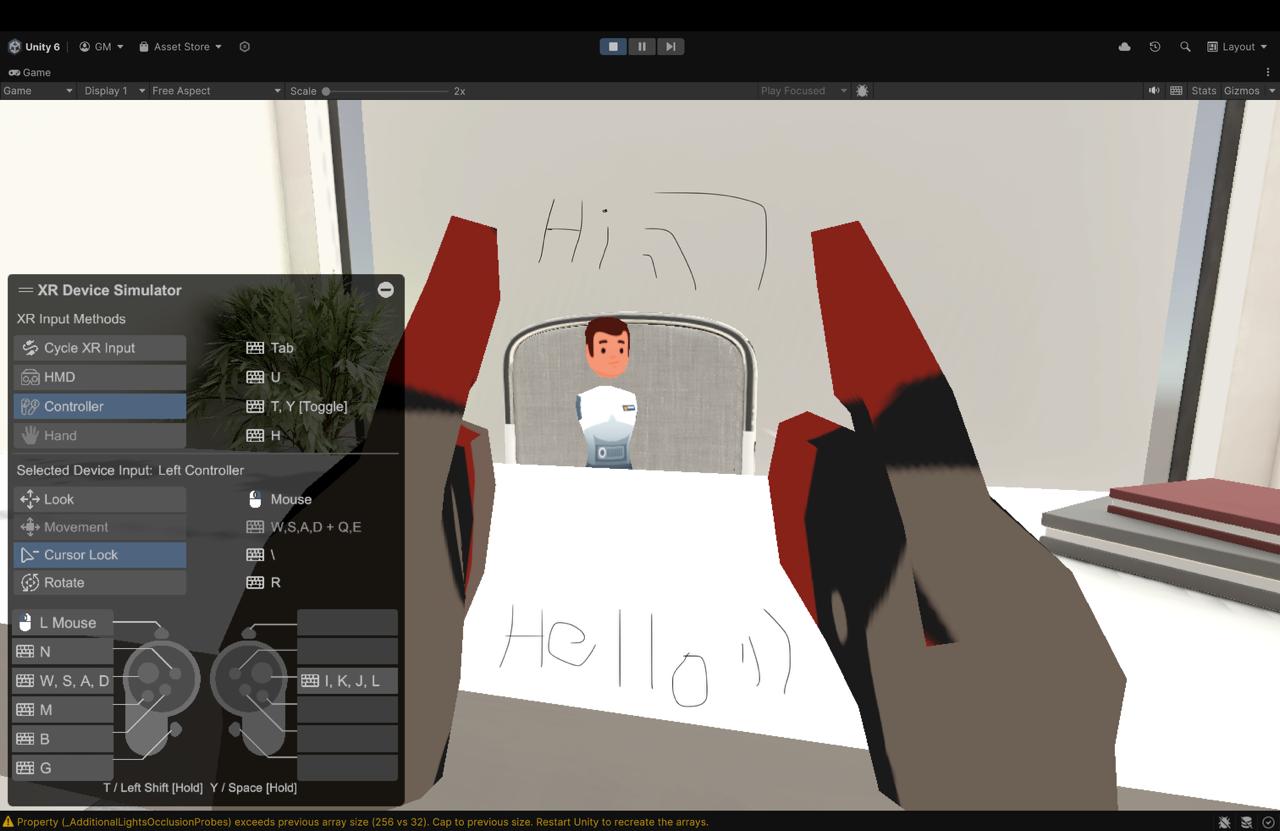
Once in the environment, you can:
The Editor Scene is accessible on PC. Locate and run the Editor executable file to begin.
When you first launch the editor, you'll be presented with the loading screen.
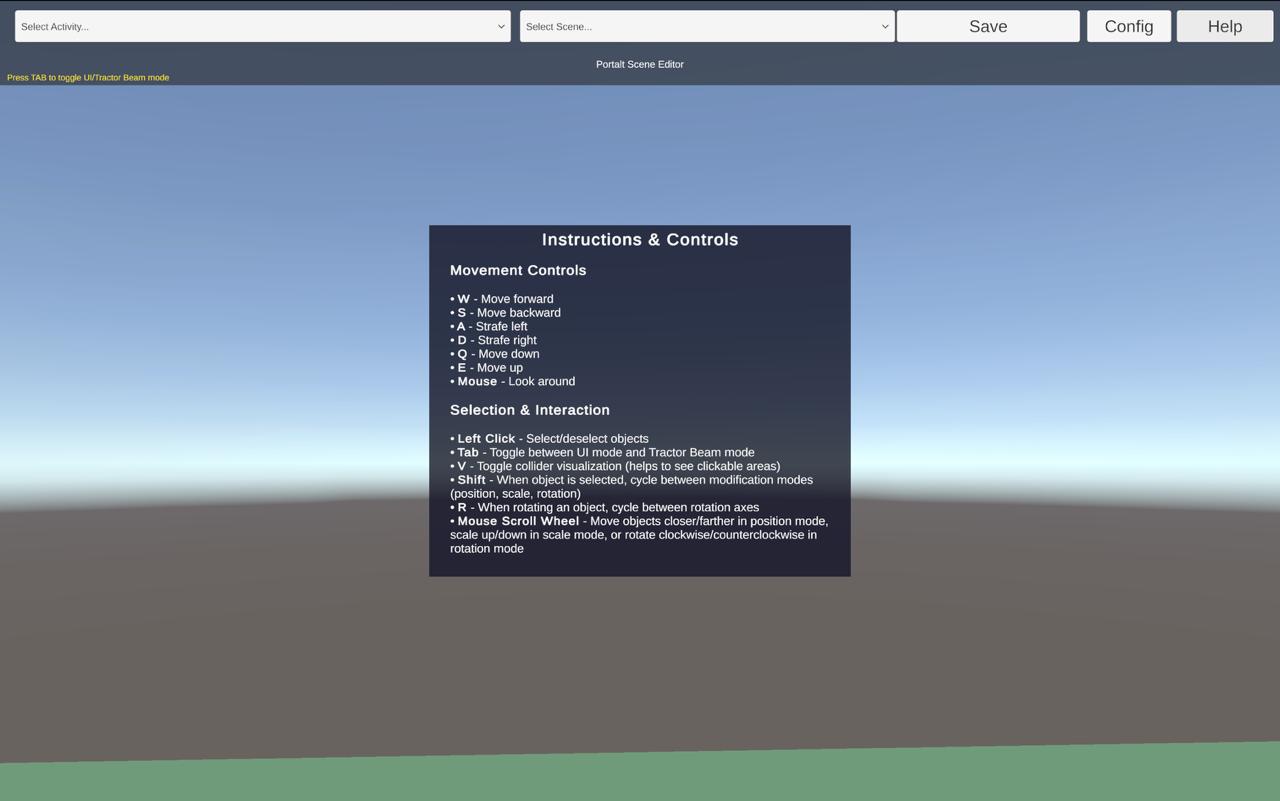
Click on the Help button in the GUI to access navigation and interaction controls.
The Help Menu provides instructions on how to navigate and interact with objects in the environment:
To load your assets from the Portalt dashboard:
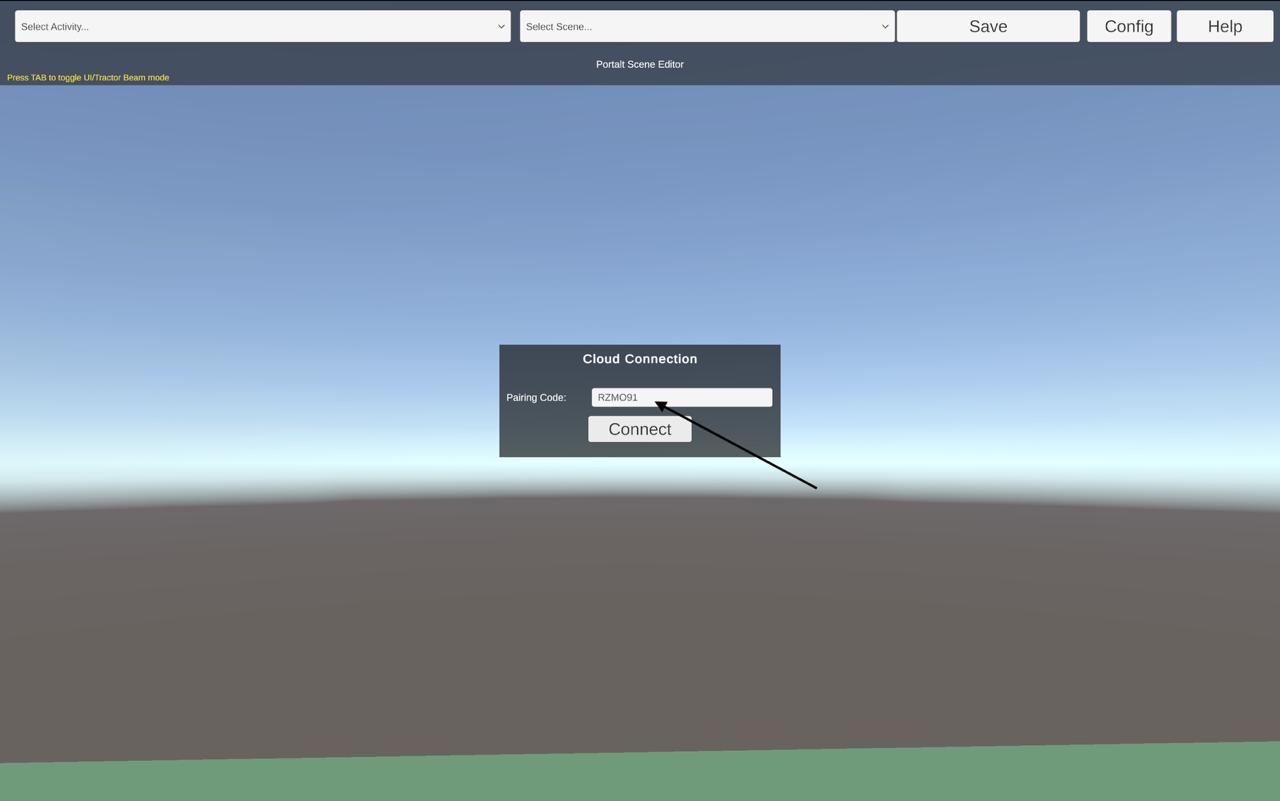
After connecting, your assets will be dynamically loaded from the dashboard activity.
You can now:
Once you've arranged your objects as desired, press the Save button in the GUI bar to save your scene configuration. This will update your activity on the Portalt dashboard with the current layout.
git clone https://github.com/SysEngTeam20/portalt-admin-app.git
cd admin-appnpm installcp .env.example .env.localgit clone https://github.com/SysEngTeam20/rag-enabled-ubiq-genie.git
cd ubiq-geniepython -m venv venv
source venv/bin/activate # On Windows: venv\Scripts\activate
pip install -r requirements.txtcd Node
npm installcp .env.template .env.localgit clone https://github.com/SysEngTeam20/unity-vr-scenes.gitCreate and configure the environment file (.env.local):
# Clerk Authentication
NEXT_PUBLIC_CLERK_PUBLISHABLE_KEY=your_clerk_publishable_key
CLERK_SECRET_KEY=your_clerk_secret_key

# Database Configuration
SQLITE_DB_PATH=./data/portalt.db  # Development
MONGODB_URI=your_mongodb_connection_string  # Production

# IBM Cloud Object Storage
COS_ENDPOINT=your_cos_endpoint
COS_ACCESS_KEY_ID=your_cos_access_key_id
COS_SECRET_ACCESS_KEY=your_cos_secret_access_key
COS_BUCKET_NAME=your_bucket_name
COS_INSTANCE_CRN=your_instance_crn
IBM_CLOUD_REGION=your_region

# API Security
API_SECRET_KEY=your_api_secret_keyCreate and configure the environment file (.env.local):
# API Configuration
API_BASE_URL=http://localhost:3000
API_SECRET_KEY=your_jwt_signing_secret

# LLM Configuration
LLM_SERVER=http://localhost:8080
LLM_PORT=8080

# Activity Configuration
ACTIVITY_ID=your_activity_id

# WebSocket Configuration
WEBSOCKET_SERVER_URL=ws://localhost:5001docker build -t portalt-admin:latest .docker run -p 3000:3000 --env-file .env.local portalt-admin:latestdocker build -t ubiq-genie:latest .docker run -p 8000:8000 --env-file .env.local ubiq-genie:latestibmcloud cr namespace-add portaltdocker build -t portalt-admin:latest .
docker tag portalt-admin:latest us.icr.io/portalt/portalt-admin:latestibmcloud cr logindocker push us.icr.io/portalt/portalt-admin:latestkubectl create secret generic admin-app-secrets \
--namespace portalt \
--from-literal=clerk-publishable-key=$NEXT_PUBLIC_CLERK_PUBLISHABLE_KEY \
--from-literal=clerk-secret-key=$CLERK_SECRET_KEY \
--from-literal=cos-endpoint=$COS_ENDPOINT \
--from-literal=cos-access-key-id=$COS_ACCESS_KEY_ID \
--from-literal=cos-secret-access-key=$COS_SECRET_ACCESS_KEY \
--from-literal=cos-bucket-name=$COS_BUCKET_NAME \
--from-literal=cos-instance-crn=$COS_INSTANCE_CRN \
--from-literal=ibm-cloud-region=$IBM_CLOUD_REGION \
--from-literal=api-secret-key=$API_SECRET_KEYkubectl apply -f k8s/admin-app/docker build -t ubiq-genie:latest .
docker tag ubiq-genie:latest us.icr.io/portalt/ubiq-genie:latestdocker push us.icr.io/portalt/ubiq-genie:latestkubectl create secret generic ubiq-genie-secrets \
--namespace portalt \
--from-literal=api-base-url=$API_BASE_URL \
--from-literal=api-secret-key=$API_SECRET_KEY \
--from-literal=llm-server=$LLM_SERVER \
--from-literal=llm-port=$LLM_PORT \
--from-literal=activity-id=$ACTIVITY_ID \
--from-literal=websocket-url=$WEBSOCKET_SERVER_URLkubectl apply -f k8s/ubiq-genie/kubectl get pods -n portalt -l app=portalt-adminkubectl logs -f deployment/portalt-admin -n portaltkubectl get pods -n portalt -l app=ubiq-geniekubectl logs -f deployment/ubiq-genie -n portaltThe blog contains in-depth technical discussions, design decisions, meeting notes, and progress updates that complement the information available on this website.
In this update, we show the integration of the RAG system with the VR environment and demonstrate multi-user interactions.
This update covers our progress on developing the admin dashboard interface and the VR scene editing capabilities.
In this update, we demonstrate our initial VR environment prototypes and discuss the architecture of our RAG-enabled AI guide system.
This update shows our progress on the system design, initial technology stack decisions, and early prototypes of the admin dashboard.
Our first monthly update covering project introduction, team structure, initial requirements gathering, and research direction.
The Portalt platform is designed with privacy by design principles and GDPR compliance as core considerations. Our approach to user data includes:
User authentication is managed through Clerk Authentication Services, ensuring secure handling and storage of login credentials. We only collect essential user information required for authentication purposes.
Voice commands for the AI guide are processed in real-time and not stored permanently. Temporary processing is necessary only to convert speech to text for the RAG system to respond appropriately.
Documents uploaded to create the RAG knowledge base are processed to extract information but are stored securely with access restricted to authorized organization members only.
We collect minimal usage data necessary for the functioning of the platform. This data is pseudonymized where possible and retained only for the period necessary to provide our services.
The Portalt application's source code is protected under the following license terms:
© 2025 Portalt Team. All rights reserved.
The source code for the Portalt platform is available to:
End users are granted a license to use the software according to the terms specified in our End-User License Agreement, but do not receive access to the source code.
We are dedicated to protecting the privacy and data security of our users. This privacy statement outlines our practices regarding the collection, use, and protection of user data.
We collect the following limited information to provide and improve our services:
To ensure optimal functionality, the Portalt applications may request access to:
These permissions are strictly for application performance and do not involve unnecessary data collection or sharing.
We implement robust security measures including encryption, secure access controls, and regular security audits to protect user data from unauthorized access.
User data is retained only for as long as necessary to provide our services. Users can request deletion of their data at any time through the platform interface.
Our application utilizes the following third-party services:
These services have been vetted to ensure they comply with relevant data protection regulations.
Before installing or using the Portalt platform, please review and agree to the terms of this End-User License Agreement (EULA).
We grant you a non-exclusive, non-transferable license to use the Portalt platform and applications under this Agreement's terms.
The Portalt platform and its components are the intellectual property of the development team and are protected by copyright laws. All intellectual property rights are retained by the licensors.
Users retain rights to content they create or upload to the platform, but grant Portalt a limited license to use this content to provide and improve the service.
The software is provided "as is" without warranties of any kind. We do not guarantee that the software will meet all requirements or operate uninterrupted.
Our liability for damages related to software use is limited to the maximum extent permitted by law.
Under the UK General Data Protection Regulation (GDPR), users of the Portalt platform have the following rights:
Users have the right to be informed about the collection and use of their personal data.
Users have the right to access and receive a copy of their personal data.
Users have the right to have inaccurate personal data rectified or completed if it is incomplete.
Users have the right to have their personal data erased when certain conditions are met.
Users have the right to request the restriction or suppression of their personal data.
Users have the right to obtain and reuse their personal data for their own purposes across different services.
Users have the right to object to the processing of their personal data in certain circumstances.
Users have rights related to automated decision making and profiling.
Last Updated: March 25, 2025