User Manual
Welcome to the user manual for Super Happy Space, an affordable sensory room for autistic and disabled children in schools, hospitals and at home.
Navigating the Library
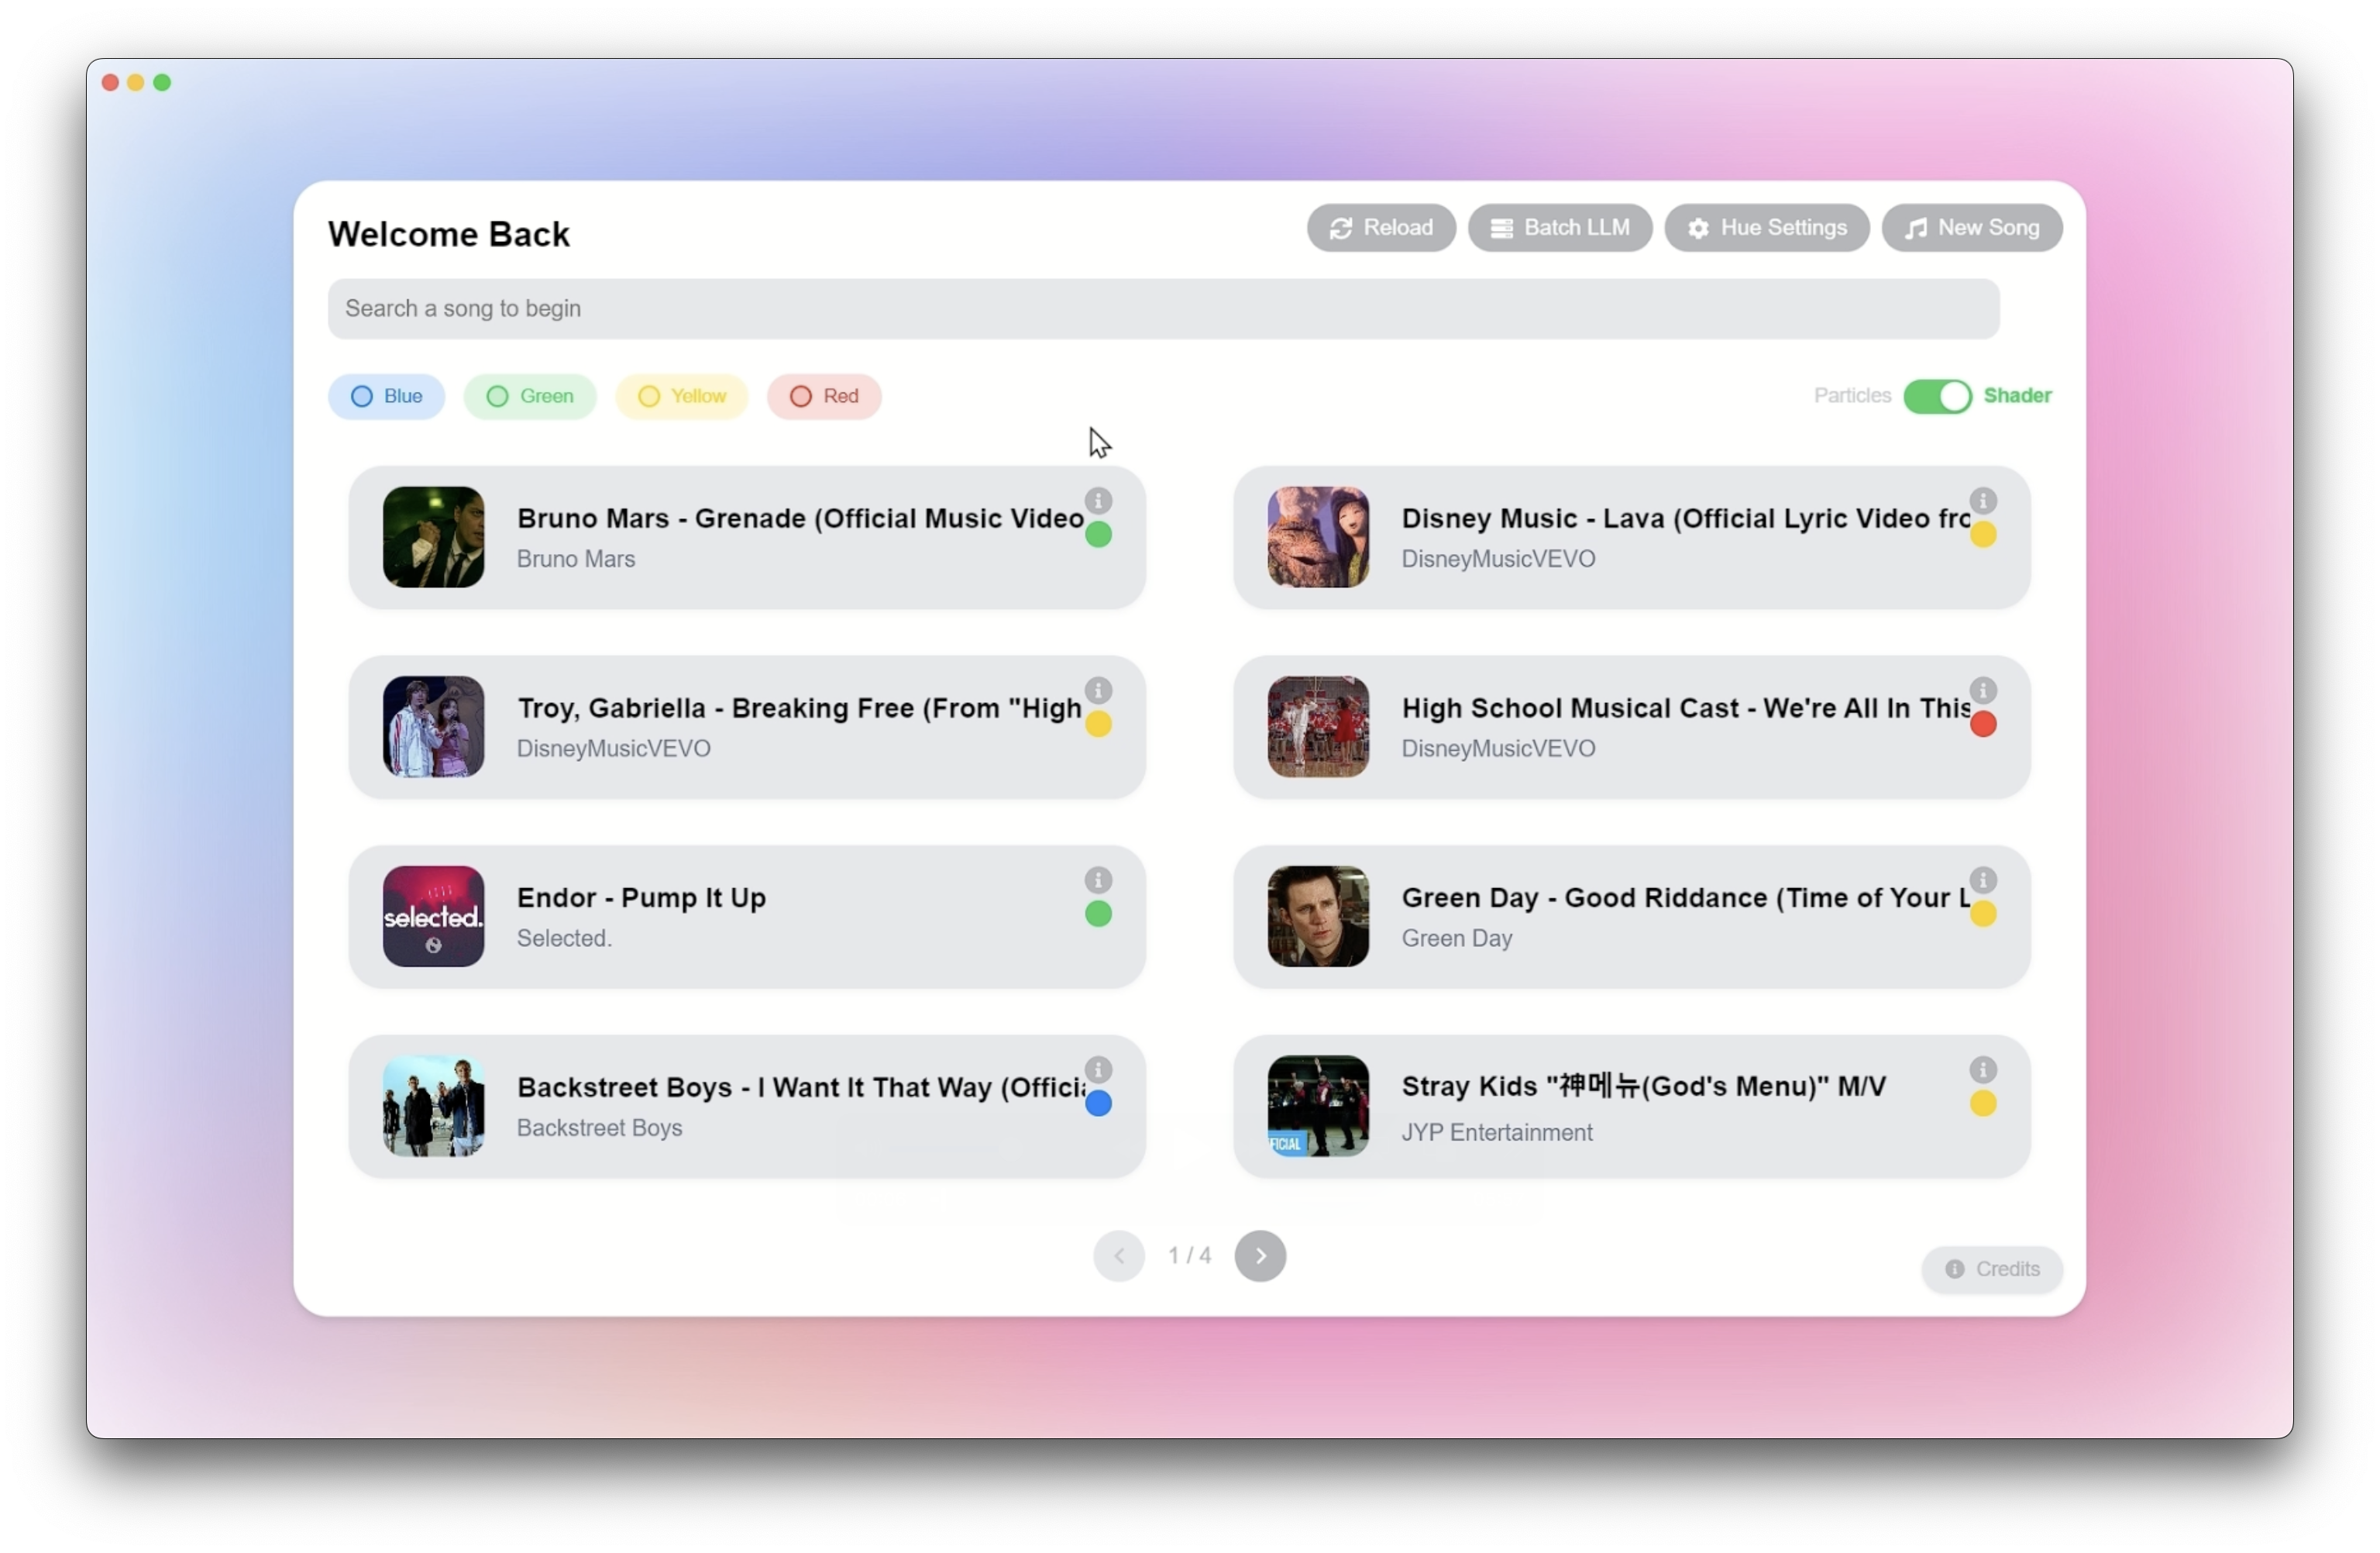
Library View
The library can be navigated by using the arrows at the bottom of the screen.
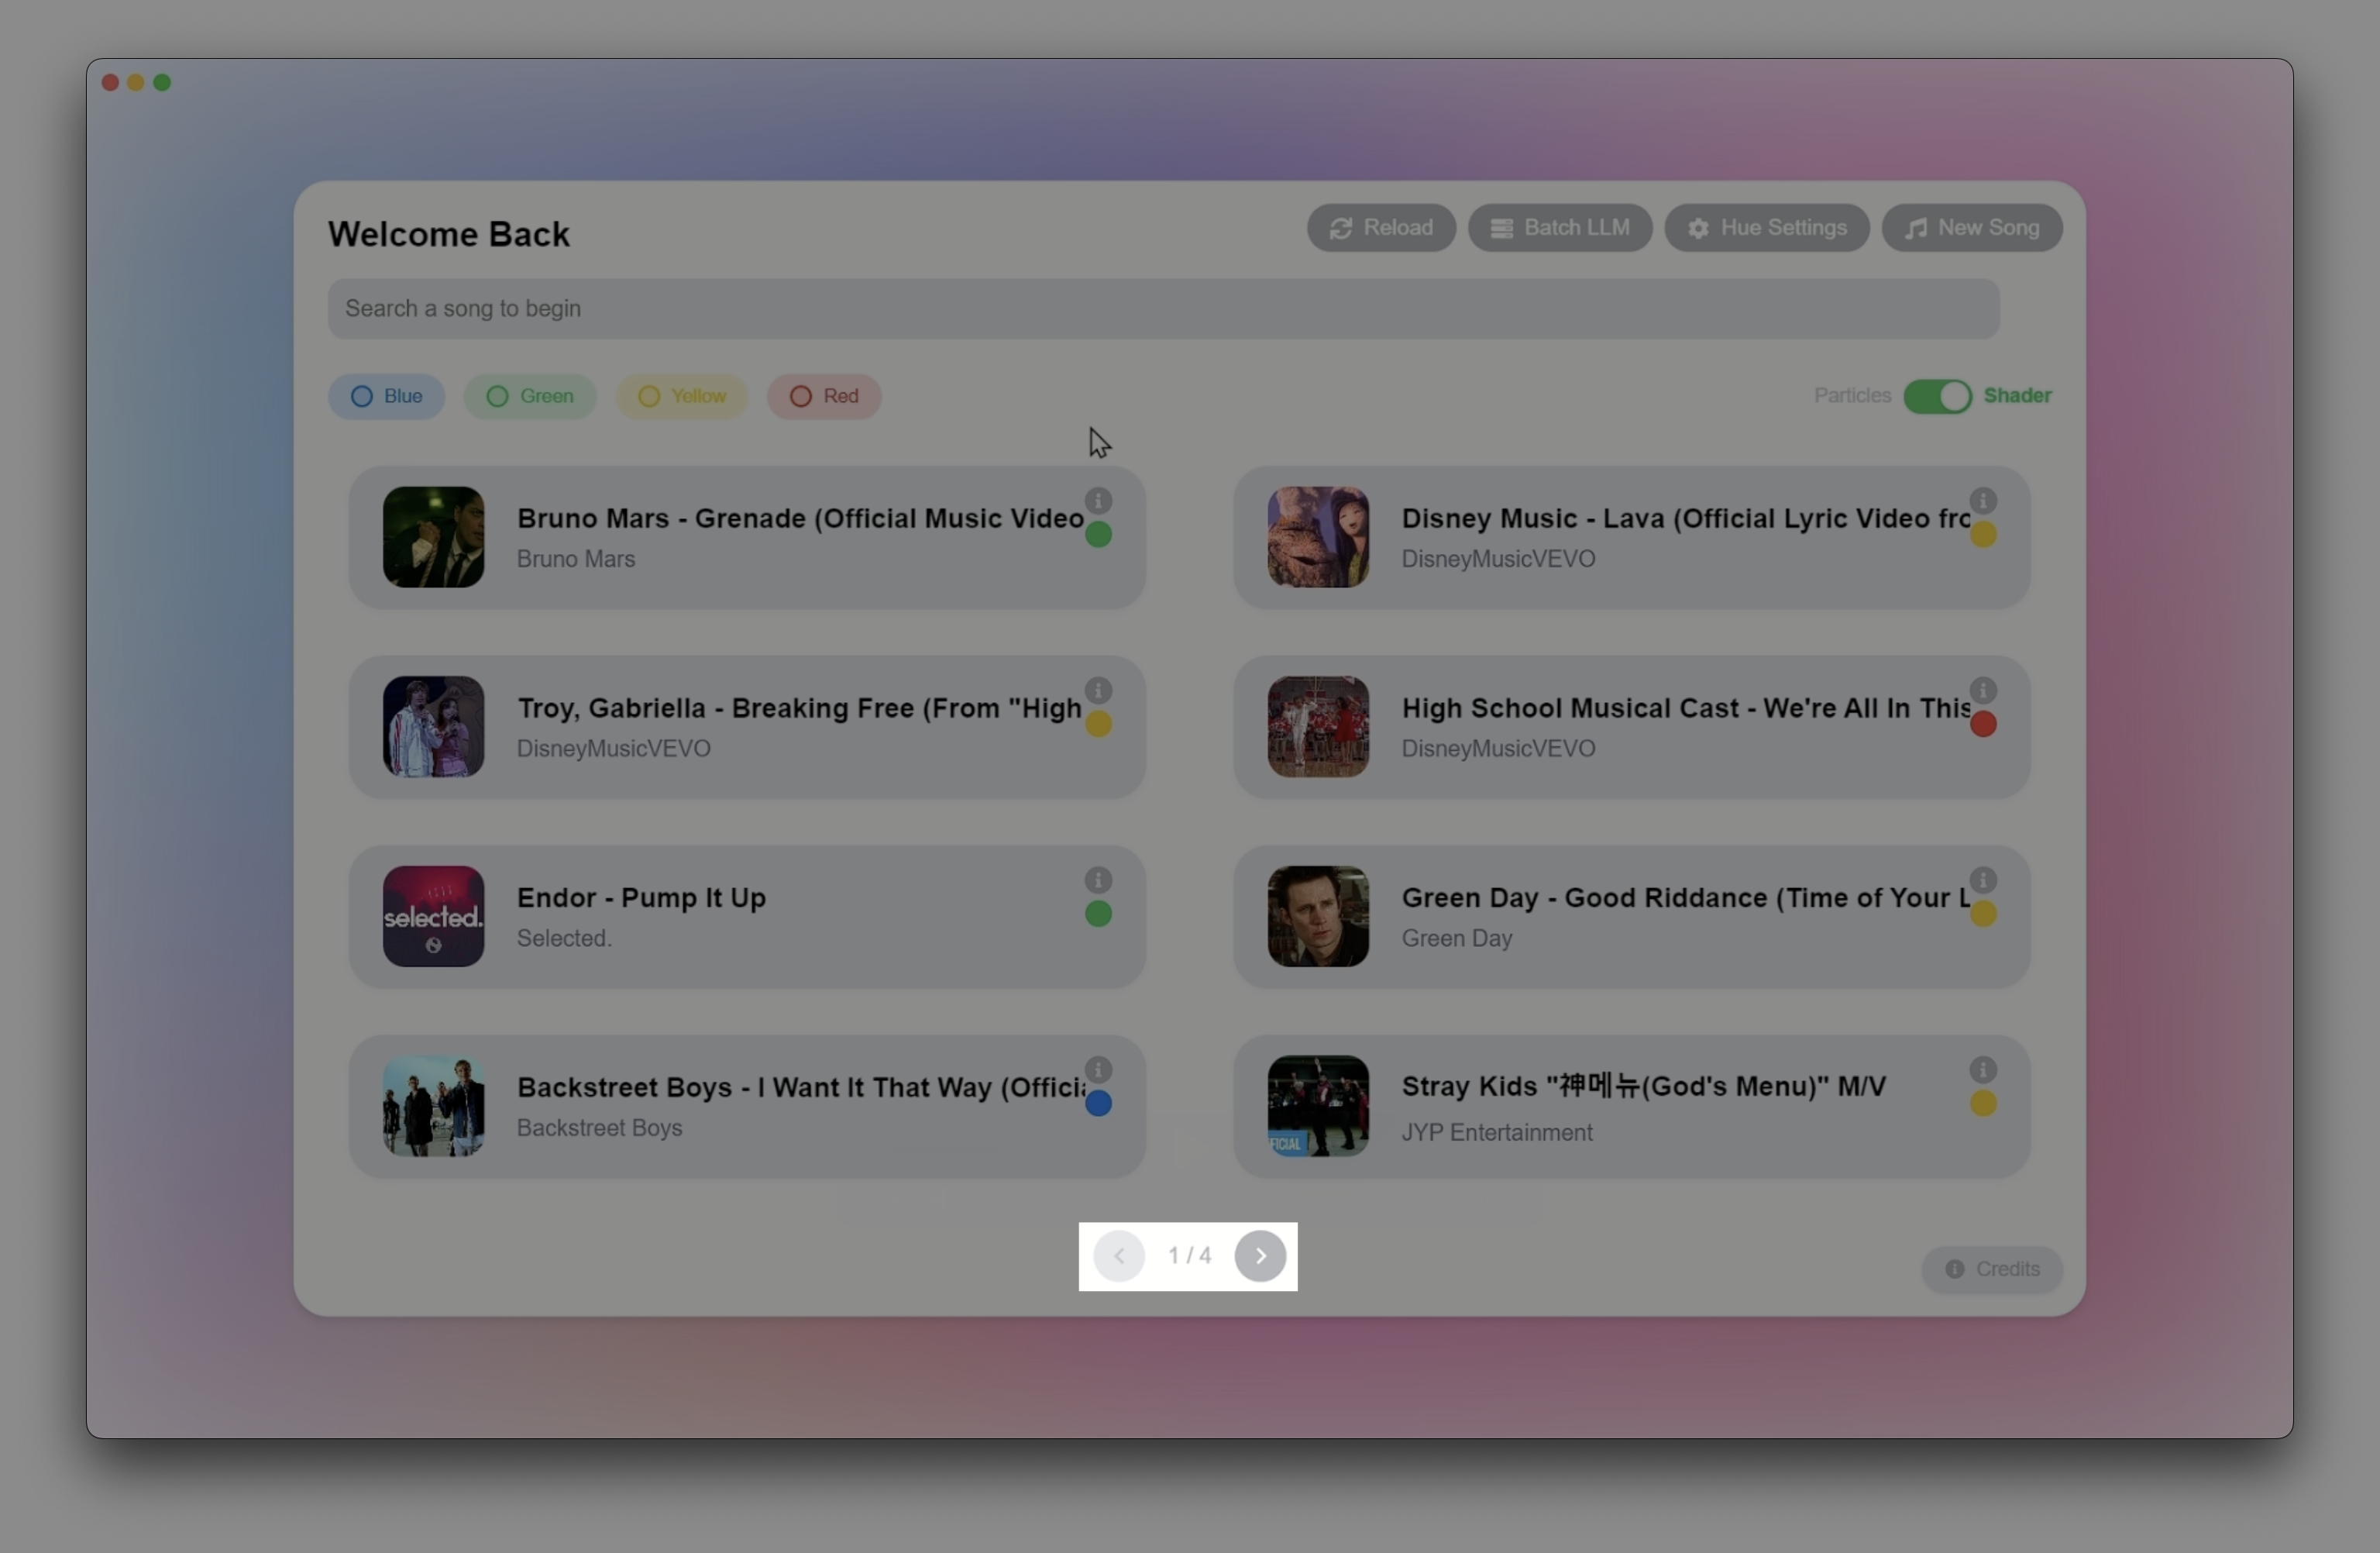
Library Navigation
Searching and Filtering
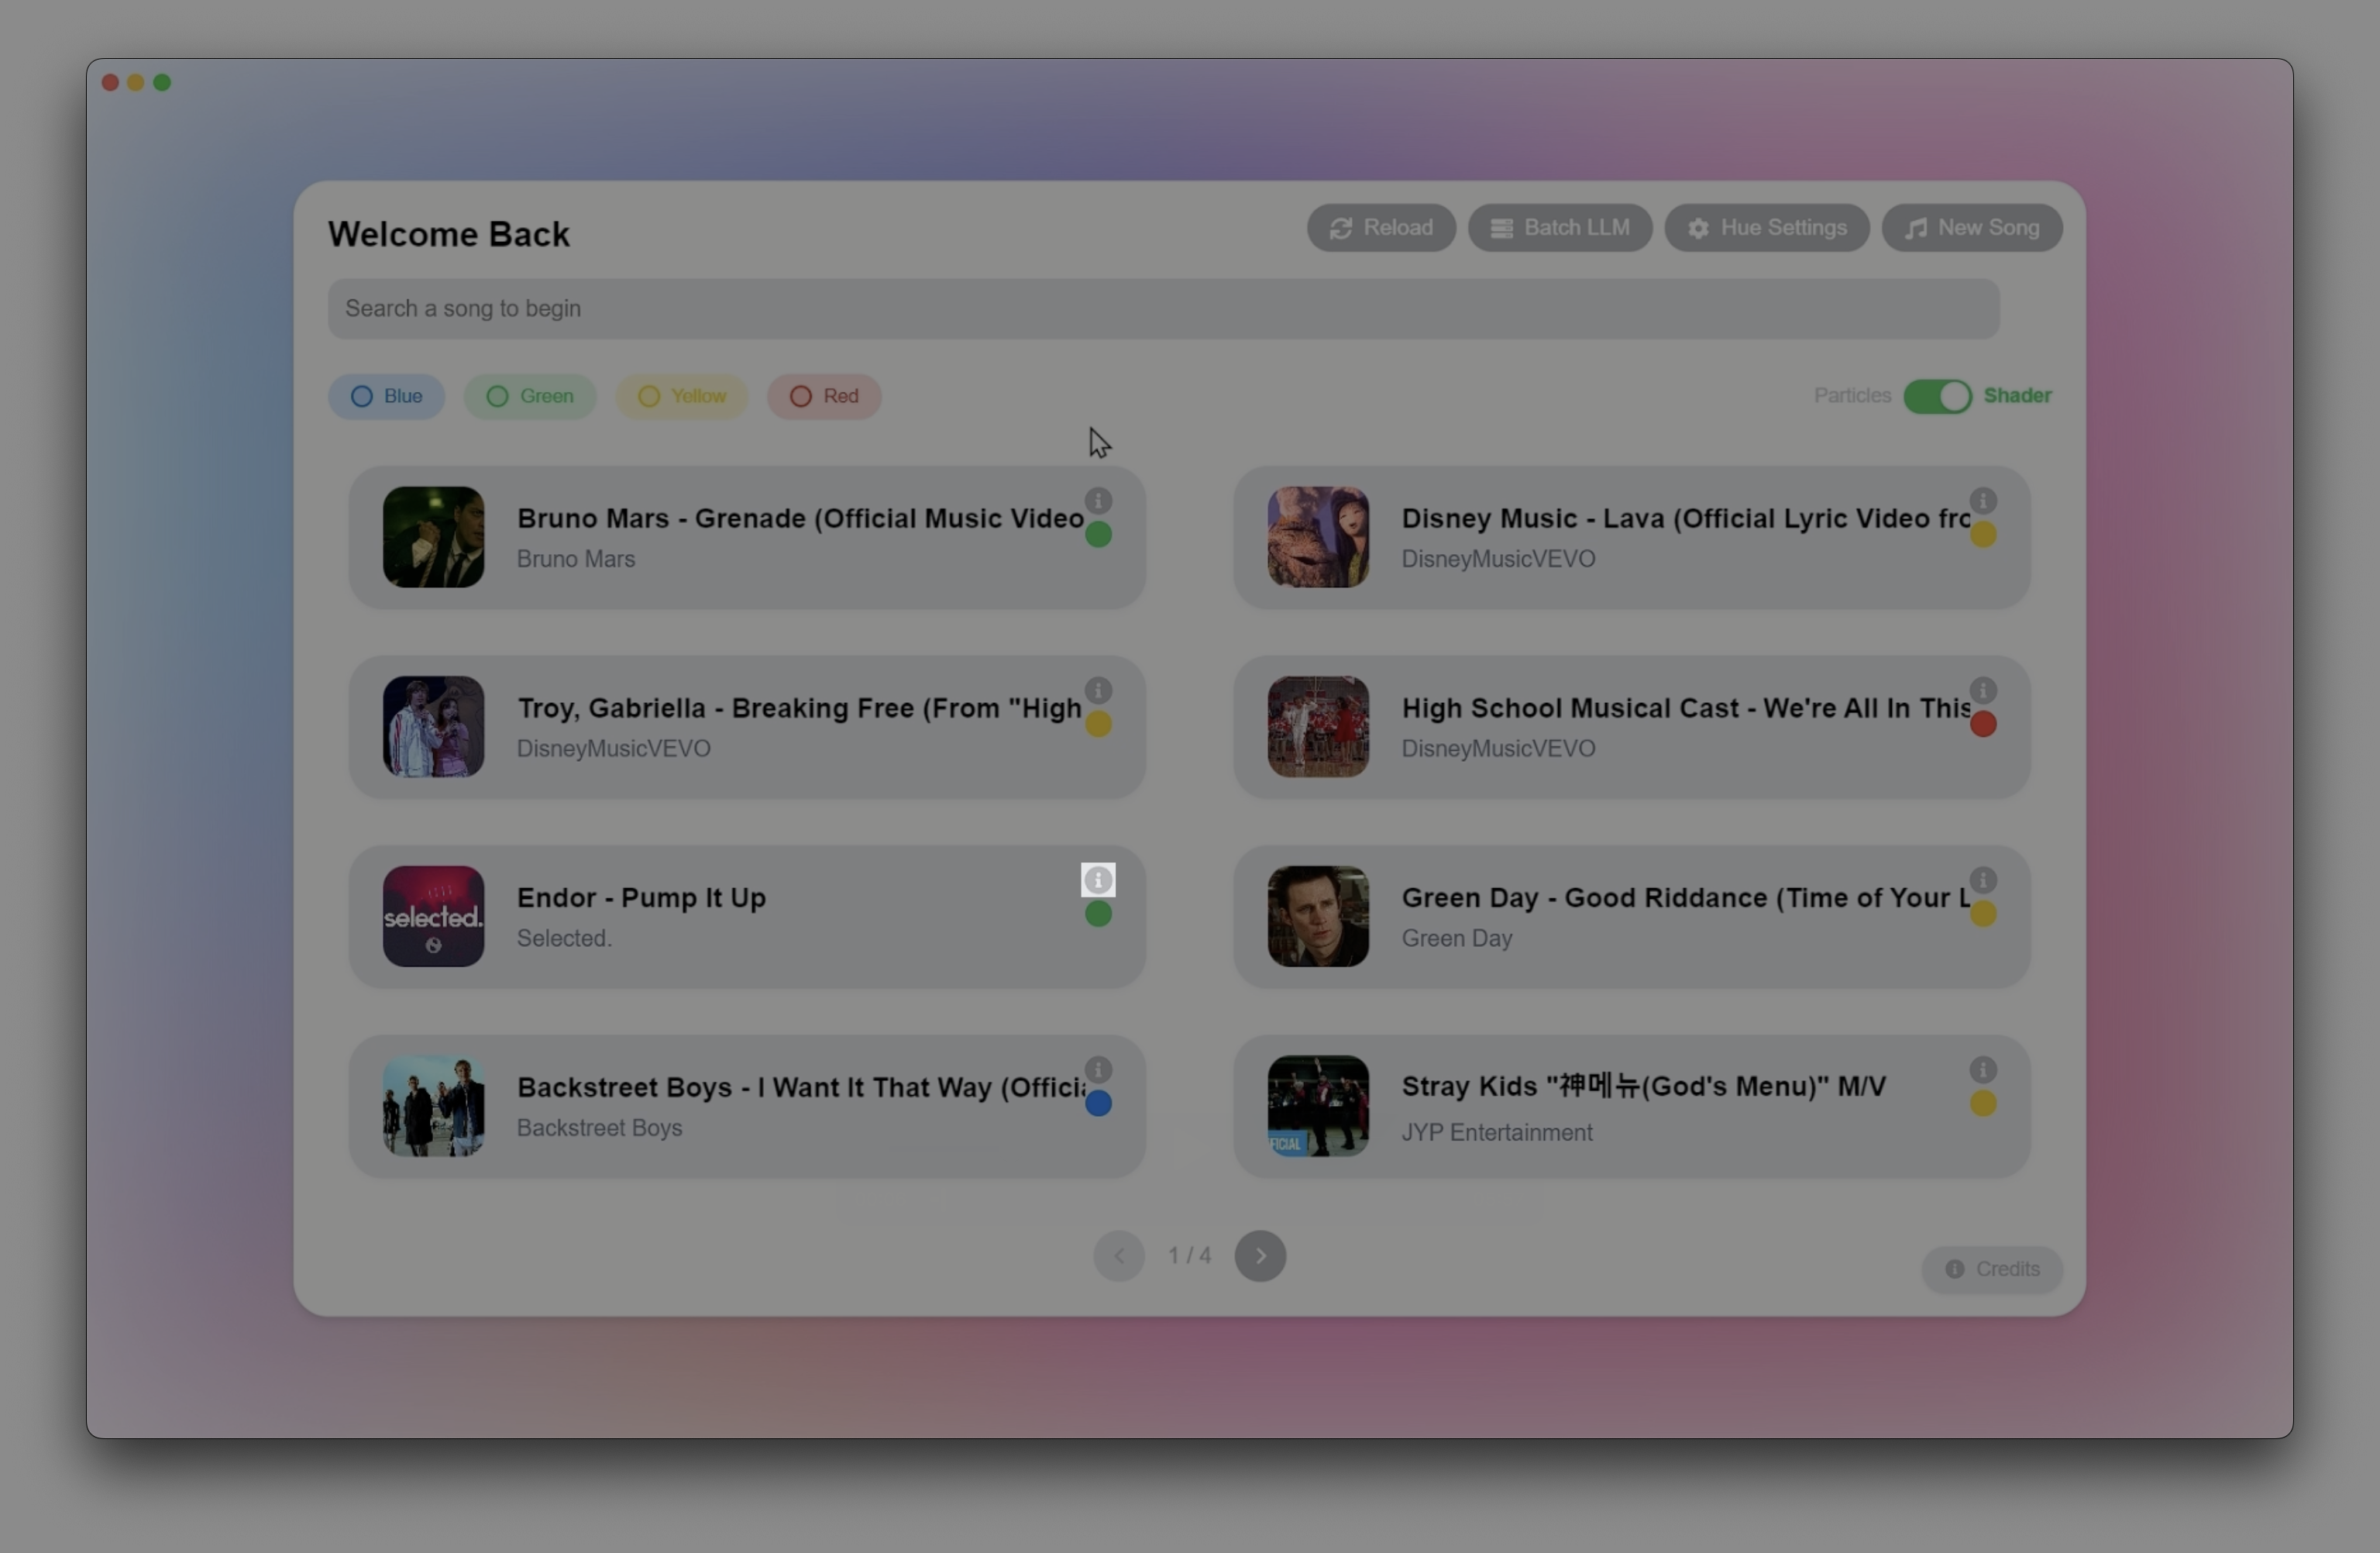
The library can be searched by using the search bar at the top of the screen.
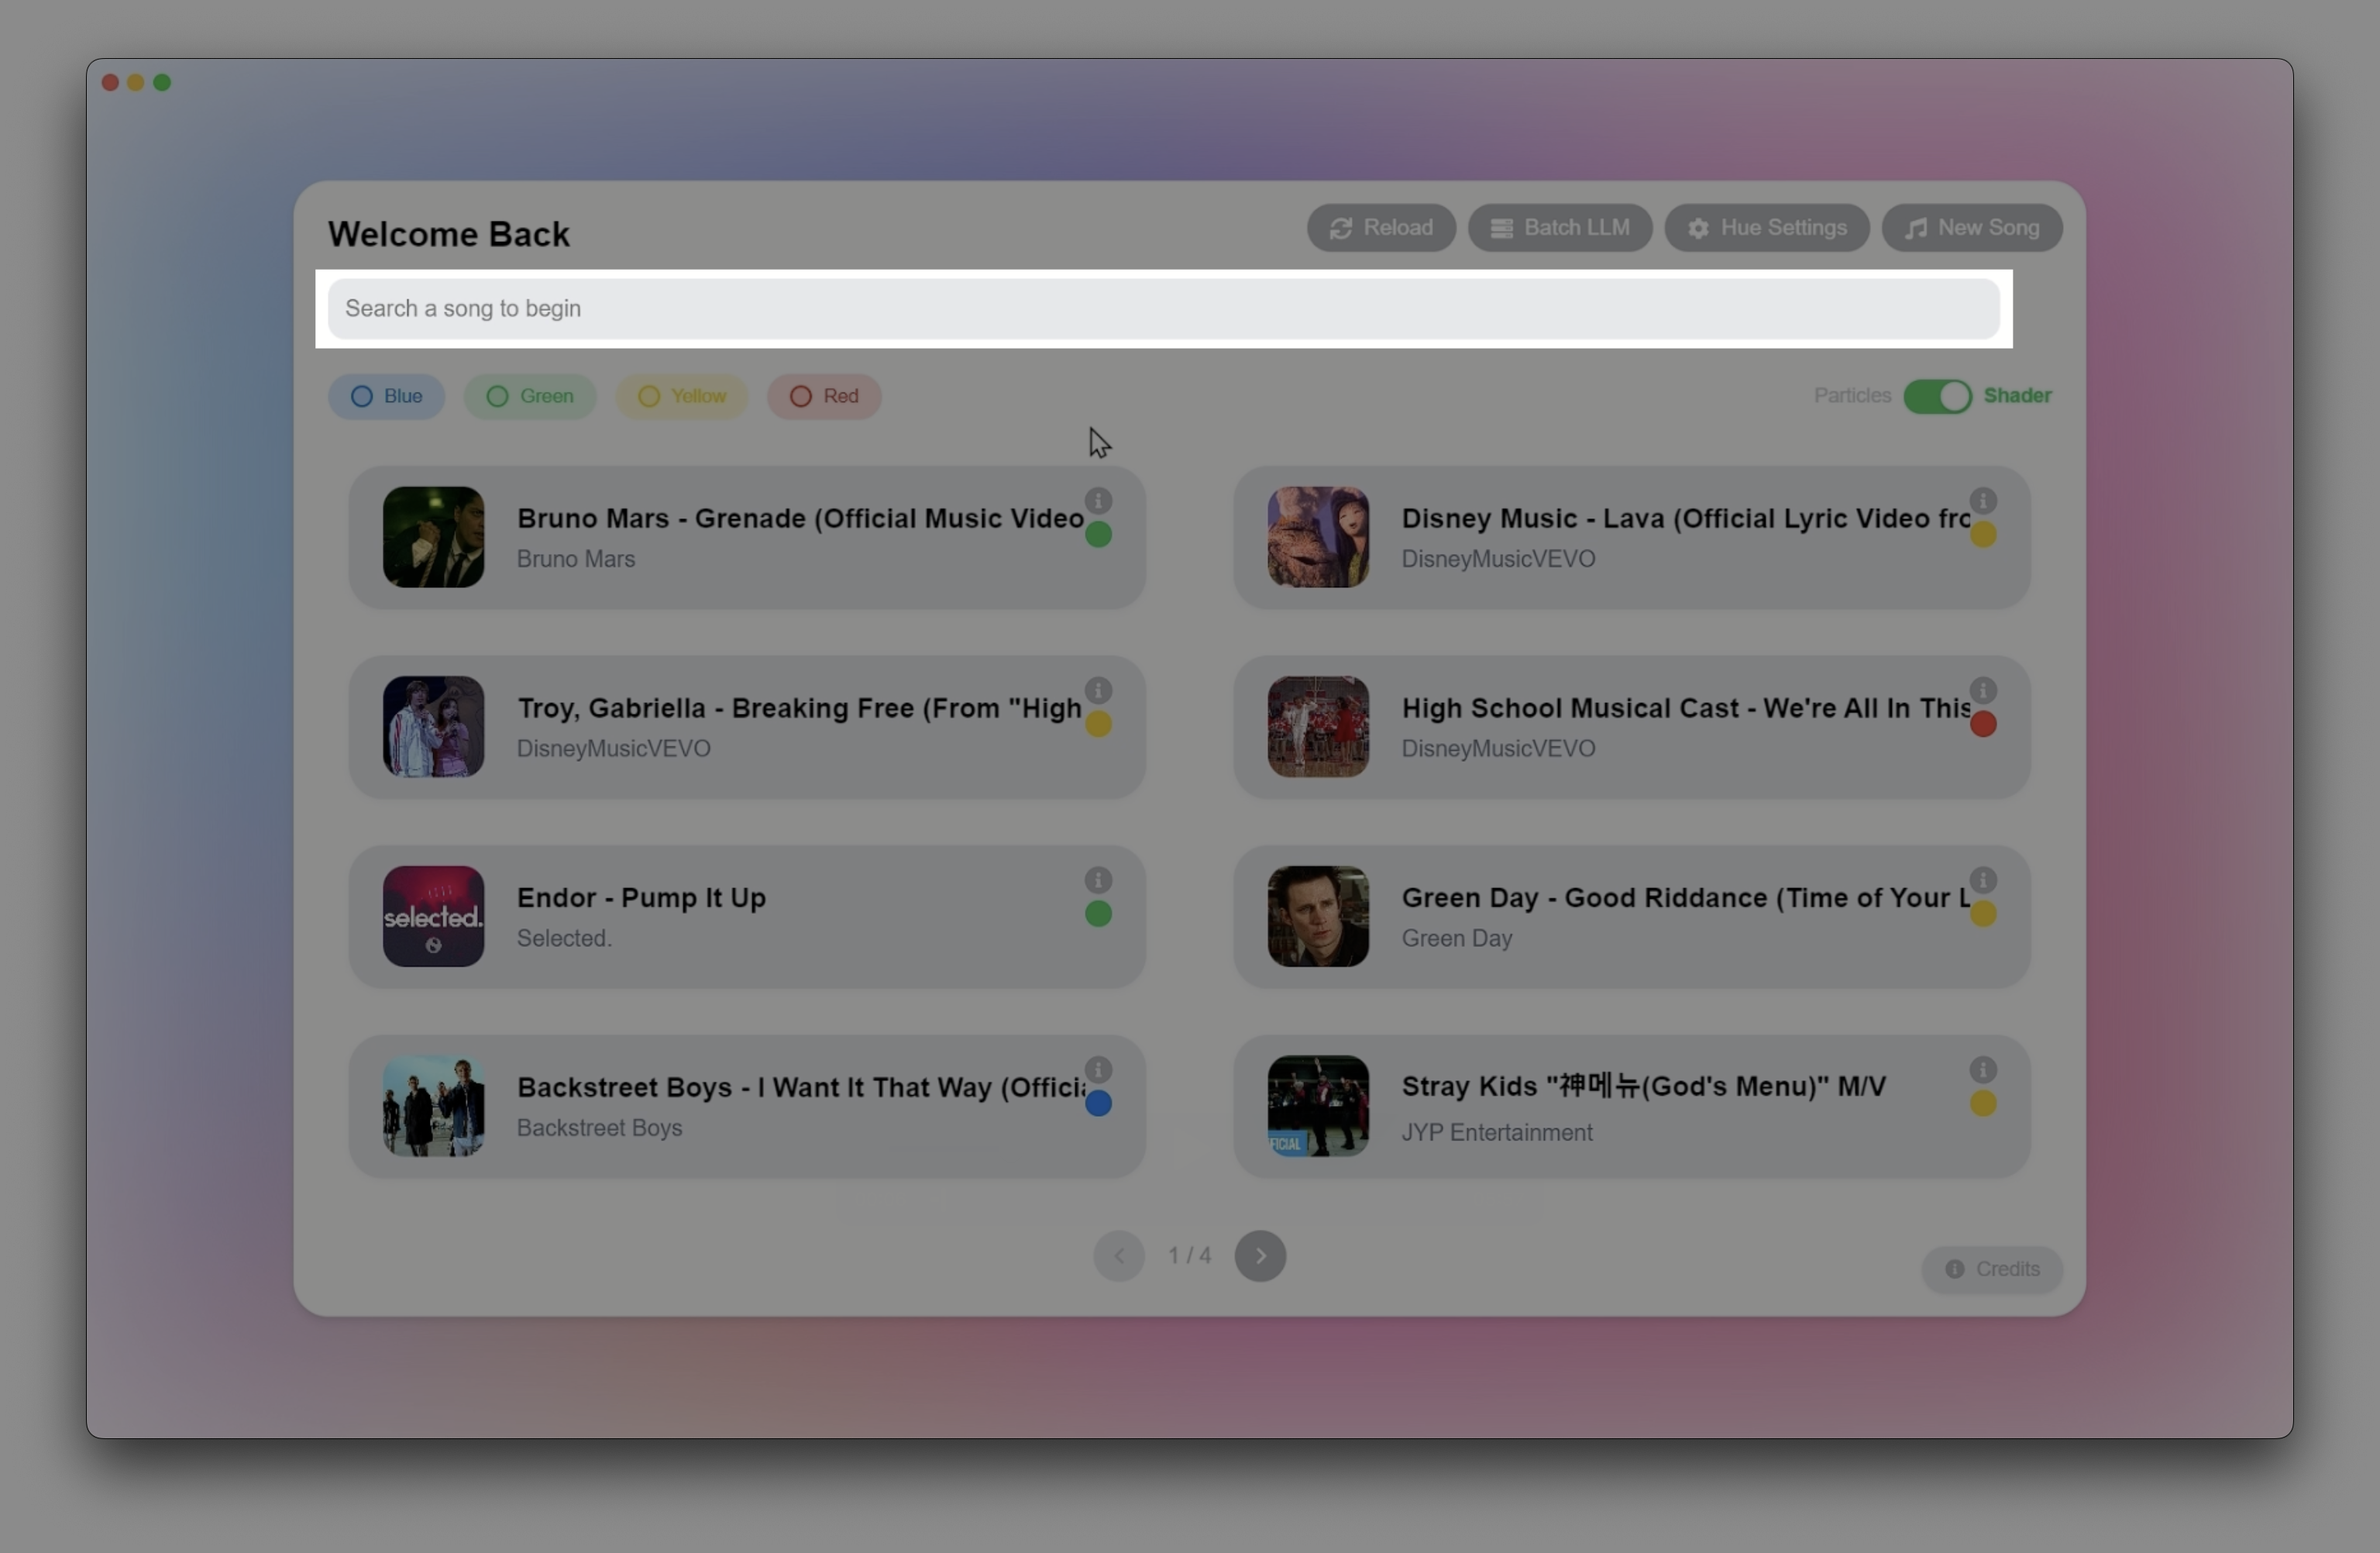
Searching the Library
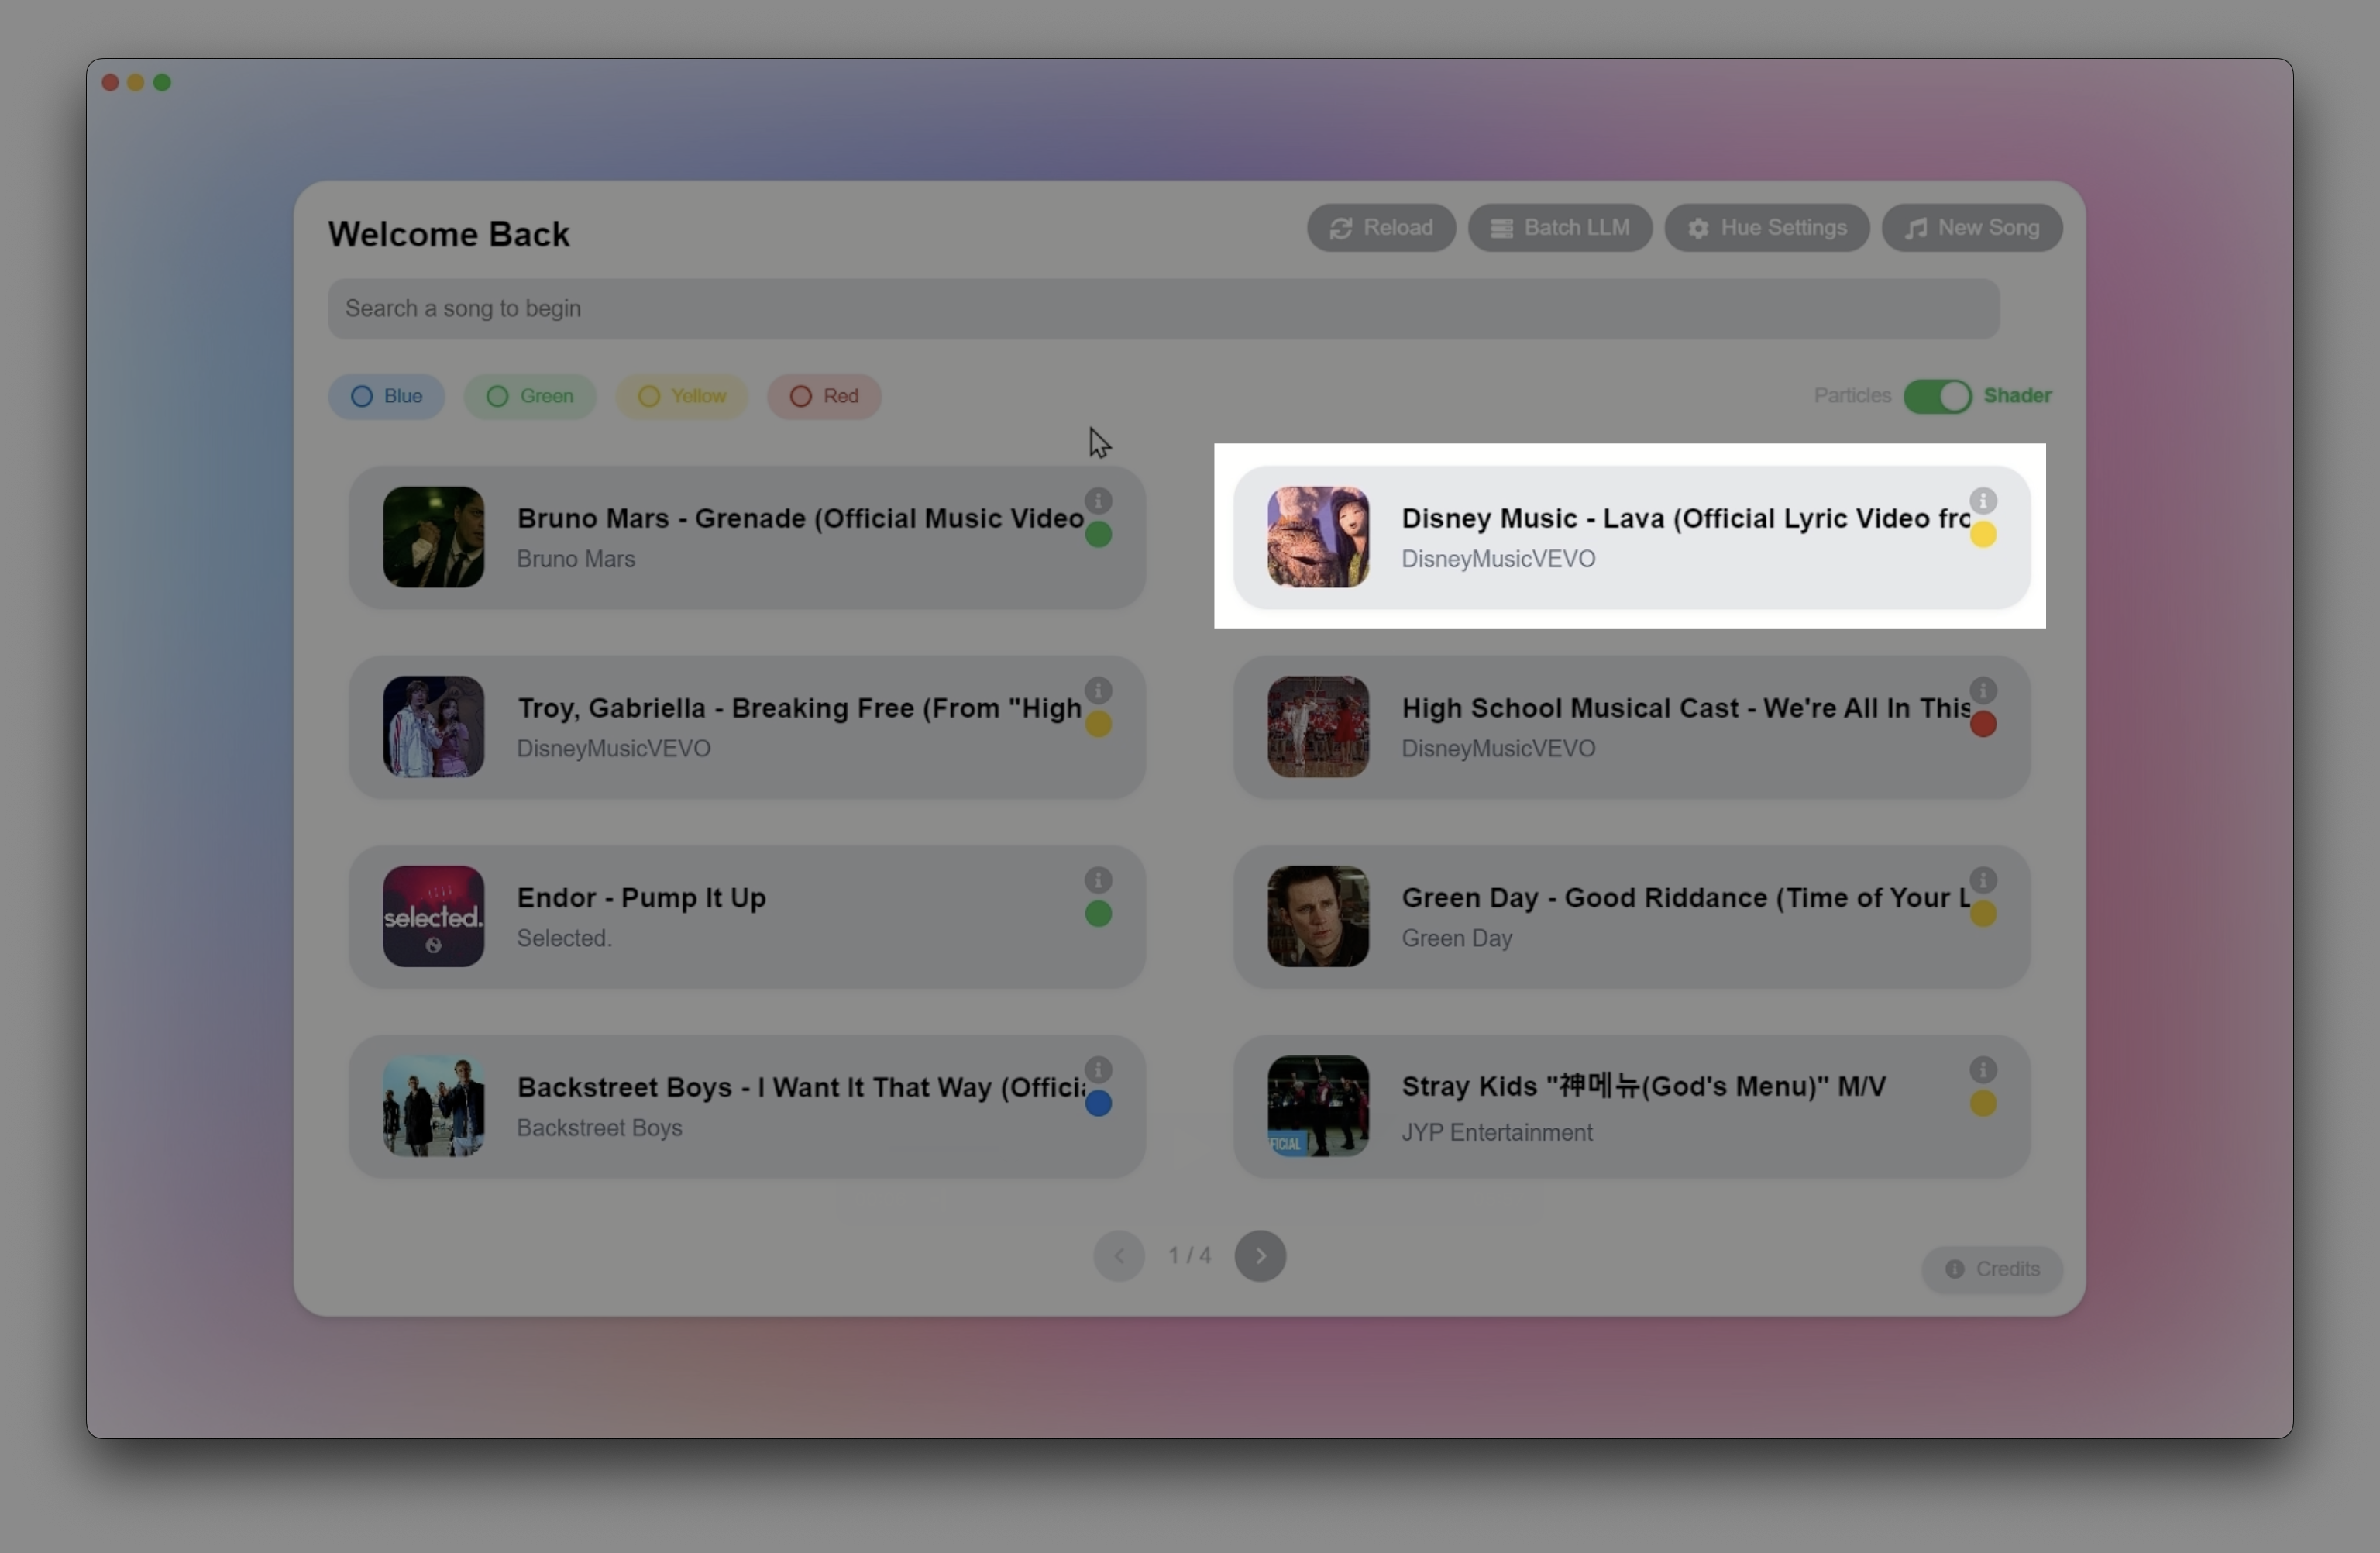
We also implement the Zones of Regulation to help Teachers and Occupational Therapists easily understand the emotional intensity of a song. By pressing on each colour, songs of that colour will be filtered in and out of the library.
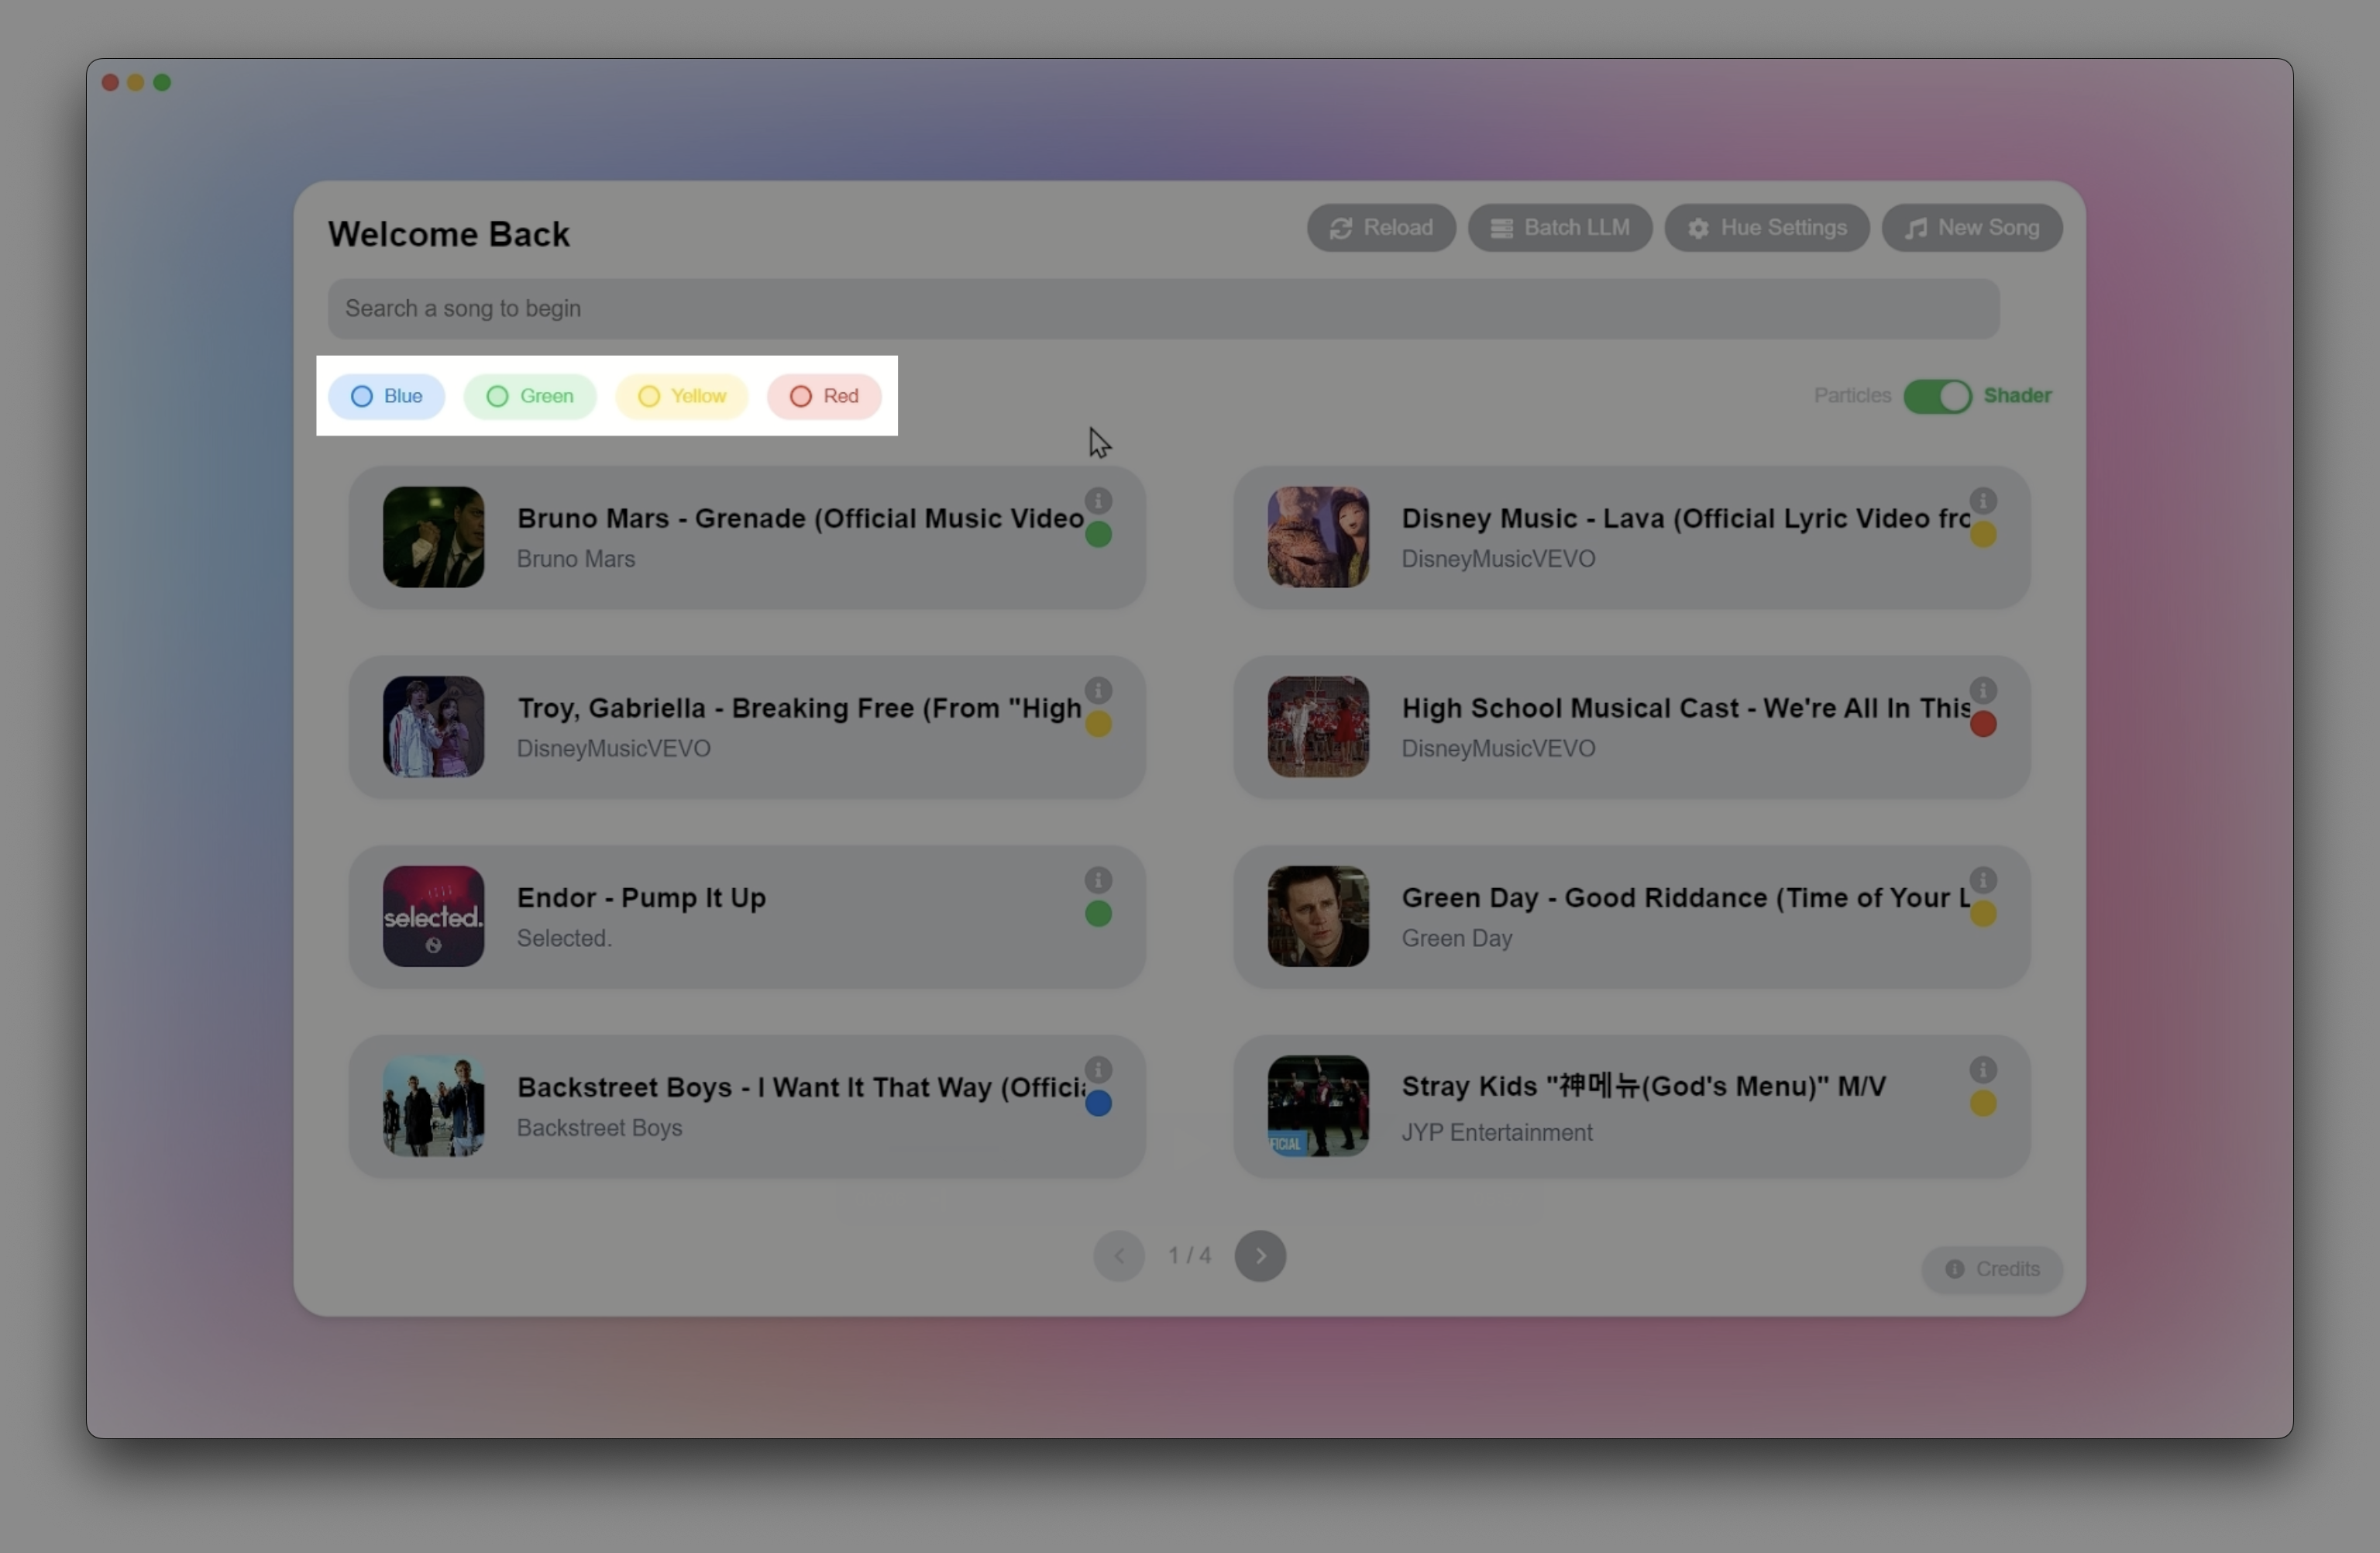
Zones of Regulation Filter
Playing a Song
A song can be played by simply pressing on the desired song card from the library.
Selecting a Song
Pressing on the song will open up the visual player.
Our application has two modes, Particles and Shader. We designed the particle mode to be stimulating and the shader mode to be calming. To toggle between the modes, simply use the toggle at the top of the library.

Mode Selection
Adding a New Song
To add a new song to the library, press the New Song button from the library view.
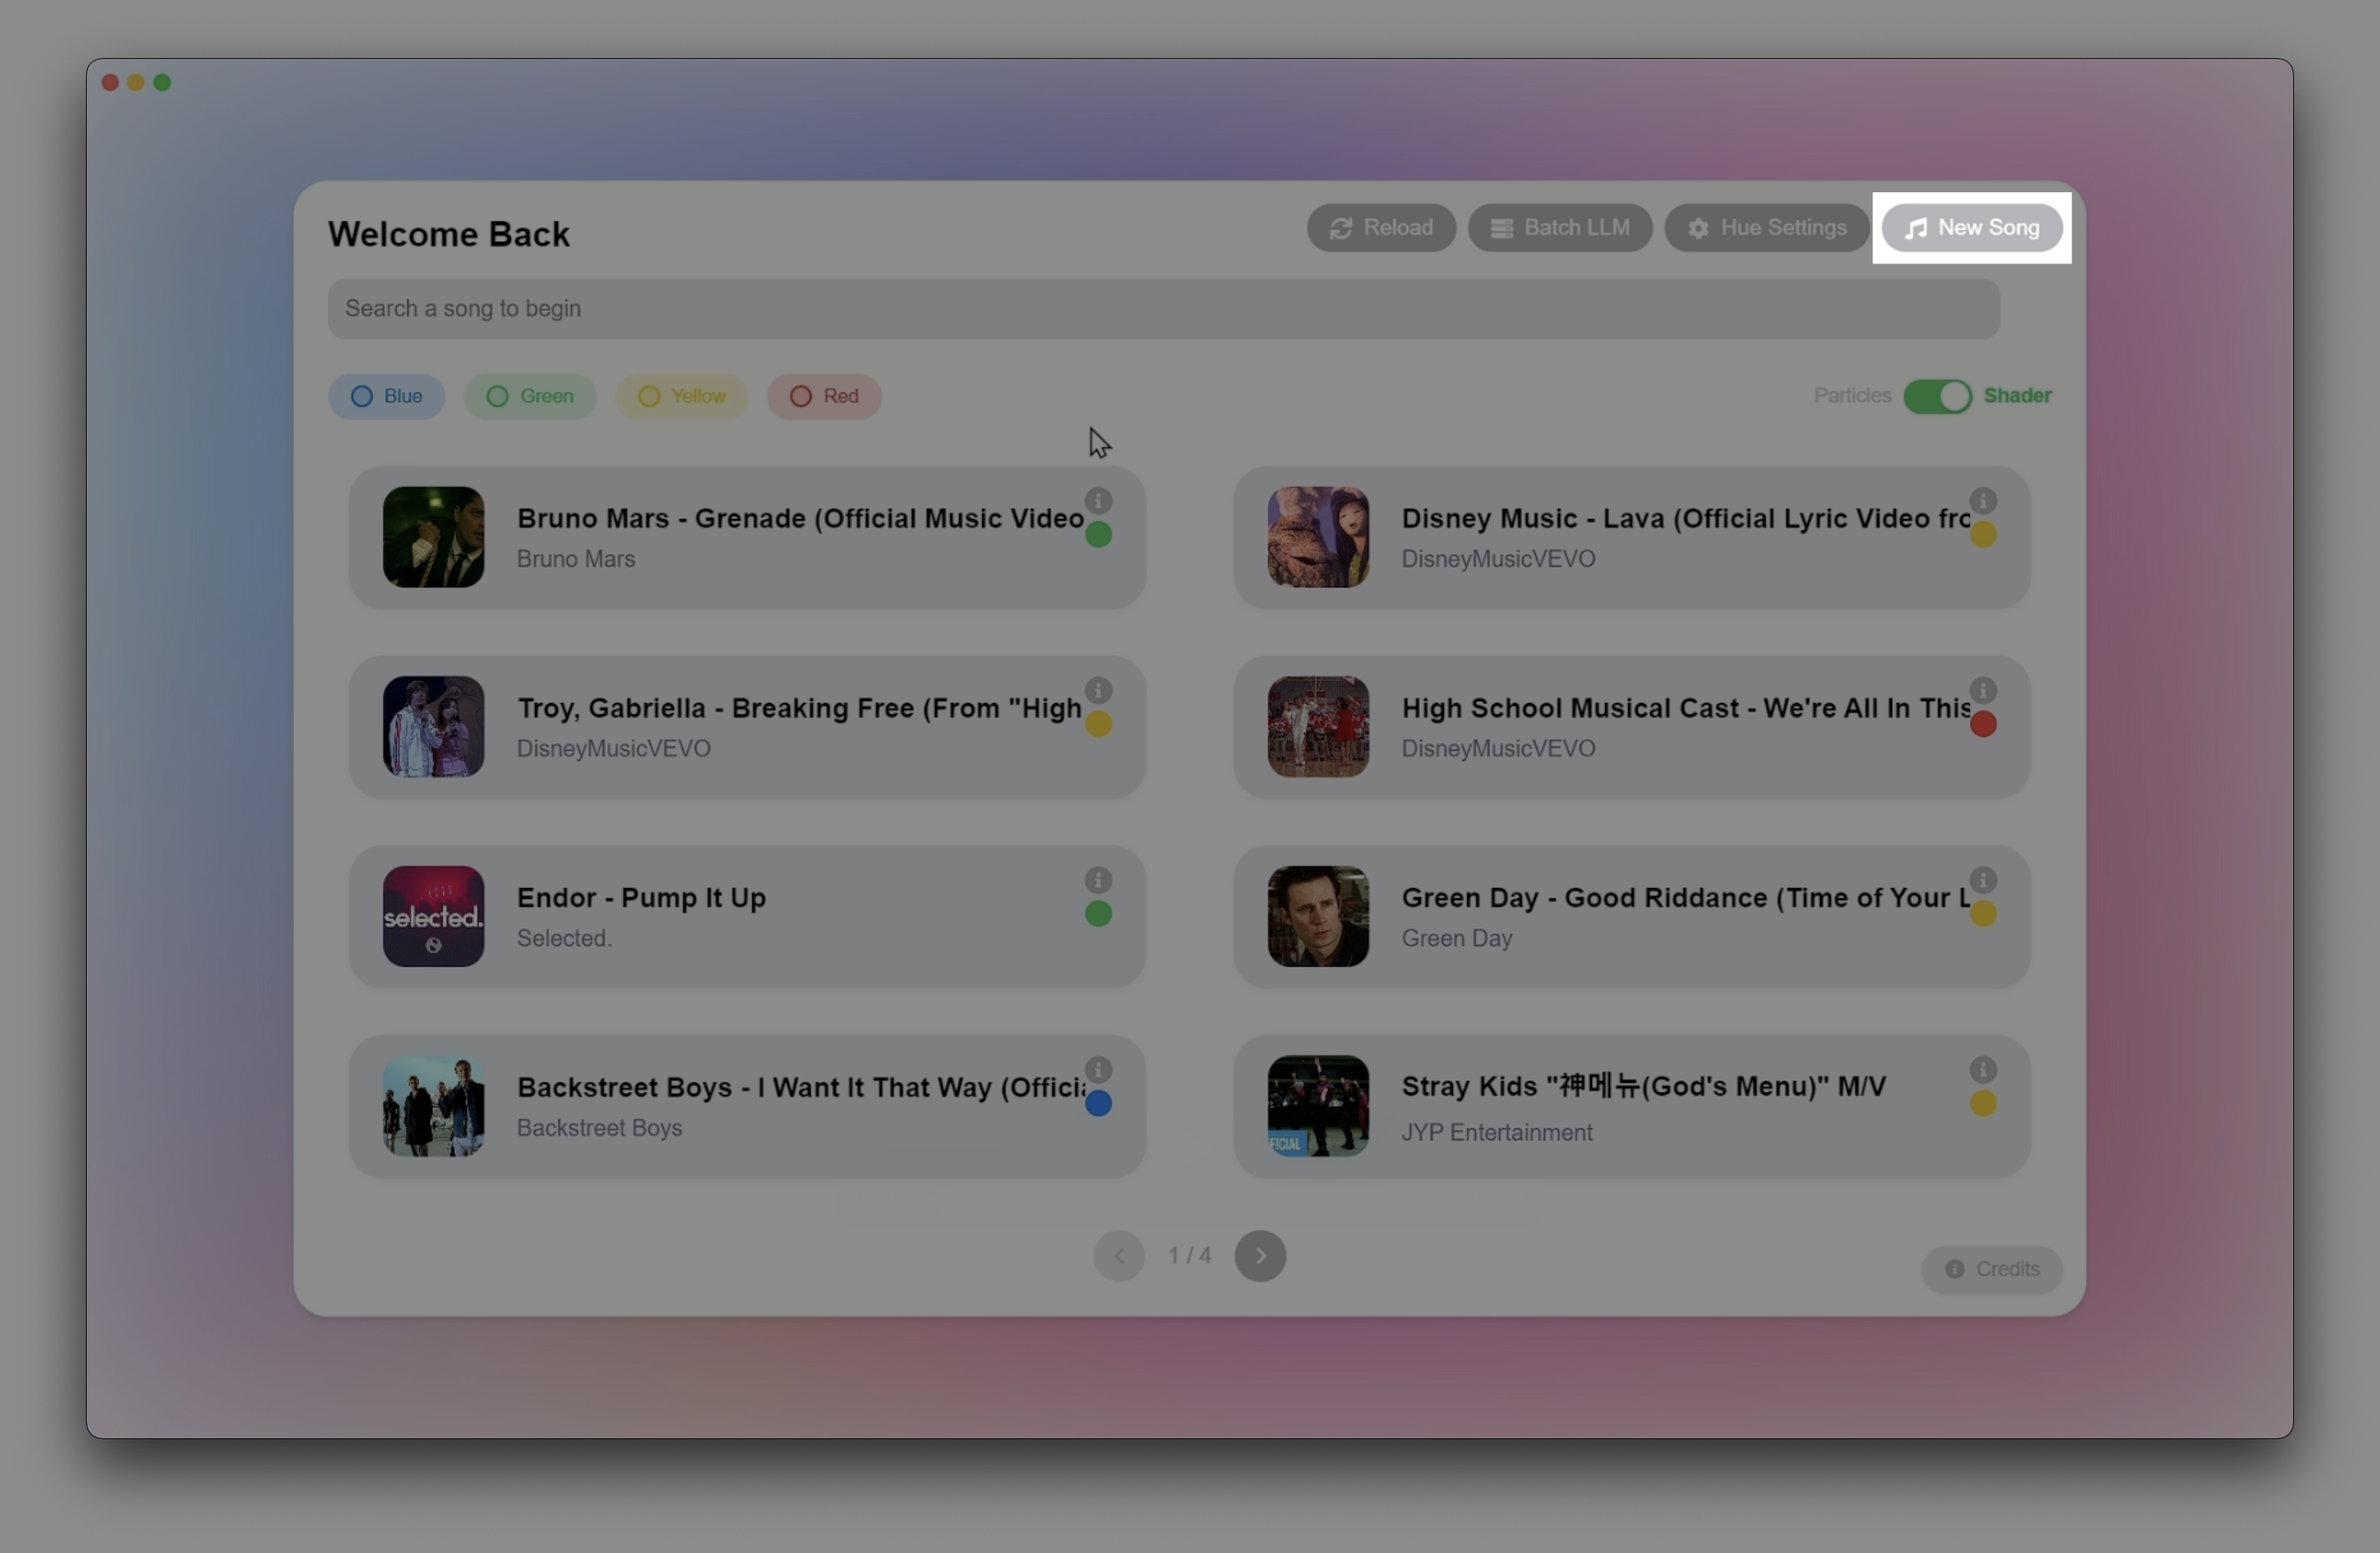
New Song
From here there are three methods to add a song:
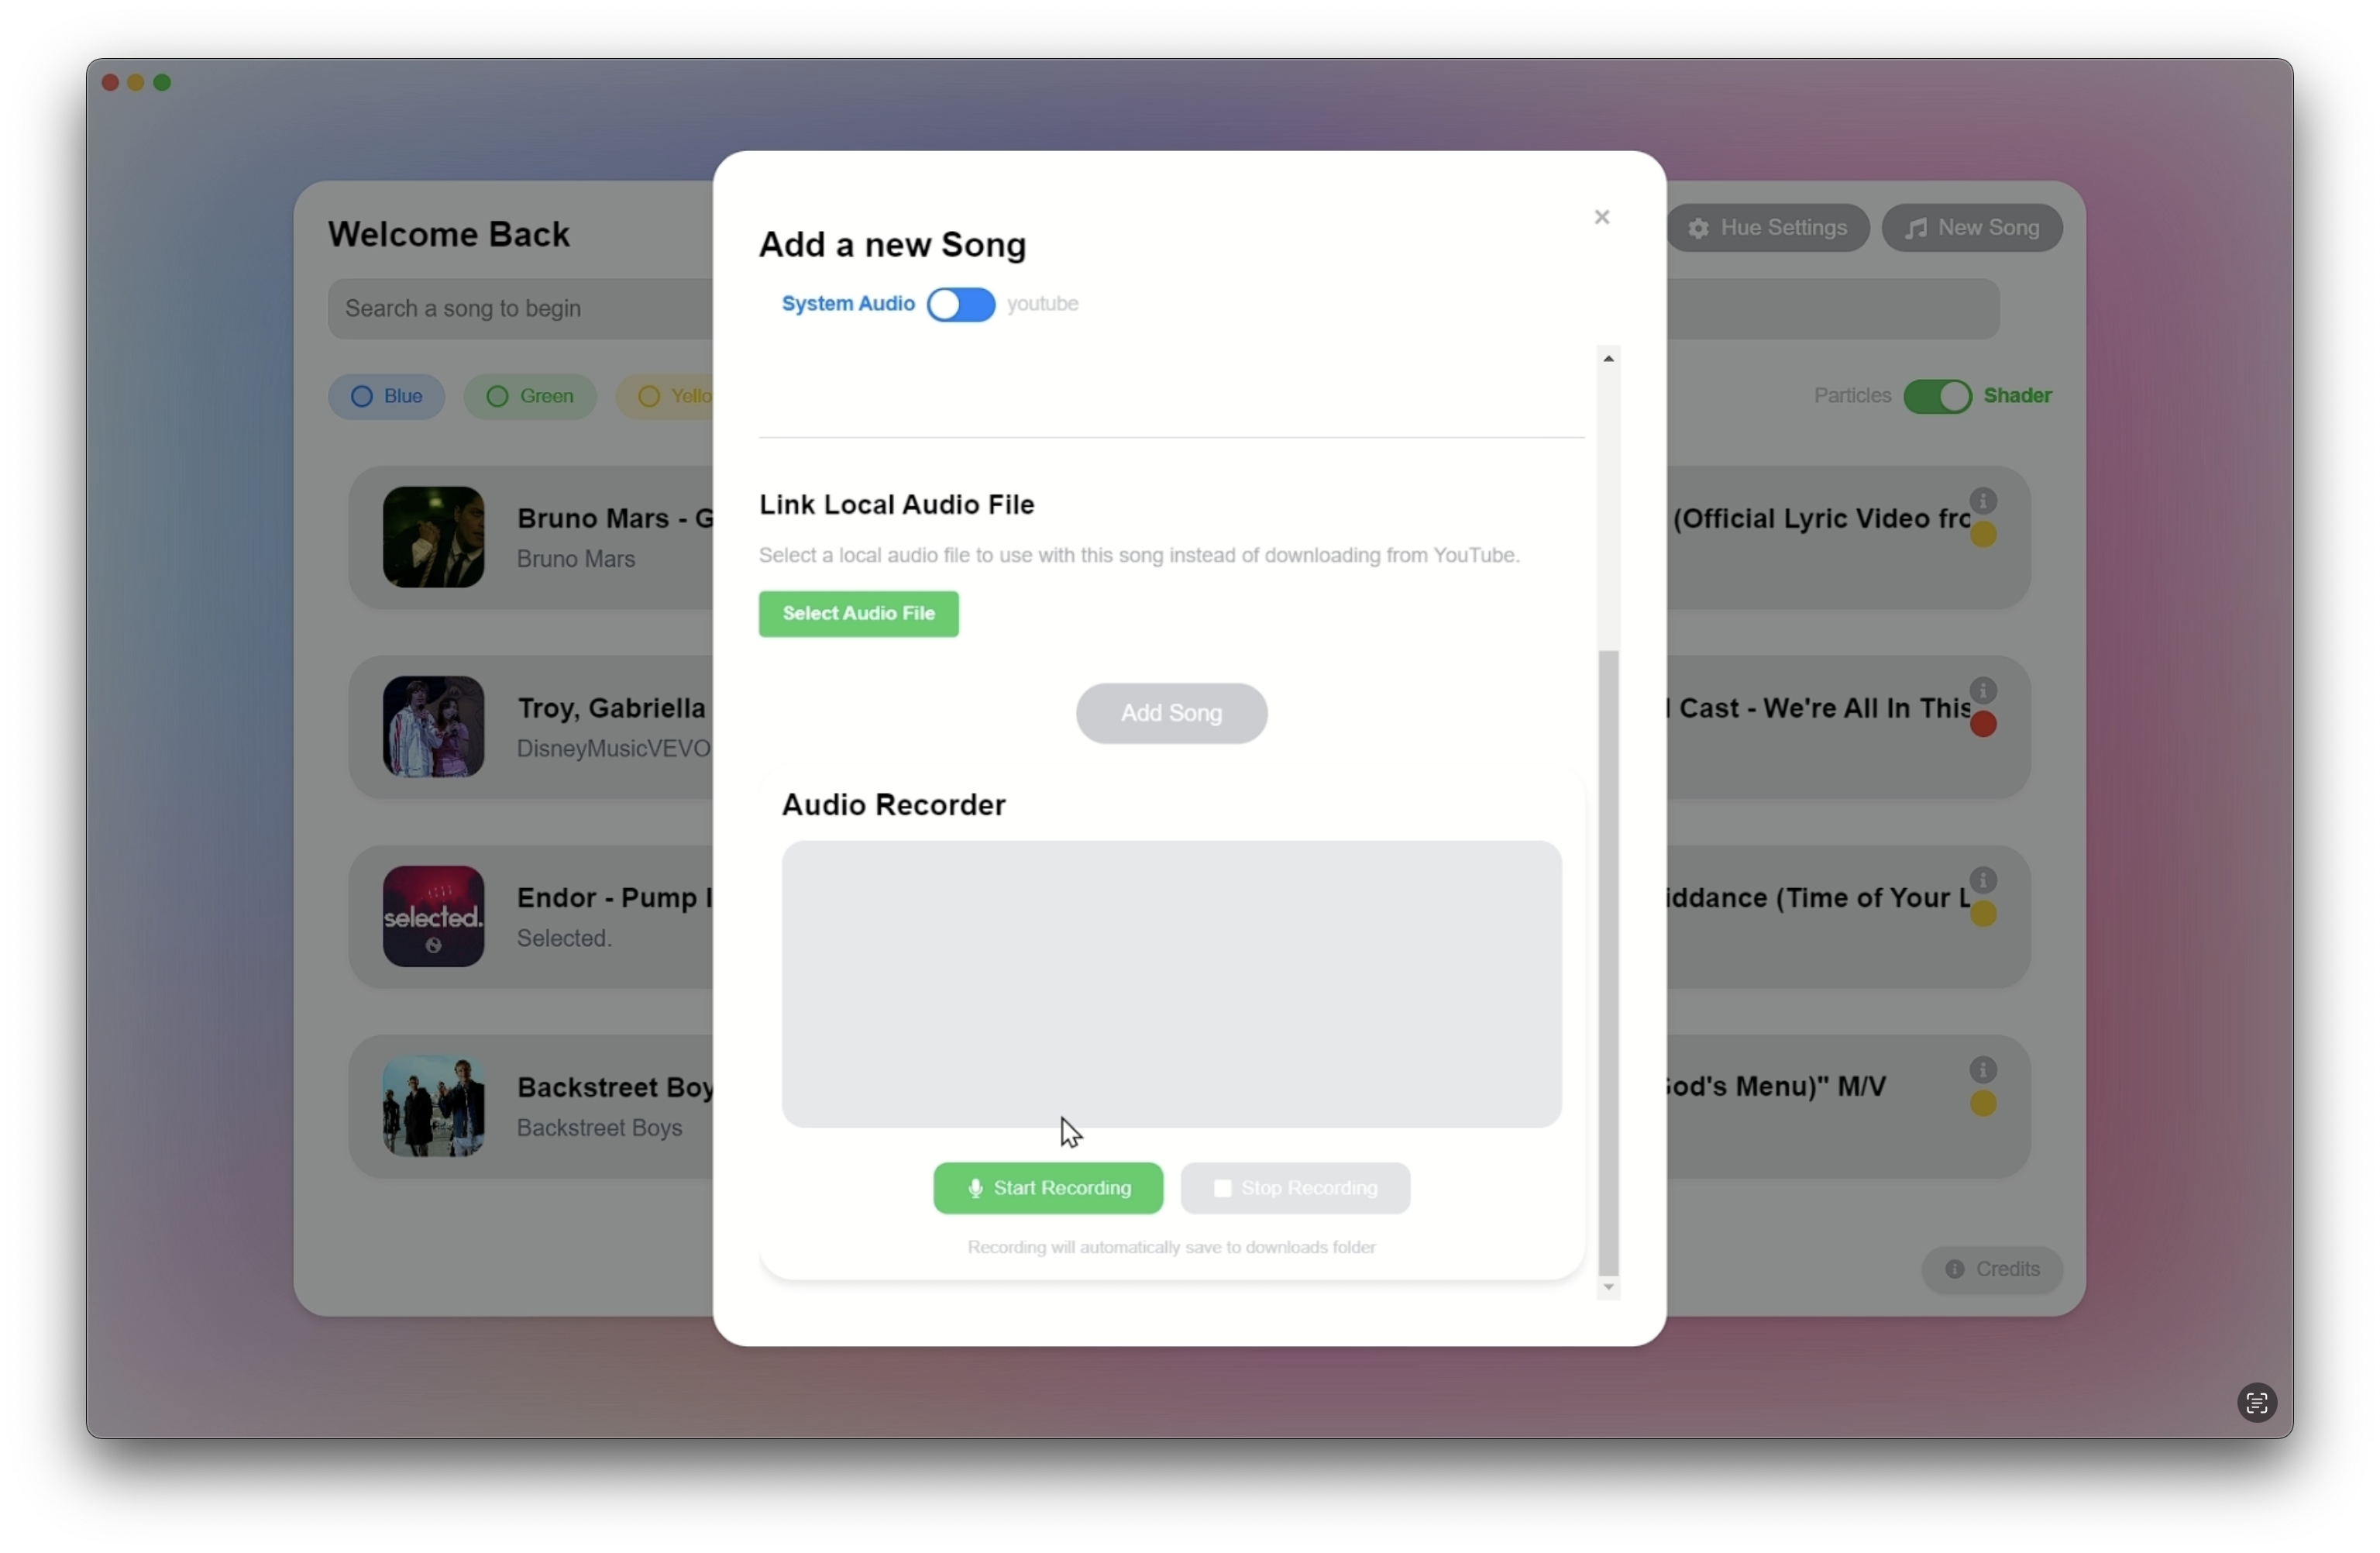
New Song Modal
Upload a File
To upload a custom audio file, simply press Select Audio File and choose the file from your computer, once selected, press Add Song and the file will be added to the library.
Record from Computer
To record system audio from your computer, press 🎤 Start Recording and play whatever sounds you would like to add from your computer.
You may be prompted to allow Super Happy Space additional permissions for this feature to work.
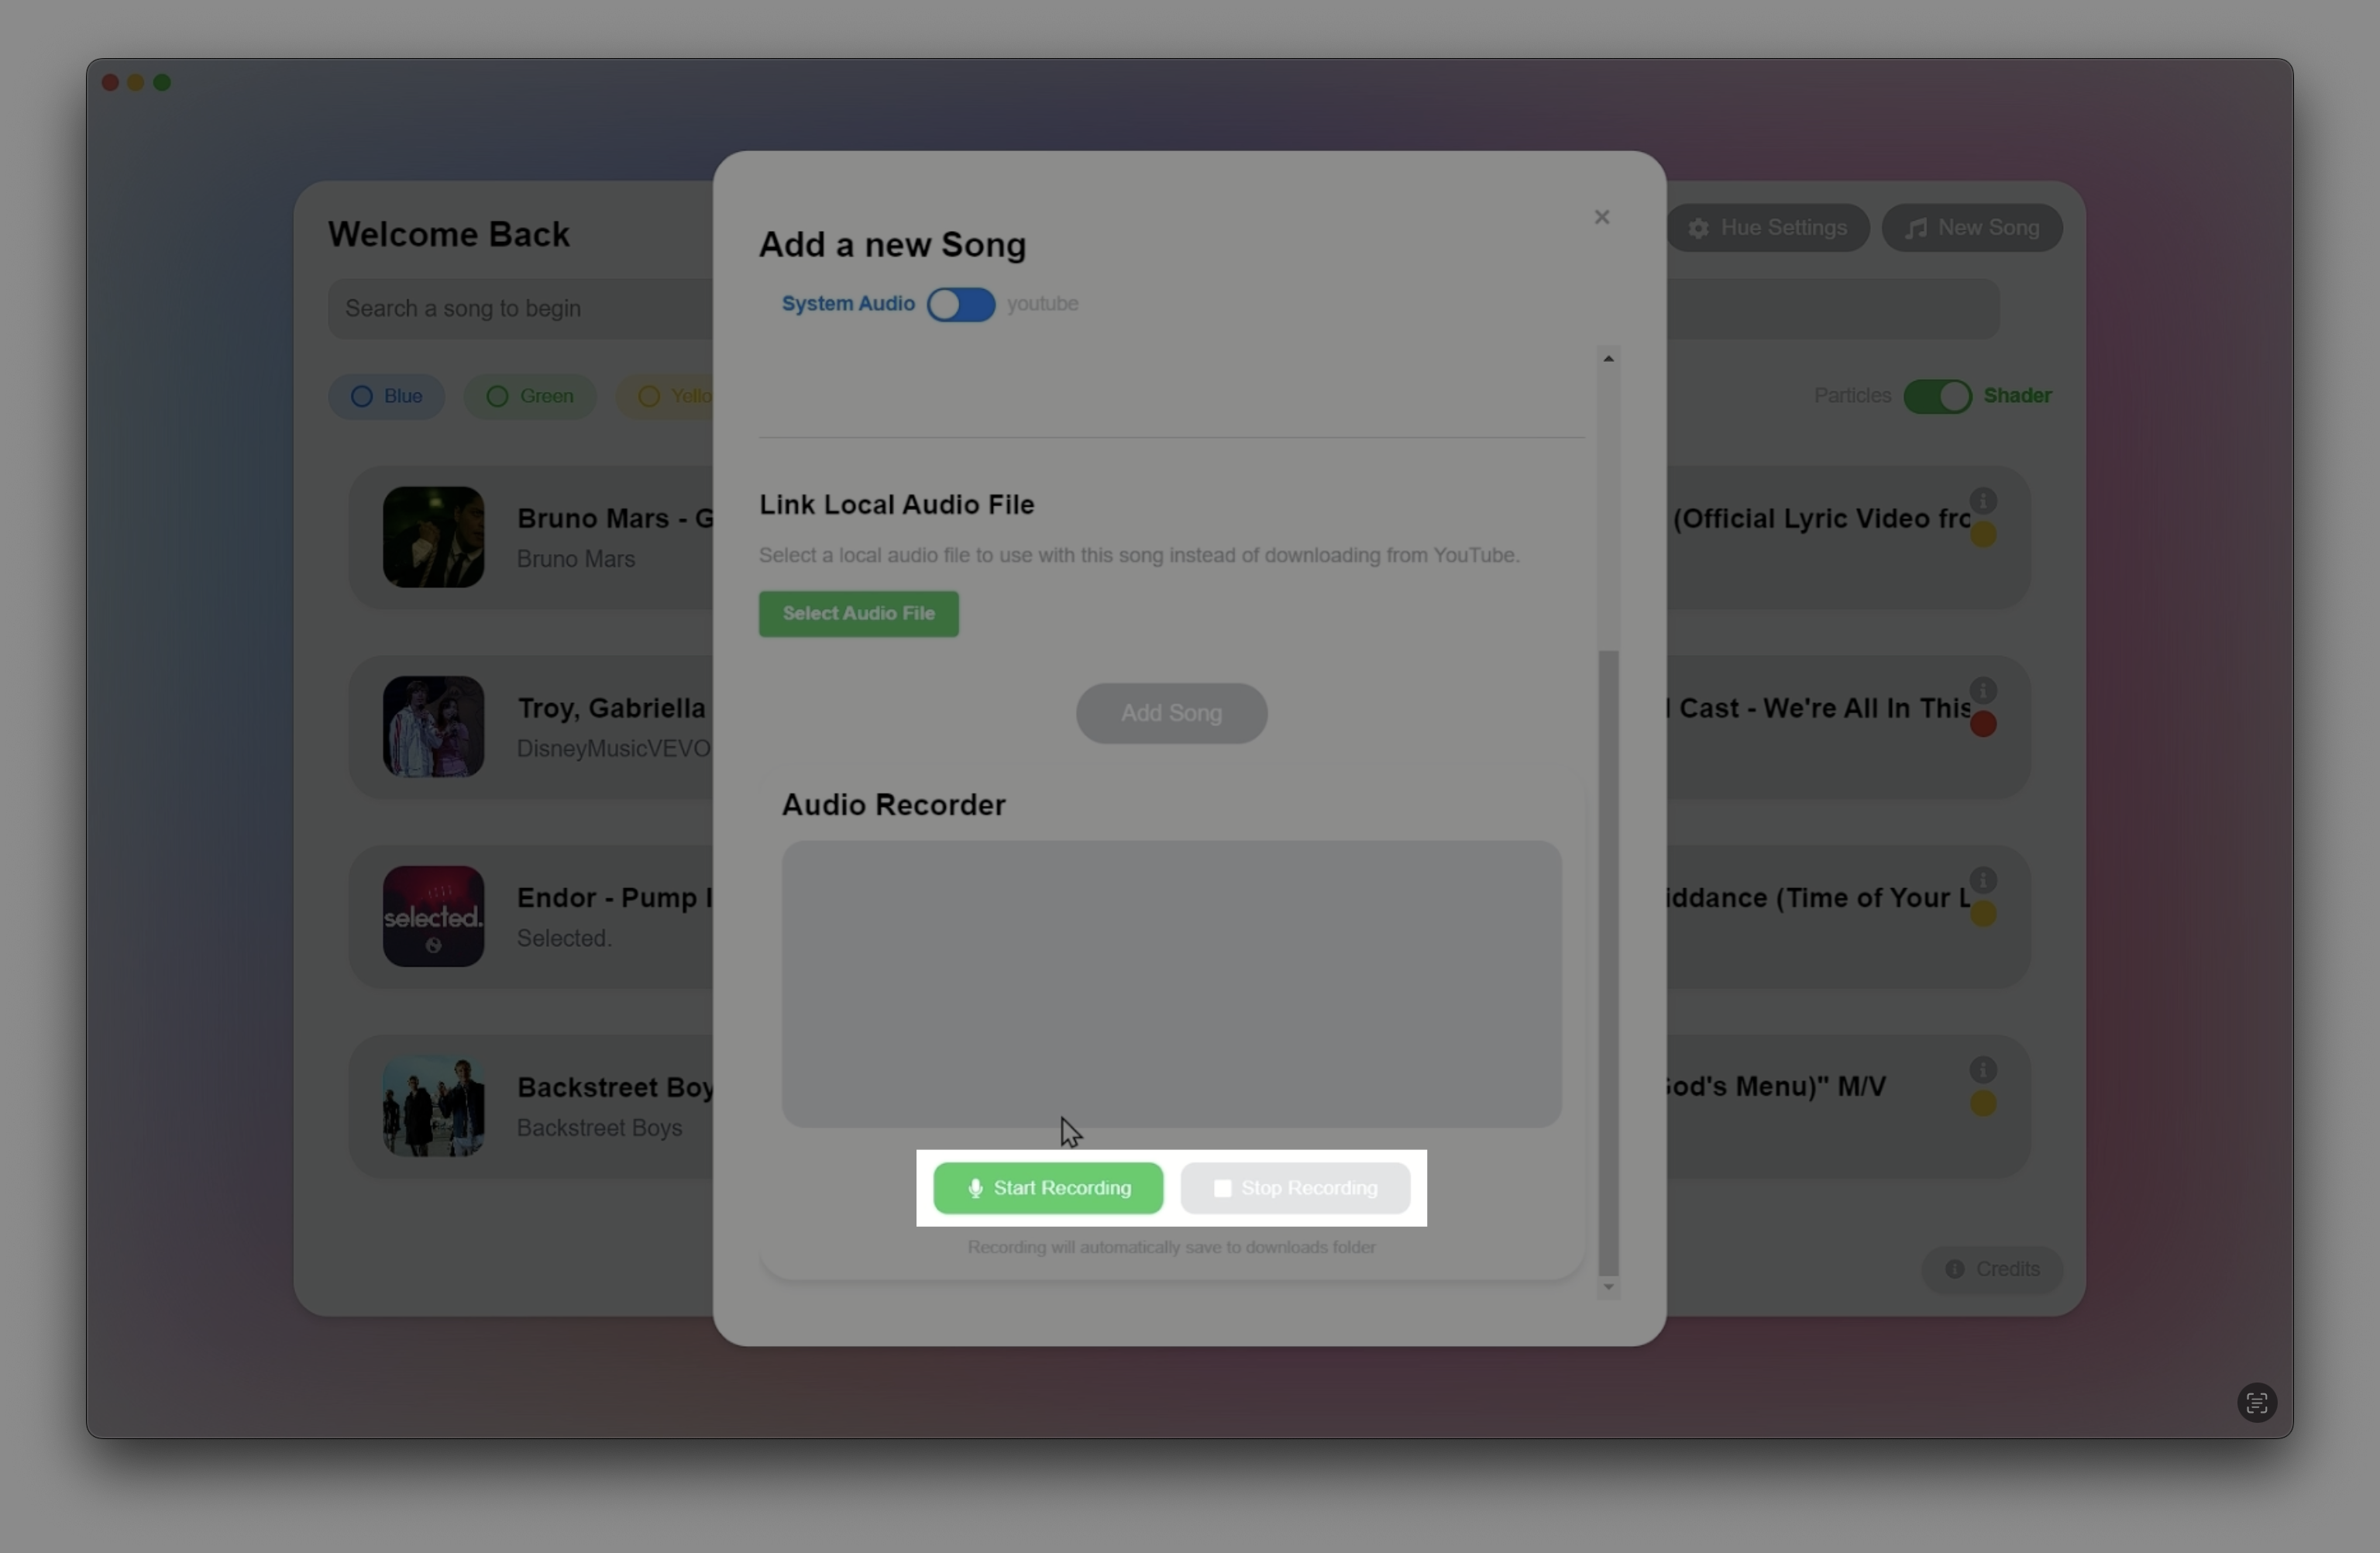
Start and Stop Recording
Once you have finished listening to the audio you would like to add, then press Stop Recording and the song will be saved to your downloads folder. Then follow the steps in Upload a File to add the song to the library
Download from YouTube
To download a song from YouTube, switch the new song panel to youtube mode and paste in the link from youtube. The song will then be downloaded and added to the library.

YouTube Toggle
Once a song is uploaded, song title, artist and thumbnail images can be added by following the on screen prompts.
Modifying a Song
To ensure a deeply personalised experience, we allow the user to completely customise all aspects of the visuals. This can be done on a song-by-song basis. First navigate to the song you would like to modify and press the ℹ️ button.
Information Button
Shader Customisation
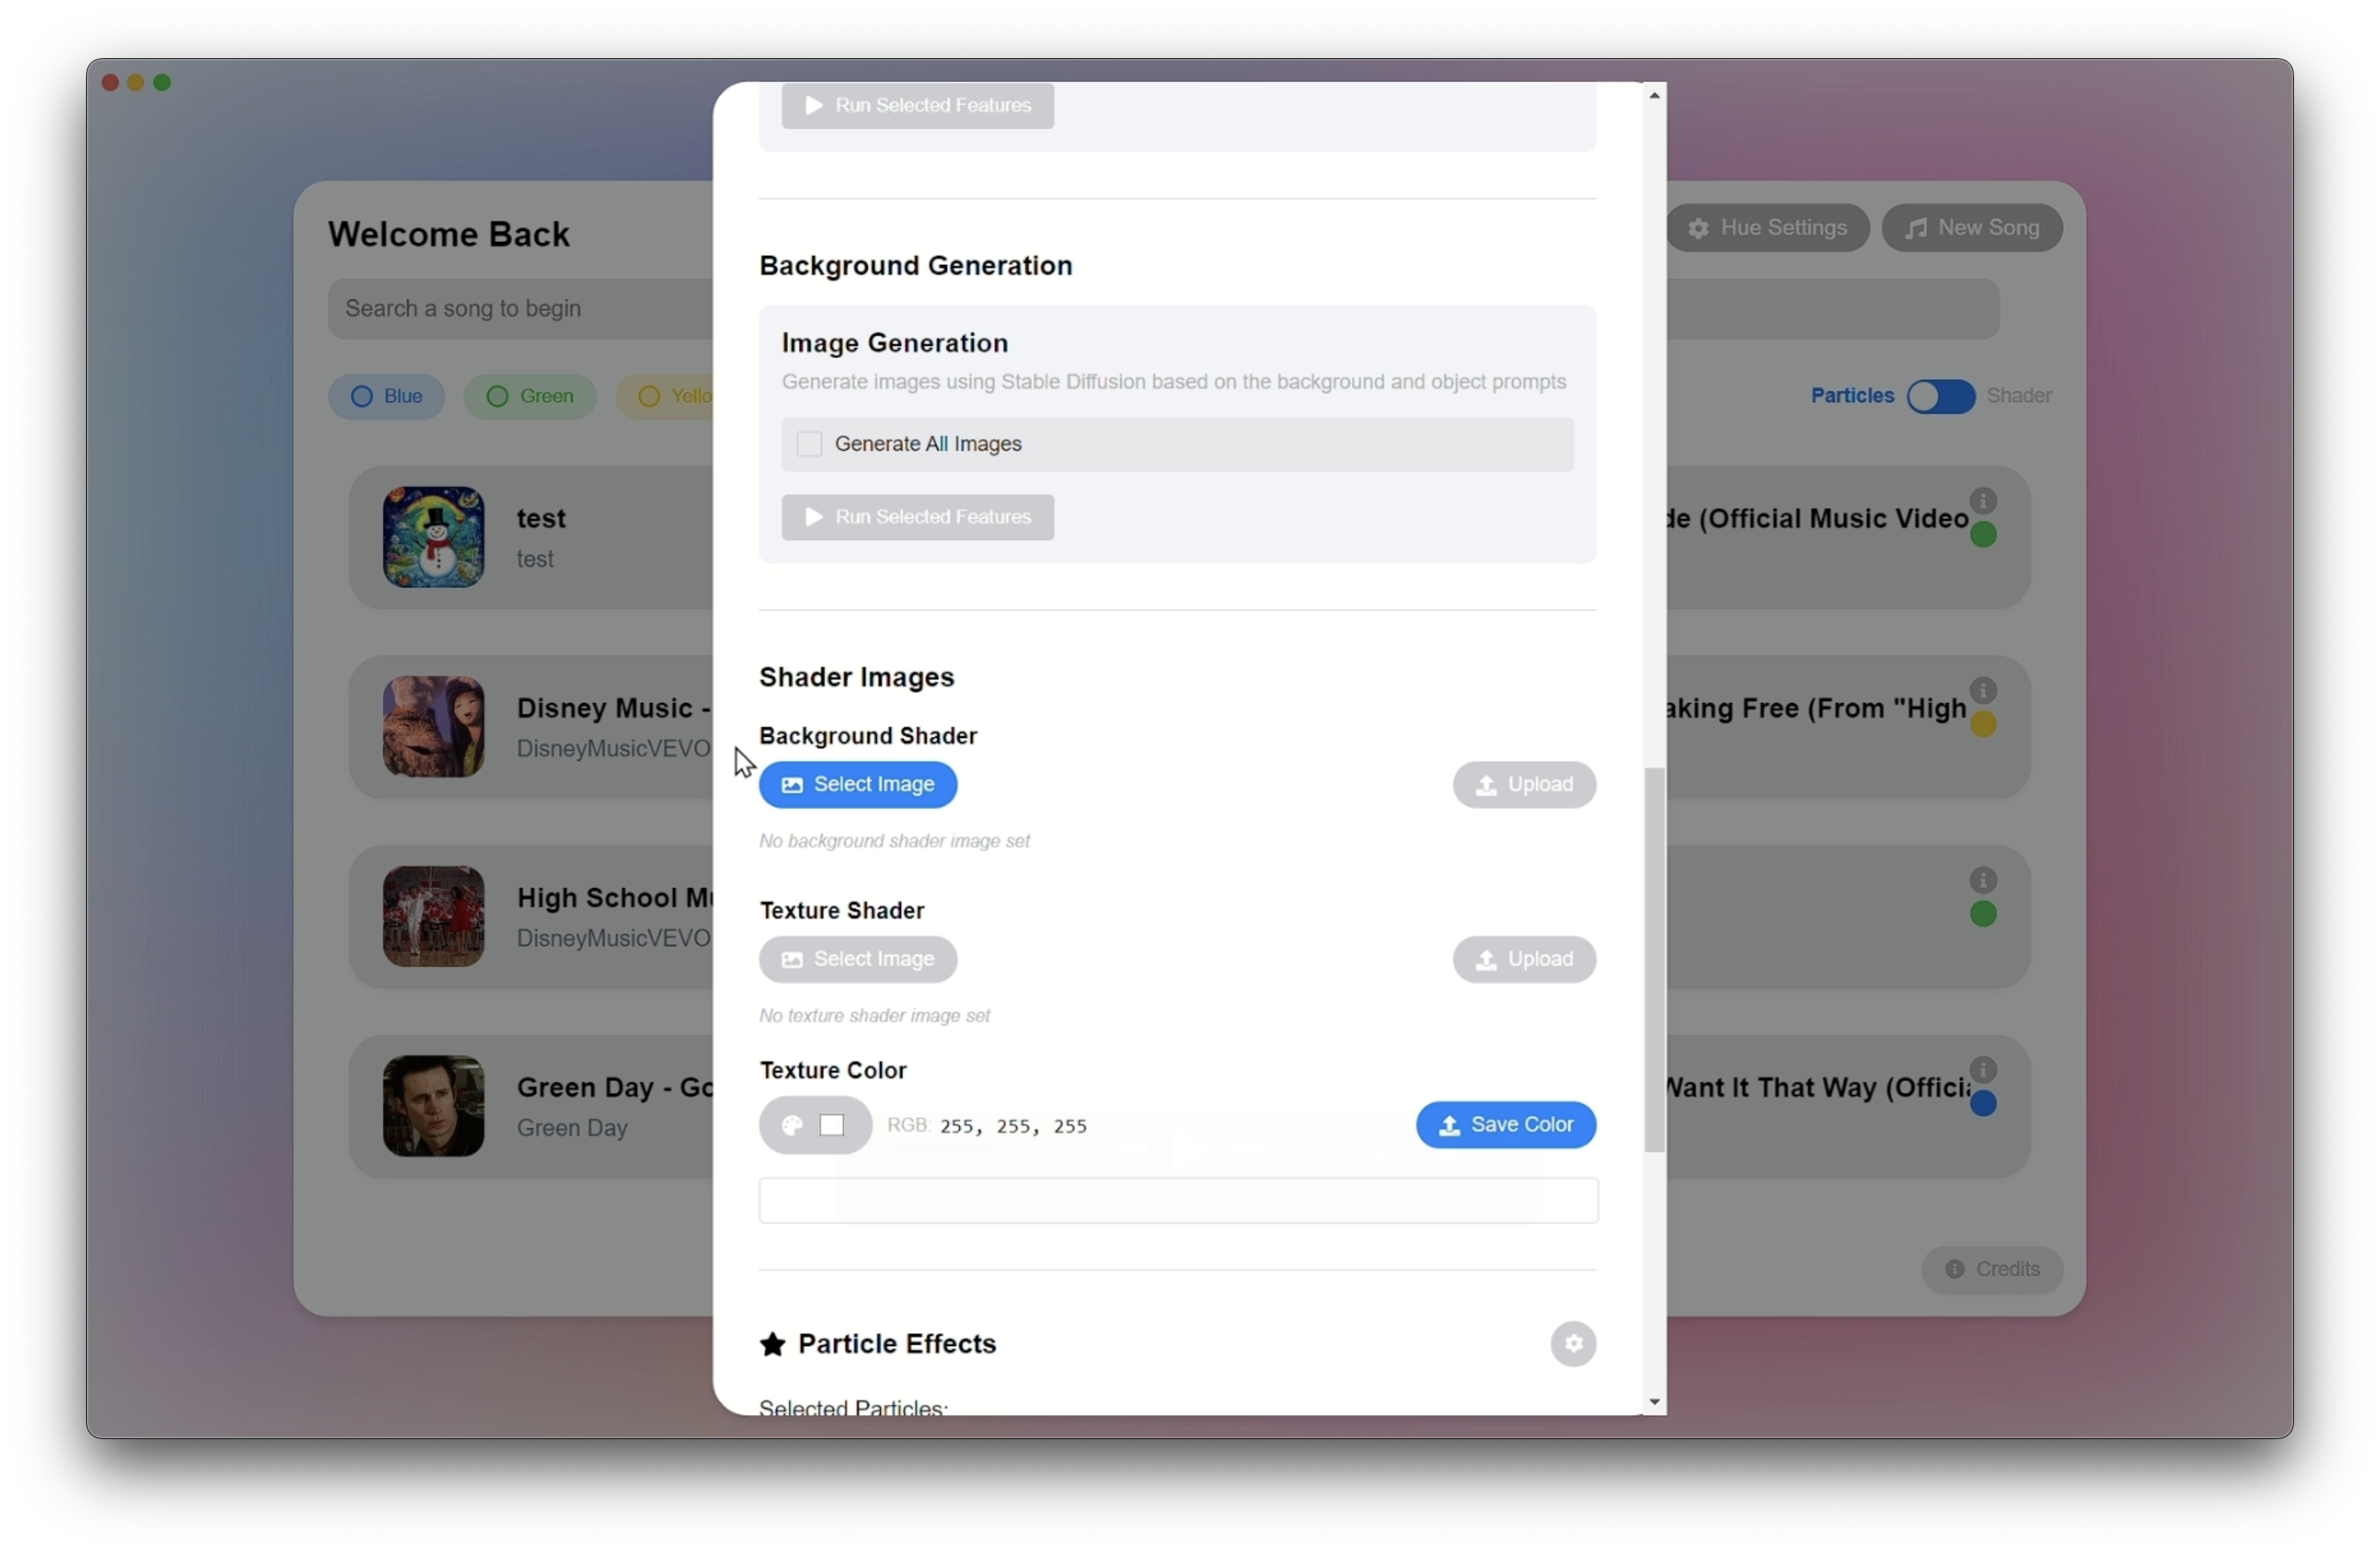
Shader Options
For the Shader Mode of the visualiser, the following options can be customised.
- Background Shader - This changes the image or gradient to be used as a background for the shader mode.
- Texture Shader - This changes the shape of the graphic shown in the shader visualise. For best results, please upload a black and white image with clear contrast between the subject and the background.
- Texture Colour - This changes the colour of the graphics on screen.
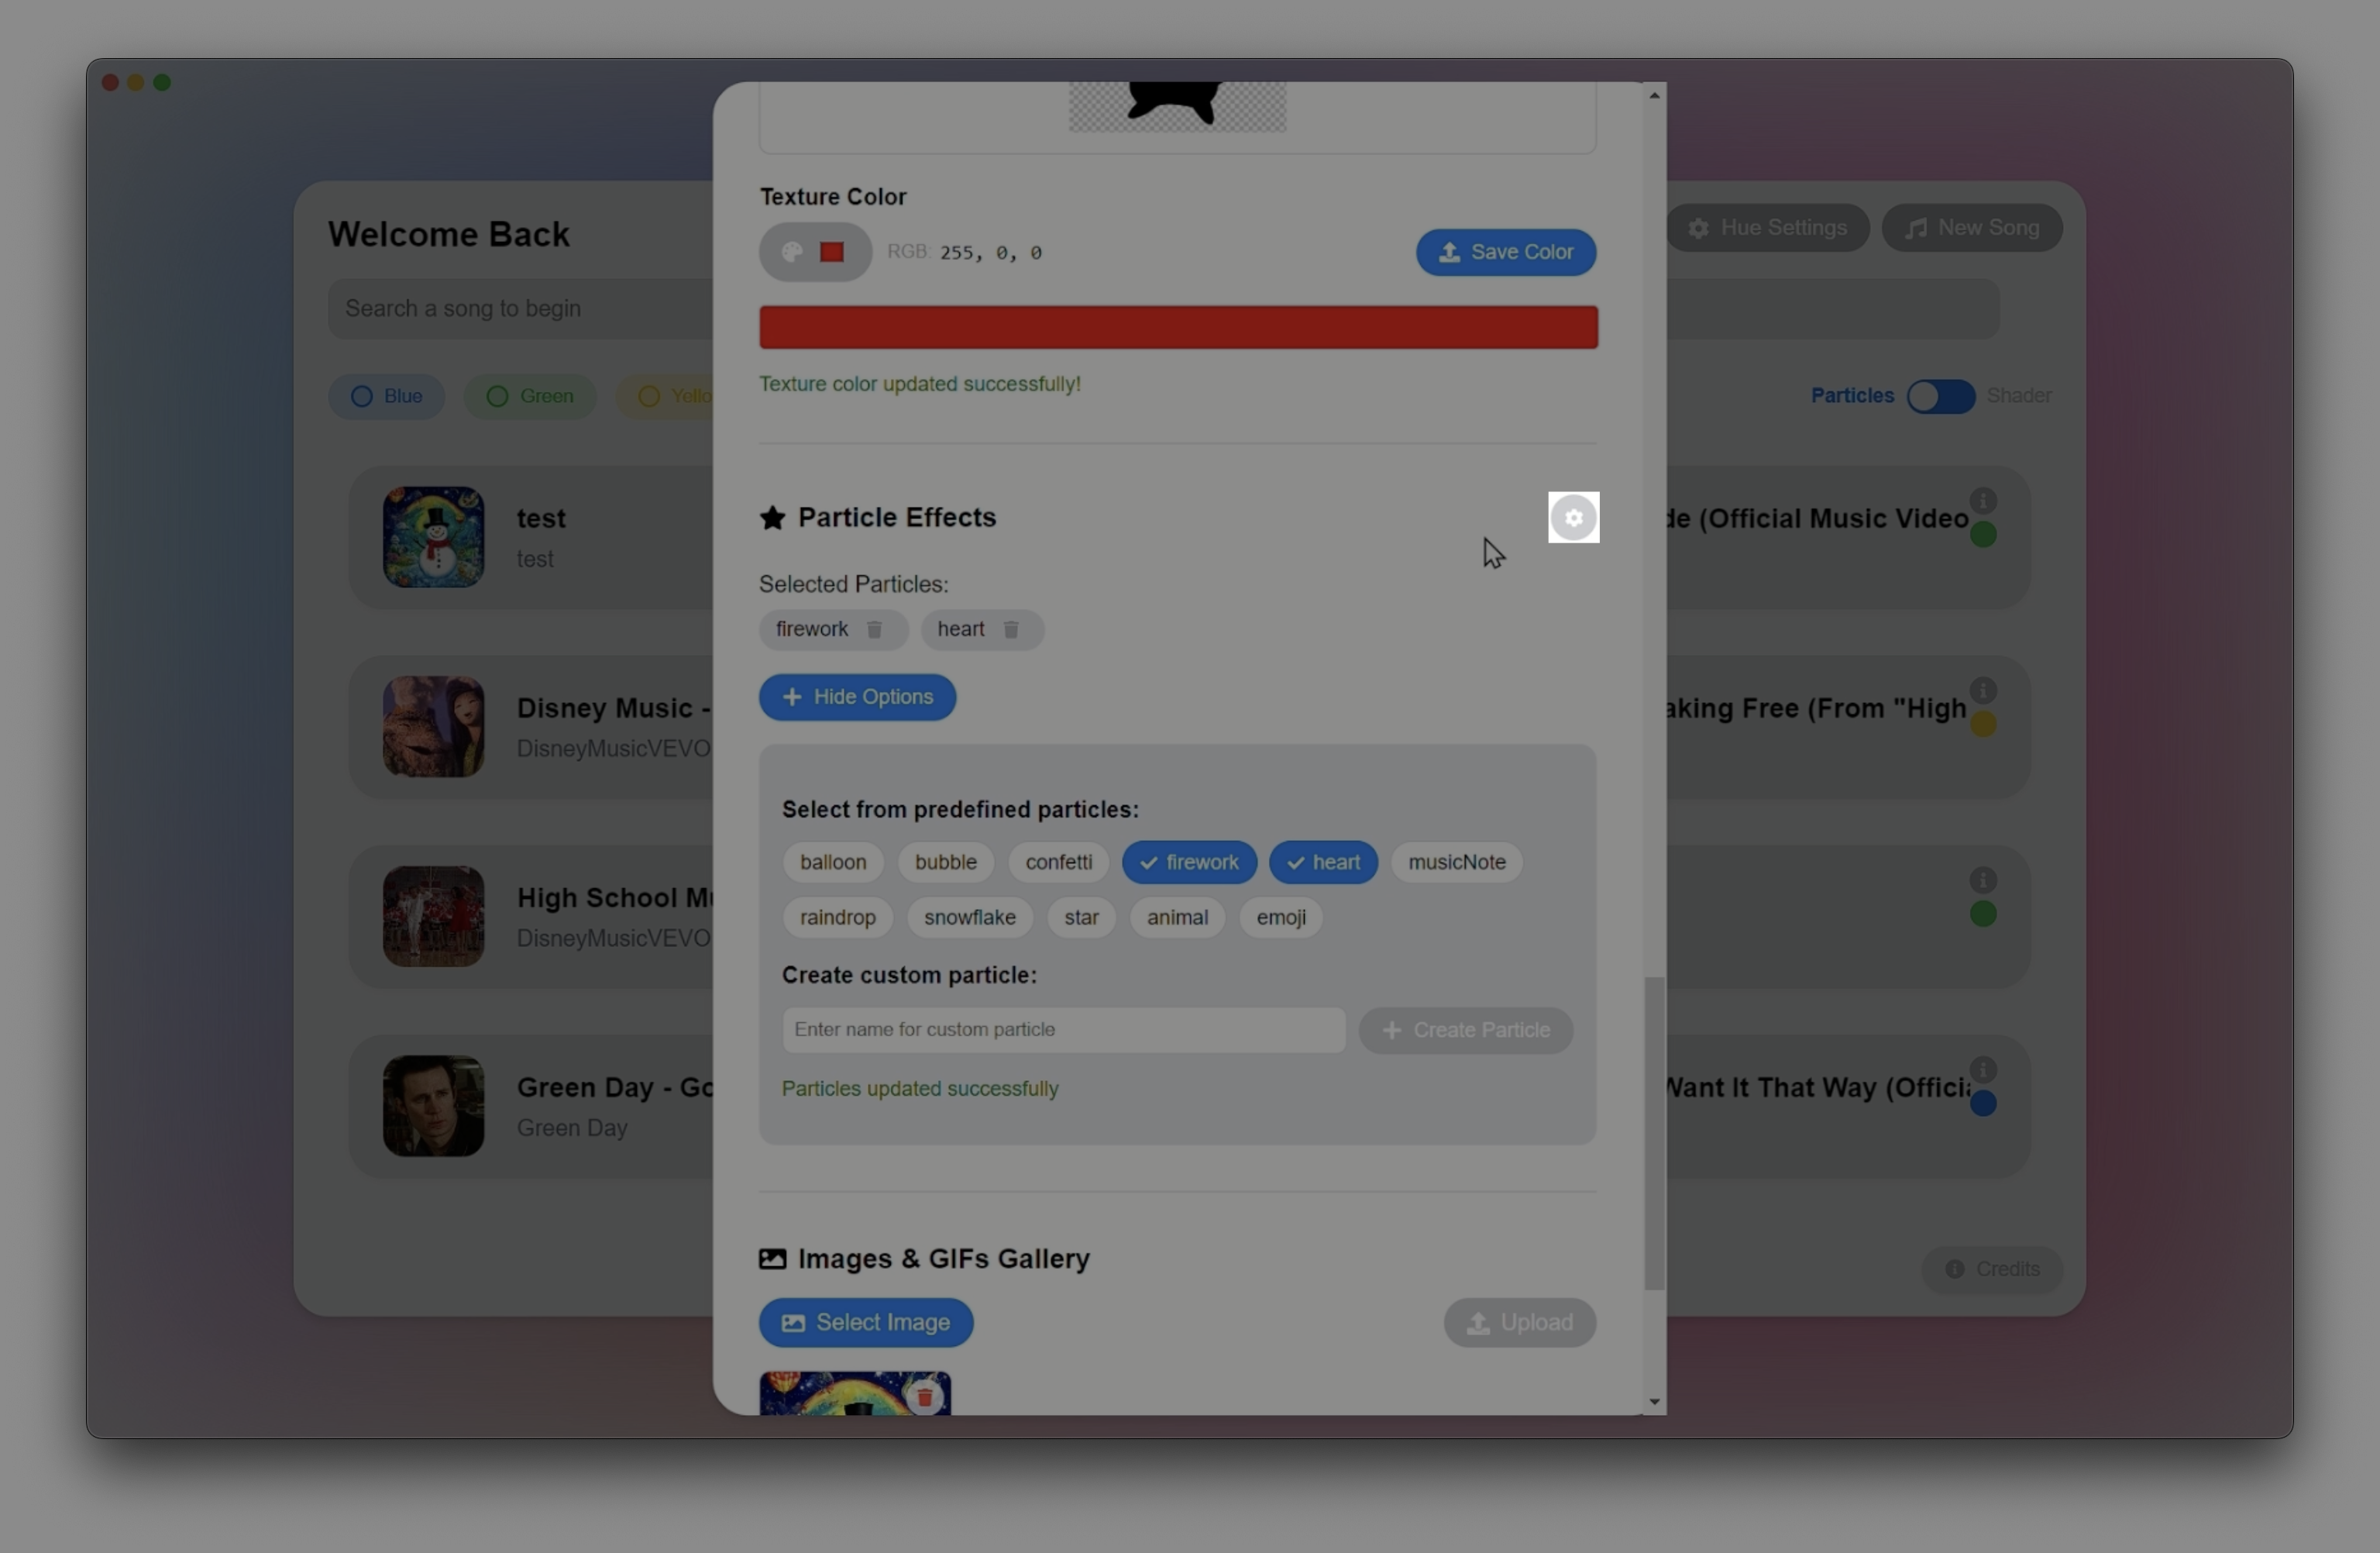
Particle Customisation

Particle Options
To change which particles show up during the experience, simply toggle them on and off from the predefined list.
The particles can also be completely customised to alter how they behave and look. To get started, press the settings button.
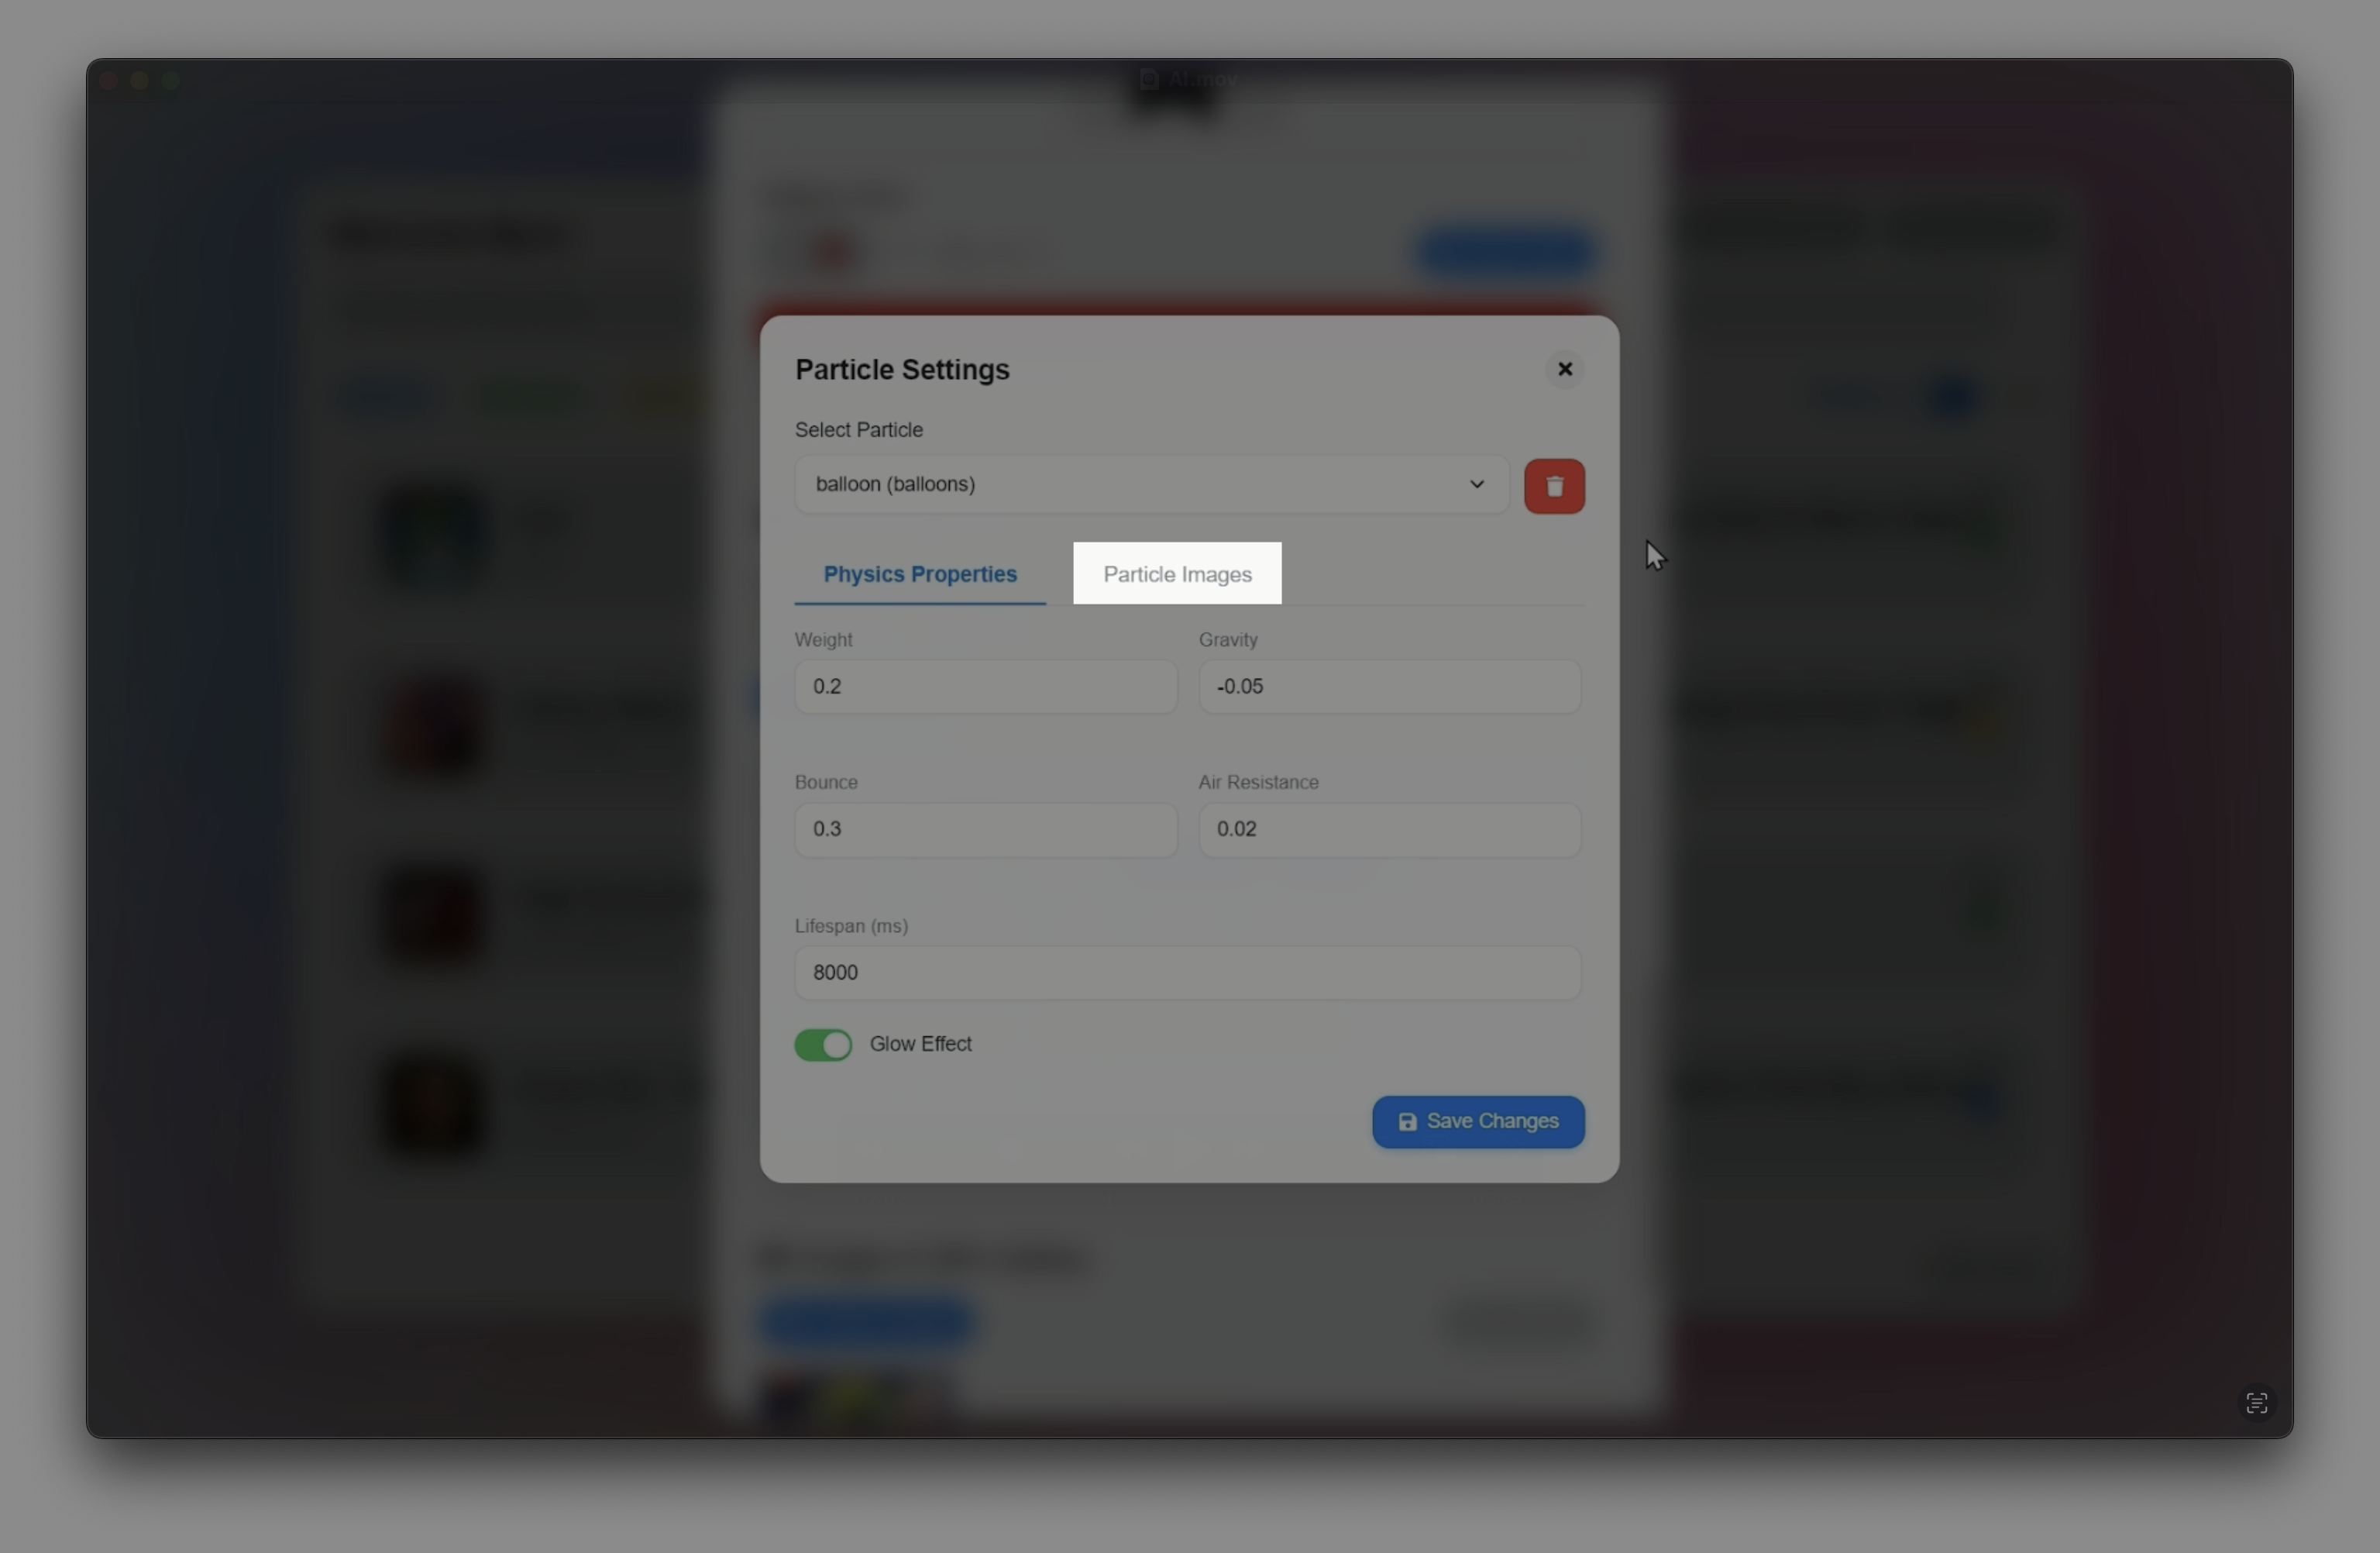
Particle Settings
From this menu we can adjust the Physics and Images shown for each particle.
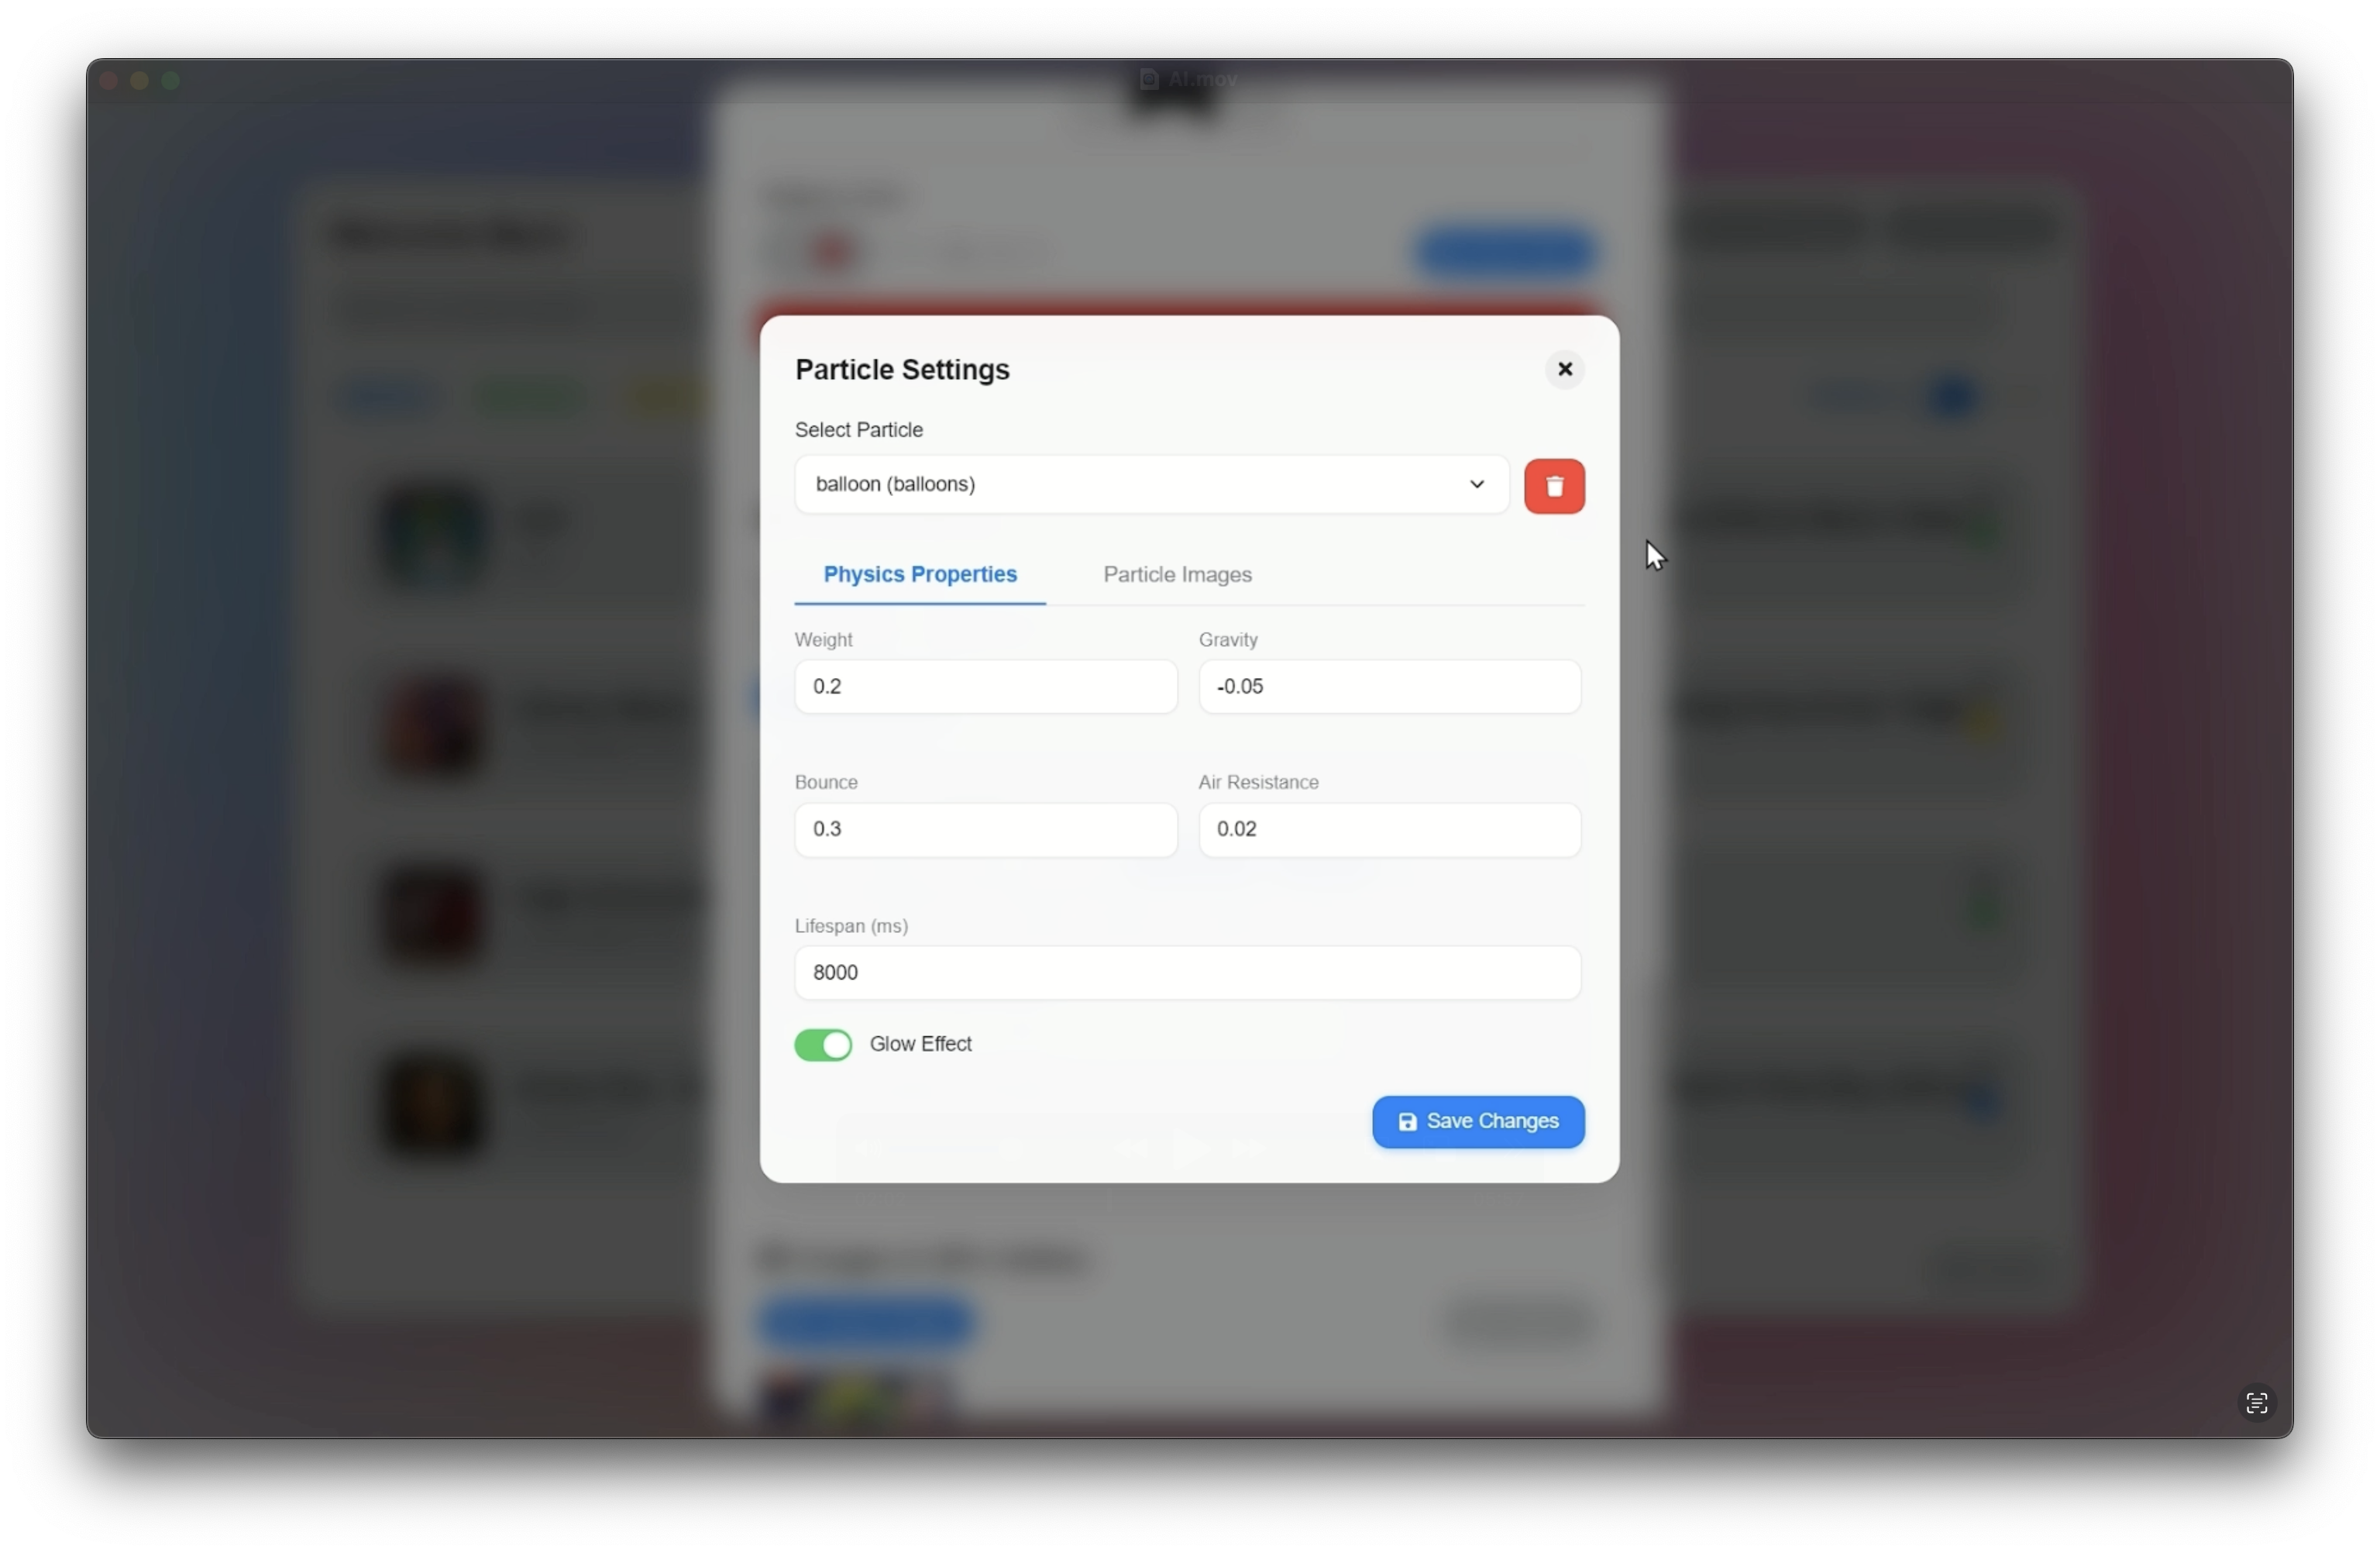
Particle Settings View
To select which particle is being modified, select the appropriate one from the dropdown and the top of the menu.
From here the physics properties can be edited, this will determine how the particles move around on screen. Giving particles a negative gravity will cause them to "float" upwards.
To modify the images, press the Particle Images button.
Particle Images Button
From here you can modify which images will be shown as the particles.
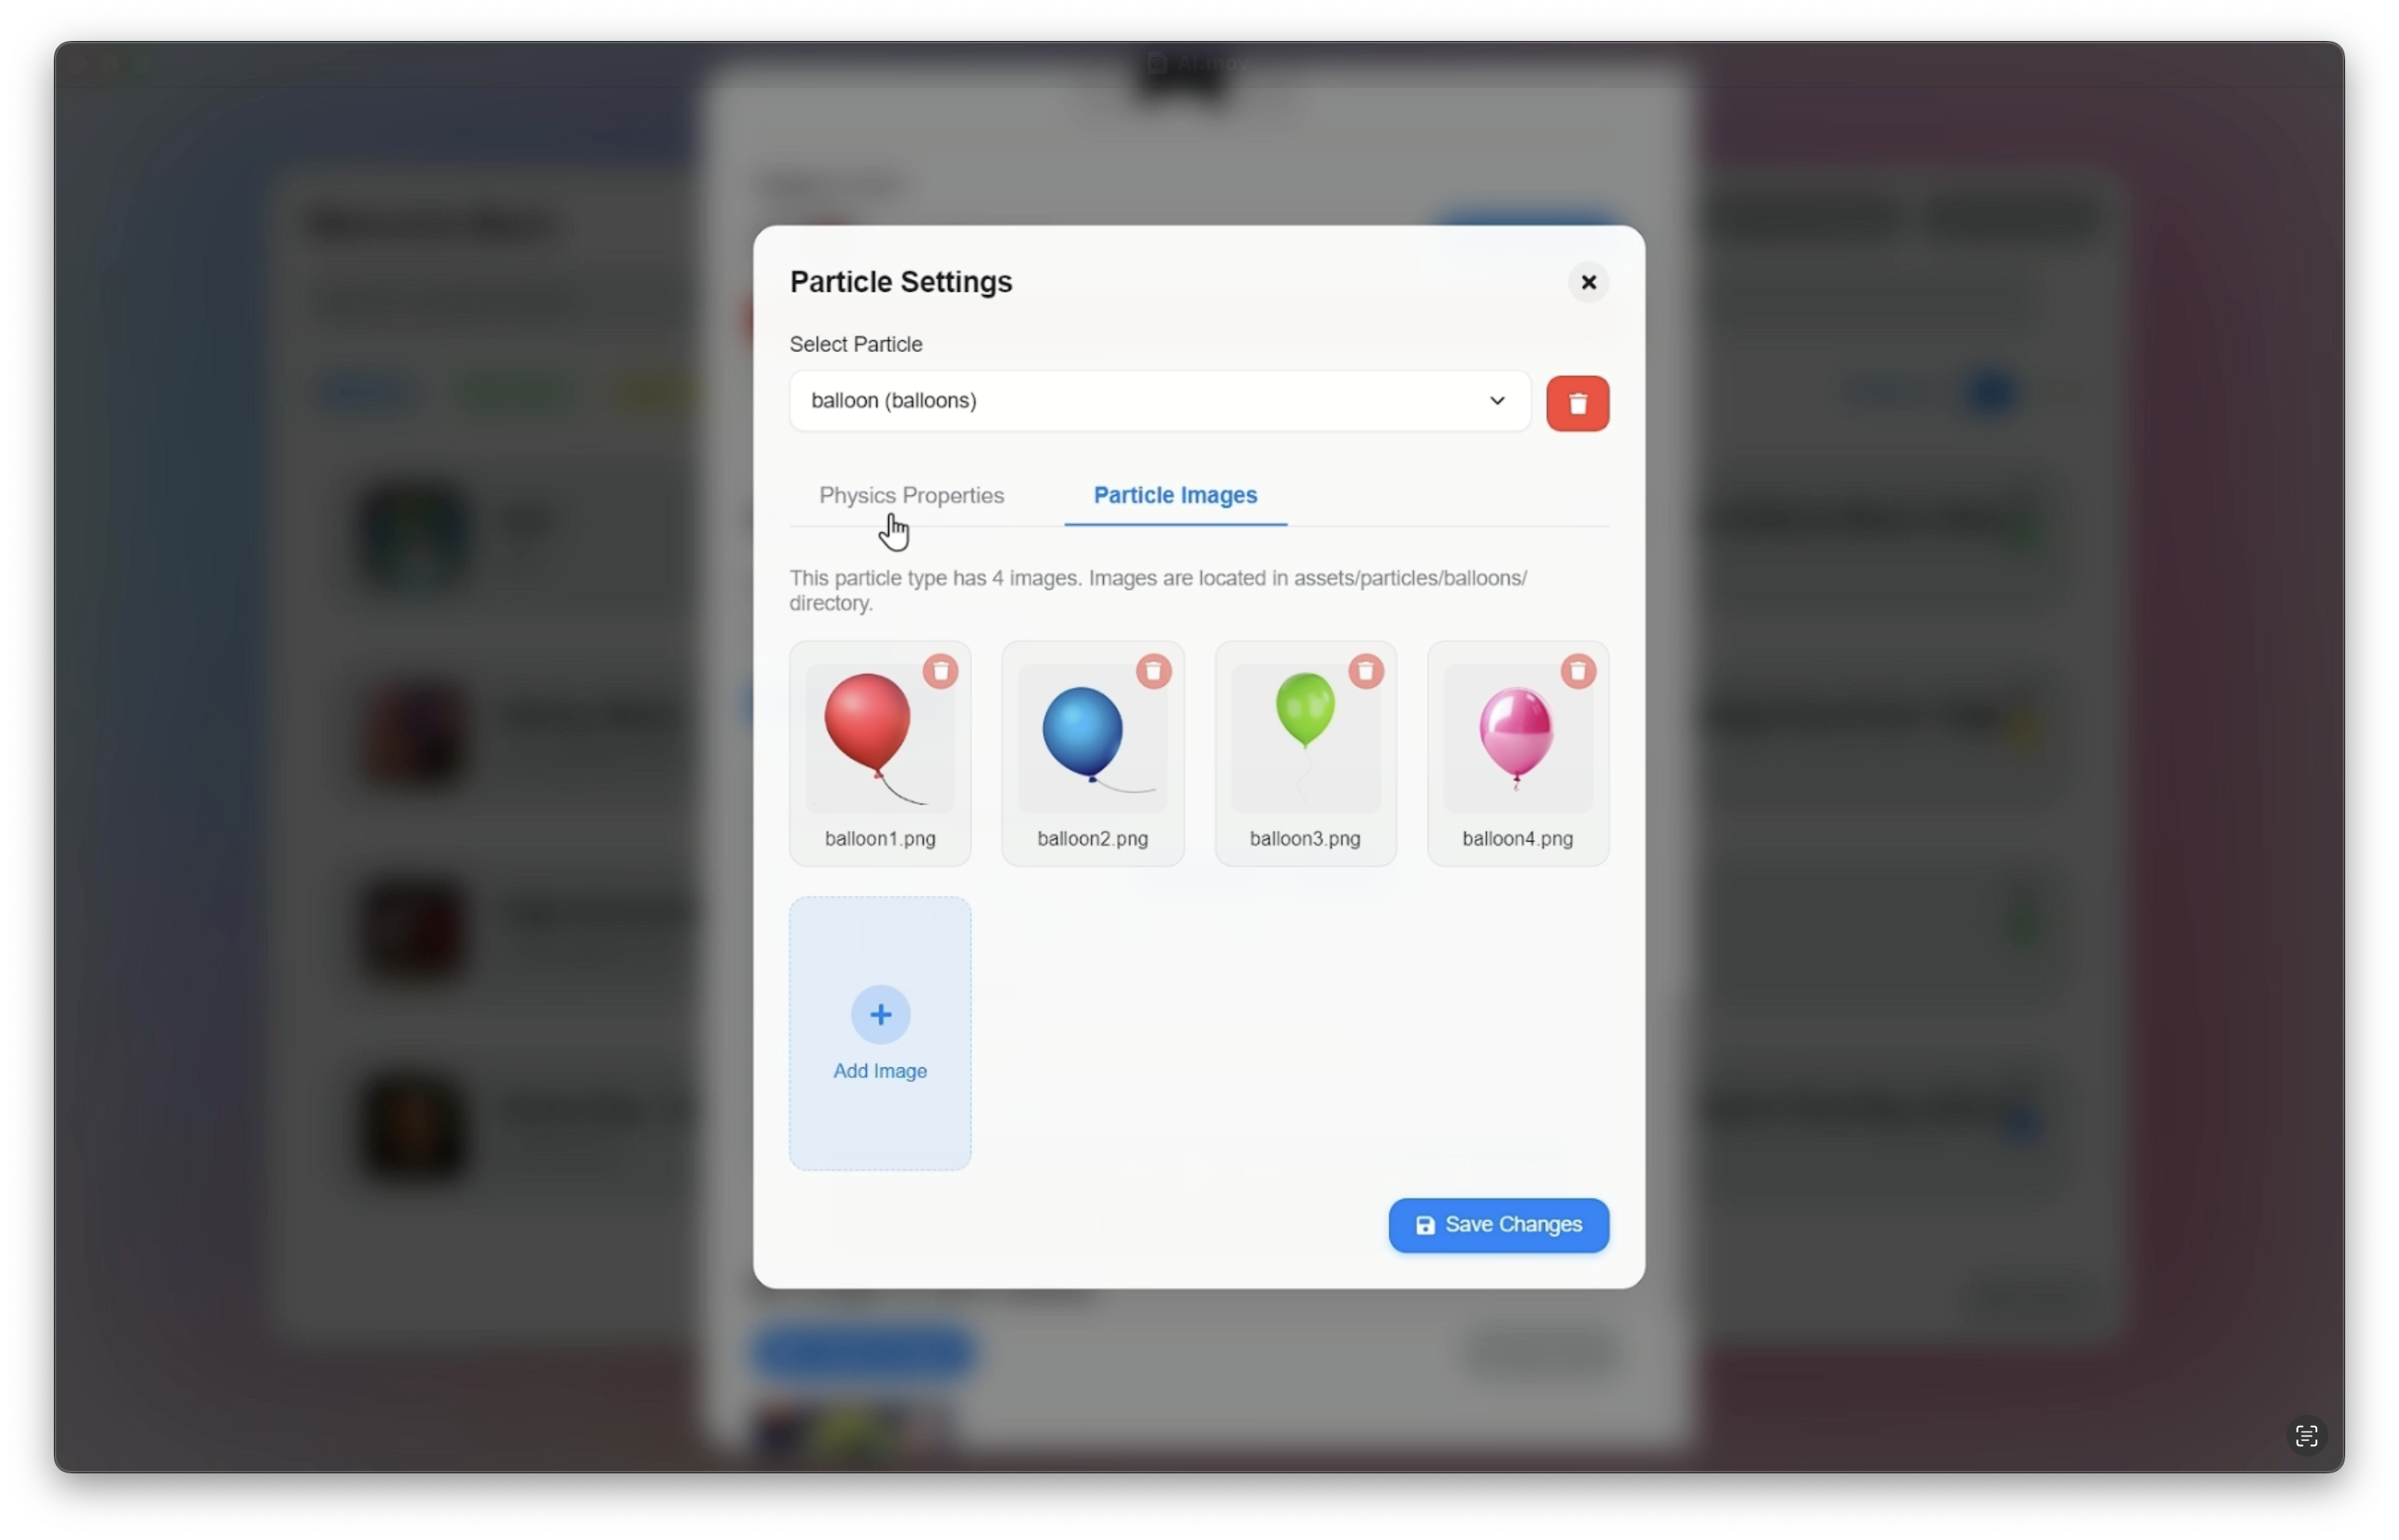
Modify Particle Images
Don't forget to save any changes you make by pressing the Save Changes button in the bottom right of the menu.
AI Processing
To prevent overloading the computer whilst it is in use, we allow the user to choose what and when AI programs run.
Individual Songs
To run AI Processes on an individual song, press the ℹ️ button from the library.
-fcf42daea4c03fc0fef451cb5bcb98ea.png)
Information Button
From here the user can choose which AI process to run. Background Image generation can also be run from here.
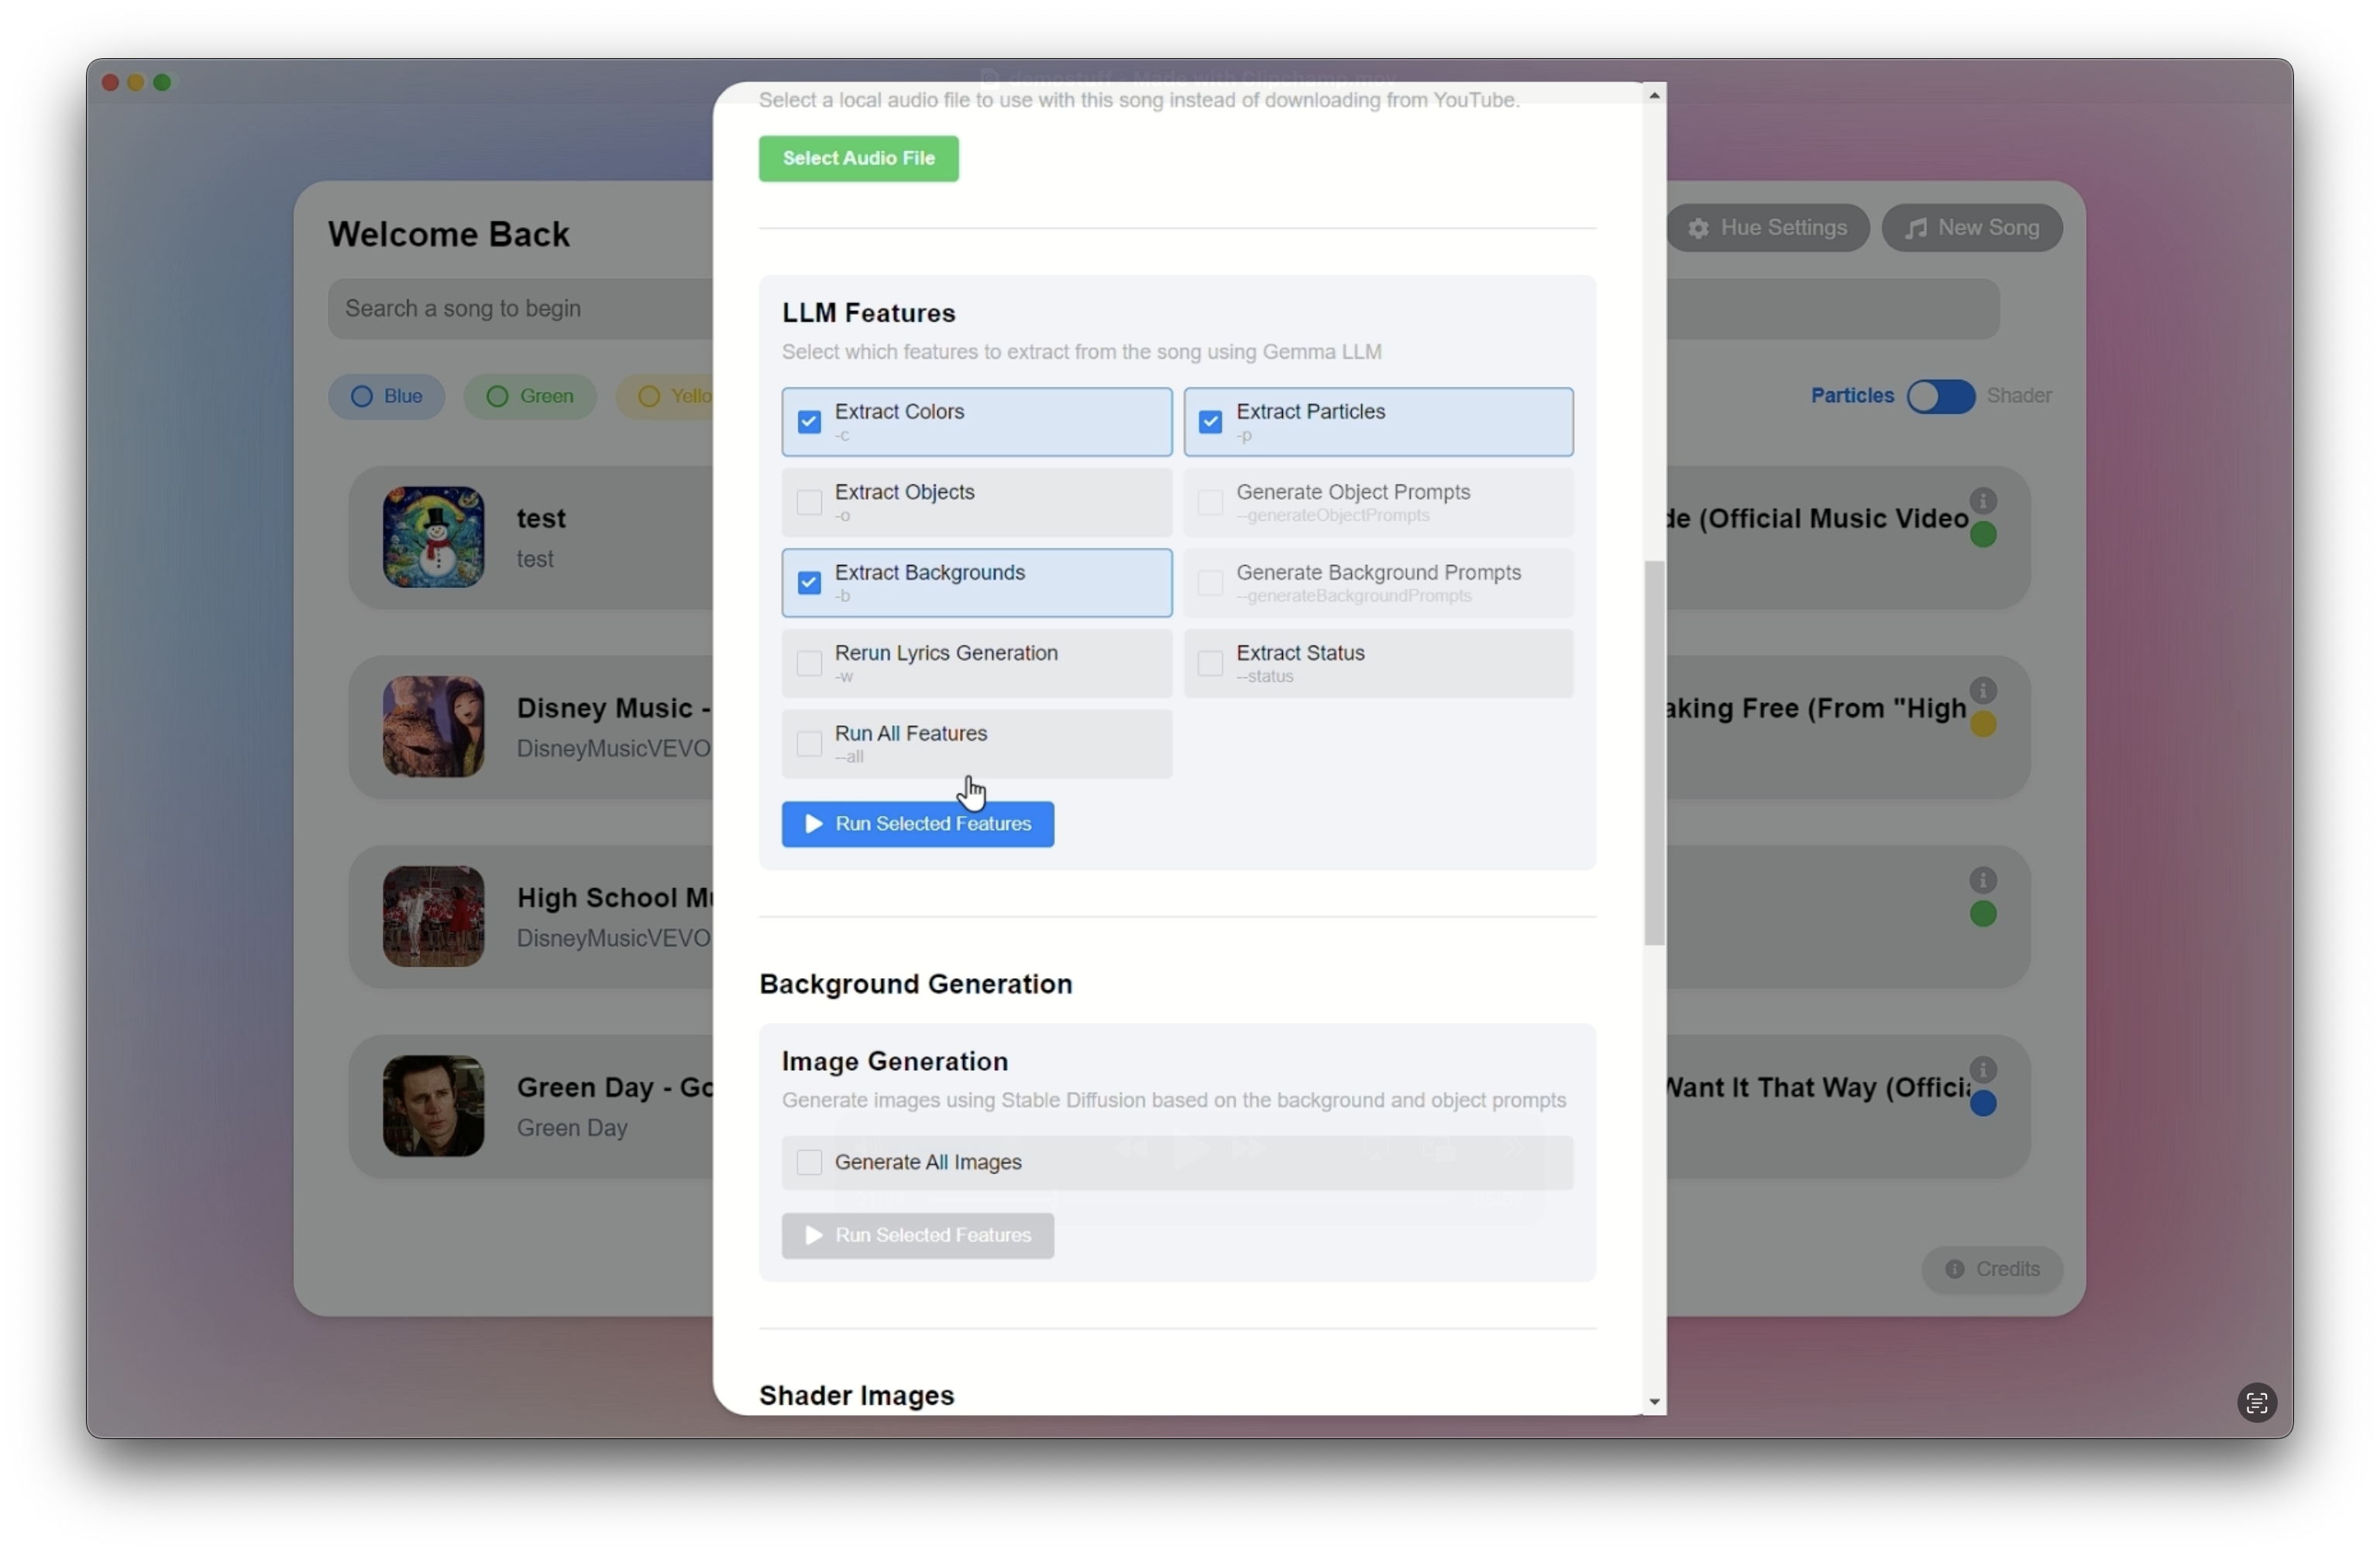
AI Process Selection
Batch Processing
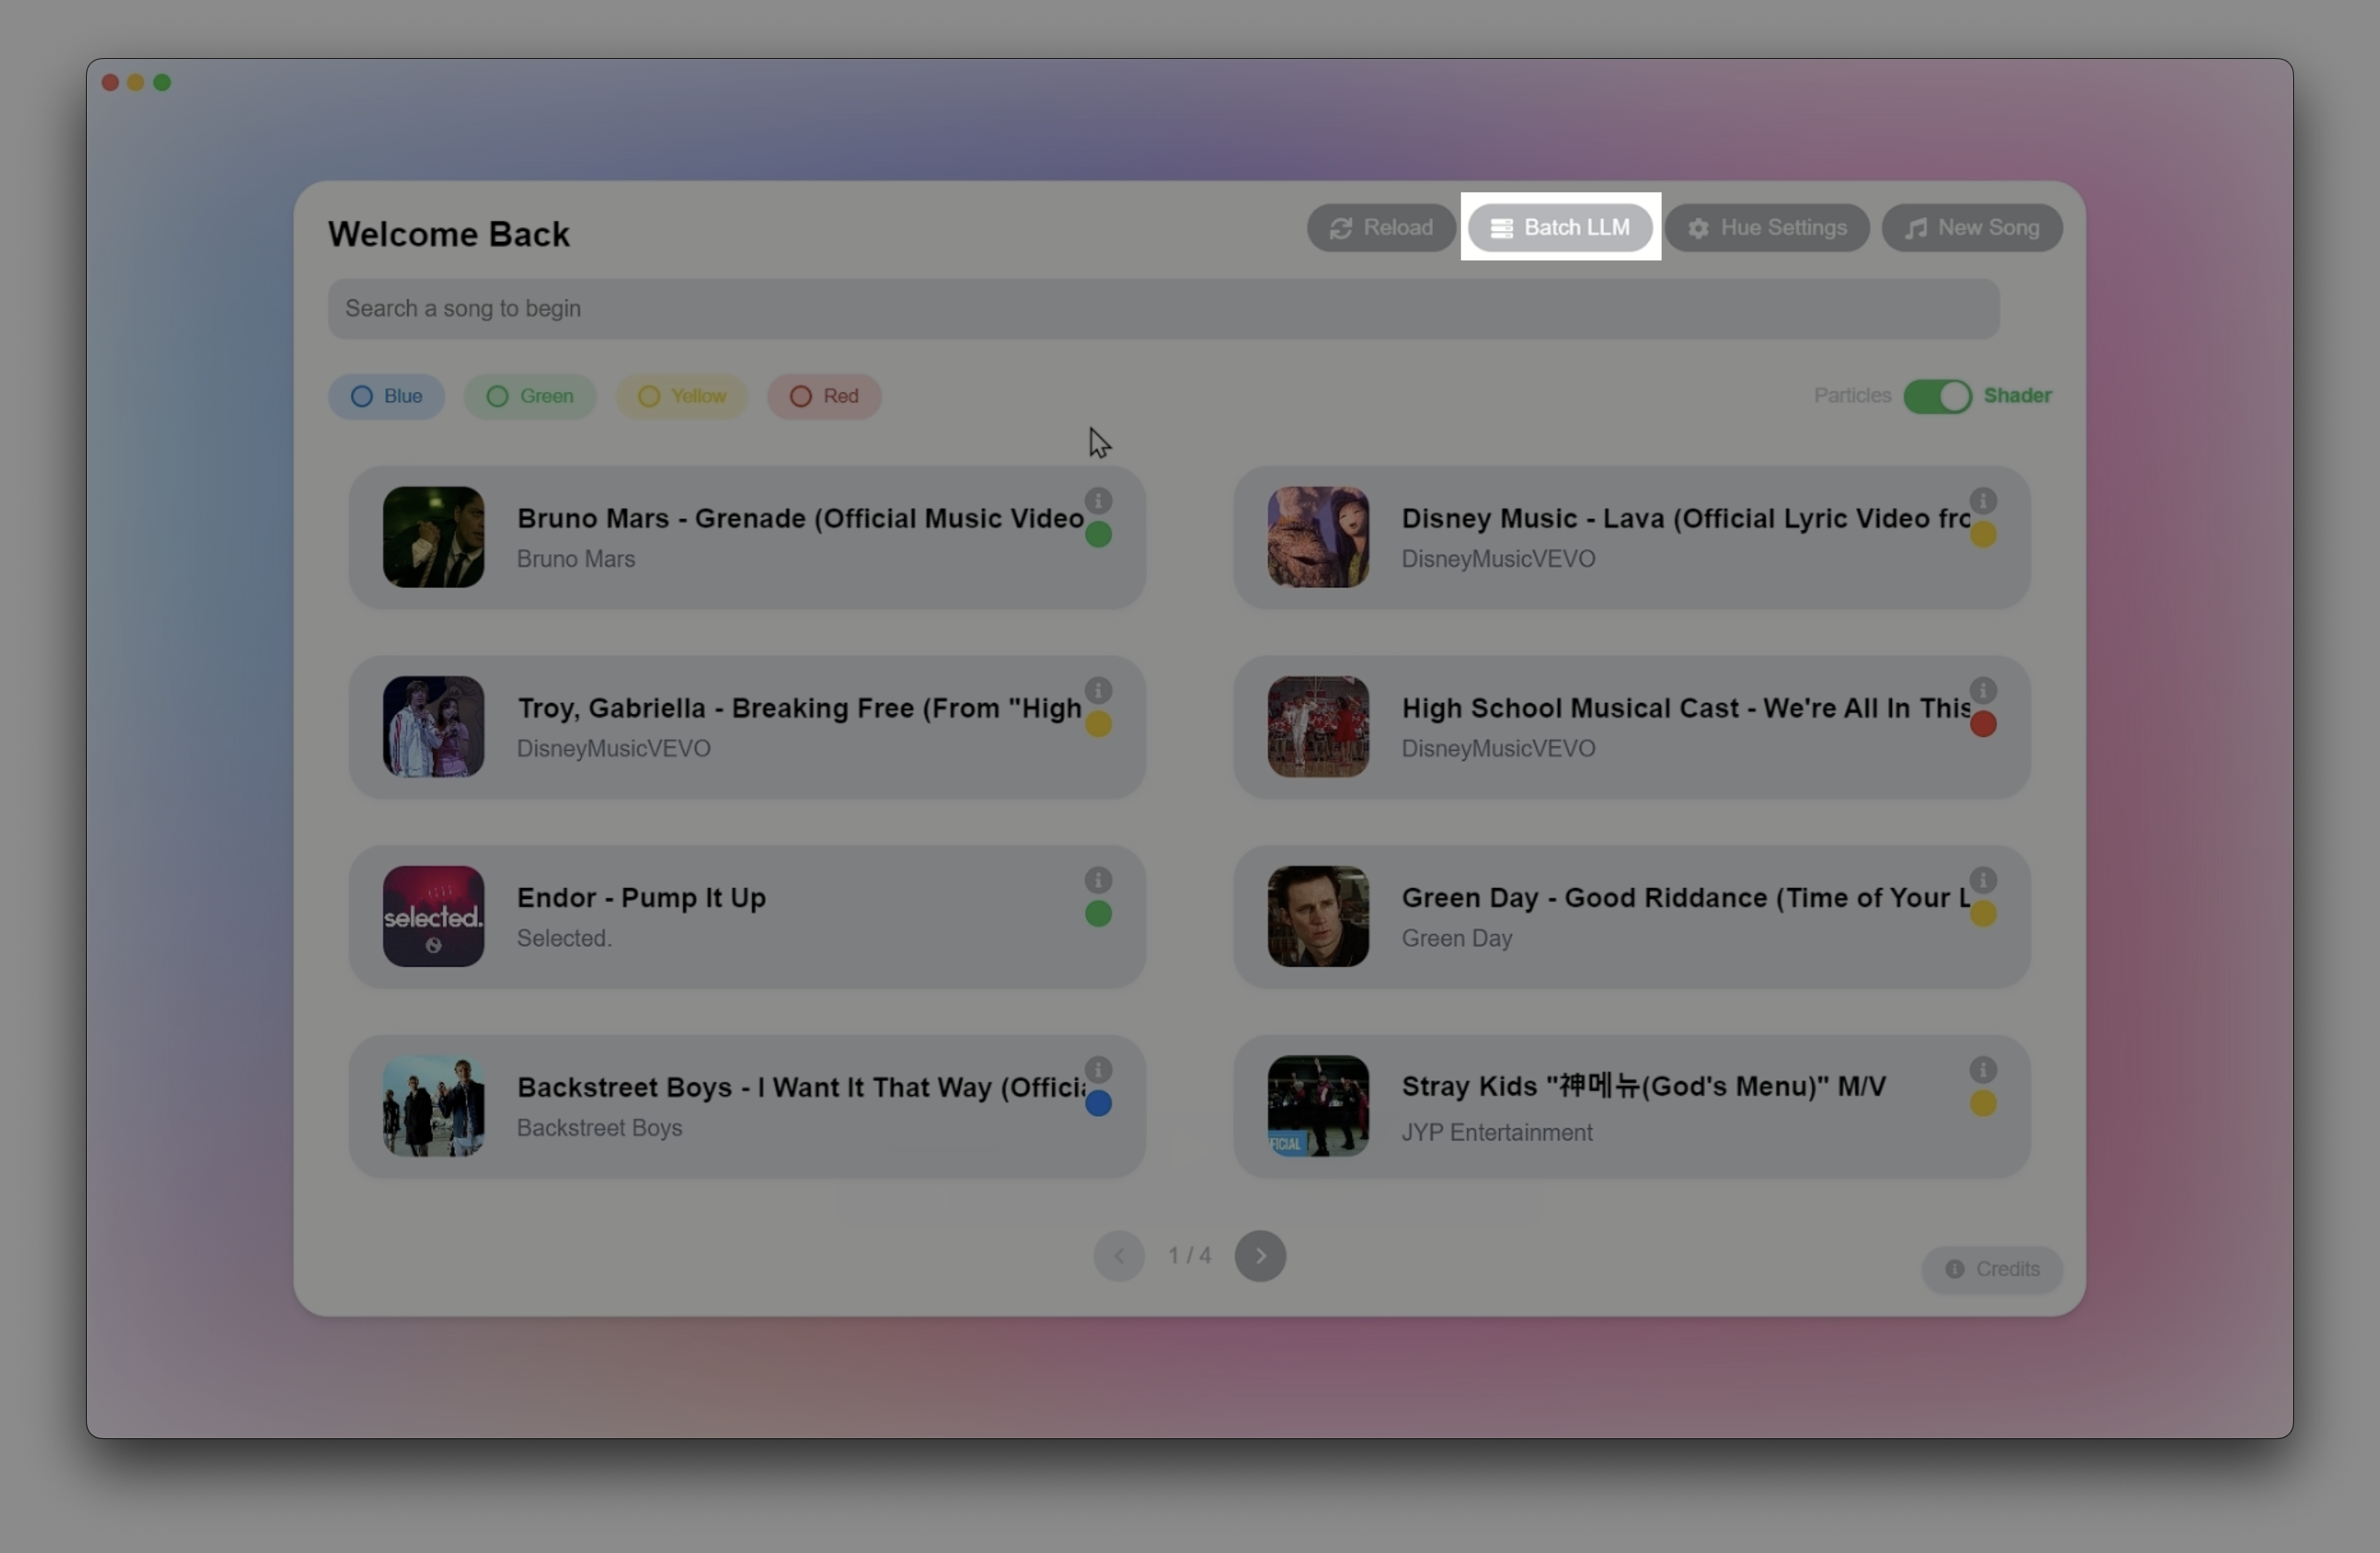
Running the AI process on a selection of songs can be done by navigating to the Batch LLM section from the library.
Batch LLM Song Processing
From here you can select which songs, and which AI process to run. After selection is made, press Start Processing to begin.
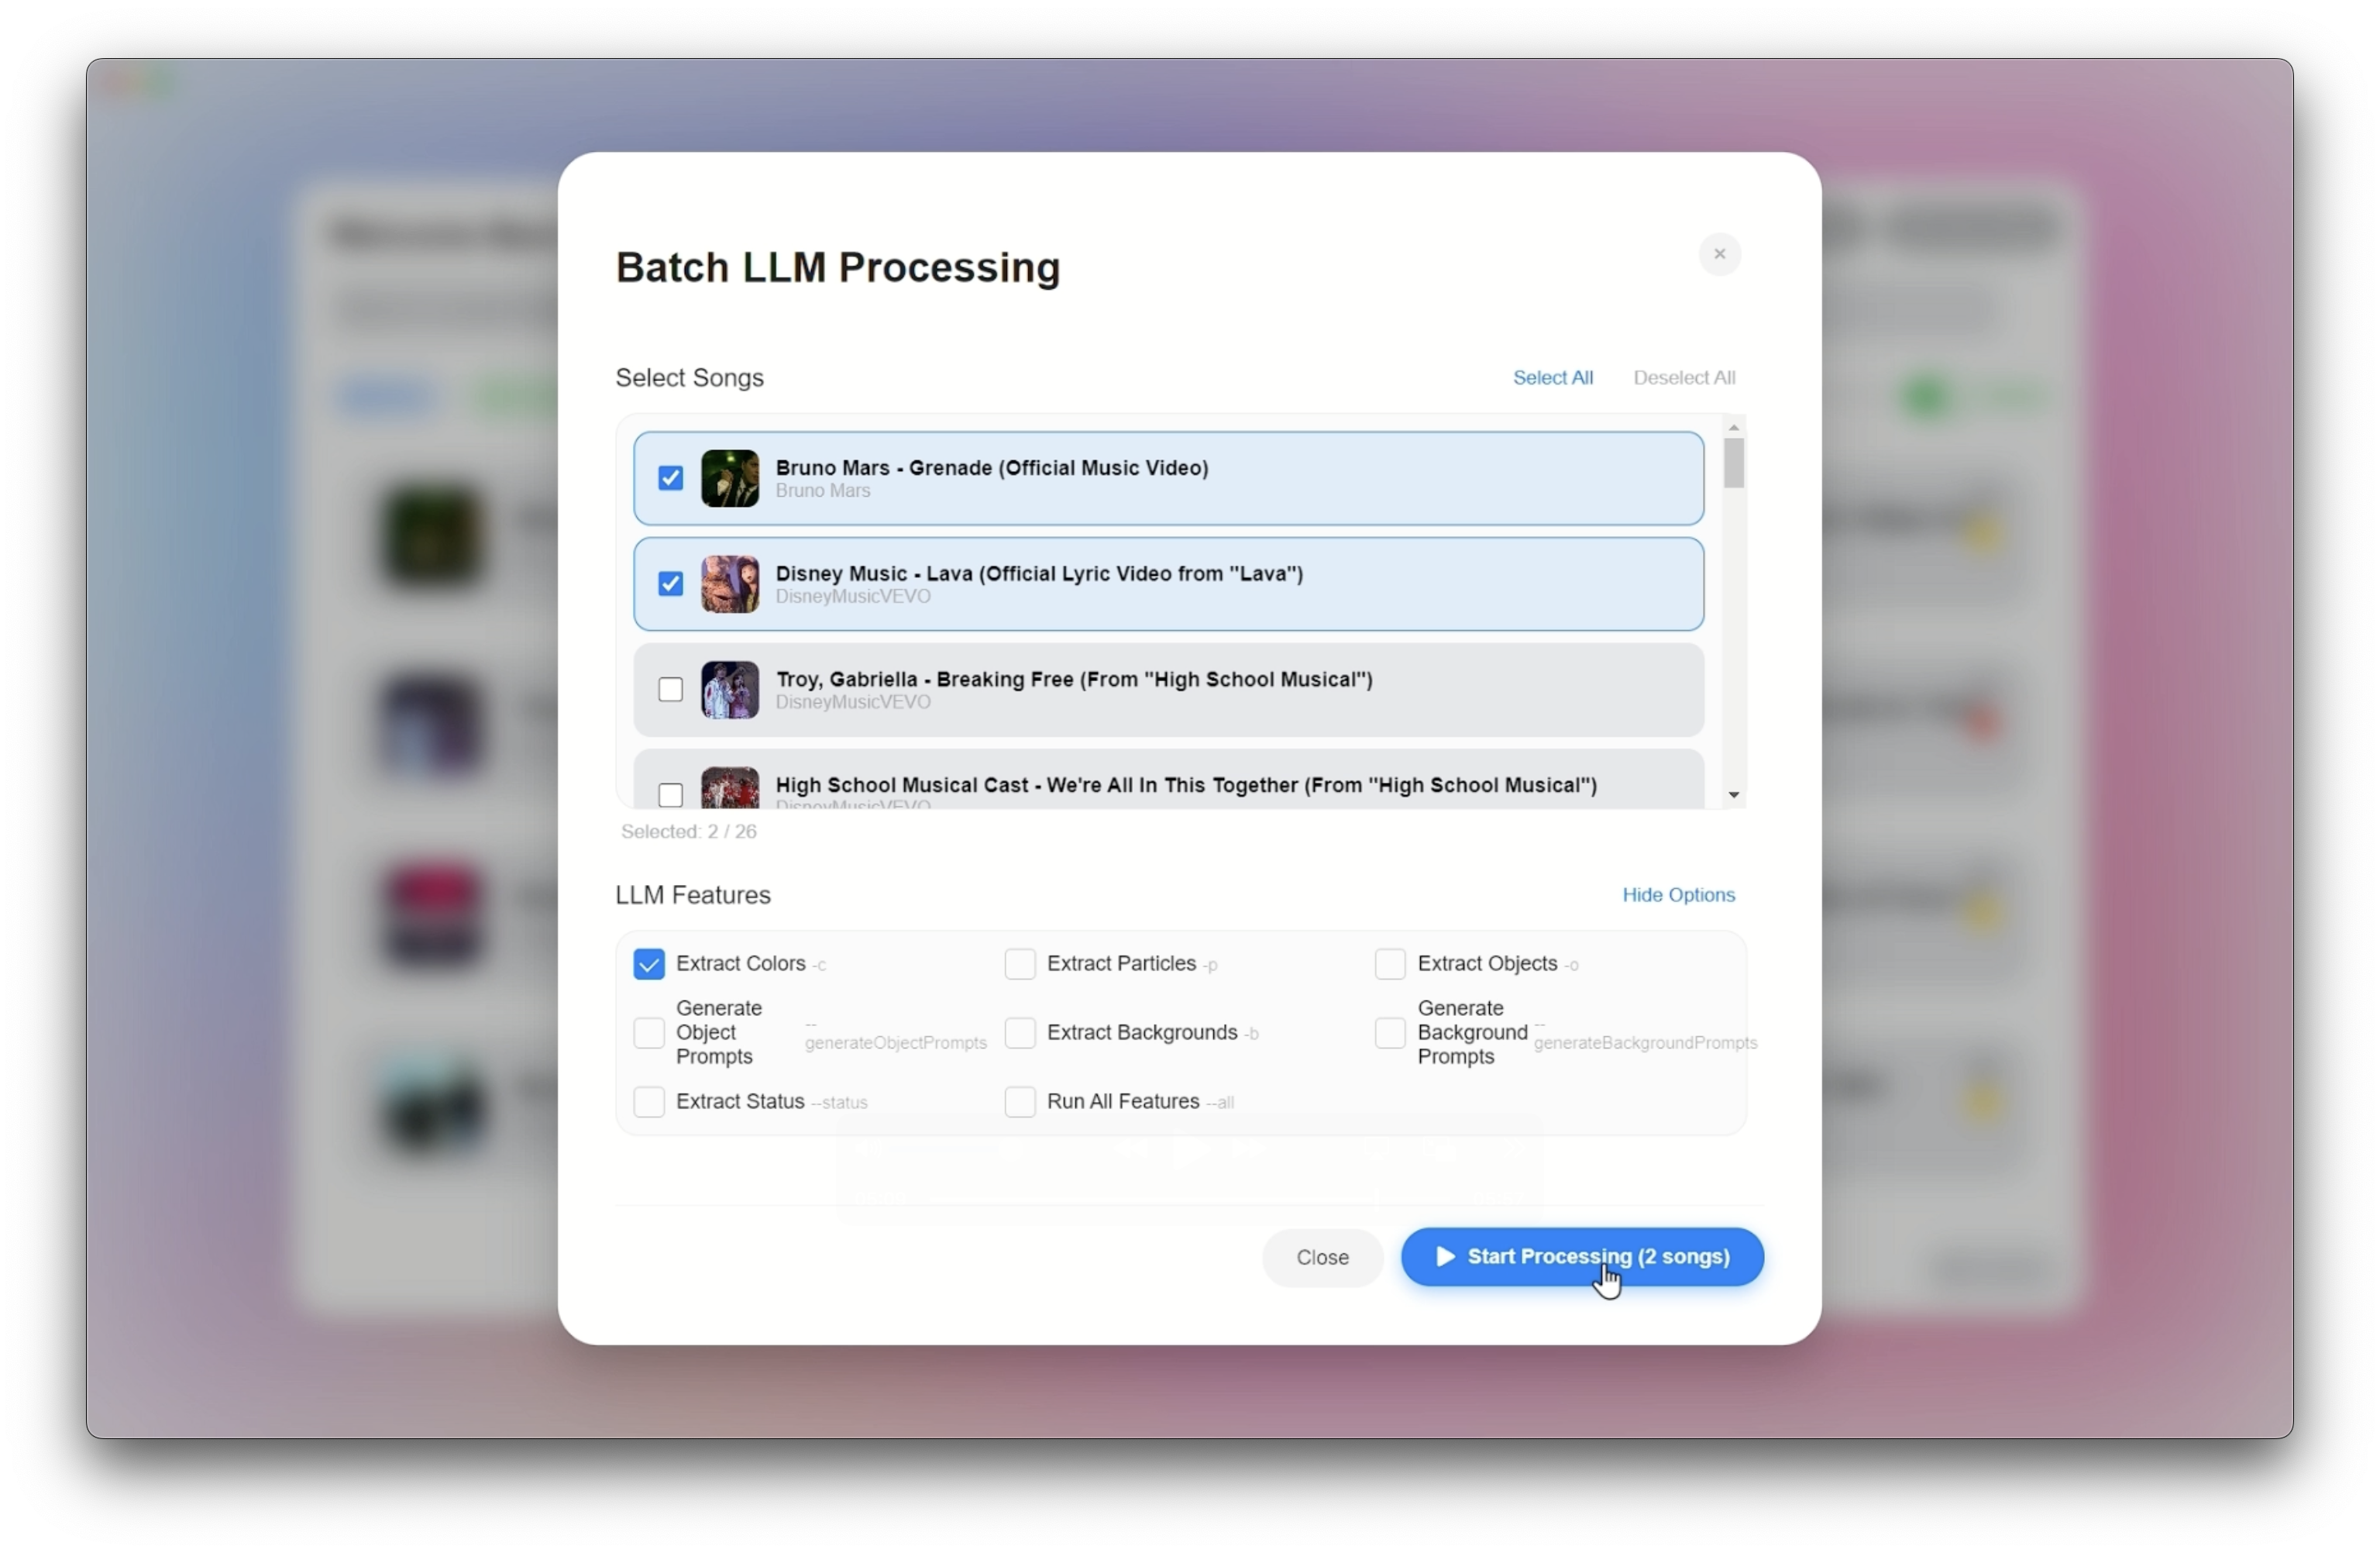
Batch LLM Song Selection
Hue Configuration
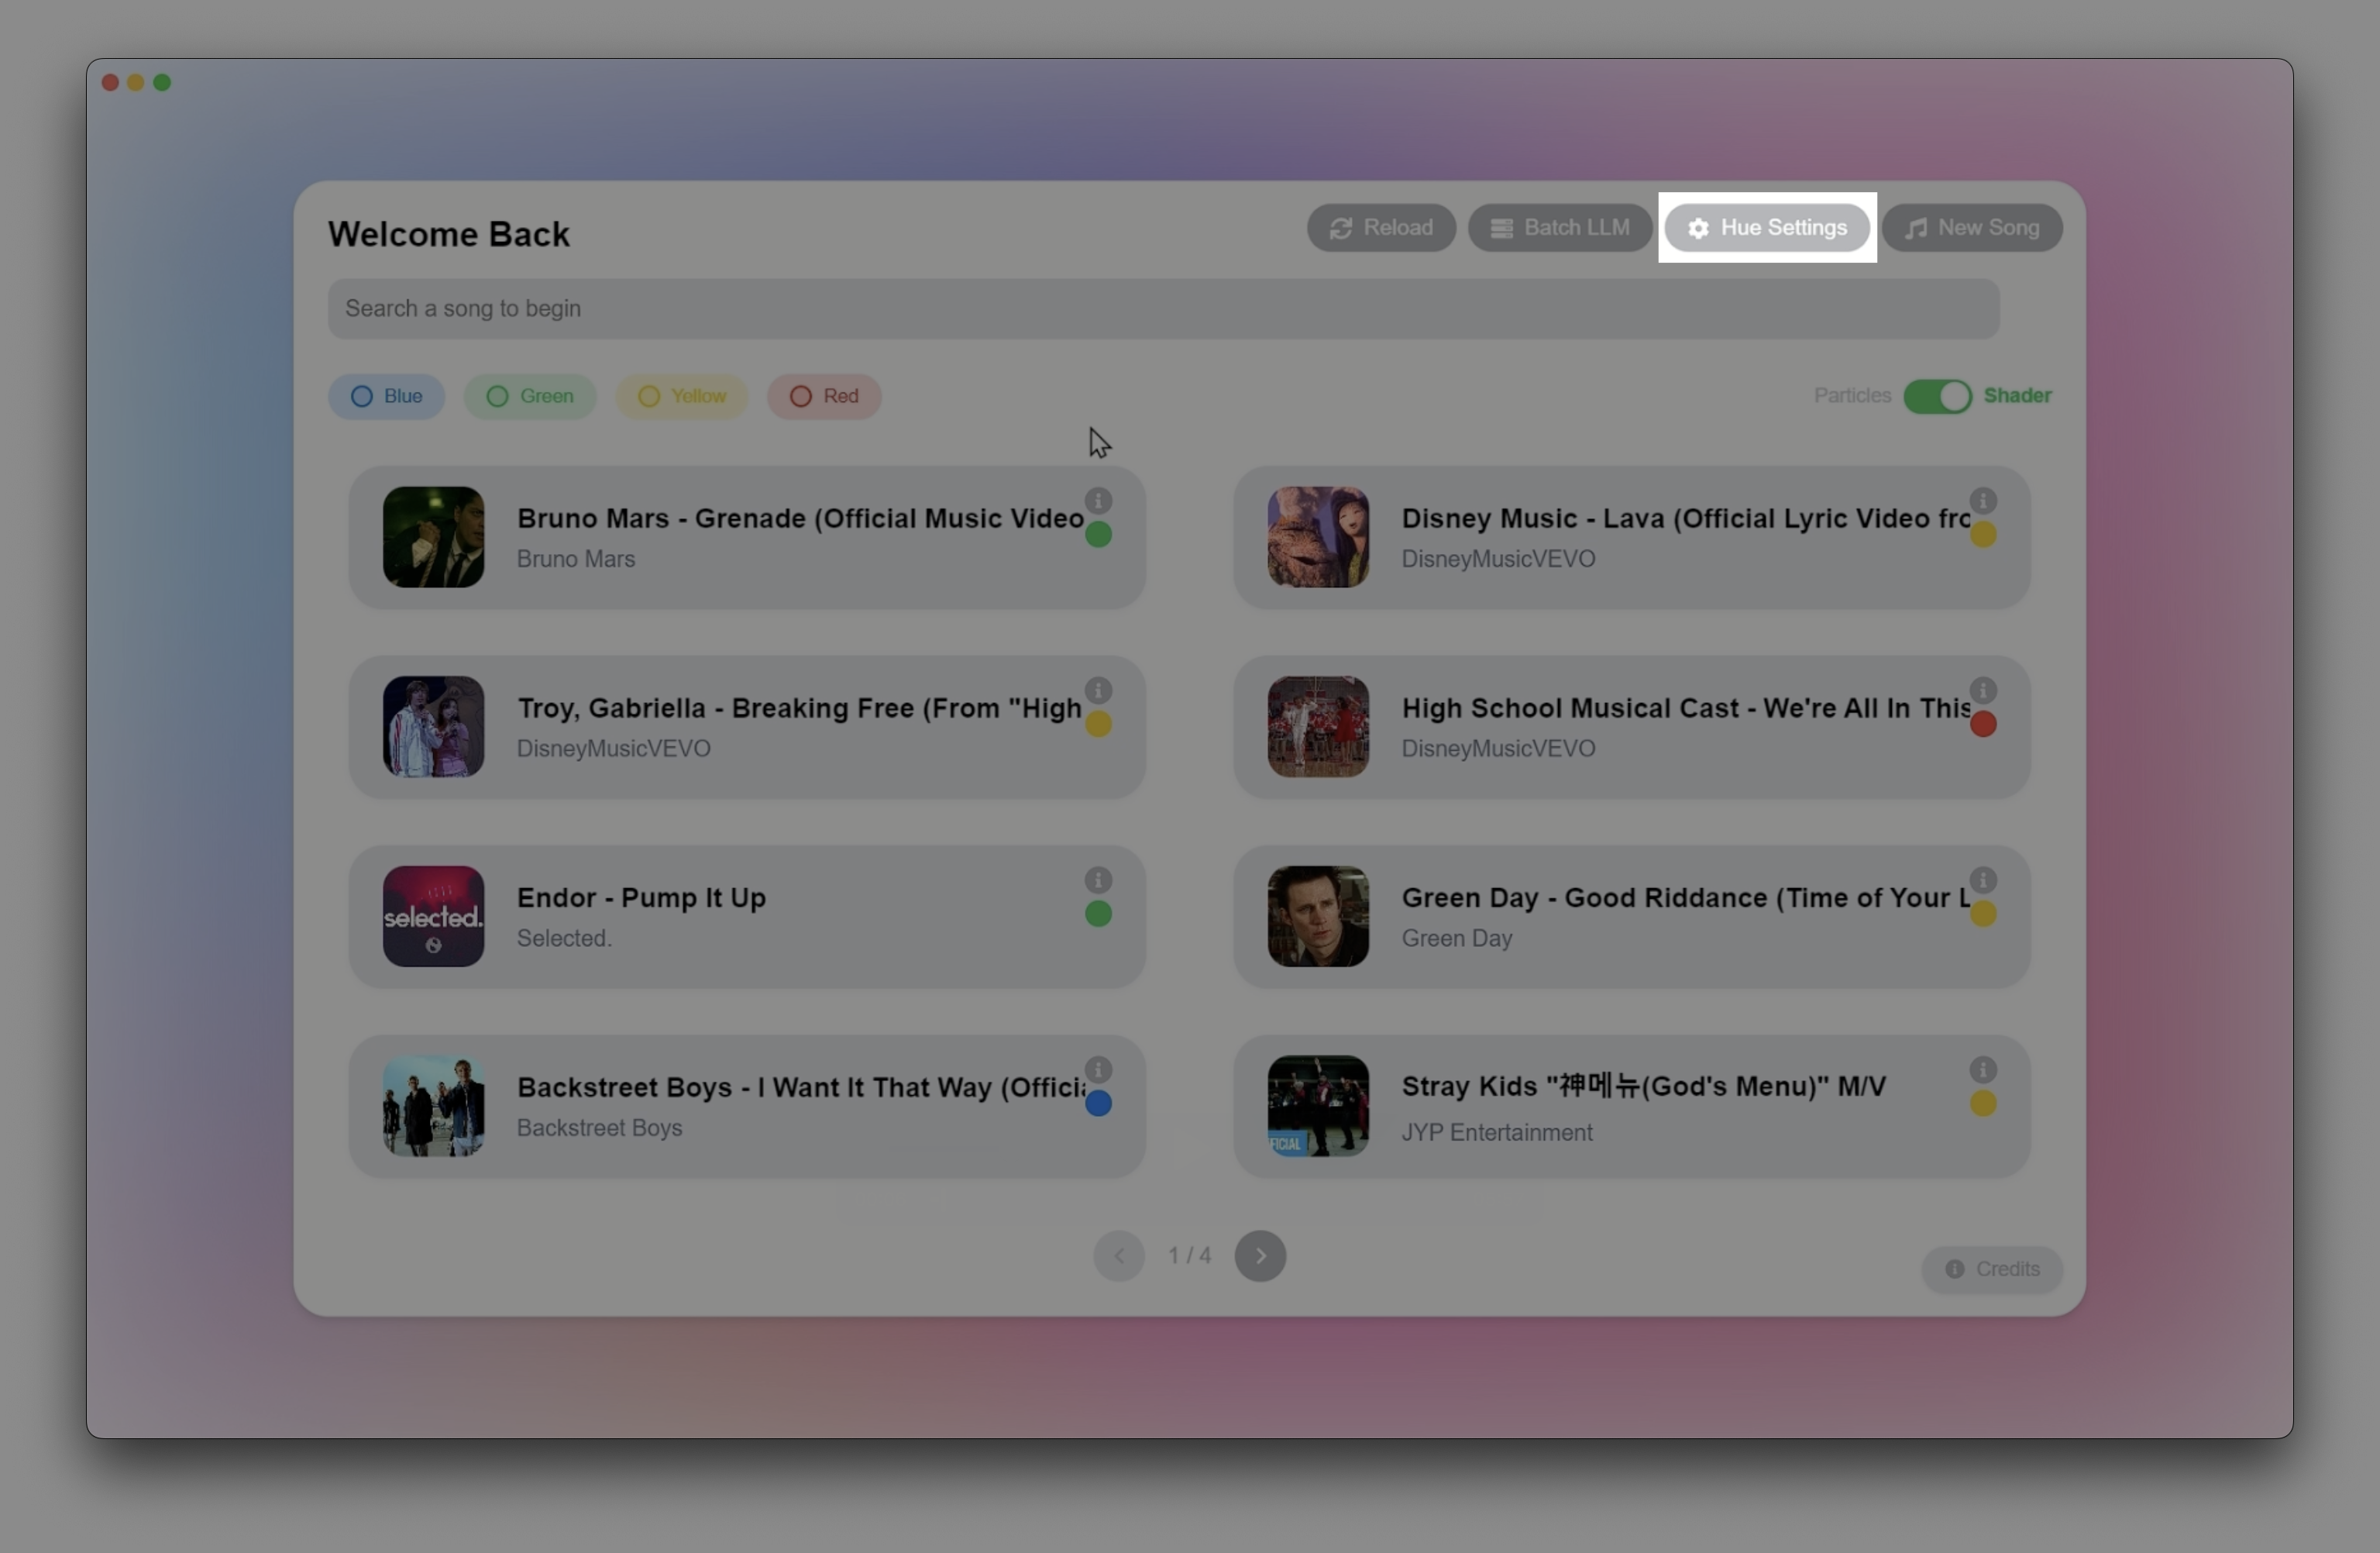
To set up the Hue Lights, press the Hue Settings button from the library.
Hue Settings
You may now be asked to enter the IP Address of your bridge, this can be done by opening the Hue app on your phone.
Press Settings > My Hue System > Hue Bridge ℹ️ and typing in the IP address shown.
-4c5eb14ea345daa832629f015d8299a0.png)
Get IP address from Hue App
Super Happy space will then instruct you on how to complete the bridge set up, including selecting an entertainment area.
At the end of this setup, there is an option to test the lights, the test sequence will make the lights flash to check they are in sync so please be aware of your surroundings when doing this.
Database Reload
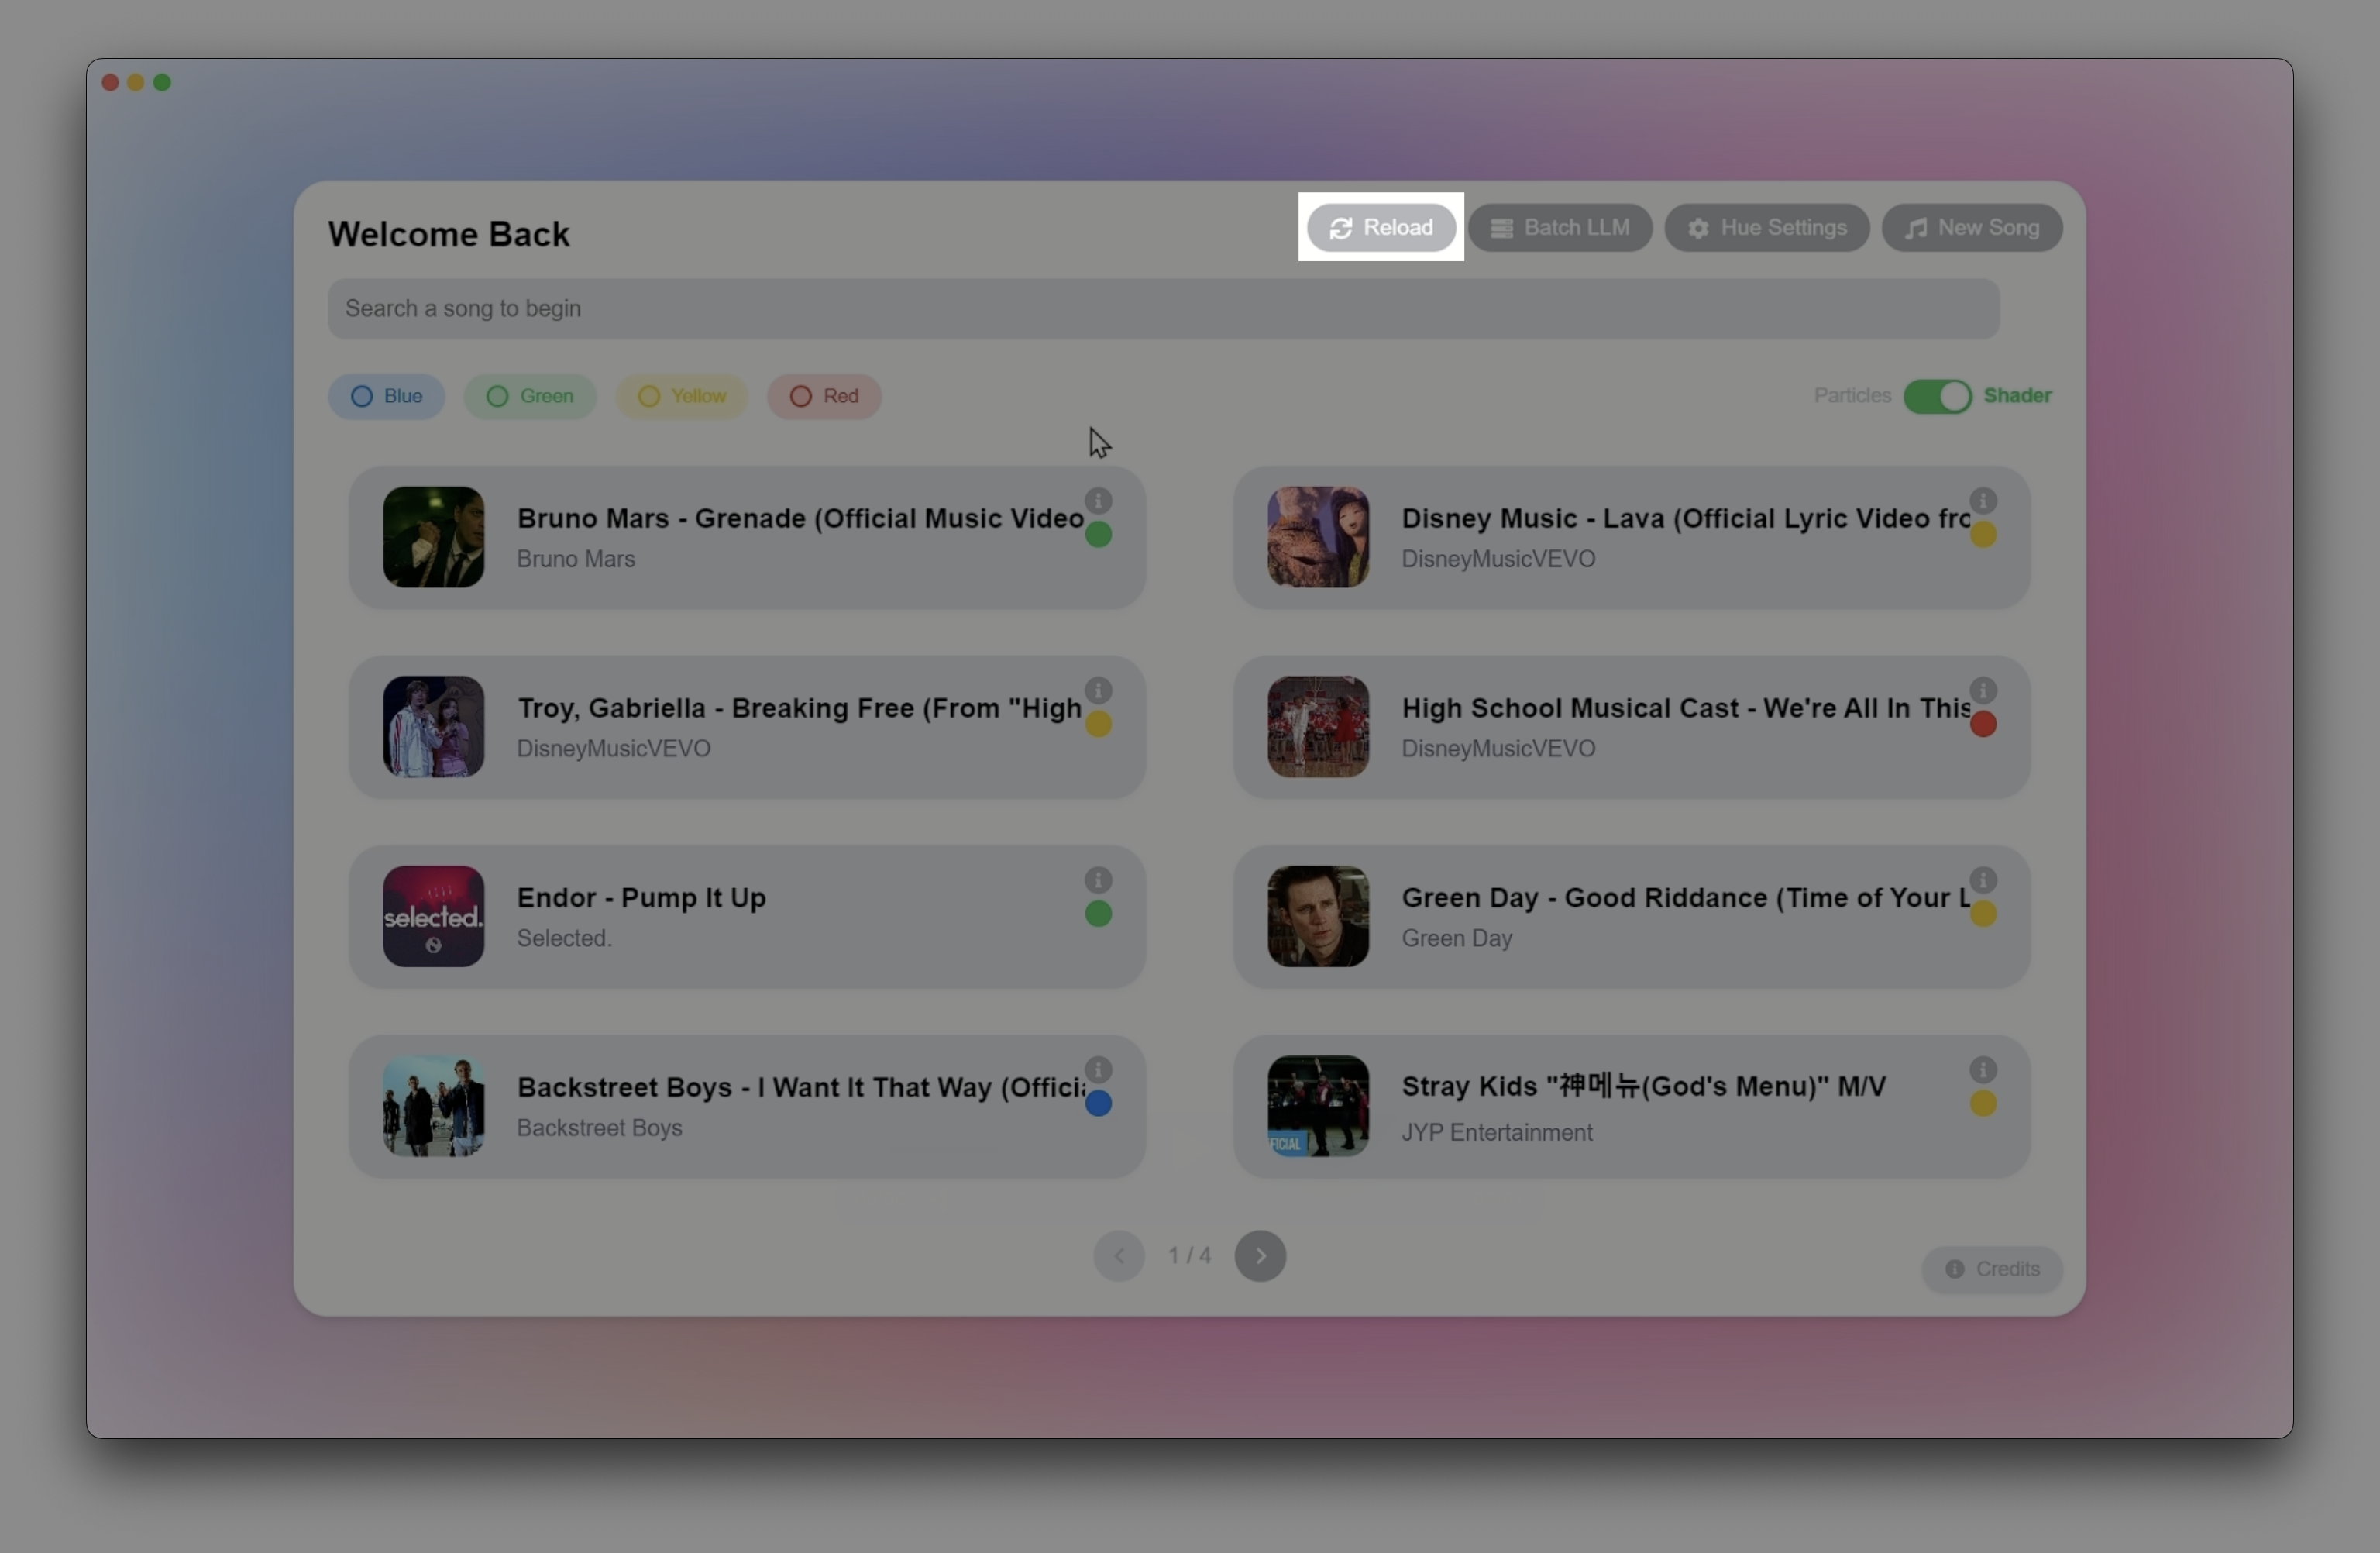
There may be some cases where the database needs to be reloaded, this can be done by pressing the reload button at the top of the library.
Database Reload