Management
Credentials
These credentials should be used just for testing purposes:
- Patient: username: 9999999995, password: pass1234
Clinician: username: 0000000000, password: pass1234
RESTful API server: http://neuroresponse.uksouth.cloudapp.azure.com
User manual
iOS
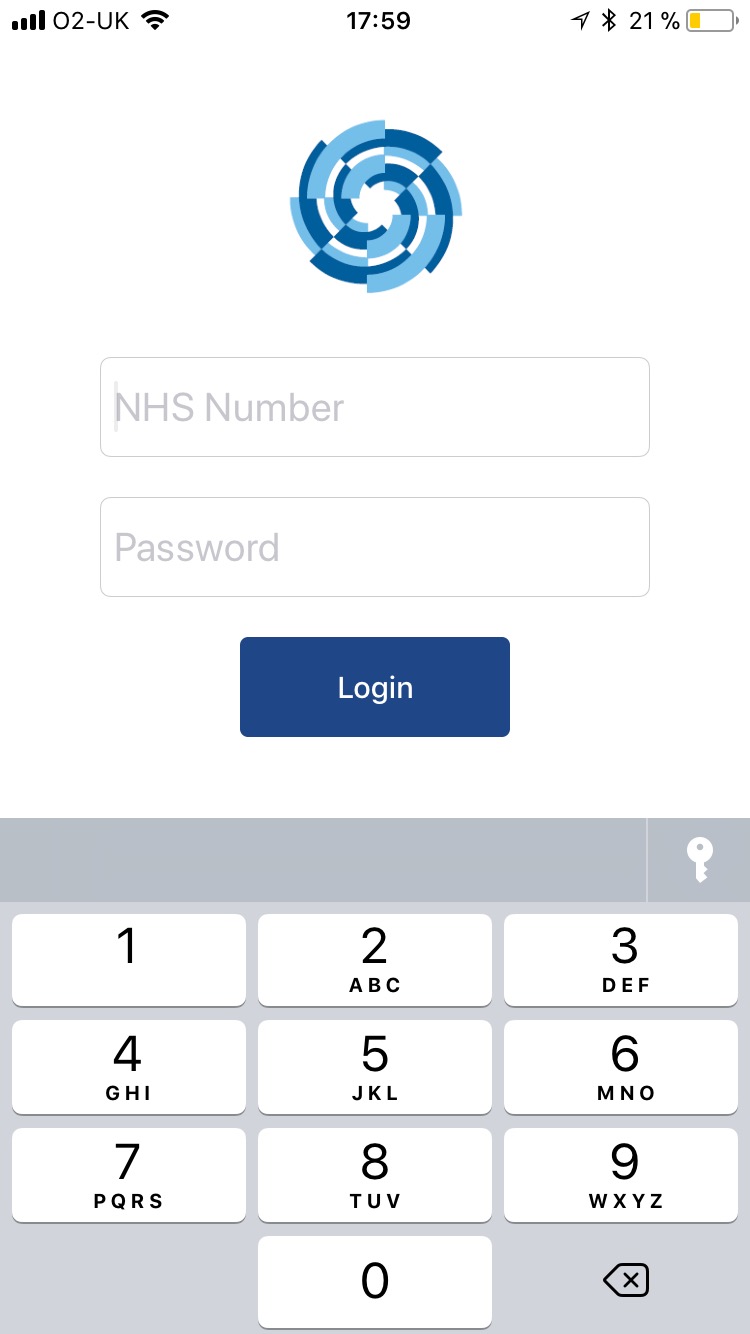
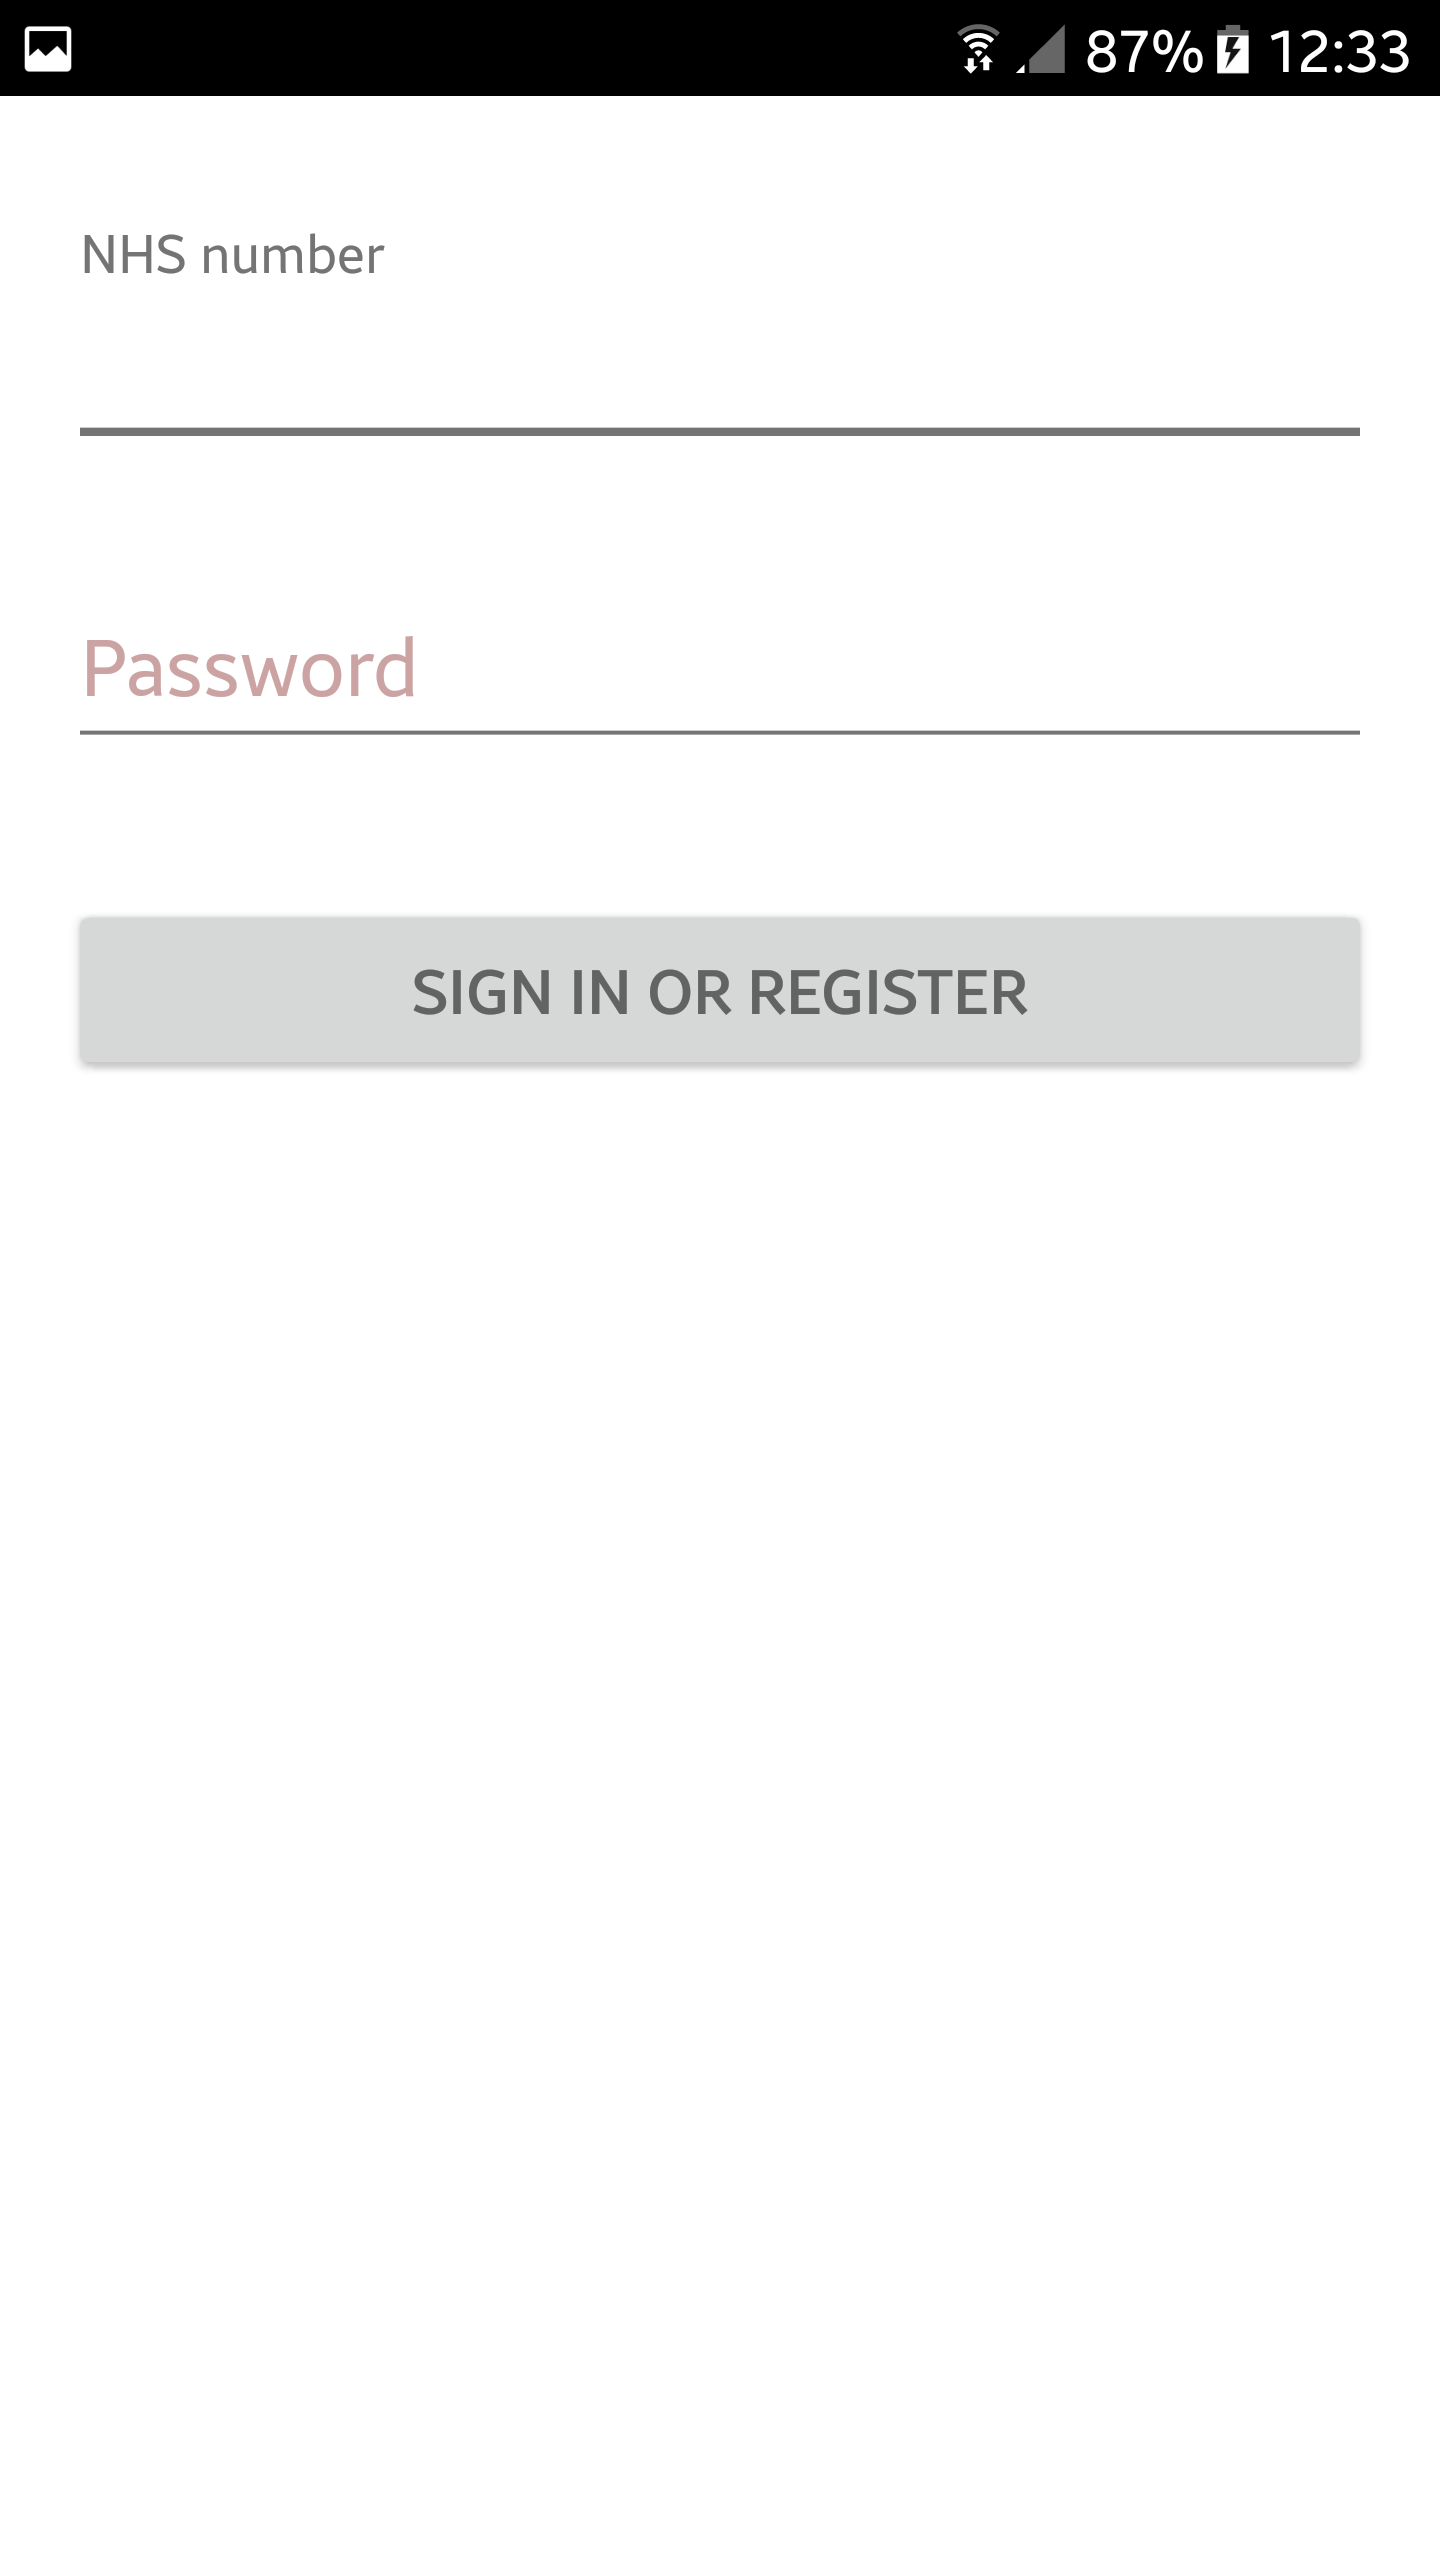
- Login in with your NHS Number and the code given by your clinician.
- You are in the tracking view. You can choose to either record, a symptom a side effect or view your recorded data history. The graph will show you an overview of your last recorded symptoms.

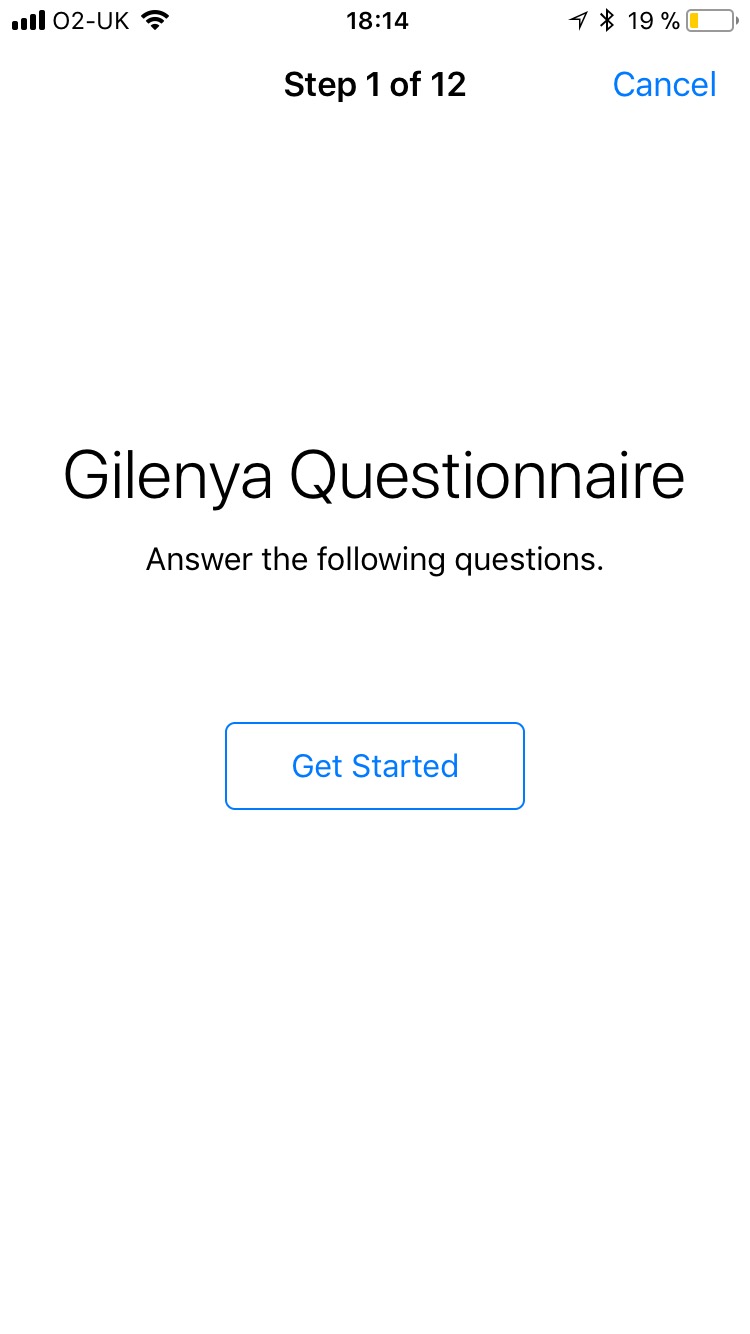
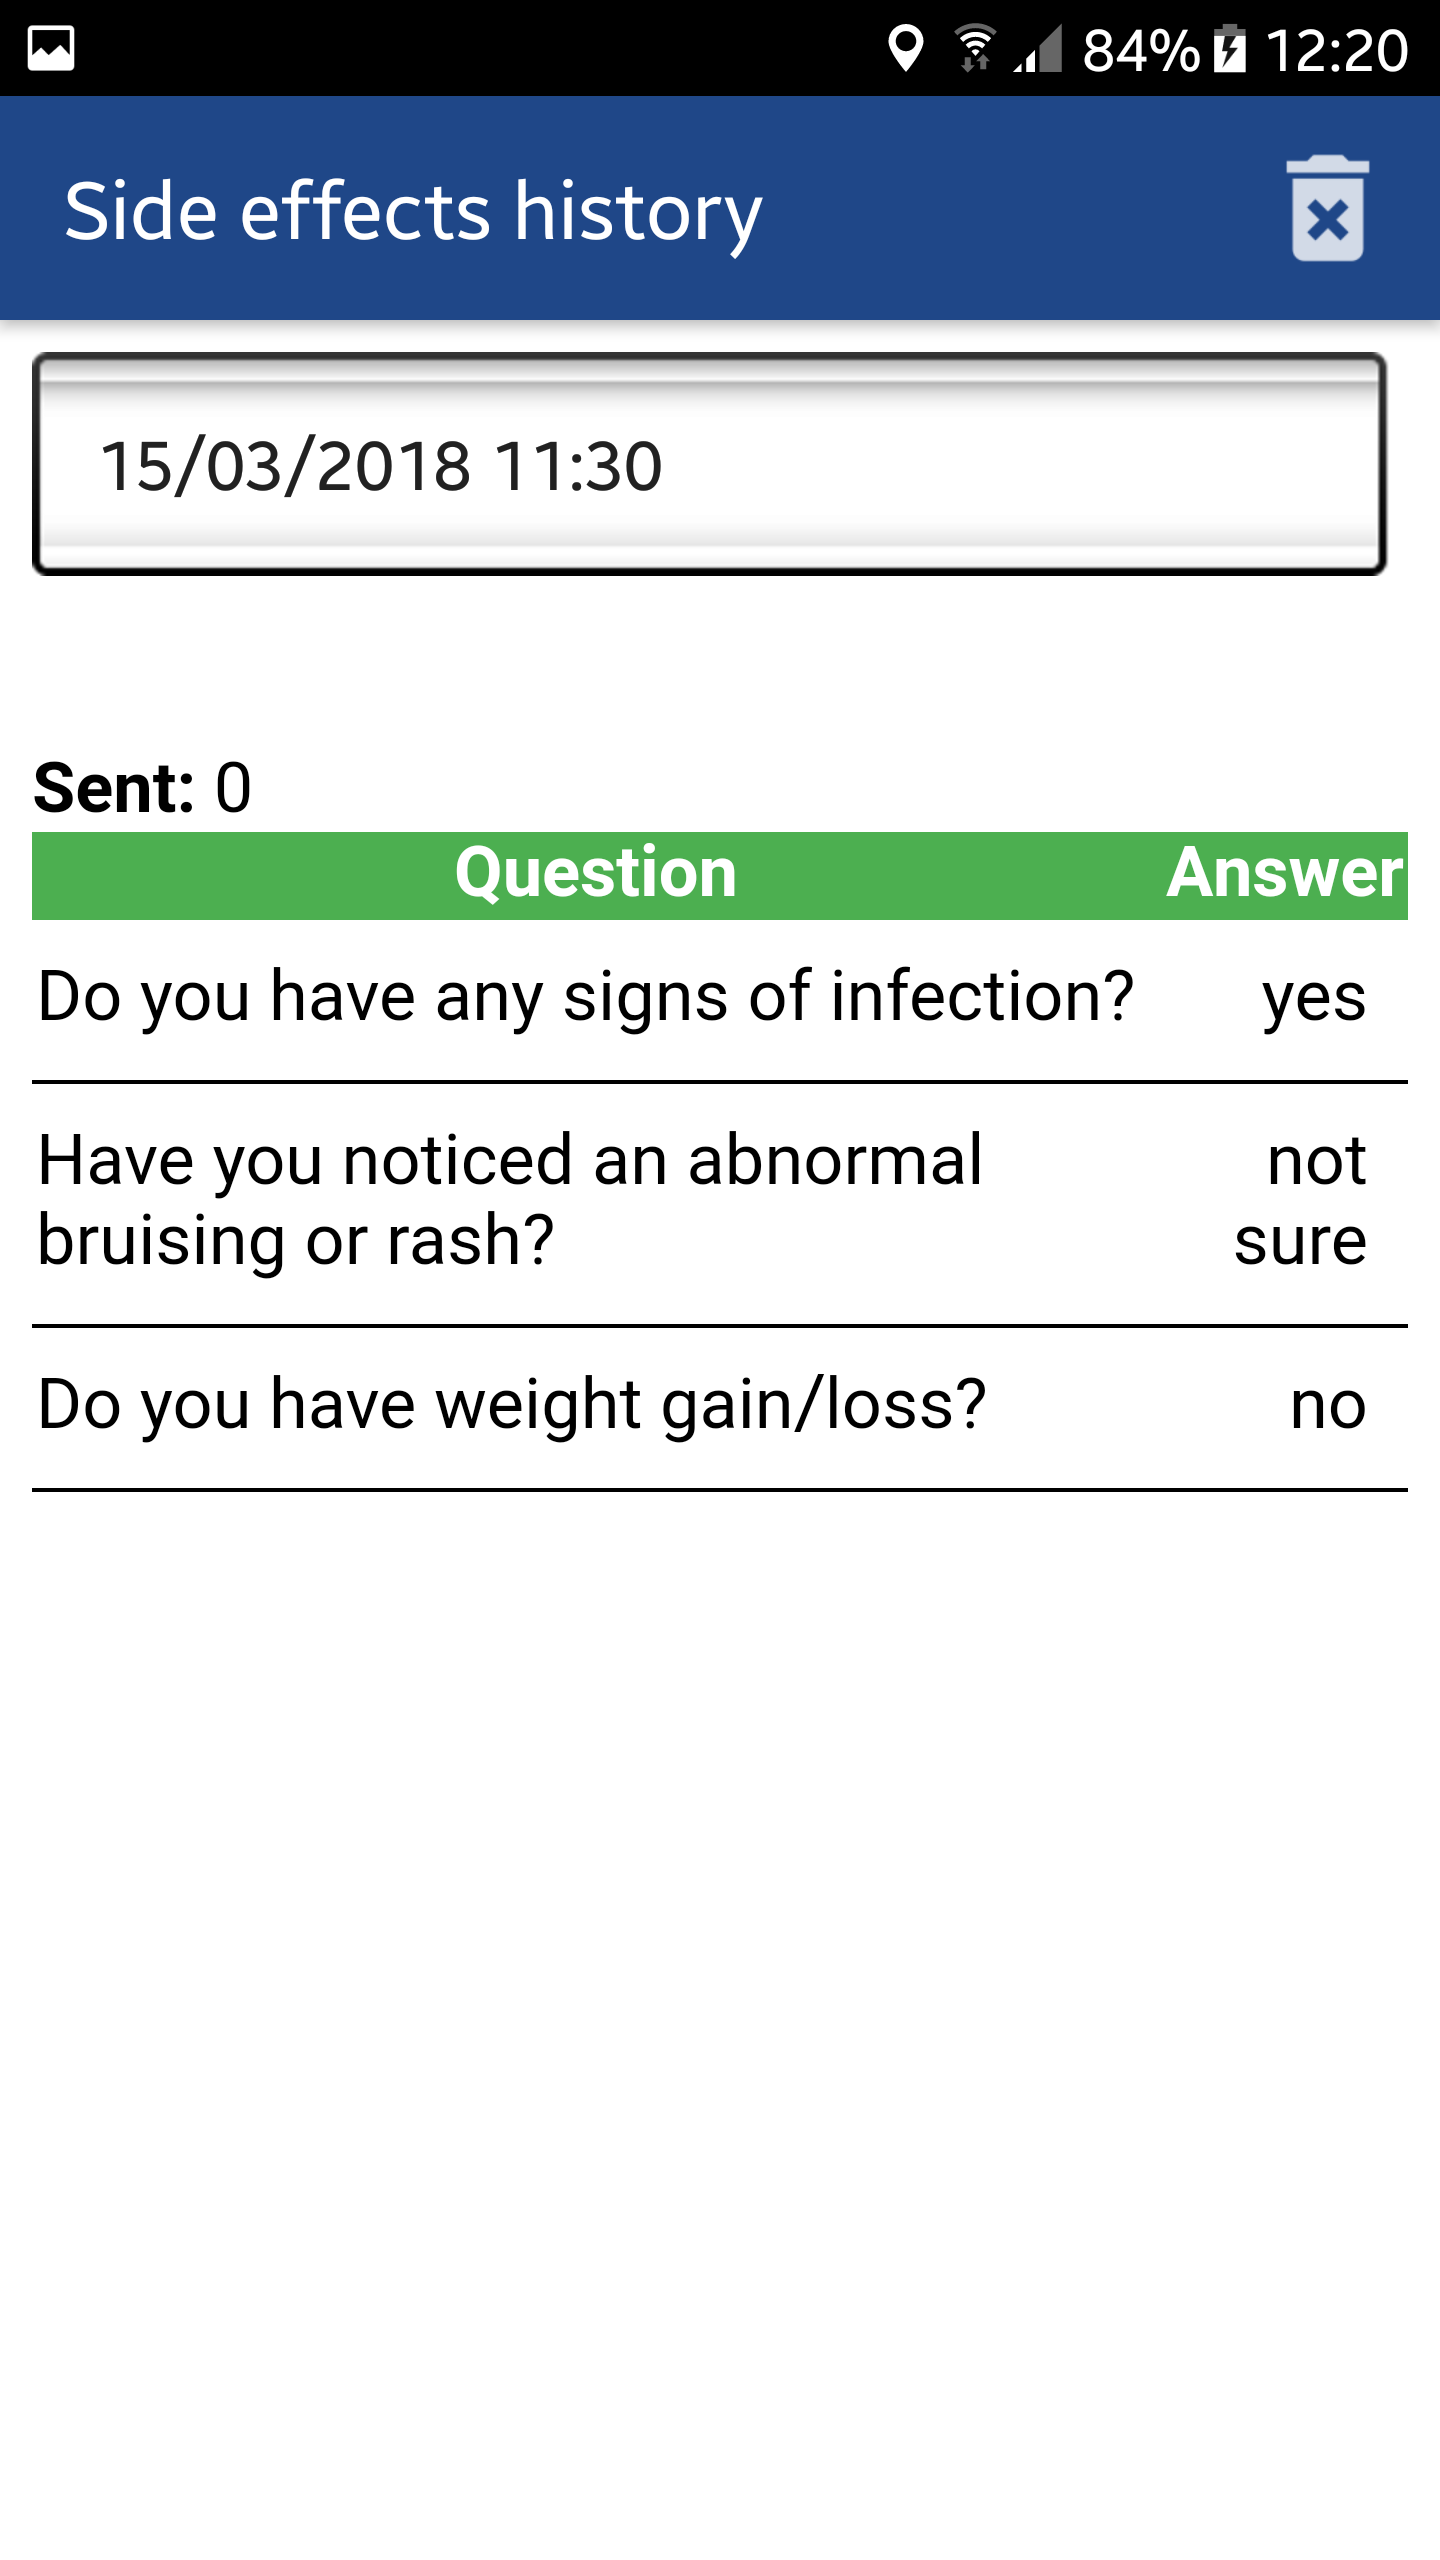
- If you decide to record a side effect, a custom questionnaire will show up according to the drug course you are on.
- If you decide to record a symptom, a general list of symptoms will show up. Select one and another view for the specific symptoms will appear.

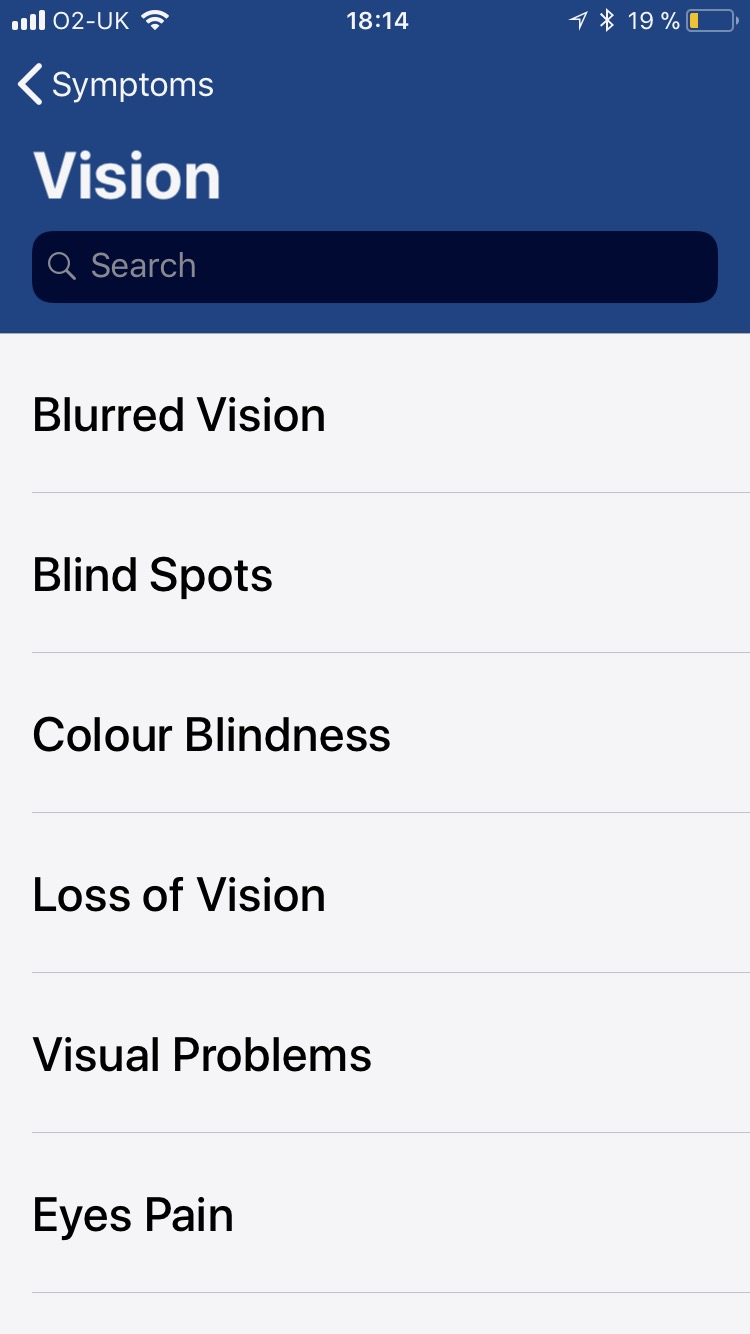
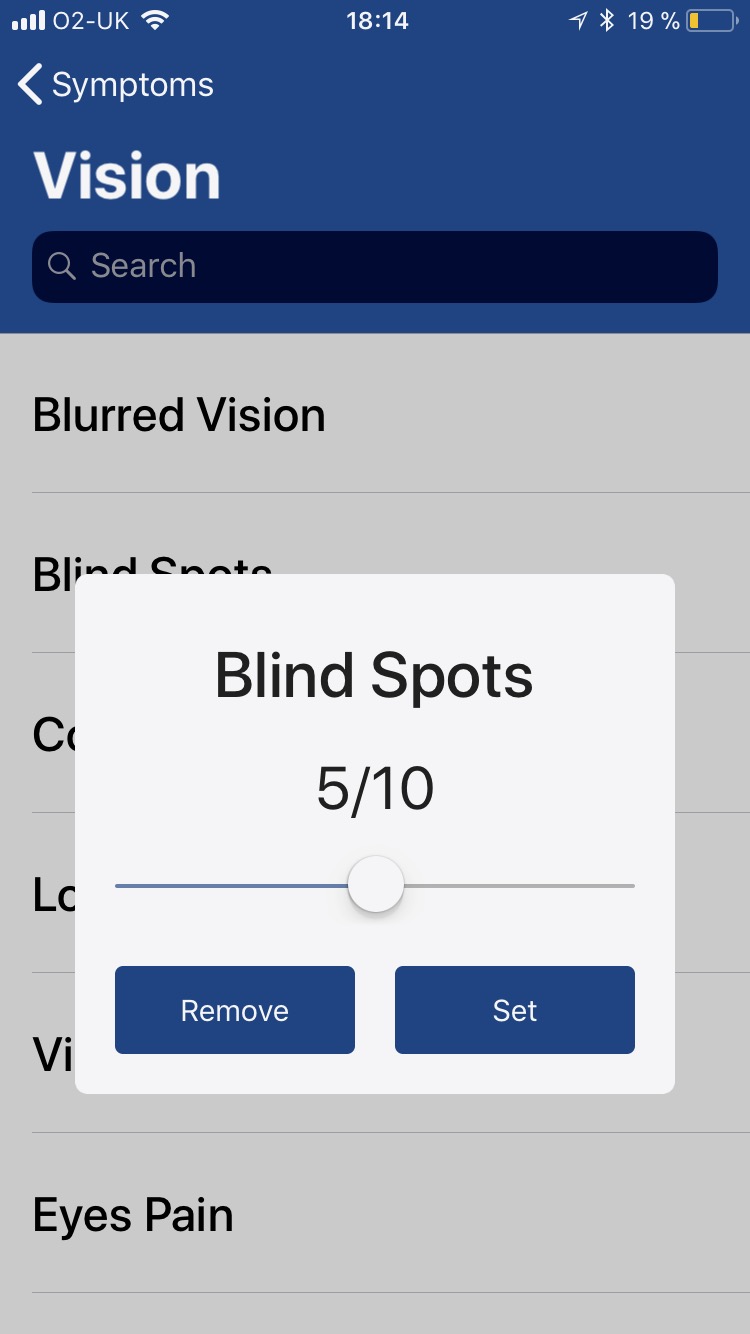
- Now, select a symptom and set the scale. Once you have recorded a symptom, a checkmark will appear next to it.
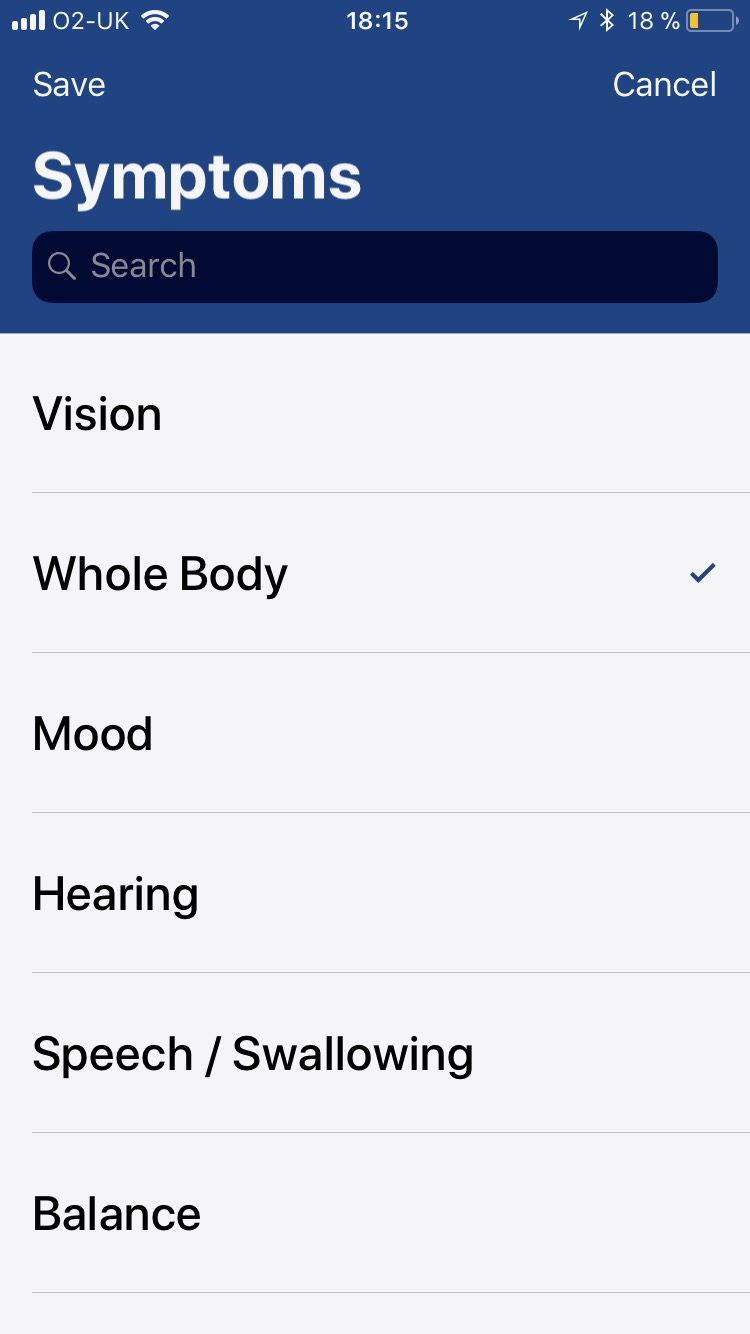
- Record as many symptoms as you want. Then, go back to the general symptom list and click save. If you want to discard the recorded symptoms, just click cancel.

- If you want to add an appointment, go to the appointments view. Click the add button and set the appointment.
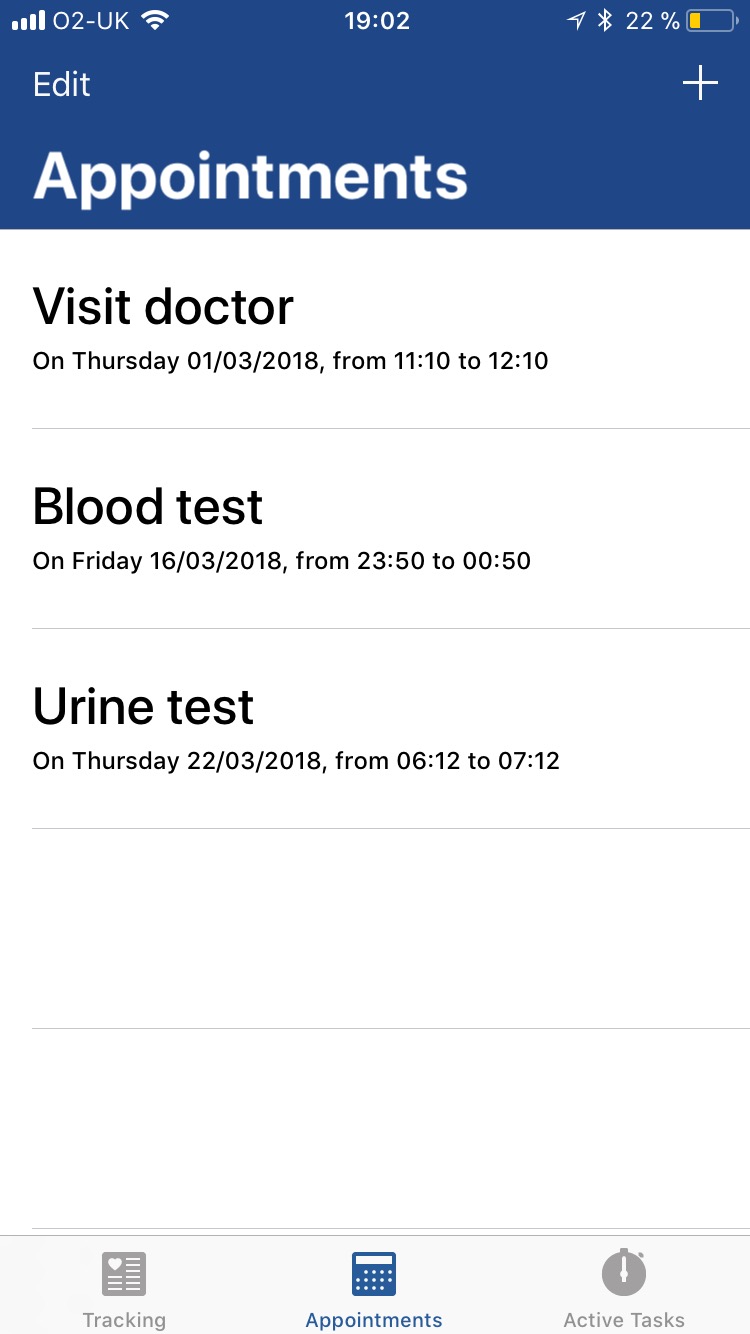
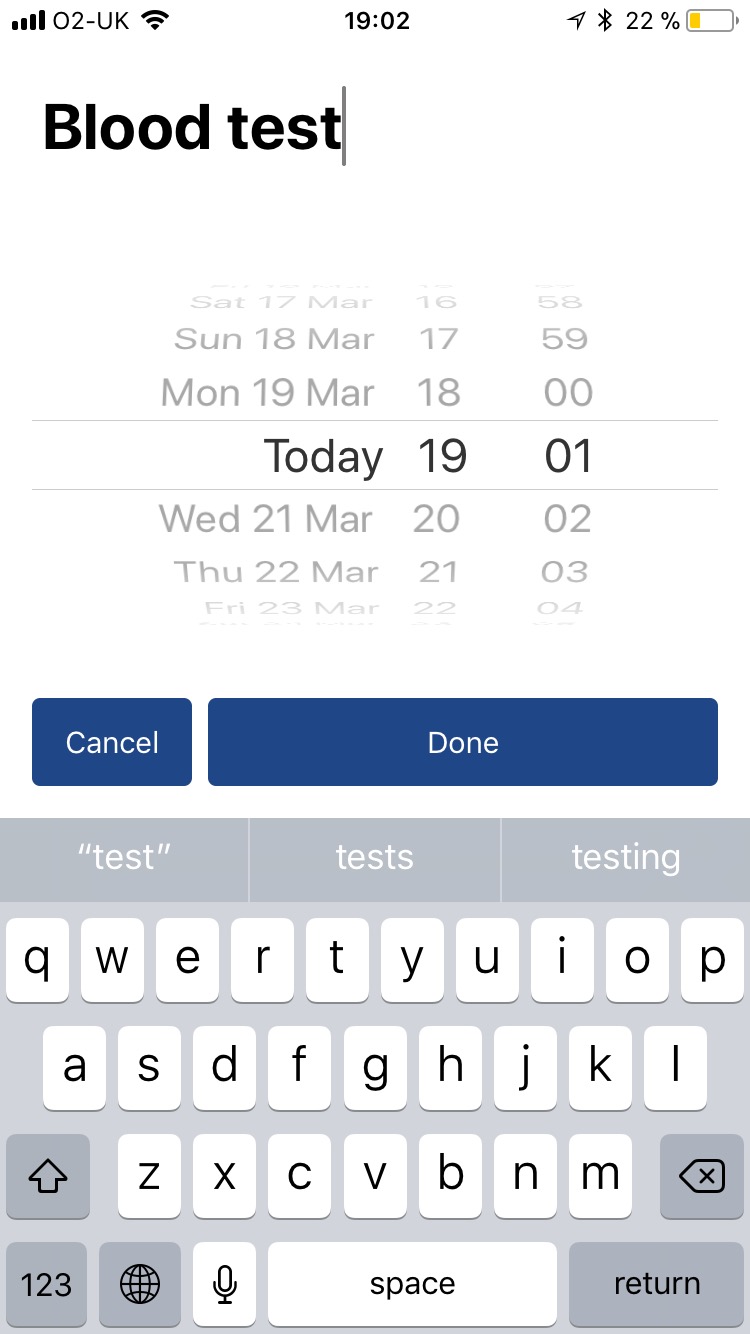
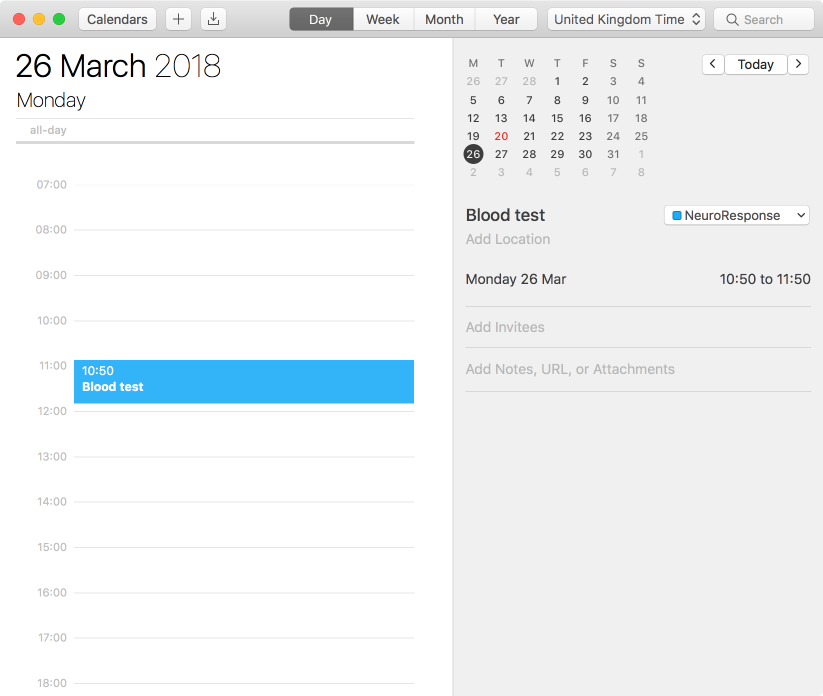
- Once you save it, it will be synced with your device calendar. For example, if you are using iCloud, it will automatically be synced with your calendar.
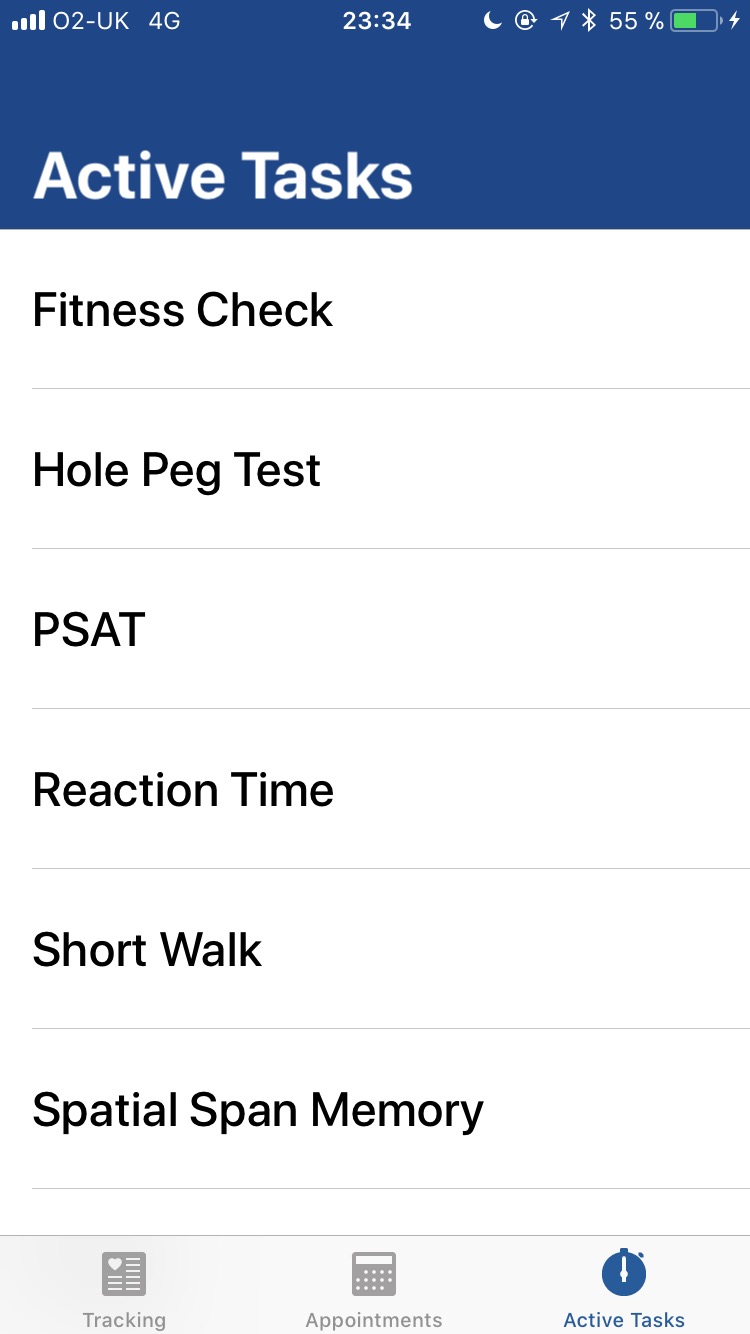
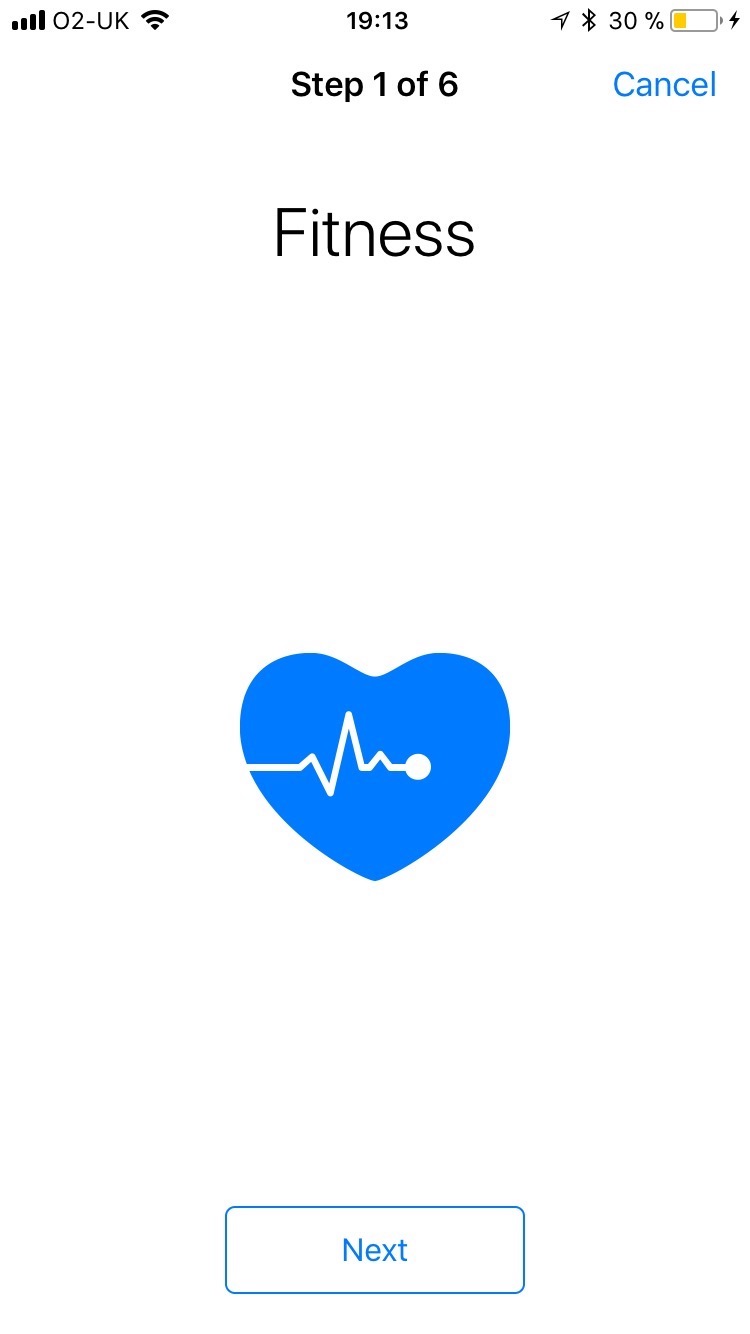
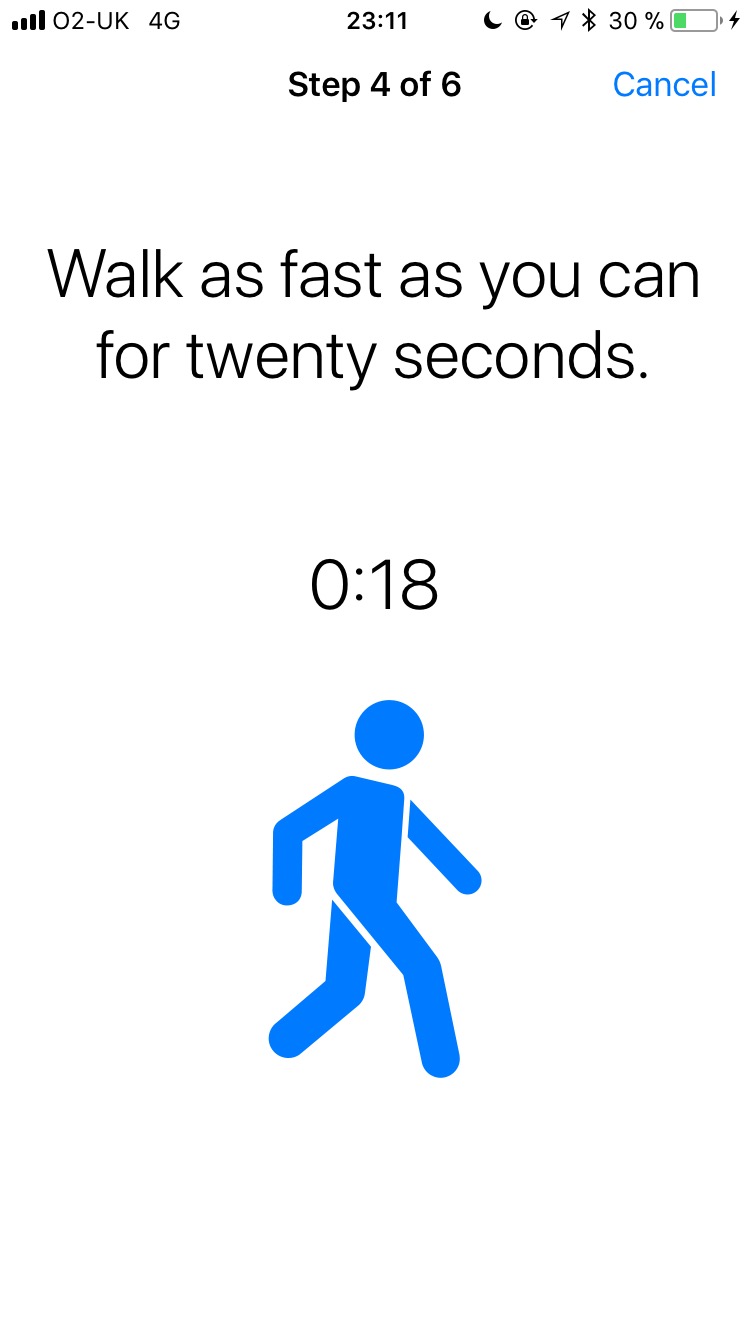
- Finally if you want to record an Active Task, go to the Active Tasks view and select a task. You just need to follow the steps, you will be guided on how to perform it. If you want to cancel it at any moment just click the cancel button.
Android
- Input NHS number and password and press submit.
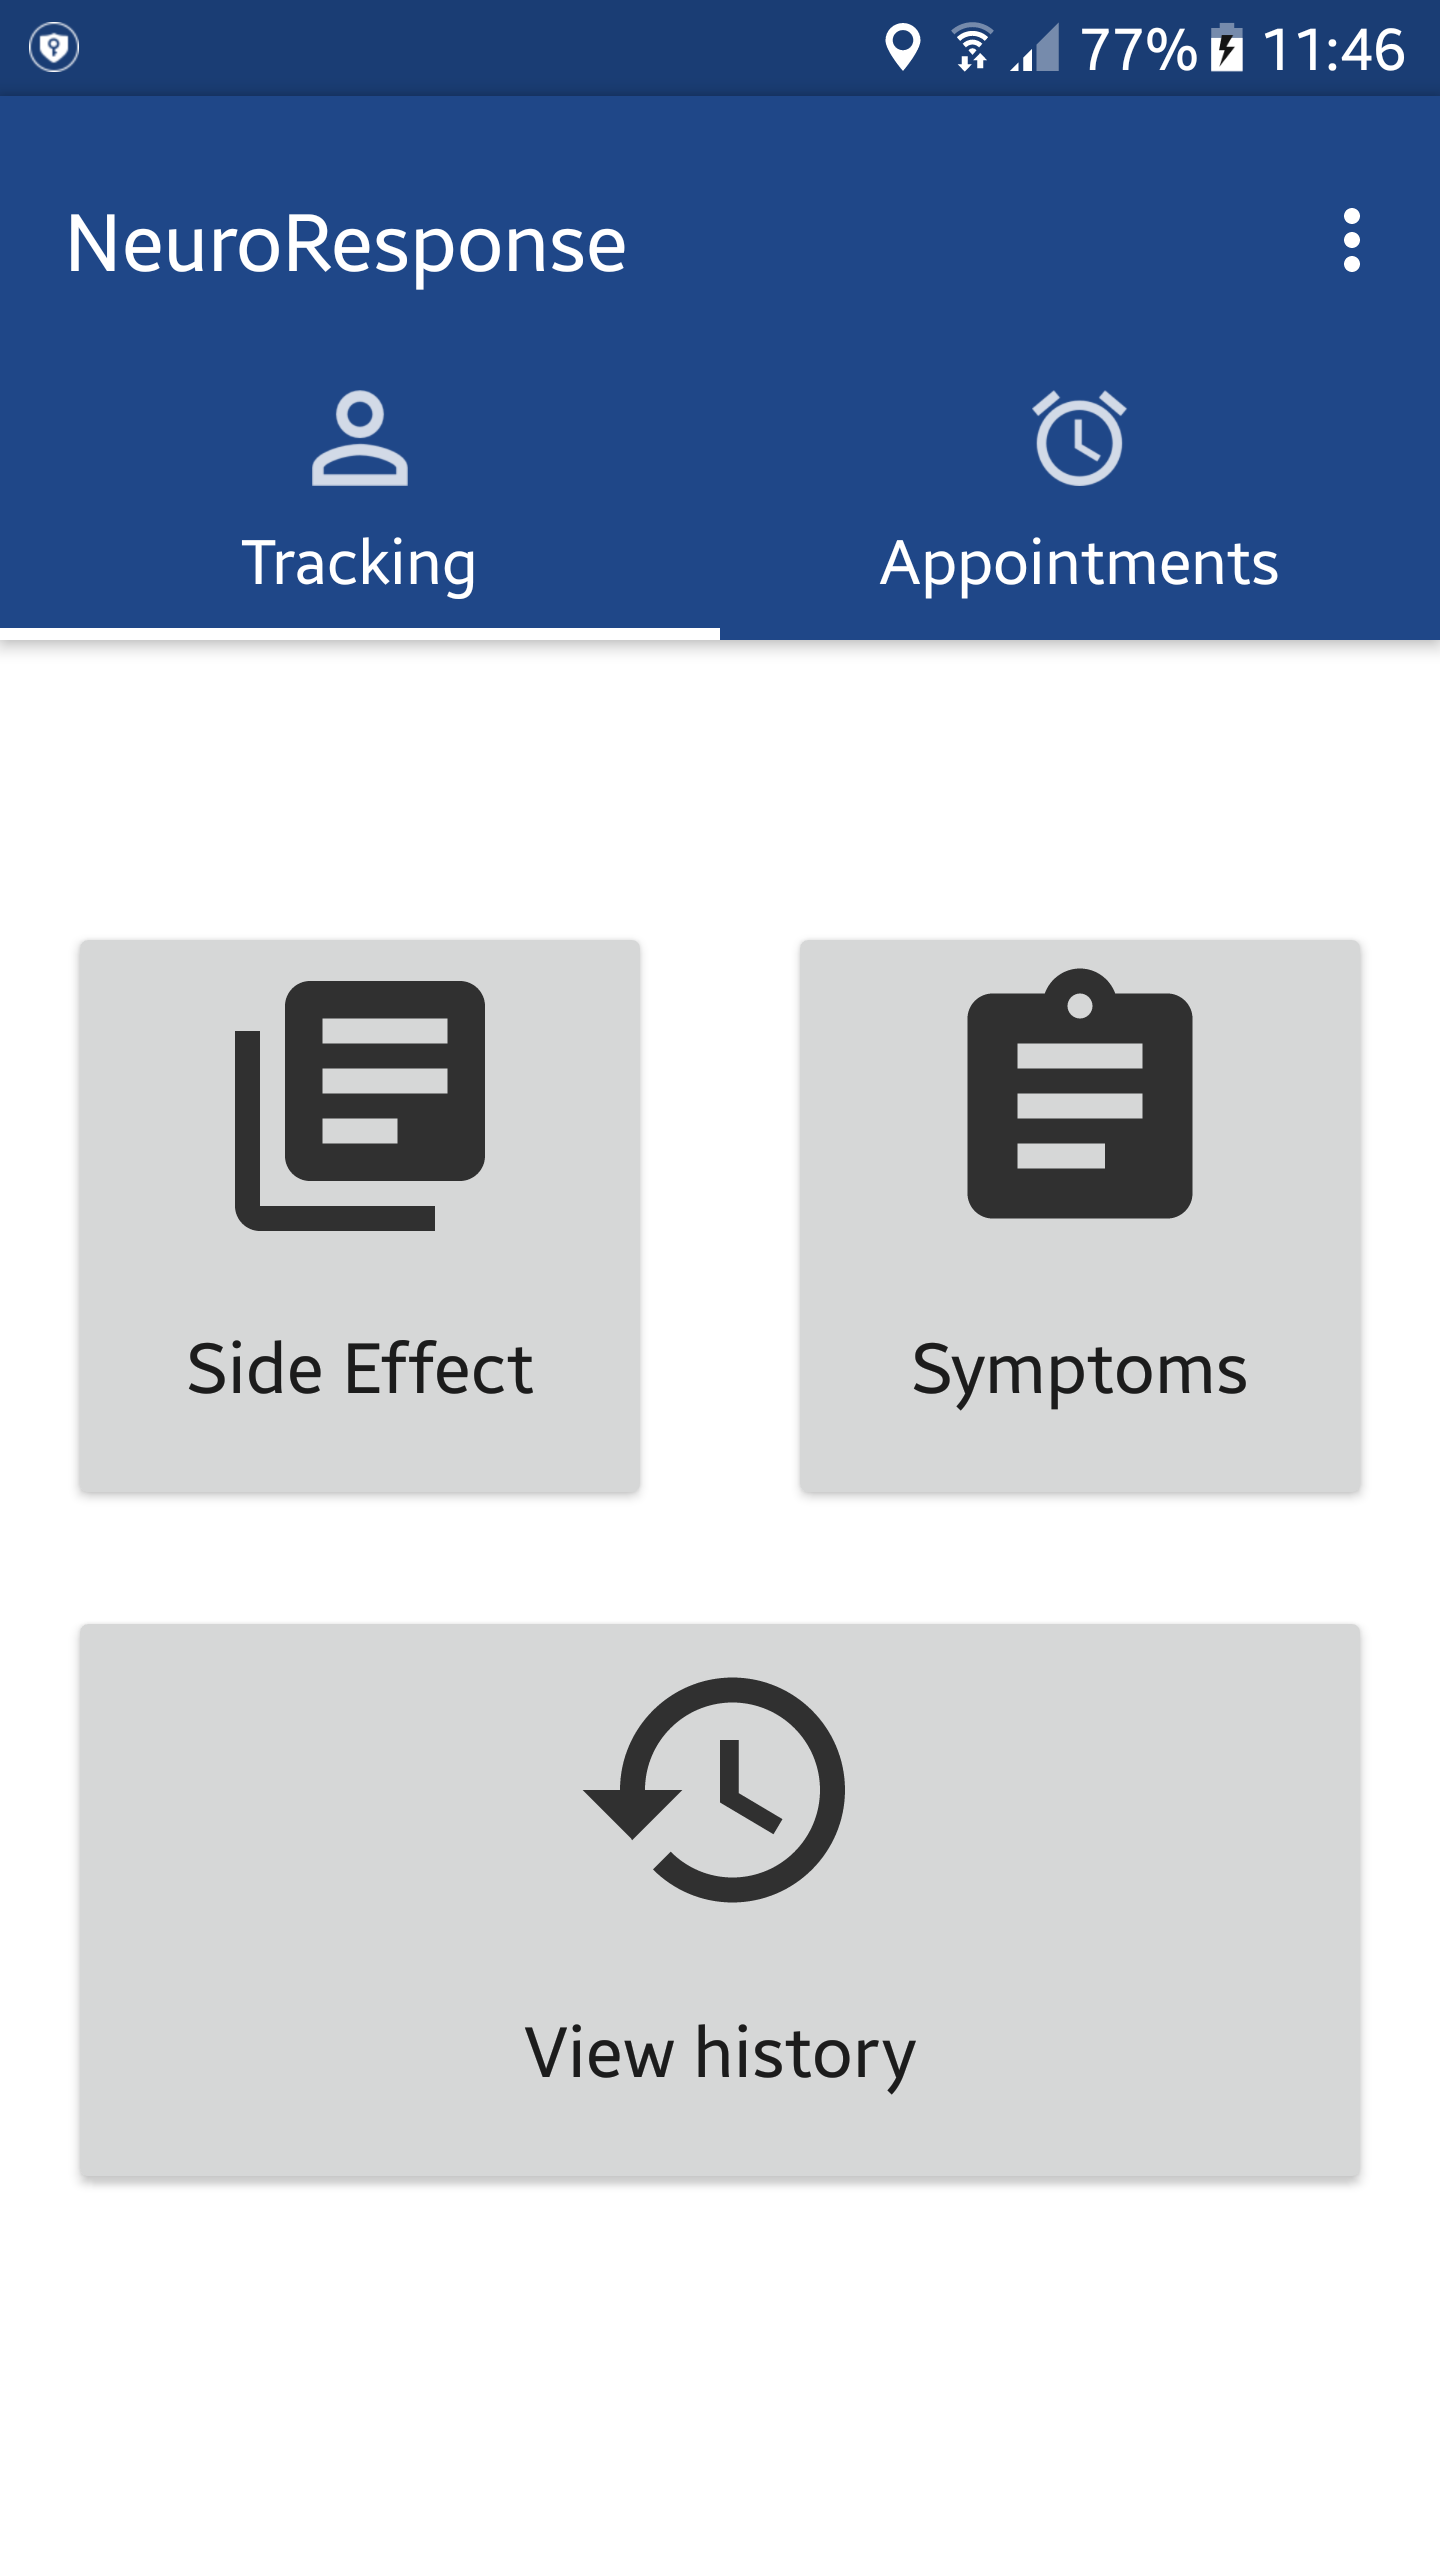
- If you are registered in in the system you will be redirected to the main screen. Here you can record a Symptom and a Side Effect, as well as view history.
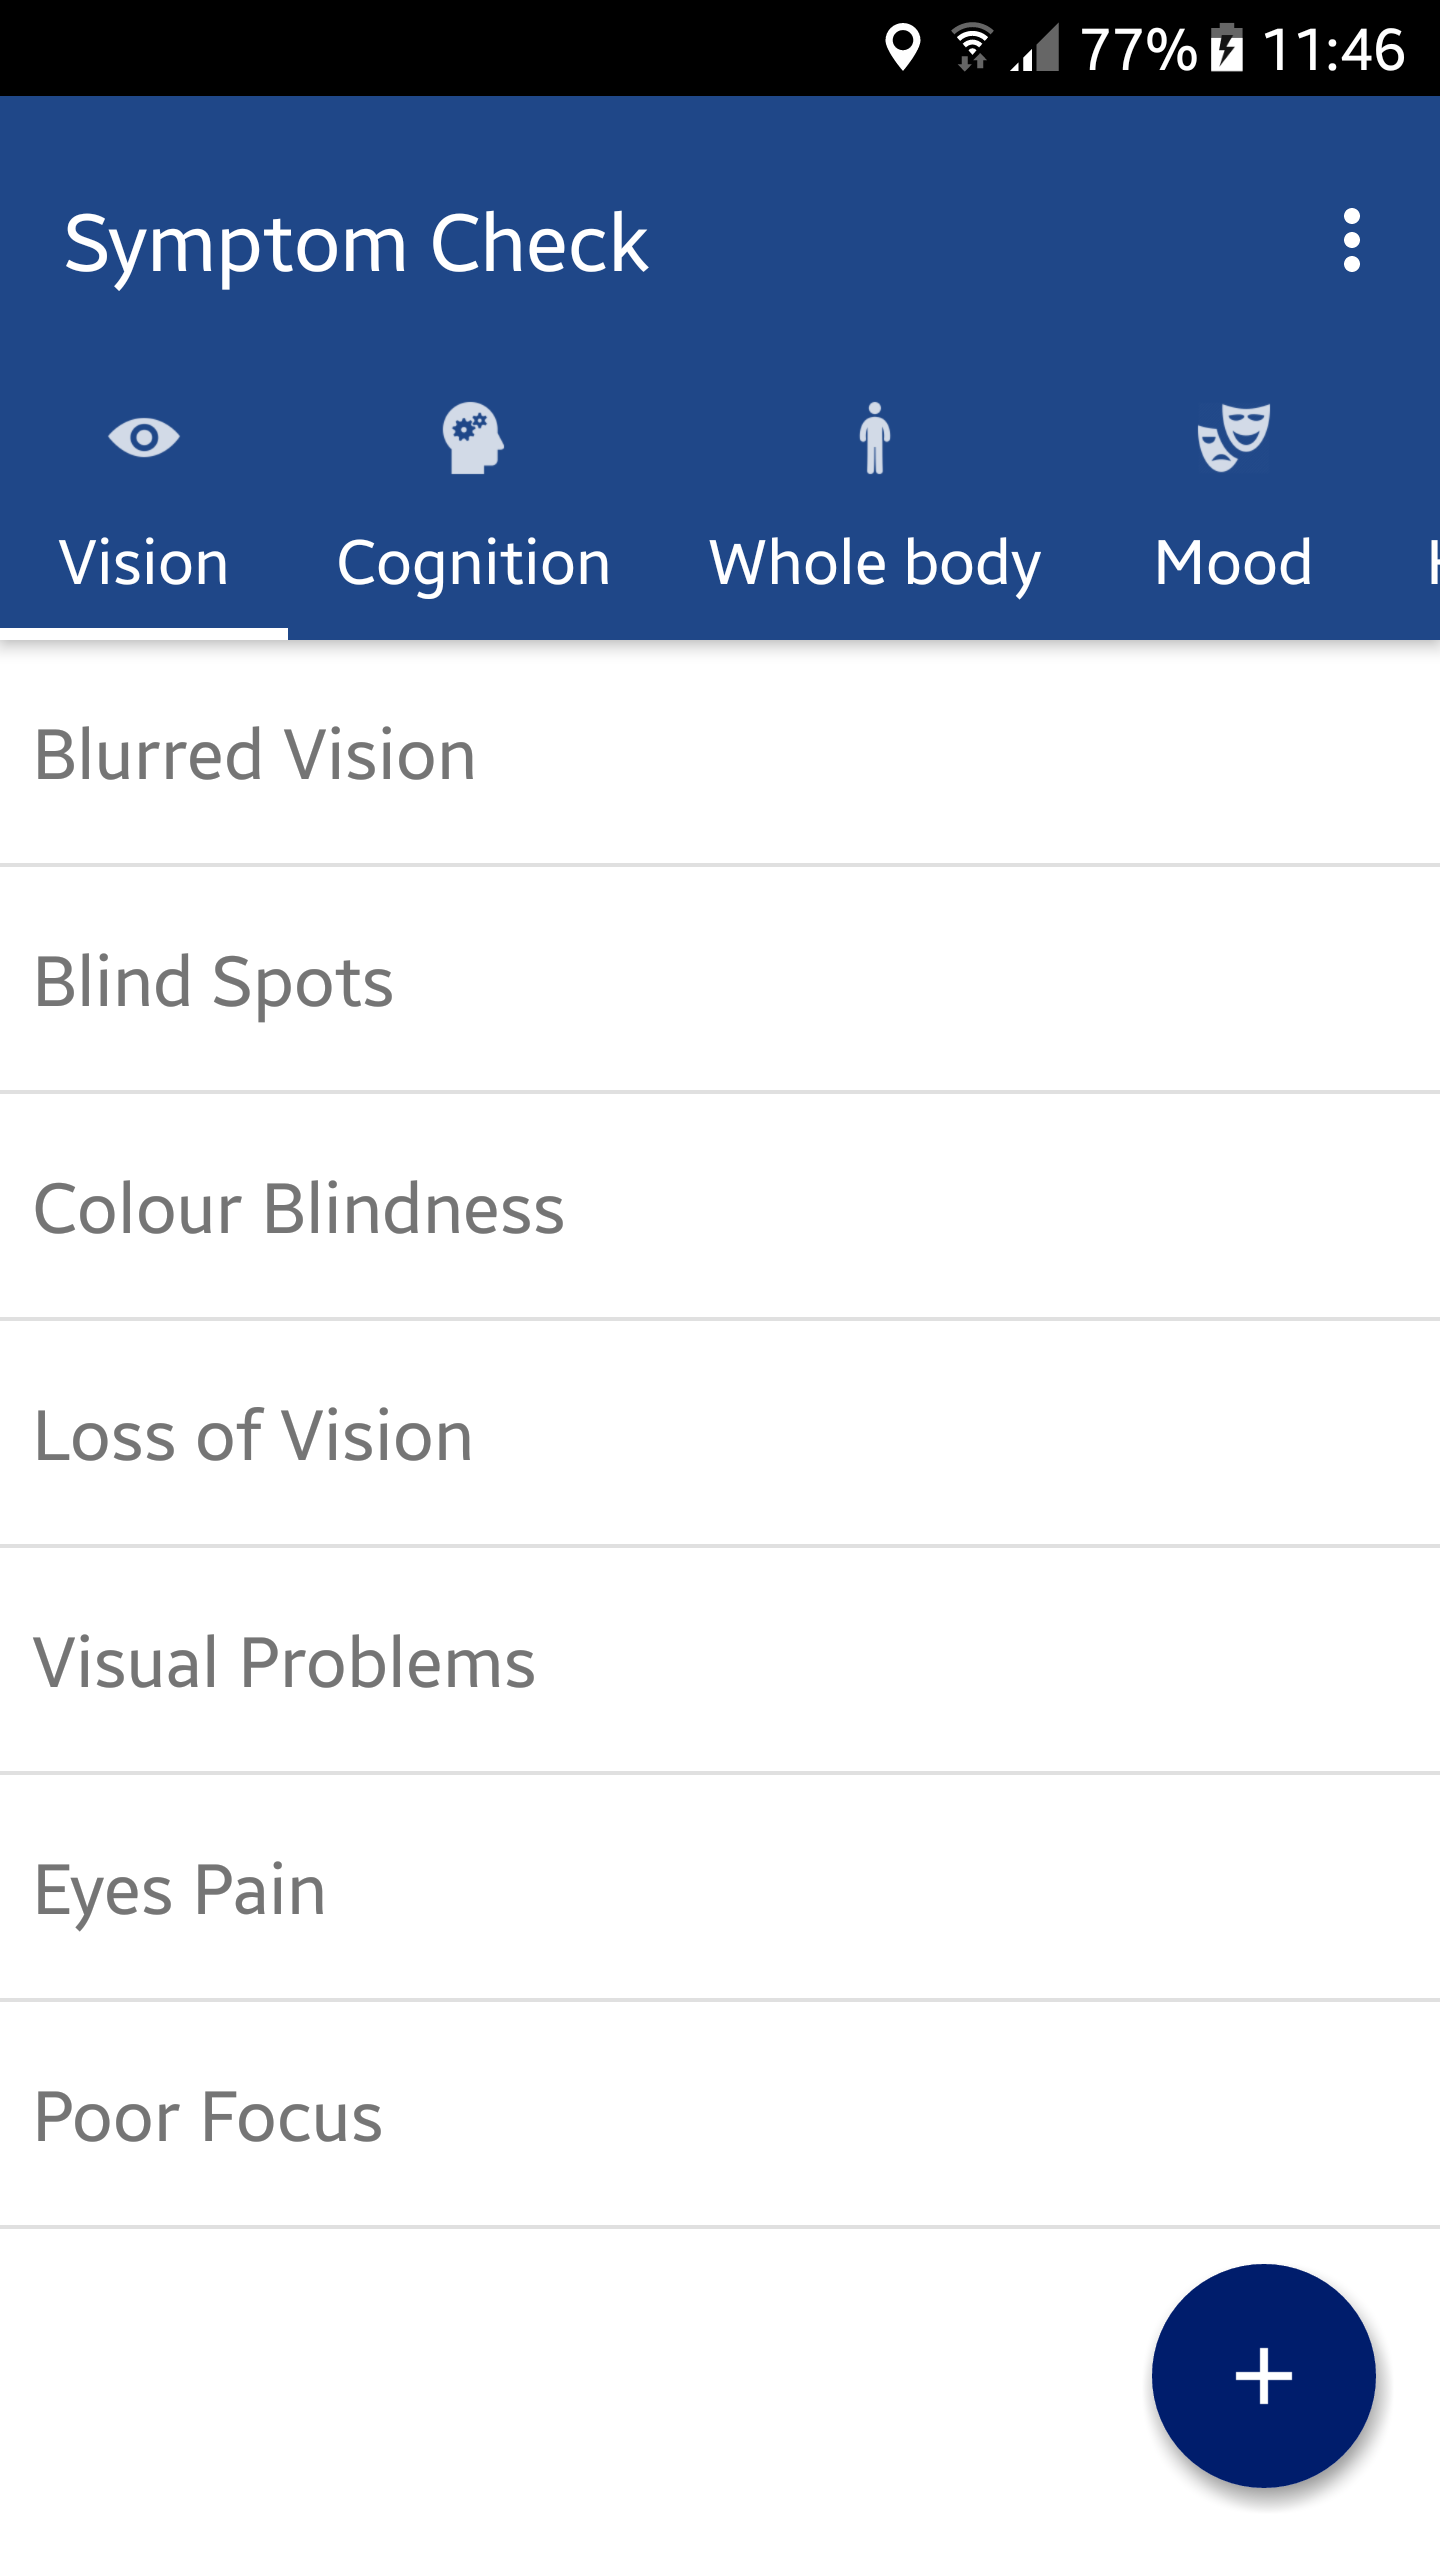
- Pressing the Symptoms button will start the test. You can choose a symptom type and the list of corresponding symptoms will appear. Click on the one of symptoms and dialog window will appear.
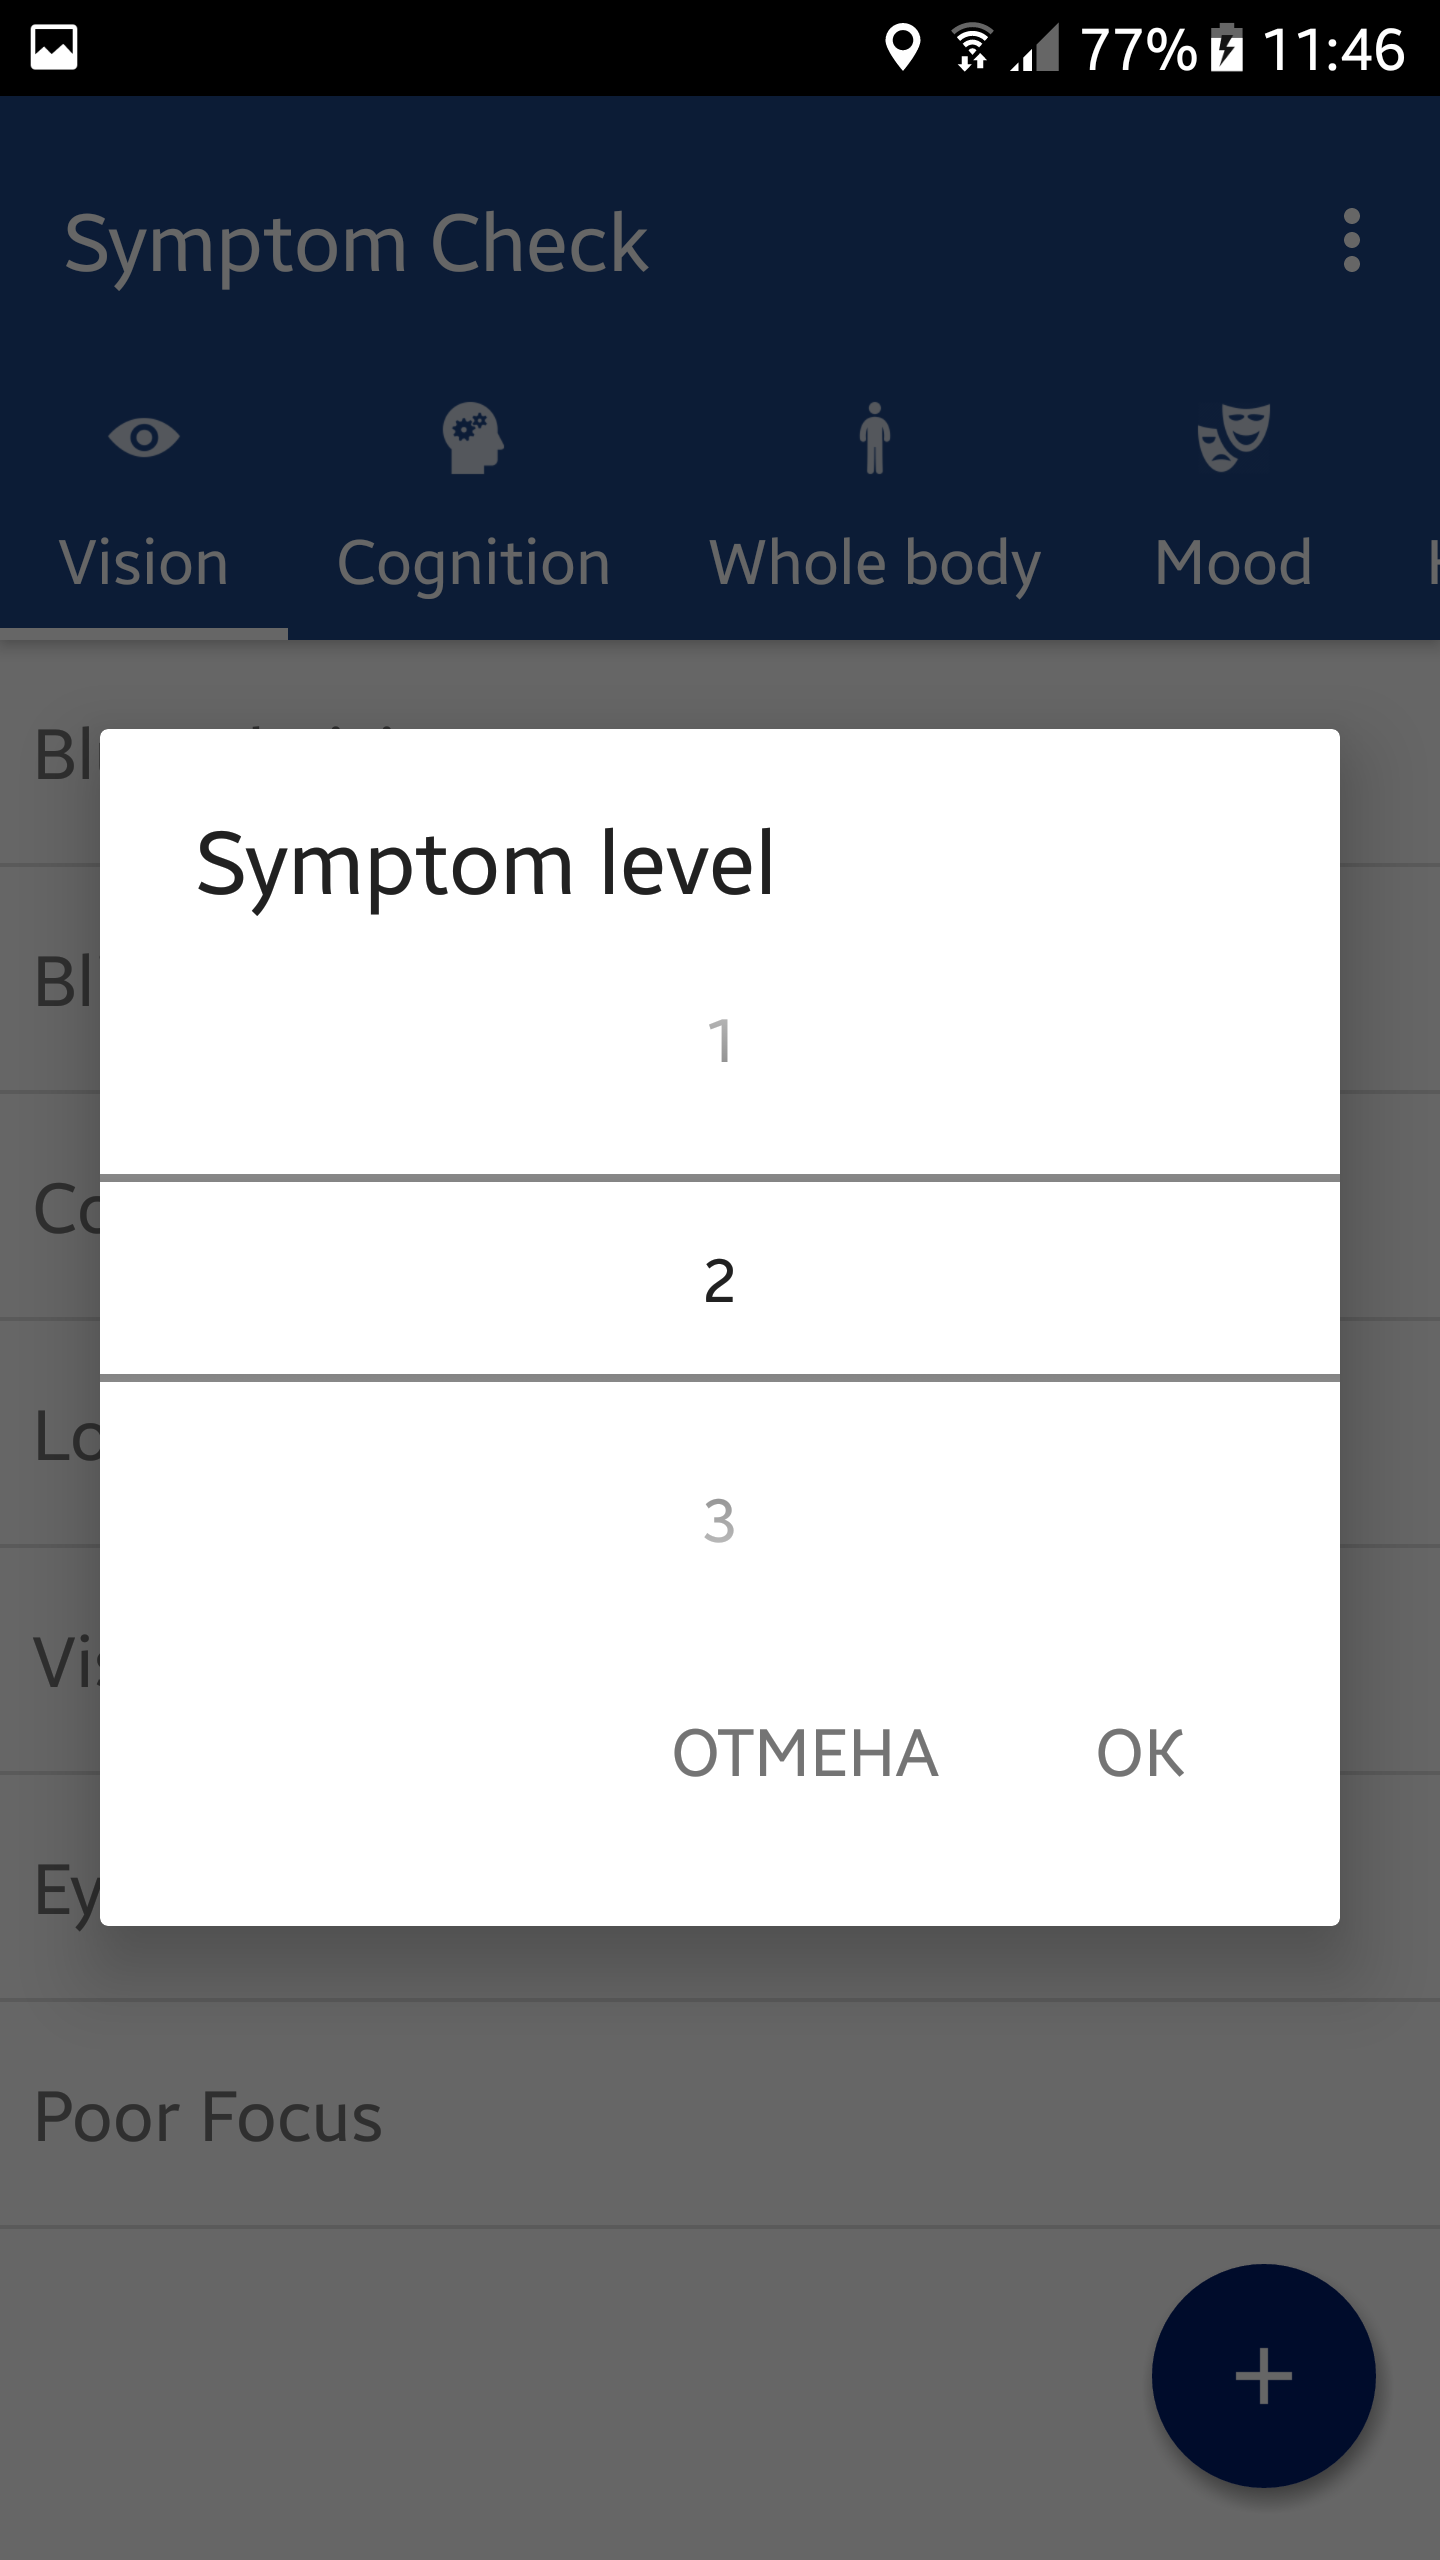
- Set the level of the chosen symptom and press OK.
- You can press the floating action button at the bottom right corner and a menu will appear.
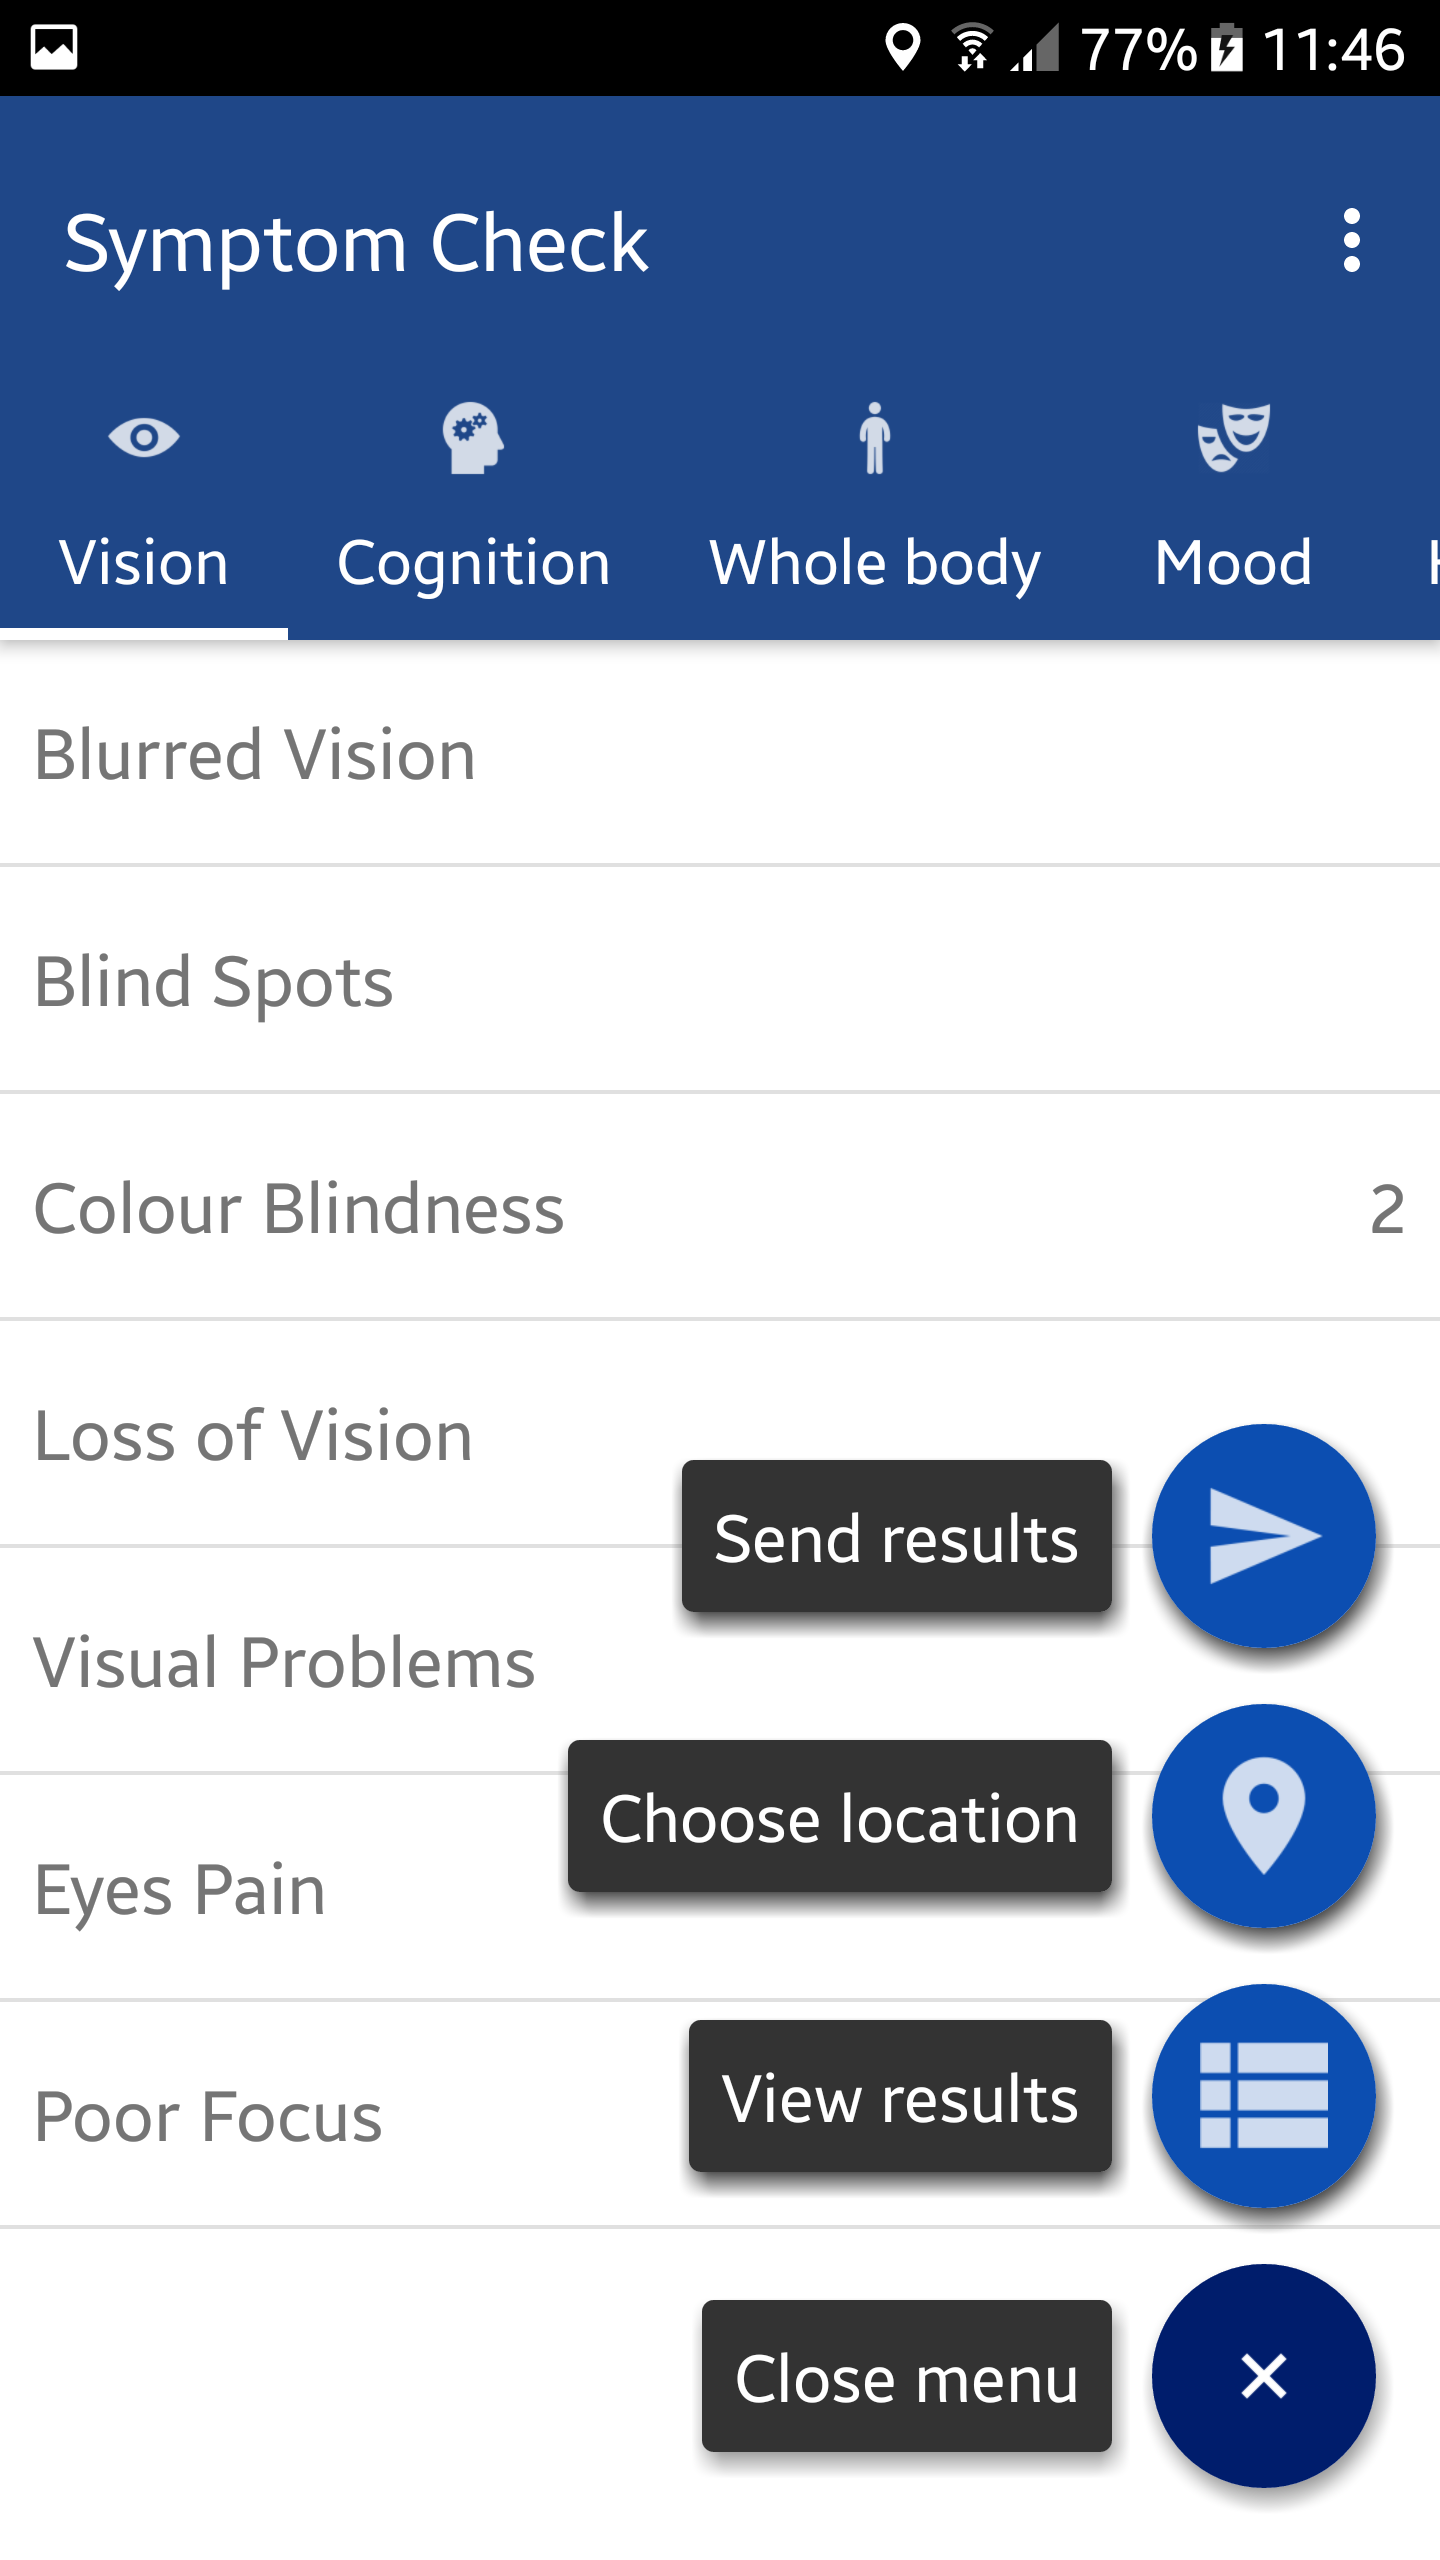
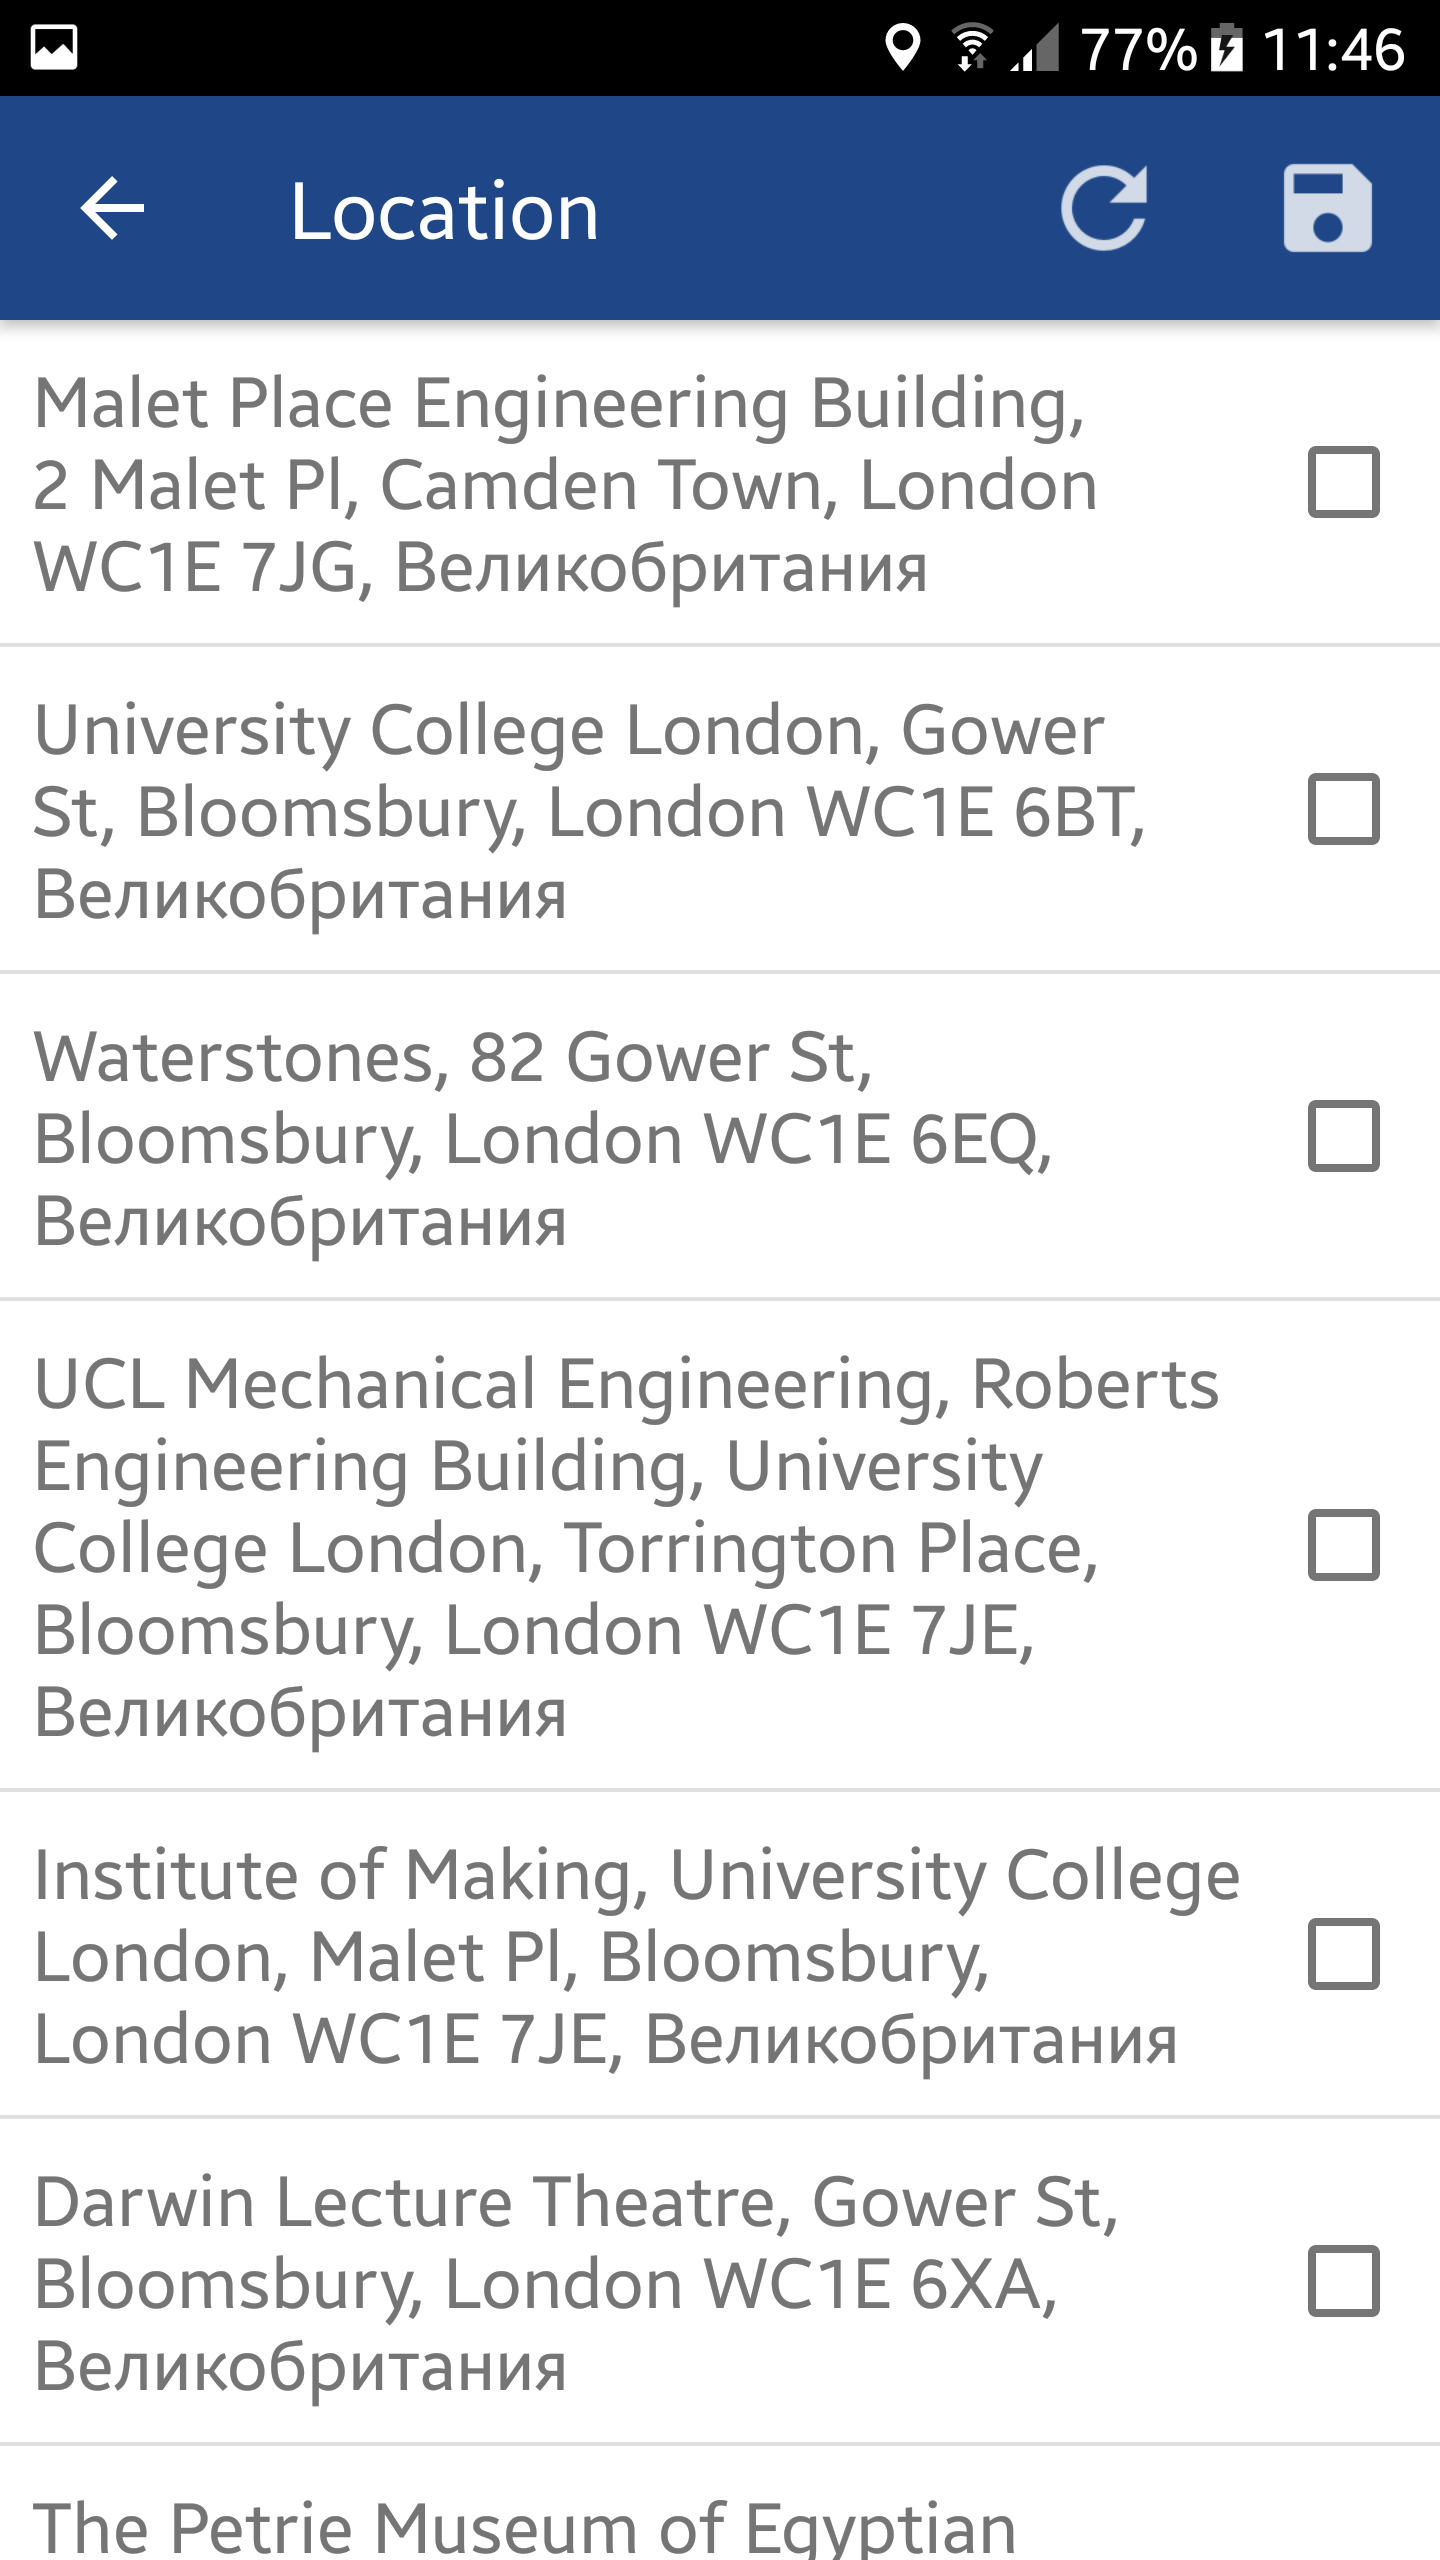
- If you press choose location, a list of nearest locations will appear. Choose the right one, press save.
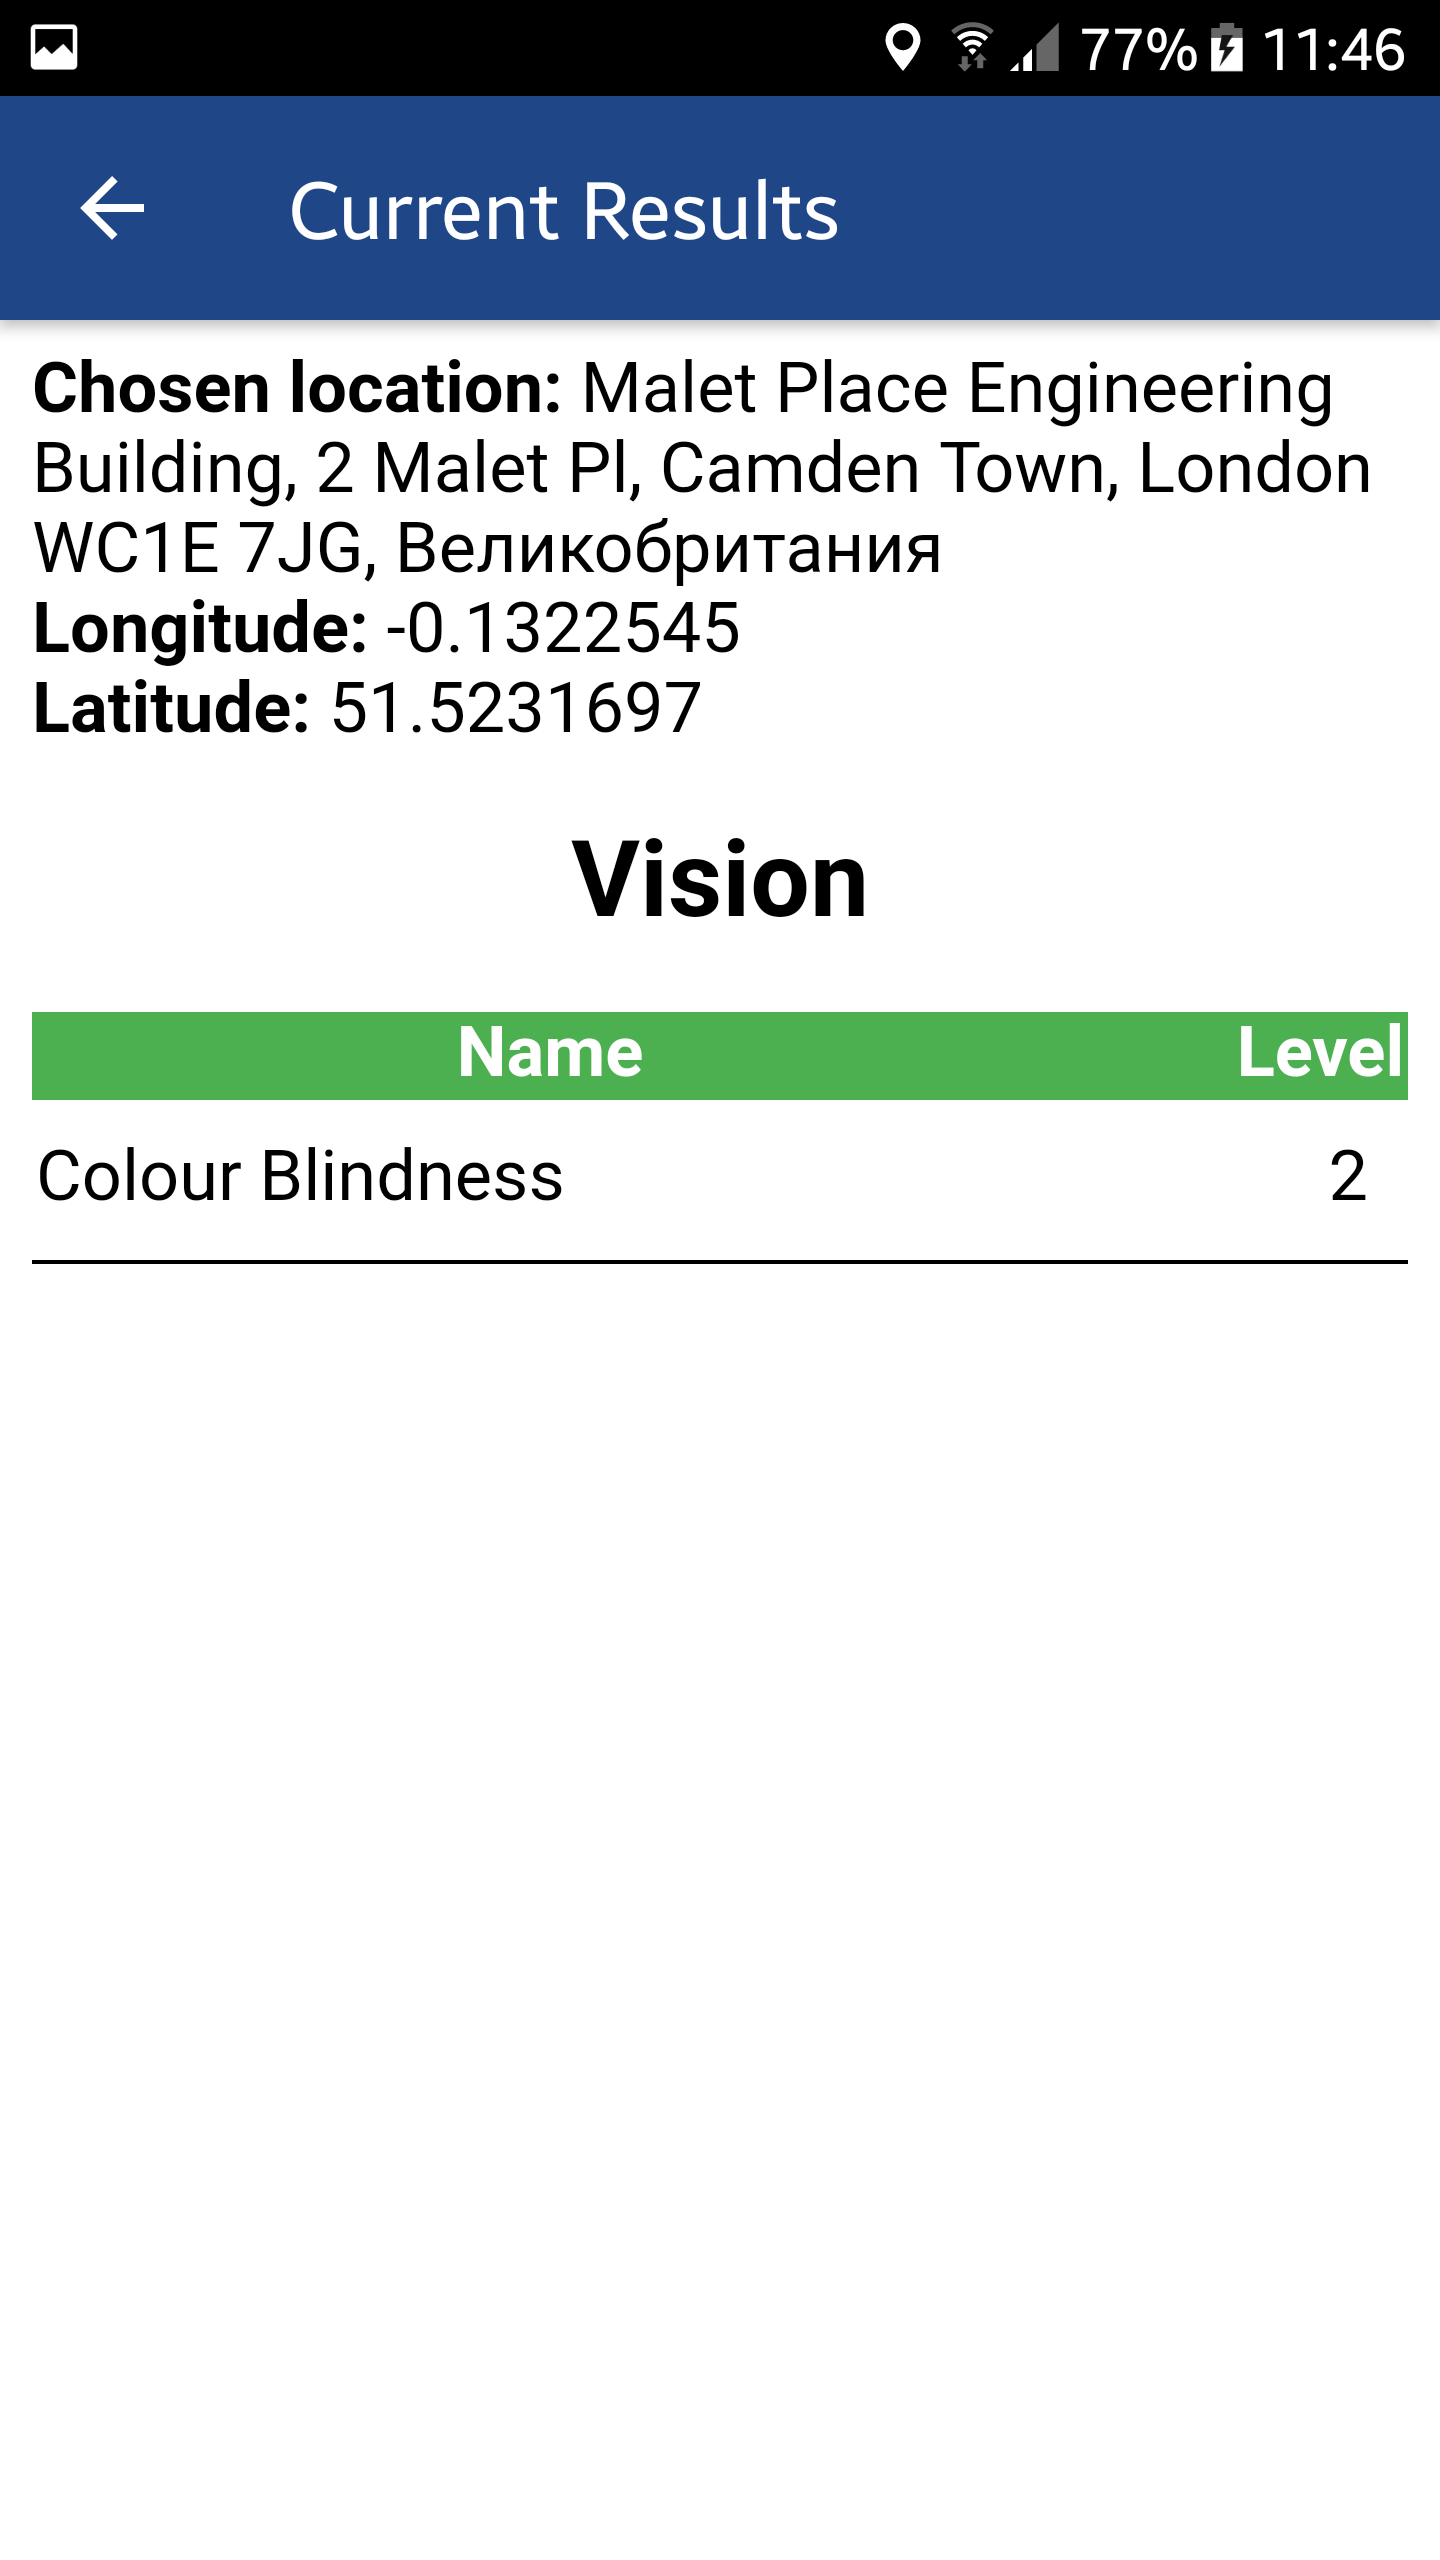
- You can also press view results to observe results of the current test session.
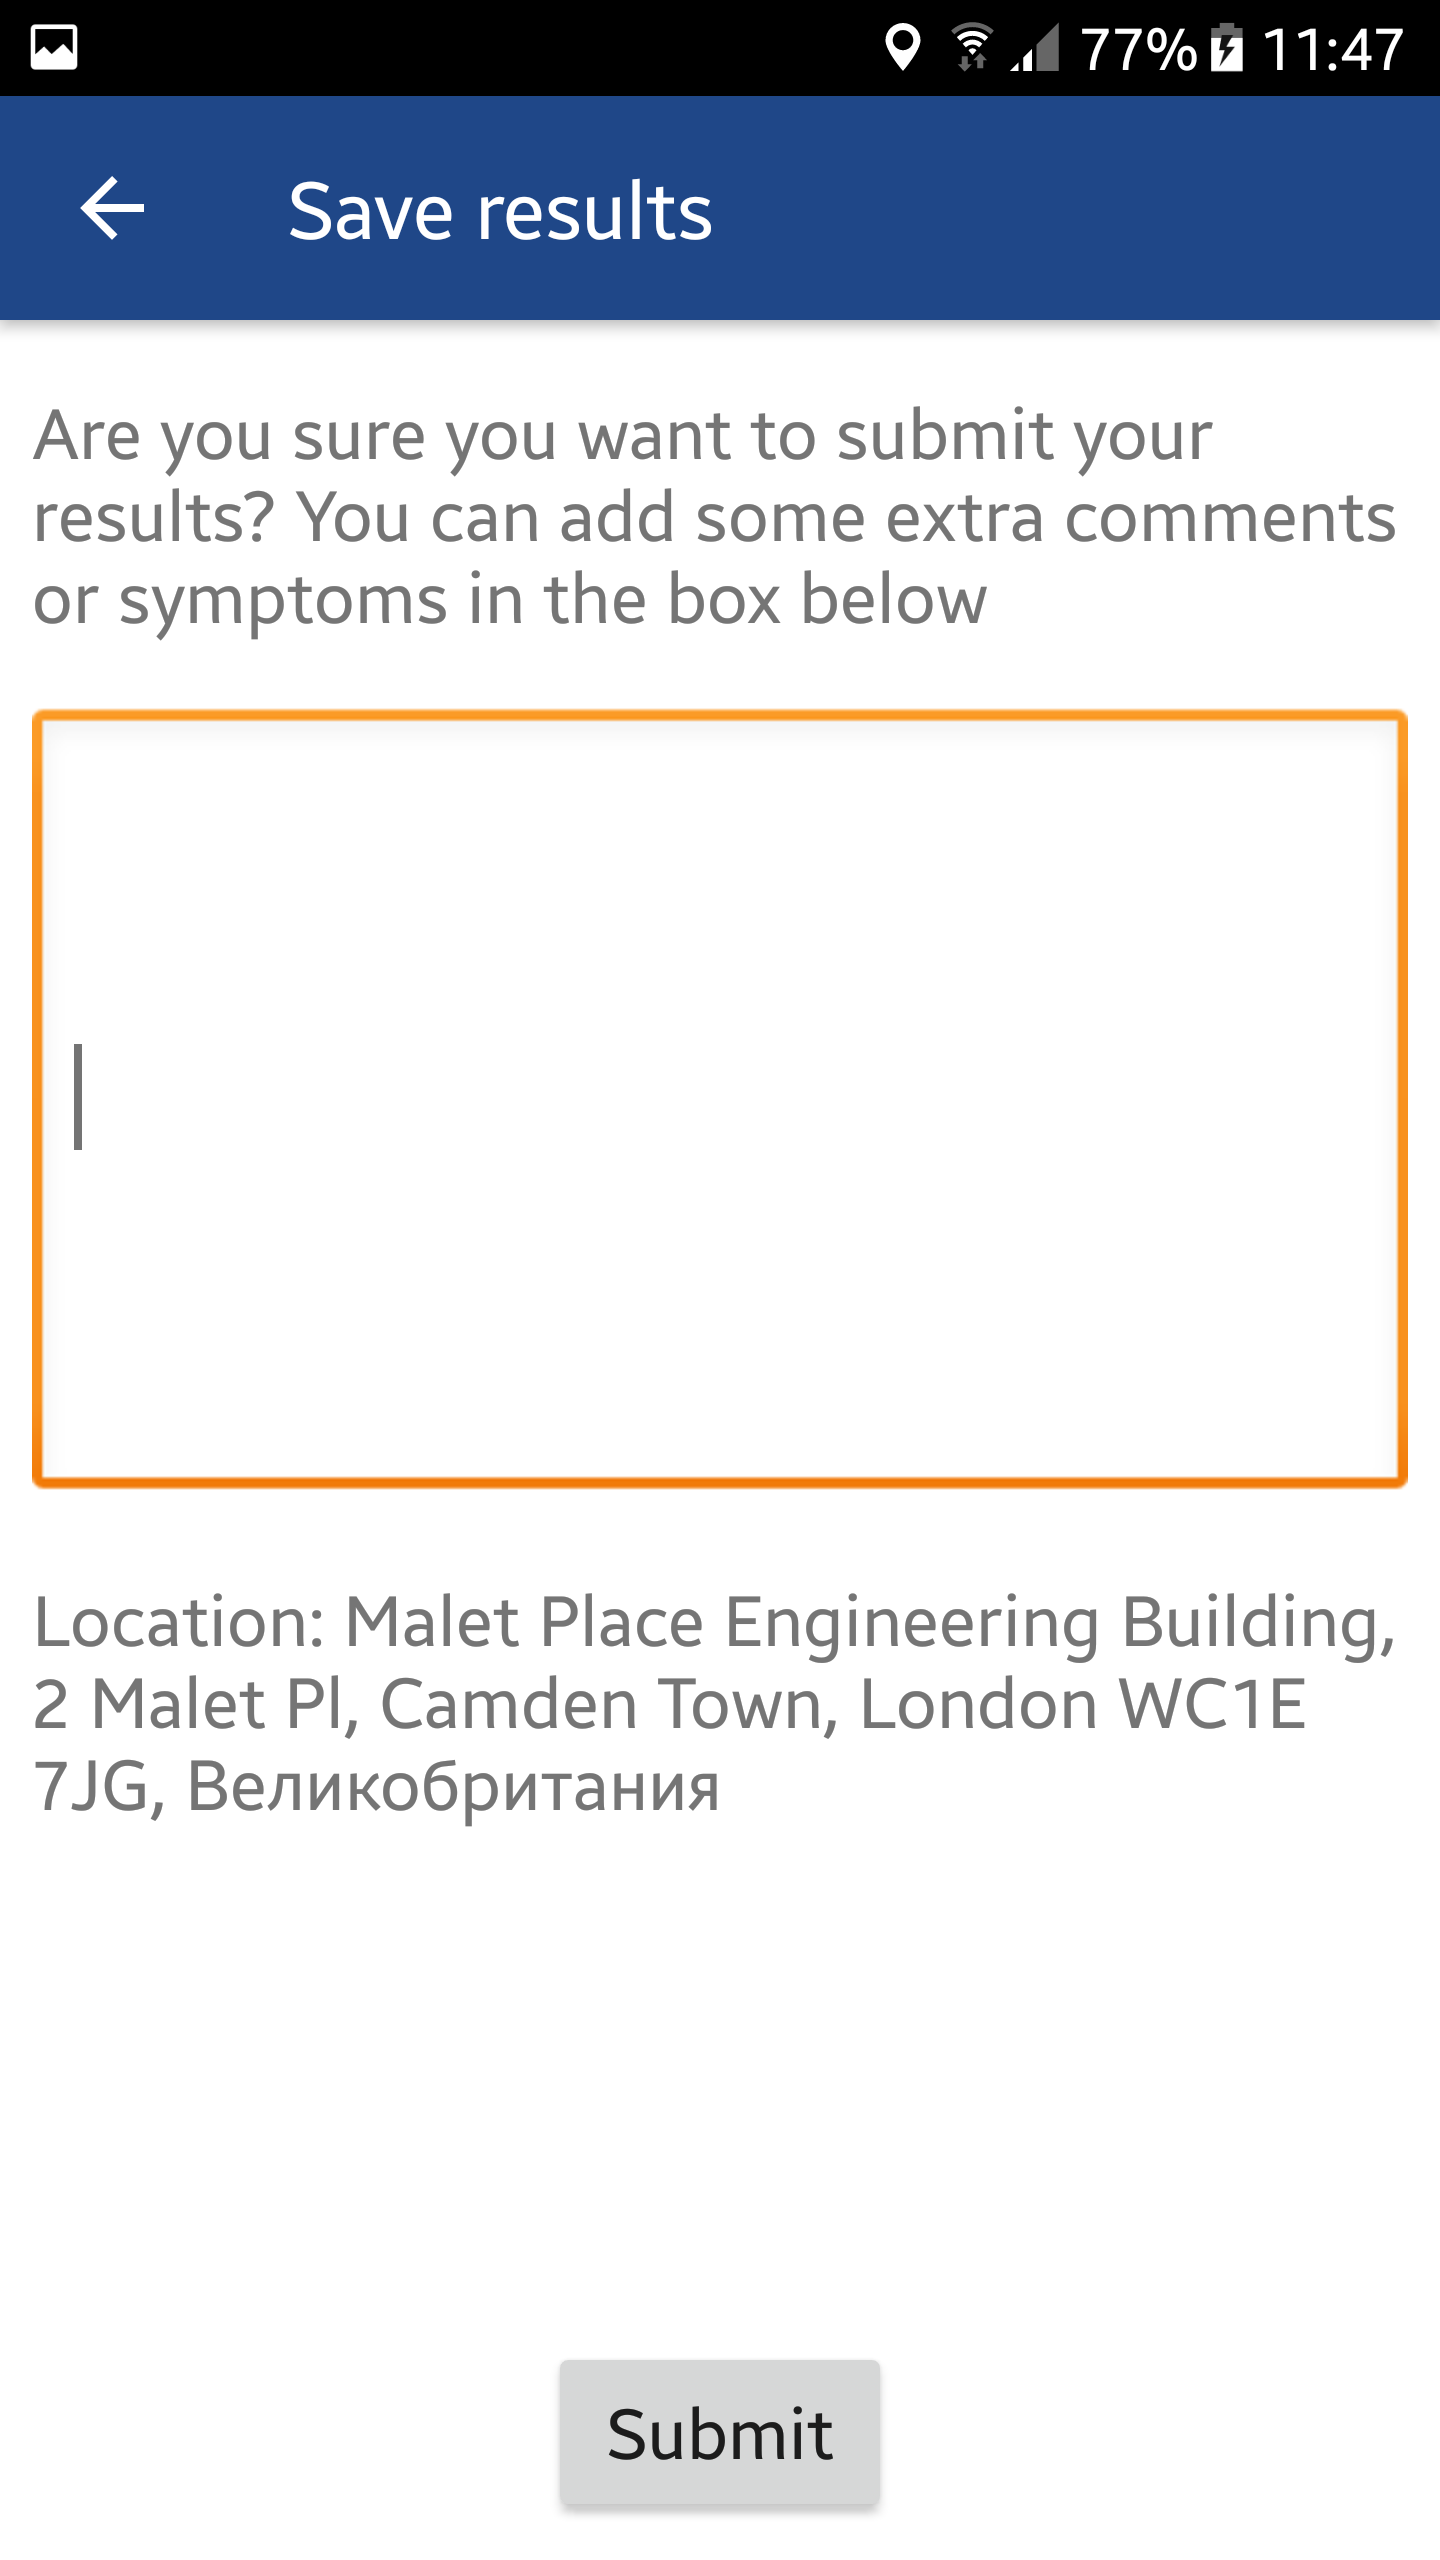
- When test is done, press submit results button. Input any extra comments or symptoms you have, and press submit. Symptom check is done.
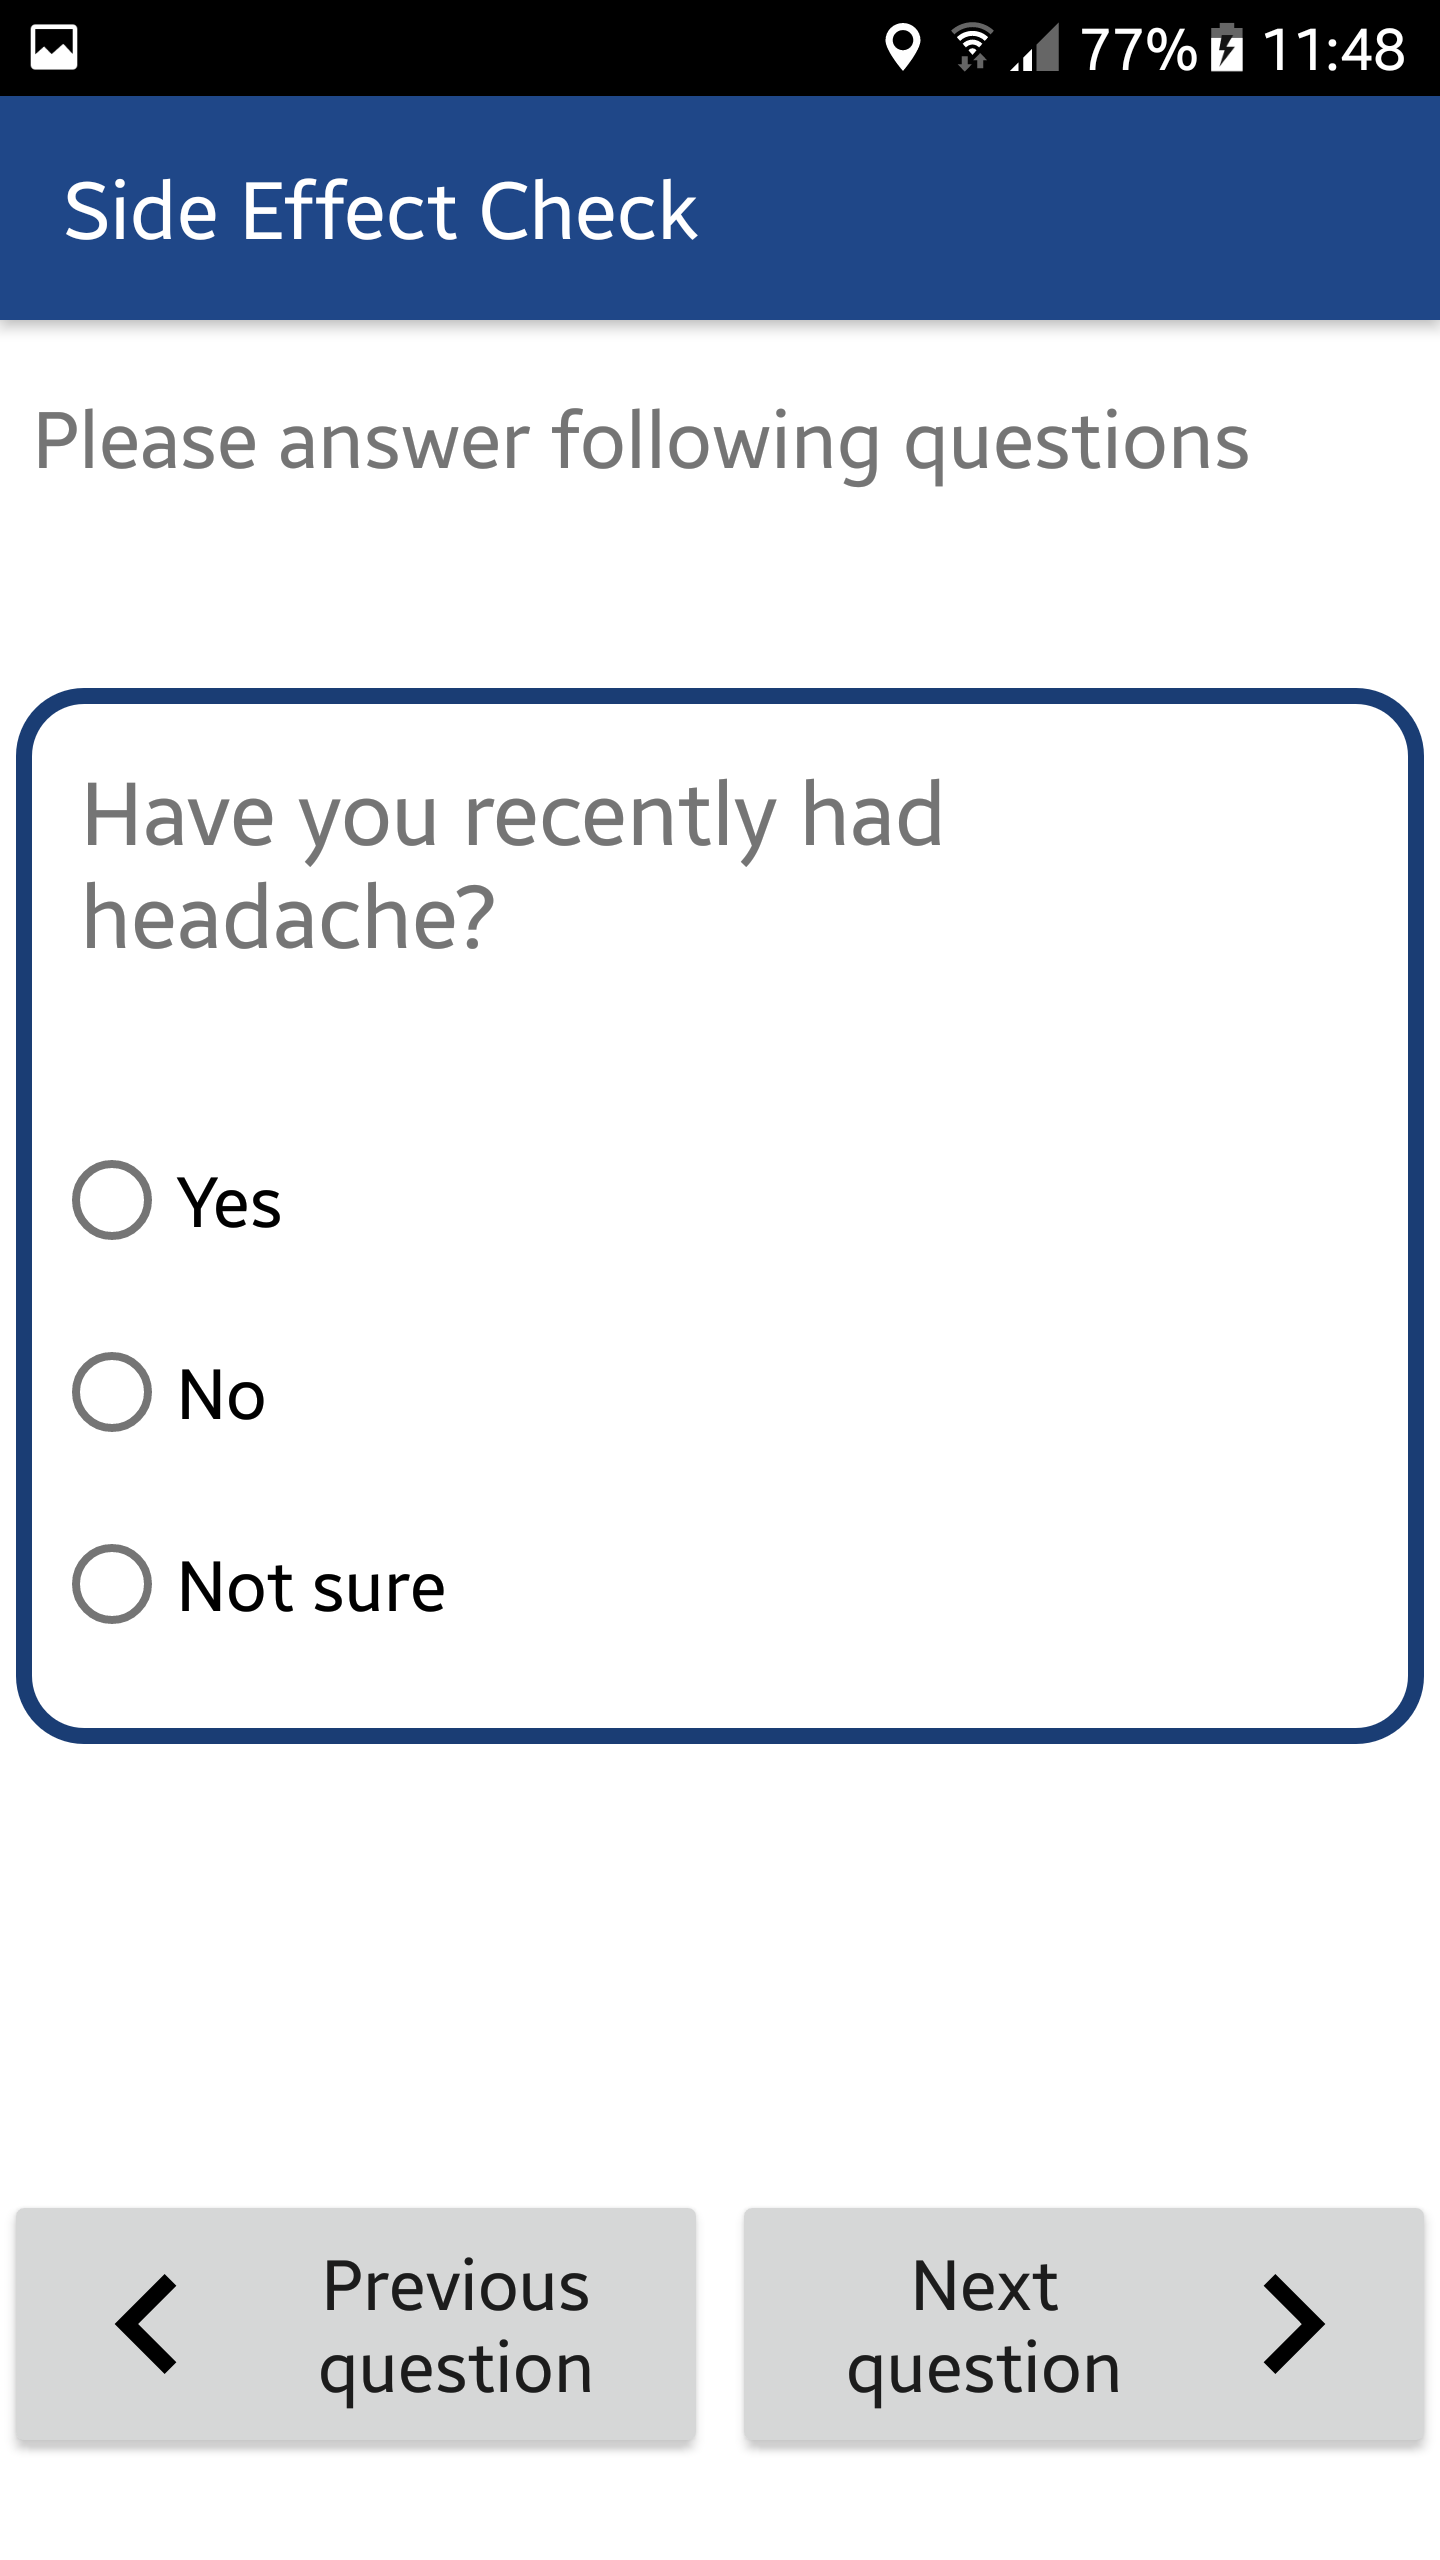
- Pressing Side Effects button will start a new test. A question will appear, choose one of thre three options (yes, no, not sure radial buttons) and press “next question”. Repeat this step, until the test is done, you will be redirected to the main menu.
- Pressing History button will transition you to the Symptom Check history by sessions, swipe to the left to see previous sessions. You can press the graph button to view symptoms' history and the symptoms progression in a line graph.


Deployment manual
In this section we will explaing how to deploy locally the different components of our project. We are also including a the documentation for the API.
Server (local deployment)
The server has docker files defined to allow the entire server to run in set of docker containers. Here we will show you how to run it:
- Download the project folder.
- Open the command line and move into the downloaded directory.
- For this guide, you will have to install Docker Compose, since we will run our local server in a Docker container.
- Once installed:
cd server - Run:
docker-compose up - The server is now running on localhost at port 8000.
- If you want to run the server in a different port. Change in docker-compose.yml:
ports: - "8000:8000" - To your preferred port:
ports:
  - "8000:6000"
- If you want to run the server in a different port. Change in docker-compose.yml:
iOS (local deployment)
Requirements: you will need to have a Macintosh system with Xcode installed.
- Download the project folder.
- Move to the iOS directory.
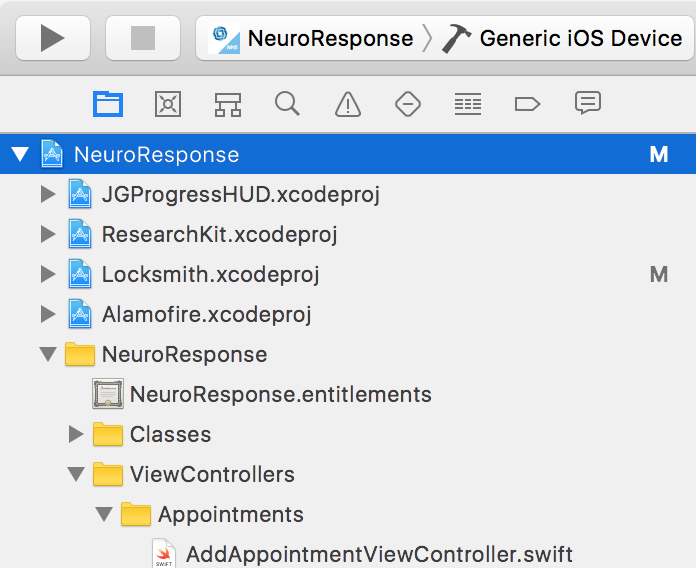
- Open NeuroResponse folder.
- Open NeuroResponse.xcodeproj with Xcode.
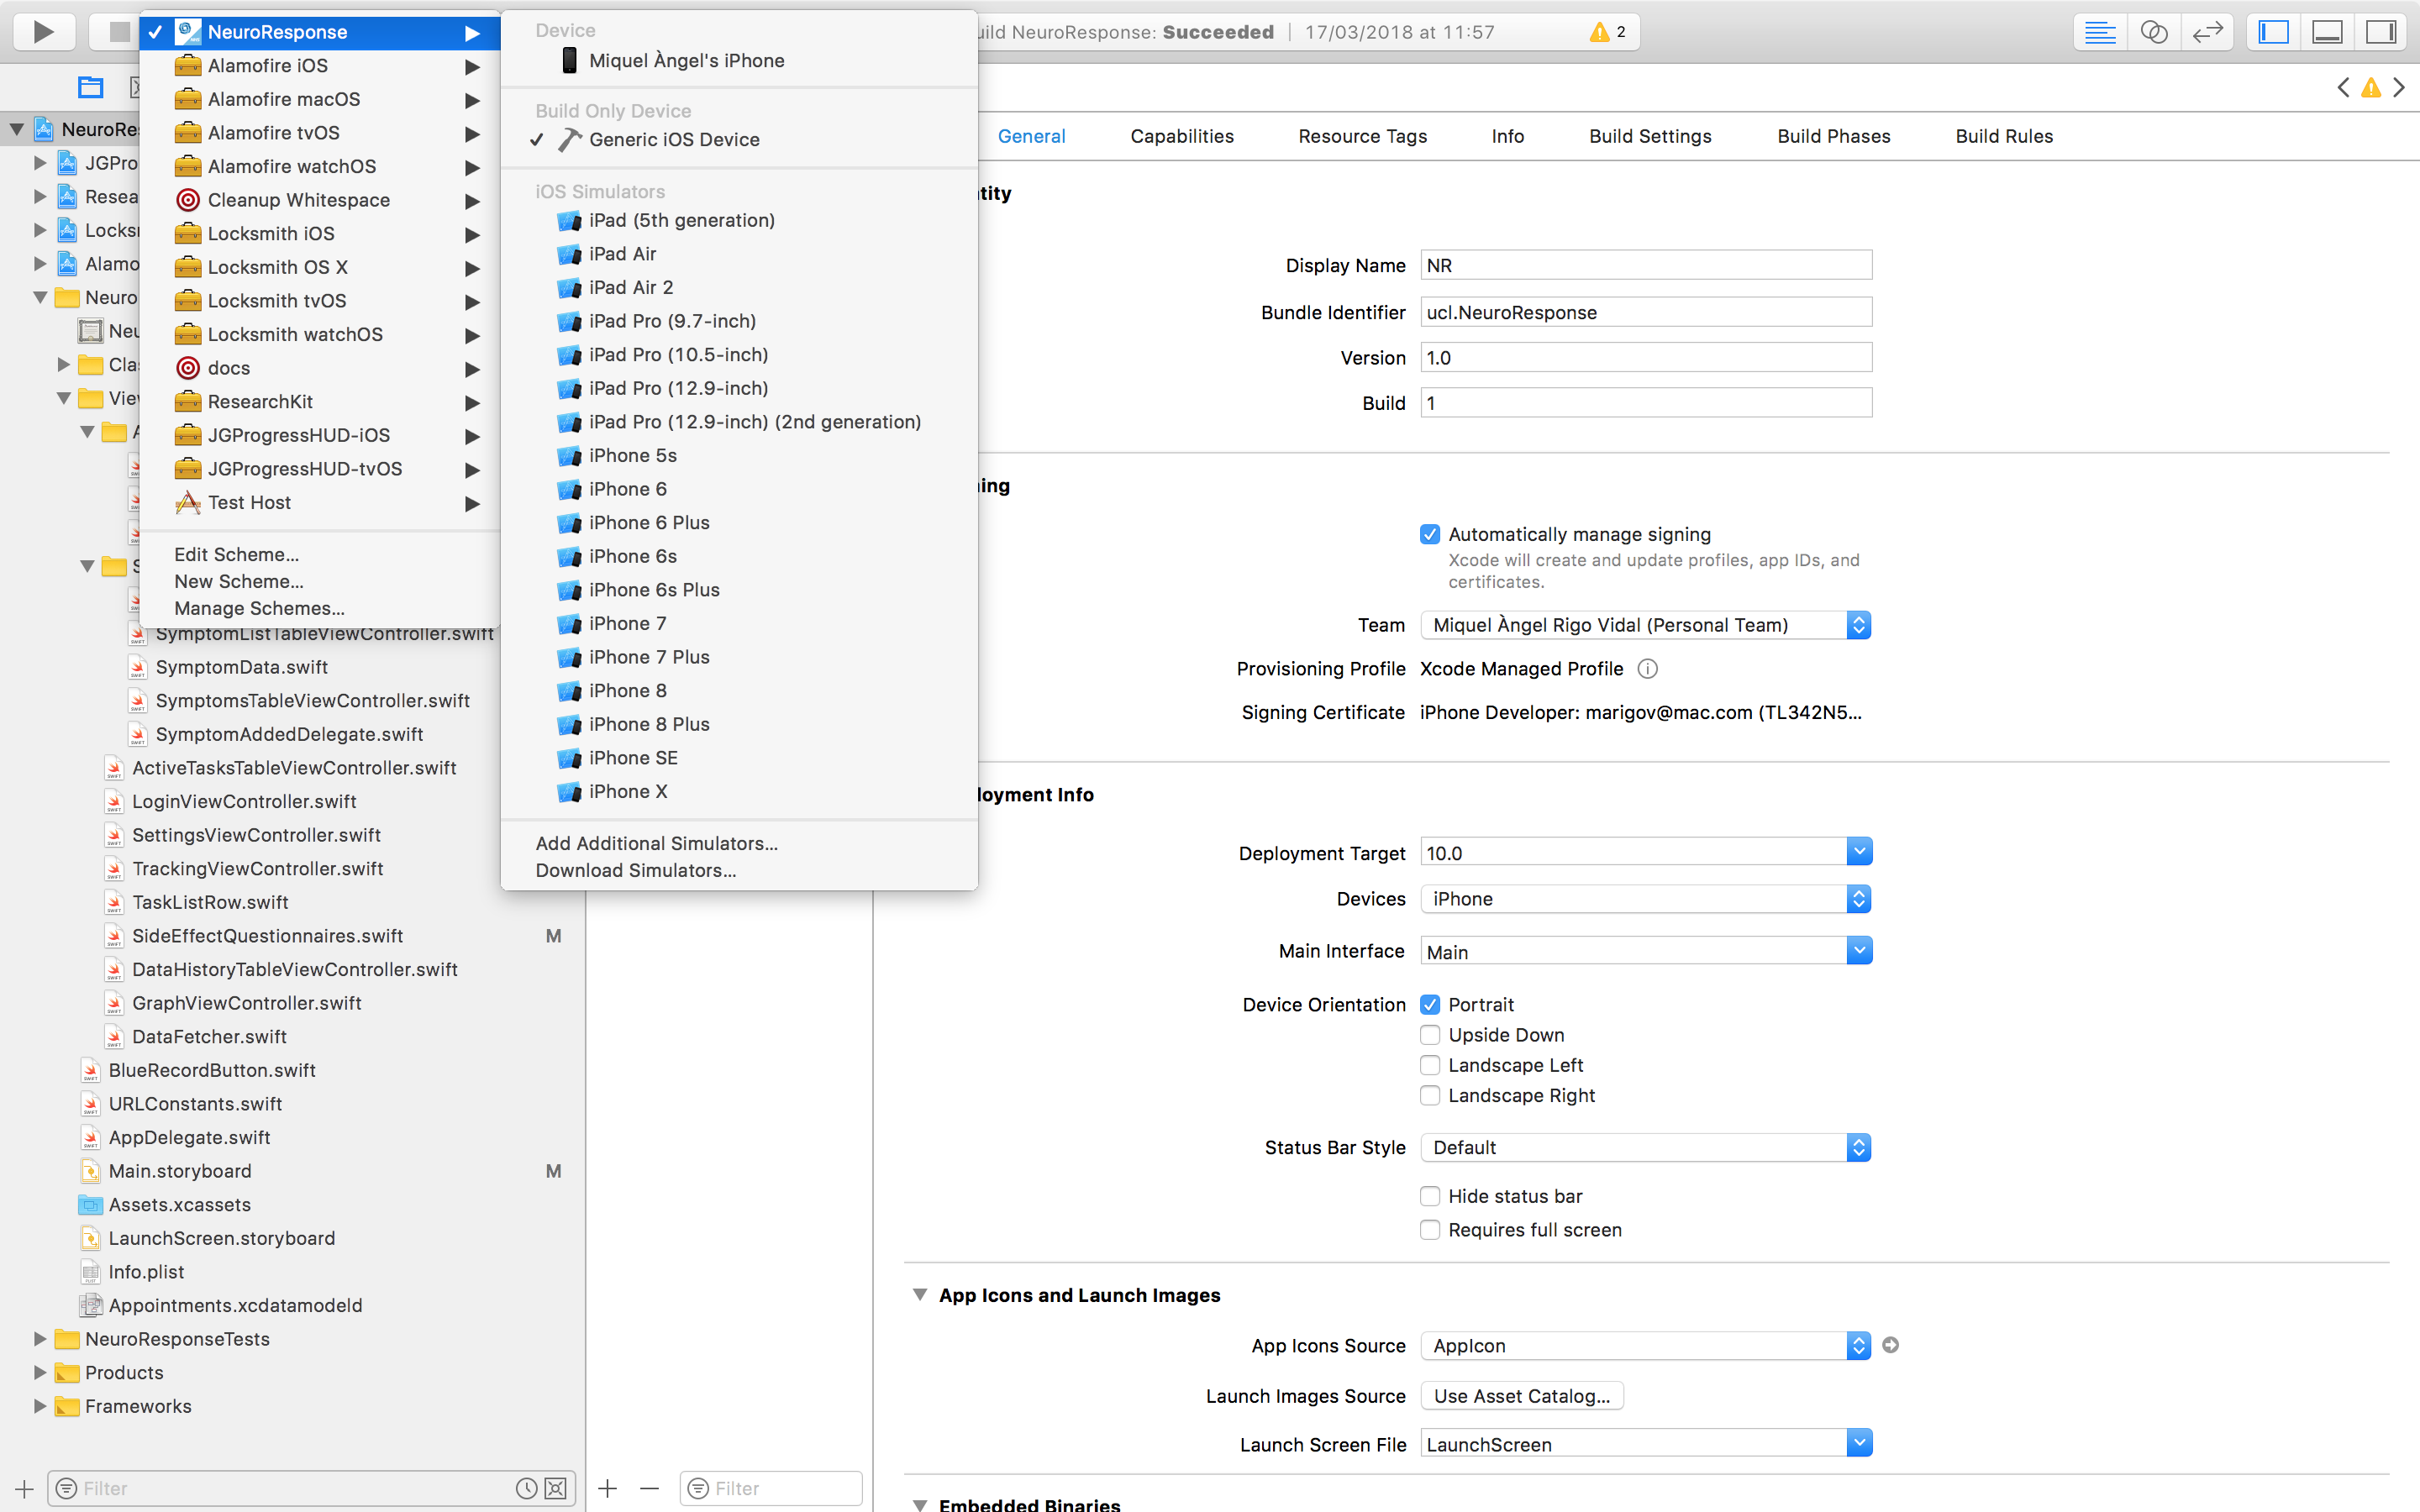
- Click on the project icon on the left sidebar.
- Go to Targets -> NeuroResponse -> General.
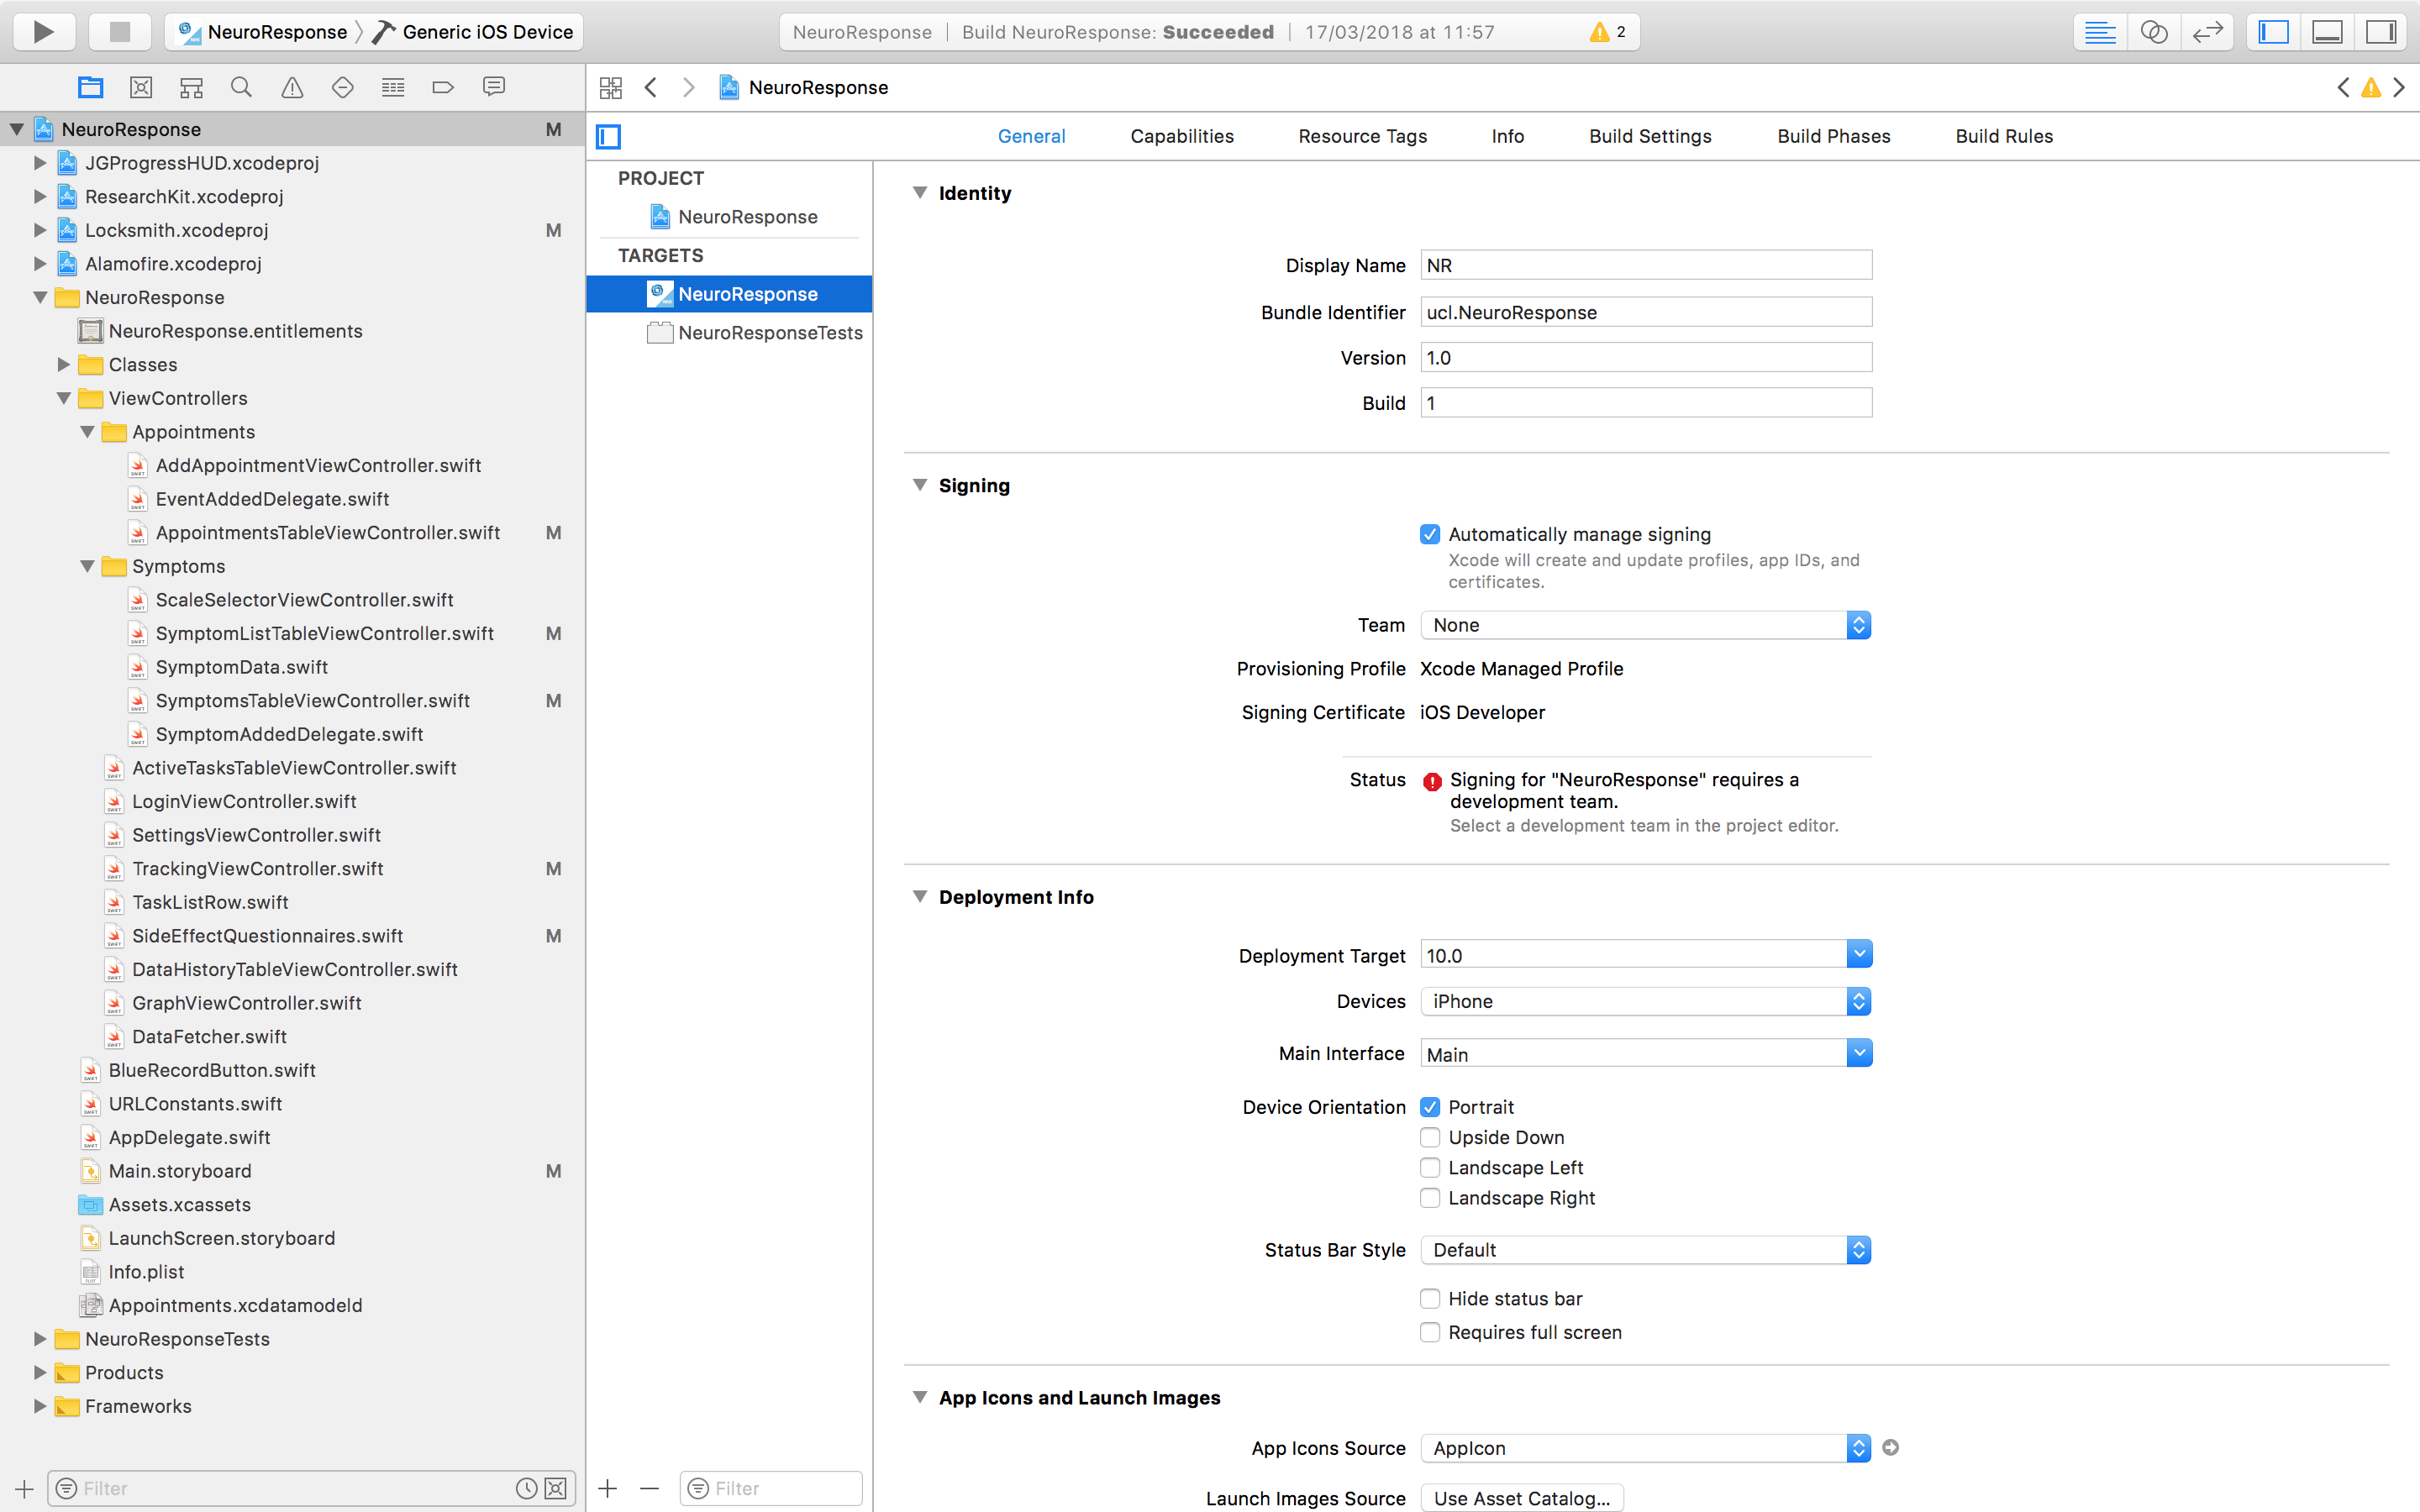
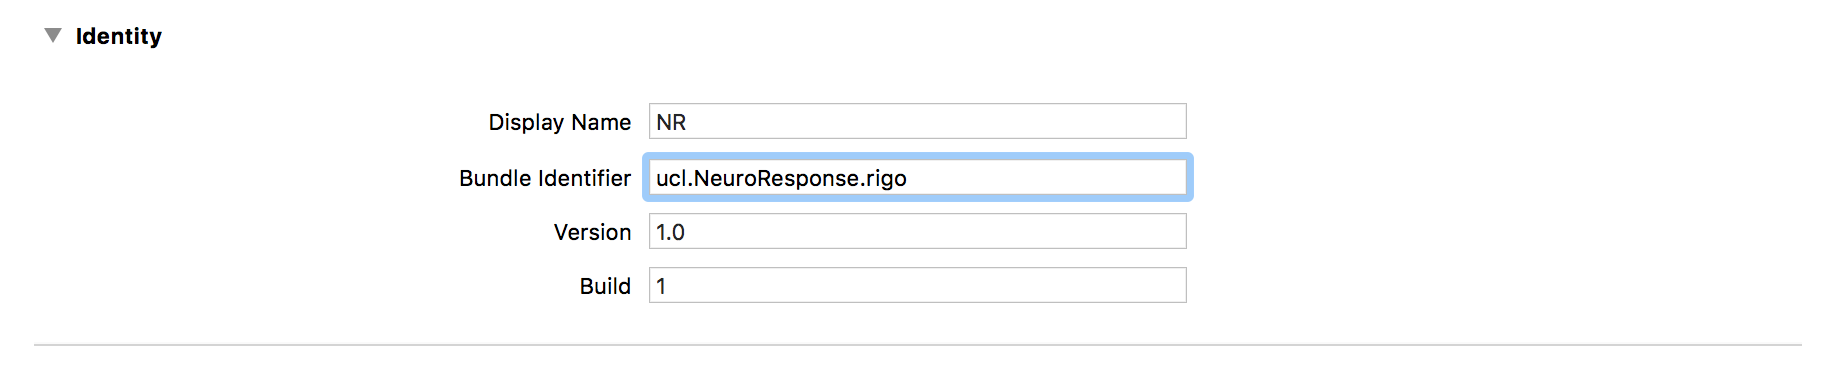
- Change the bundle identifier to yours. You can use something like "com.NeuroResponse.yourSurname".
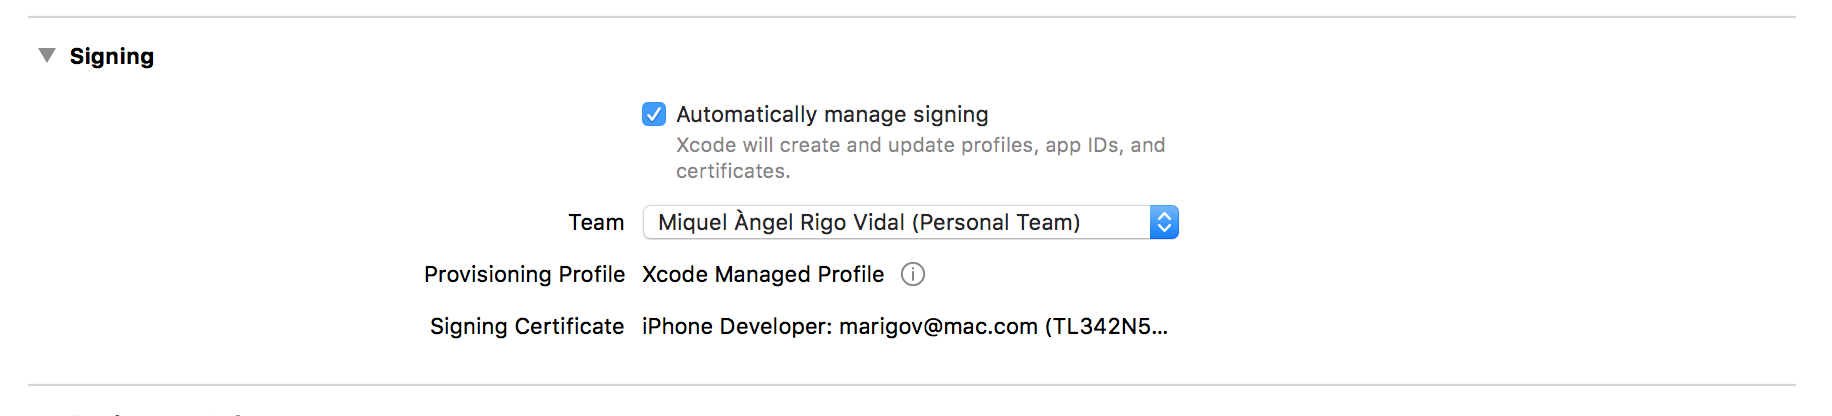
- In Signing activate the automatically manage signing option.
- Select your team.
- You are ready to run the app, both on your simulator or on your iOS device. Go to the menu bar, click on NeuroResponse, select a Device or an iOS simulator and click the run button.
Note: we have currently a deployed server for testing purposes running on Azure, the mobile app is connected to this one. If you would like to switch to another server, go to URLConstants.swift and change AzureServer address by yours.
Android (local deployment)
- Copy neuroresponse.apk file into your Android device.
- Enable the option Unknown sources from Settings -> Security.
- Install the app.
RESTful API Documentation
In order to make requests you will need to make use of token authentication. Here you have two sample tokens:
Patient token:
fe816bc1cee0d479f7b2cd6491d00c3b6019e808Clinician token:
e89896a5f630340ff691c831a9ab948bcb1854dc
Create patient:
URL:
[POST] http://[server_url]/users/
Header:
Authorization: Token e89896a5f630340ff691c831a9ab948bcb1854dc
Note: The token has to come from a user that has clinician status.
Body:
{
   "nhs_number":"9999999996",
   "first_name":"Samantha",
   "last_name": "Smith",
   "password":"pass1234",
   "drug_course_id ":5,
   "month_of_treatment":4
}
Response:
{
   "nhs_number":"9999999996",
   "first_name":"Samantha",
   "last_name": "Smith",
   "password":"pass123 4",
   "drug_course_id":5,
   "month_of_treatment":4
}
Get token:
URL:
[POST] http://[server_url]/get_auth_token/
Body:
{“username":"0000000001","password":"pass1234"}
Response:
{ "token": “3cd945bb61f3da2c1dd61abdbc6ef6a3431f391a" }
Post side effects:
URL:
[POST] http://[server_url]/sec/
Header:
Authorization: Token fe816bc1cee0d479f7b2cd6491d00c3b6019e808
Body:
{
   "answers":[
      {
         "question_no":"1",
         "answer":"0"
      },
      {
         "question_no":"2",
         "answer":"1"
      }
   ]
}
Response:
{
   "date":"2018-02-01T12:01:45.743502Z",
   "answers":[
      {
         "question_no":1,
         "answer":0
      },
      {
         "question_no":2,
         "answer":1
      }
   ]
}
Post symptoms:
URL:
[POST] http://[server_url]/sym/
Header:
Authorization: Token fe816bc1cee0d479f7b2cd6491d00c3b6019e808
Body:
{
   "symptoms":[
      {
         "symptom_no":"1",
         "scale":"8"
      },
      {
         "symptom_no":"2",
         "scale":"10"
      }
   ]
}
Response:
{
   "date":"2018-02-01T12:01:49.694580Z",
   "symptoms":[
      {
         "symptom_no":1,
         "scale":8
      },
      {
         "symptom_no":2,
         "scale":10
      }
   ]
}
Get patient details:
URL:
[GET] http://[server_url]/users/[nhs_number]
Header:
Authorization: Token 3cd945bb61f3da2c1dd61abdbc6ef6a3431f391a
Response:
{
  "nhs_number": "0000000001",
  "first_name": "Miquel",
  "last_name": "Rigo",
  "drug_course_id": 1,
  "month_of_treatment": 1,
}
Get patient side effects:
URL:
[GET] http://[server_url]/sec/
Header:
Authorization: Token fe816bc1cee0d479f7b2cd6491d00c3b6019e808
Response:
[
  {
    "date": "2018-02-19T21:26:56.679193Z",
    "answers": [
      {
        "question_no": 1,
        "answer": 1
      },
      {
        "question_no": 2,
        "answer": 0
      },
      {
        "question_no": 3,
        "answer": 1
      }
    ]
  },
  {
    "date": "2018-03-08T15:20:13.802288Z",
    "answers": [
      {
        "question_no": 1,
        "answer": 0
      },
      {
        "question_no": 2,
        "answer": 1
      },
      {
        "question_no": 3,
        "answer": 2
      }
    ]
  }
]
Get patient symptoms:
URL:
[GET] http://[server_url]/sym/
Header:
Authorization: Token fe816bc1cee0d479f7b2cd6491d00c3b6019e808
Response:
[
  {
    "date": "2018-03-06T18:00:55.241534Z",
    "symptoms": [
      {
        "symptom_no": 11,
        "scale": 6
      },
      {
        "symptom_no": 15,
        "scale": 8
      }
    ]
  },
  {
    "date": "2018-03-06T18:01:07.442464Z",
    "symptoms": [
      {
        "symptom_no": 11,
        "scale": 22
      },
      {
        "symptom_no": 15,
        "scale": 8
      }
    ]
  }
]